
Show support for crafter Suchismita!
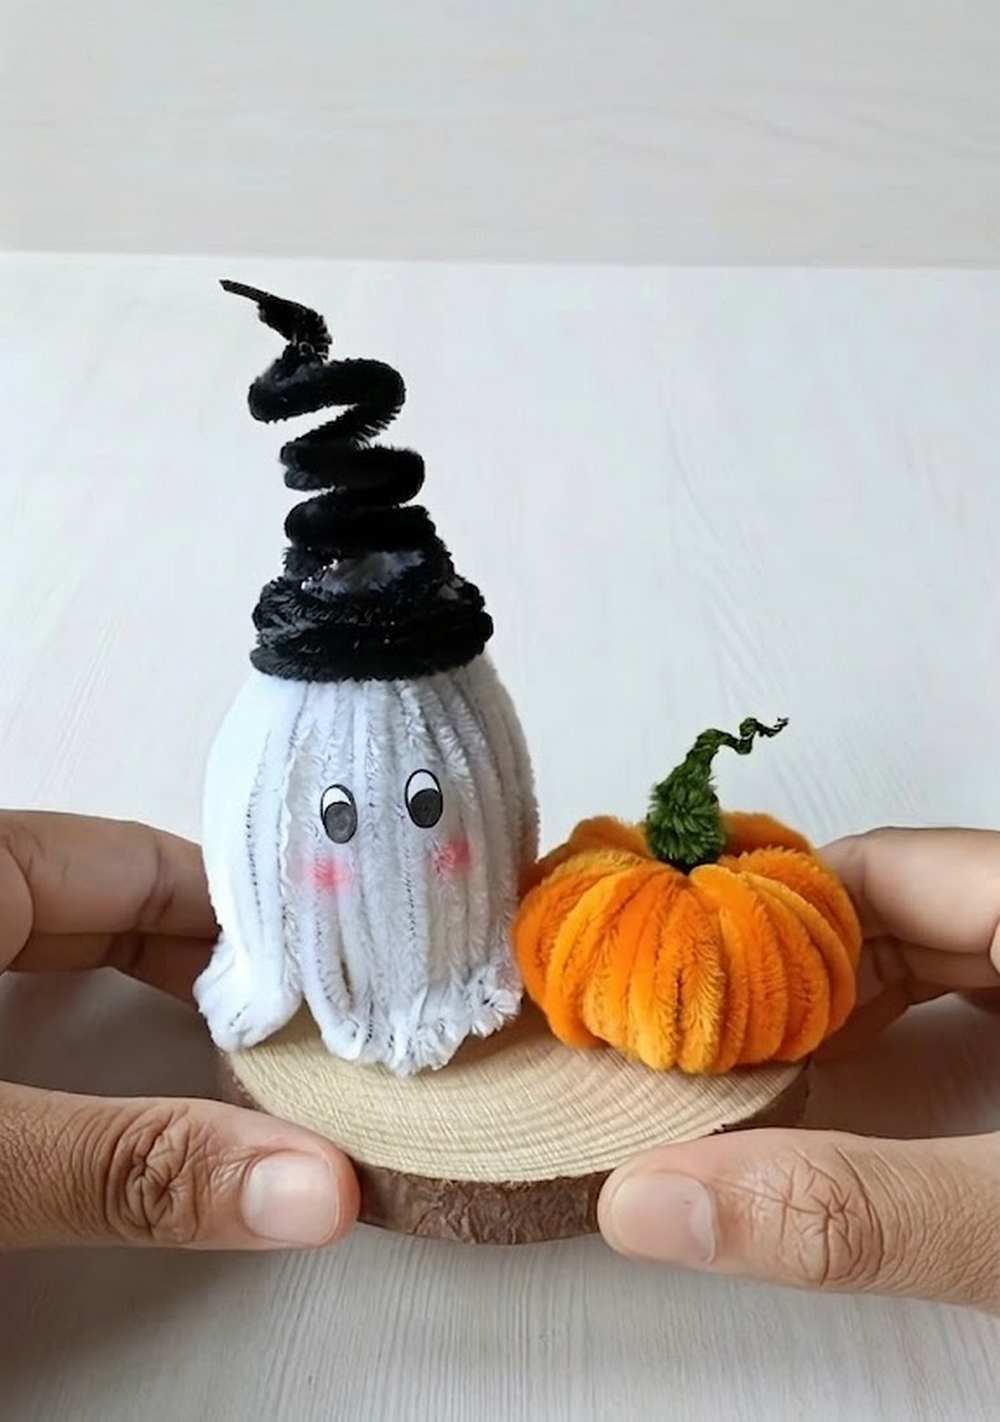
DIY Halloween ghost need not be SCARY! Well, you can also craft a DIY boo as cute as this quirky pipe cleaner ghost plush that has kawaii eyes & cute blush. This guide also includes a BONUS pattern: how to make a pipe cleaner miniature pumpkin. This DIY ghost is wearing a funny spiral witch hat, unlike the woven witch hat that you learned to make in the Halloween ghost in a witch hat guide.
This chenille stem ghost plush will also offer you a video tutorial, so you can learn to make the ghost super quickly. Just like the glow-in-the-dark pumpkin, you can also put a battery-charged light in the ghost to turn it into a trick-or-treating, night companion.
Be sure to craft this pipe cleaner ghost using white, black, orange, and green pipe cleaners this Halloween to decorate your table, welcome the guests, or use as a bag charm for a trick-or-treating bag. You can also make a bottom spiral to stuff your ghost and make it even more plush and soft. This way, it will also retain its shape even with the hard play of the kids. Now, continue reading to learn more about this Halloween pipe cleaner project.
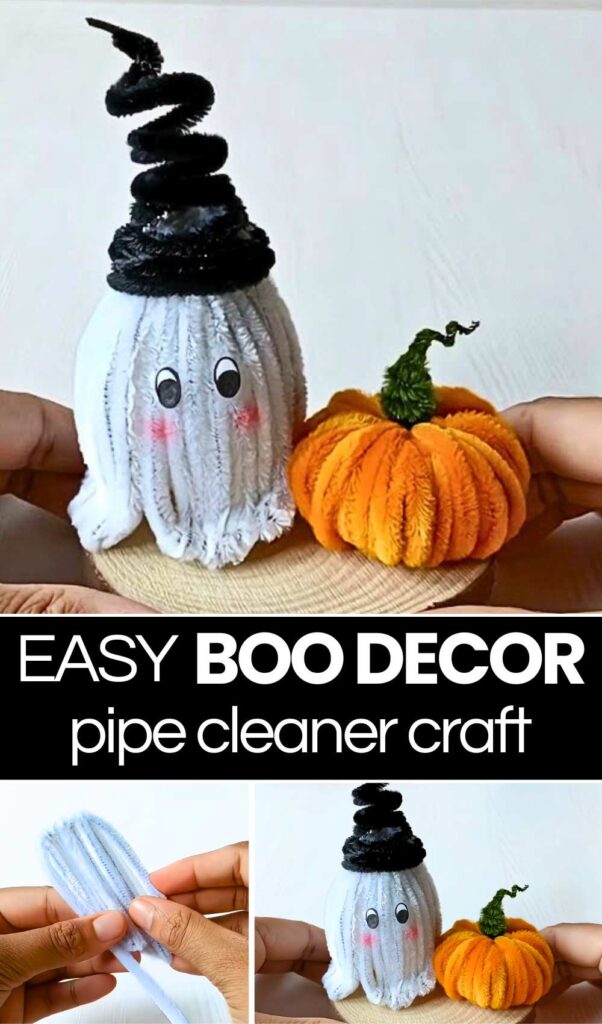
Tutorial to DIY Kawaii Ghost Plushie using Chenille Stems
Make your own spooky and cute Halloween decoration with this step-by-step guide to creating a pipe cleaner ghost and pumpkin.
Materials Needed
-
Pipe Cleaners: White (for the ghost), Black (for the hat), Orange (for the pumpkin), and Green (for the stem).
-
Craft Glue: Clear-drying or hot glue.
-
Googly Eyes: Small size.
-
Makeup/Paint: Pink blush or acrylic paint and a small brush.
- Wooden Slice: For the base (optional).
Instructions
1. Crafting the Ghost Body
-
Create the Sections: Take two long white pipe cleaners and align them perpendicularly. Twist the vertical pipe cleaner around the horizontal pipe cleaner twice.
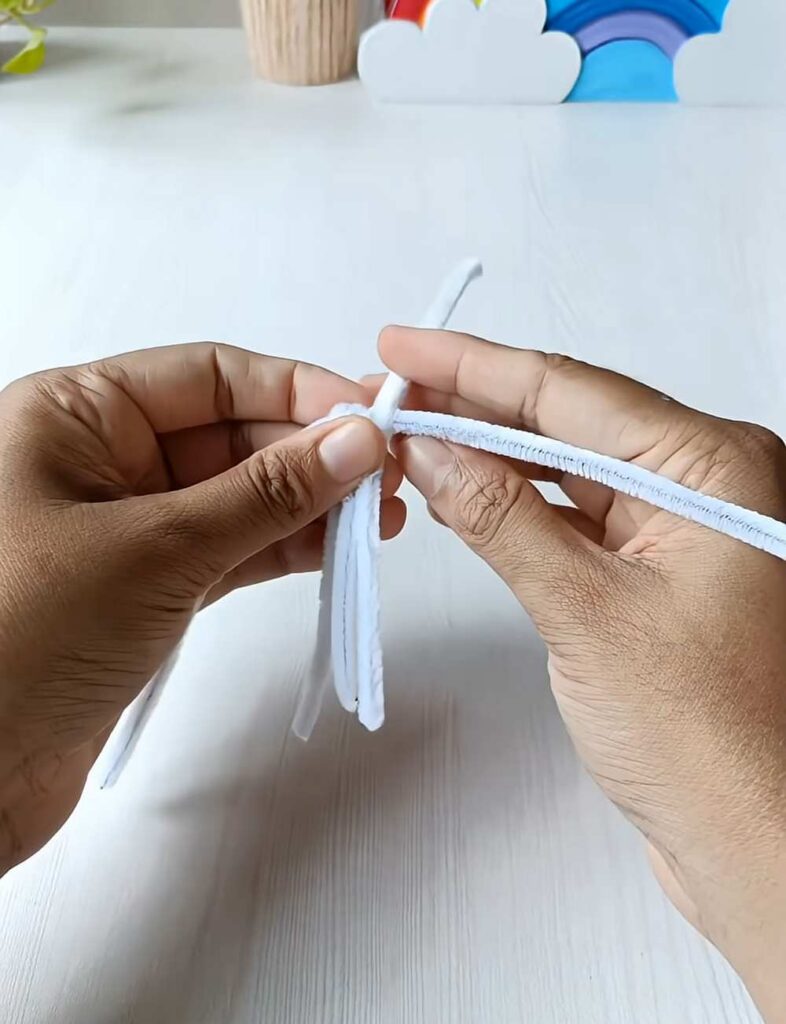
-
Secure the Top: Take another white pipe cleaner, align it vertically, and wrap it tightly around one end of the horizontal to hold the segments together.
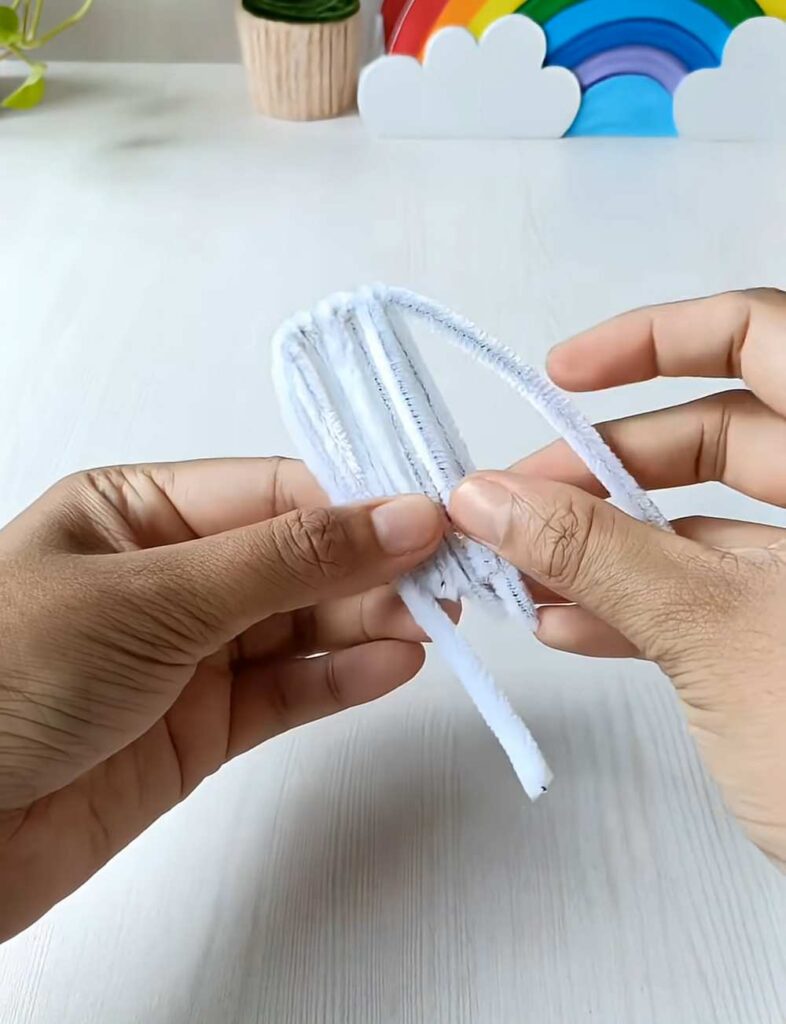
-
Pick the ends of the horizontal pipe cleaner and align them with the vertical pipe cleaner bends at the bottom. Take a scrap pipe cleaner and knot it at the bottom. This creates a “petal” shape.
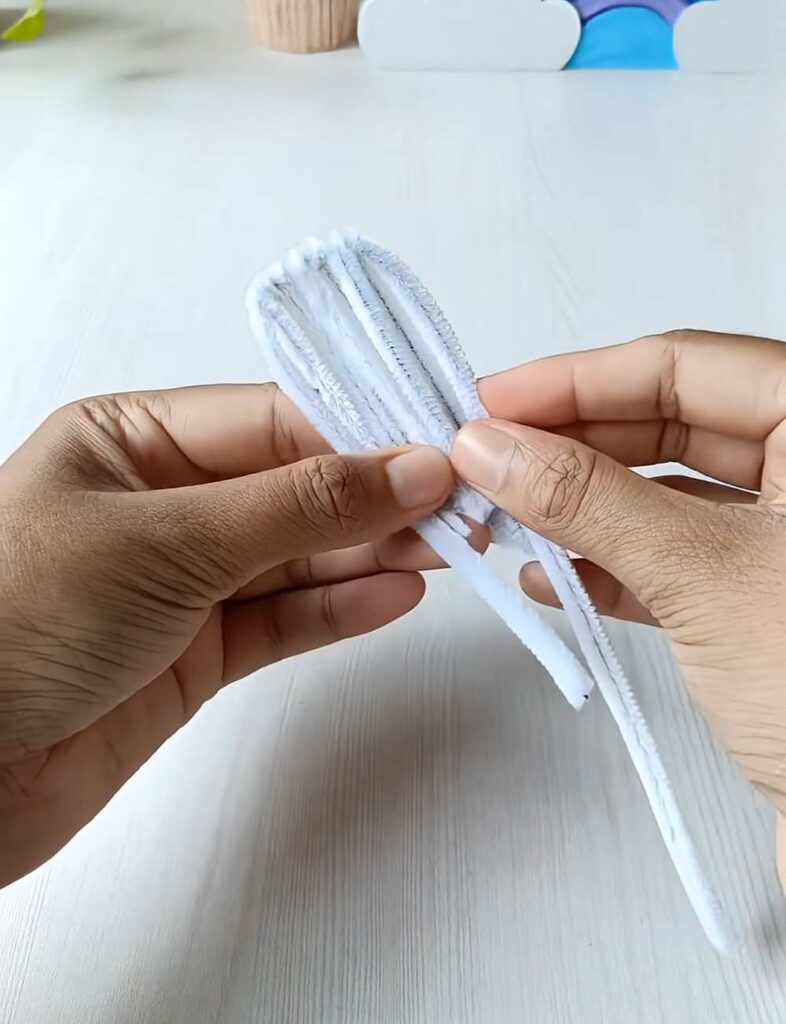
-
Repeat: Make four of these identical white petals.
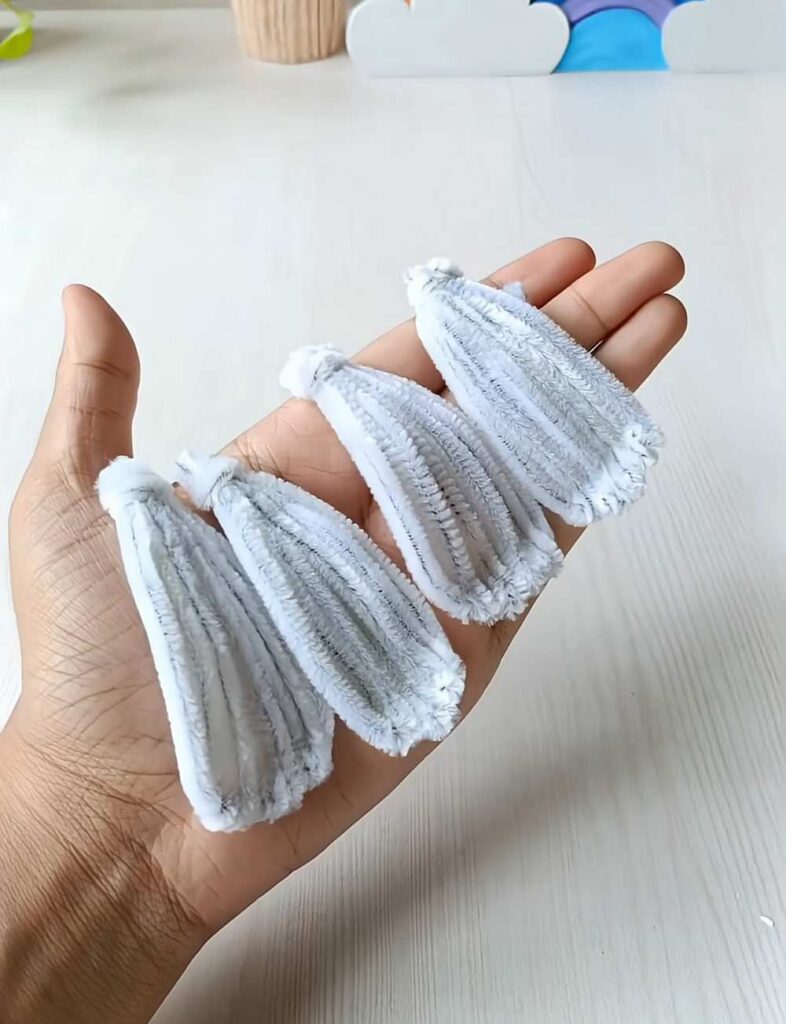
-
Assemble: Apply a line of glue along the inner edge of each petal. Press all four petals together in a circle, with the bound ends meeting at the top. This forms a hollow, bell-shaped body for the ghost.
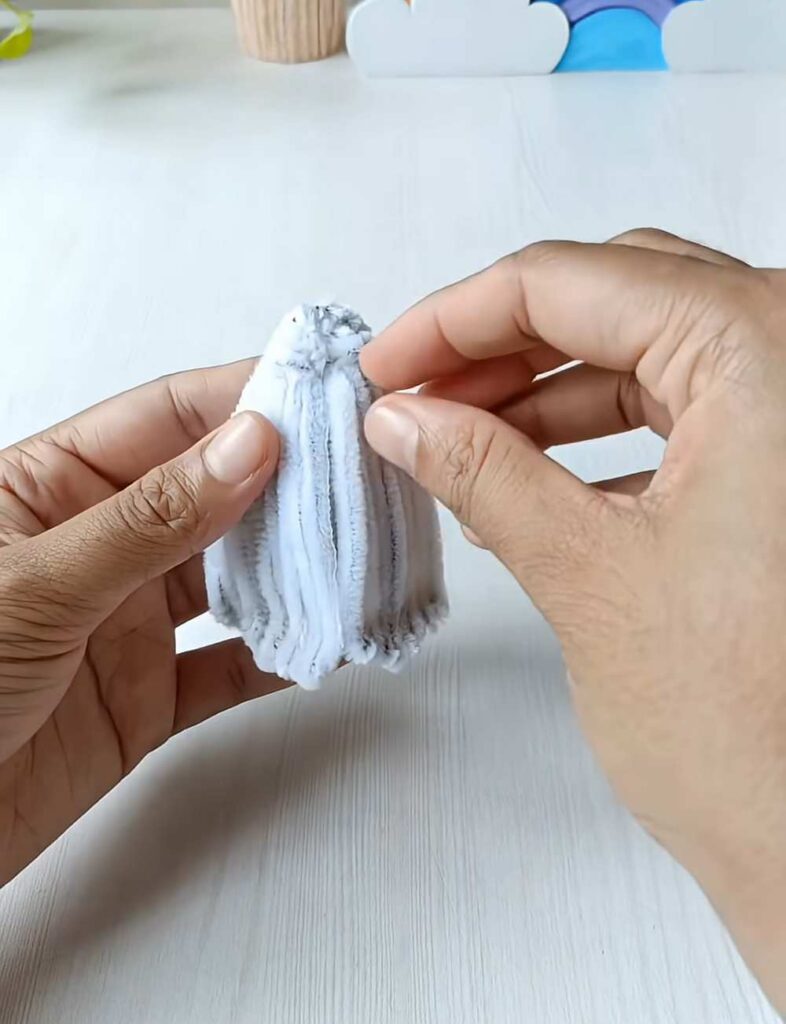
2. Making the Witch Hat
-
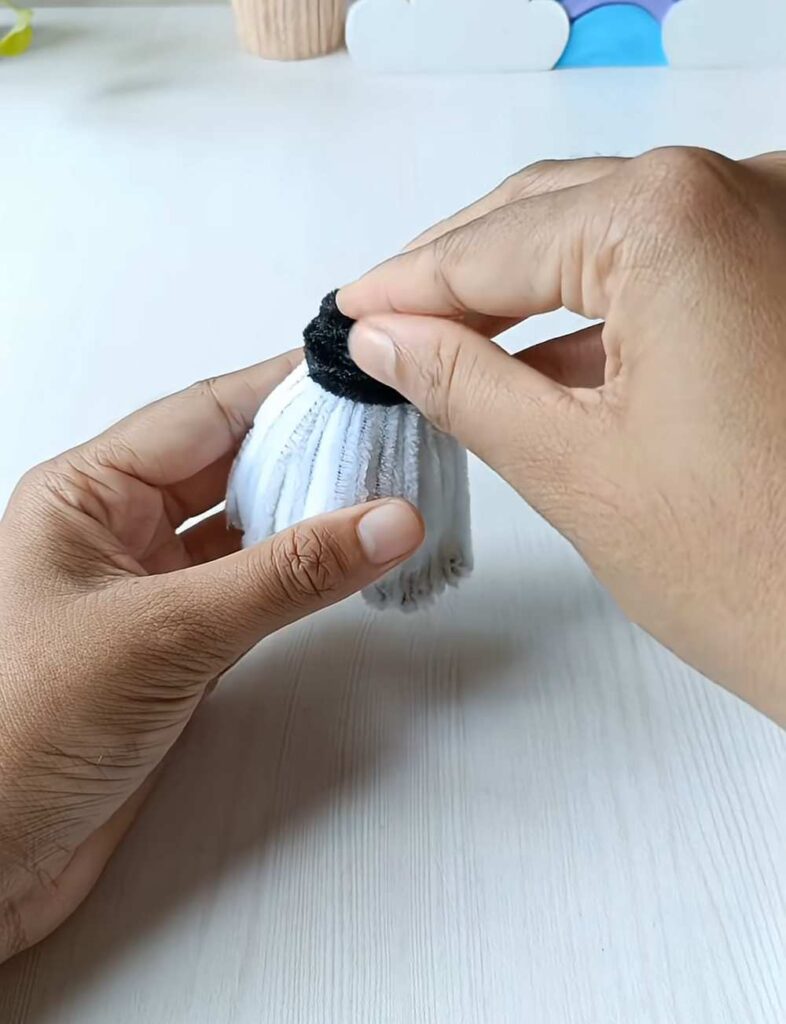
The Base: Coil a black pipe cleaner into a flat, tight circle. This will be the brim of the hat.
-
The Cone: Take another black pipe cleaner and spiral it upwards into a cone shape. You can do this by wrapping it around your pinky finger or a pen, then tapering the top to a point.
-
Join: Glue the cone onto the center of the flat brim.
3. Building the Pumpkin
Step 1: Create the Pumpkin Shell
-
Prepare the strands: Take three 30cm orange pipe cleaners. Twist their ends together on one side, then twist the entire length of the three strands into one thick, sturdy orange rope.
-
Coil the rope: Take a thick marker or pen. Wrap the twisted orange rope tightly around the marker to create a spring-like coil.
-
Shape the pumpkin: Slide the coil off the marker. Take an 8cm orange pipe cleaner and thread it through the center of the coil. Pull the ends of the 8cm piece together to bend the coil into a circular sphere.
-
Curl the vine: Take a short piece of dark green pipe cleaner. Wrap it tightly around a thin straw to create a spiral.
4. Adding the Details
-
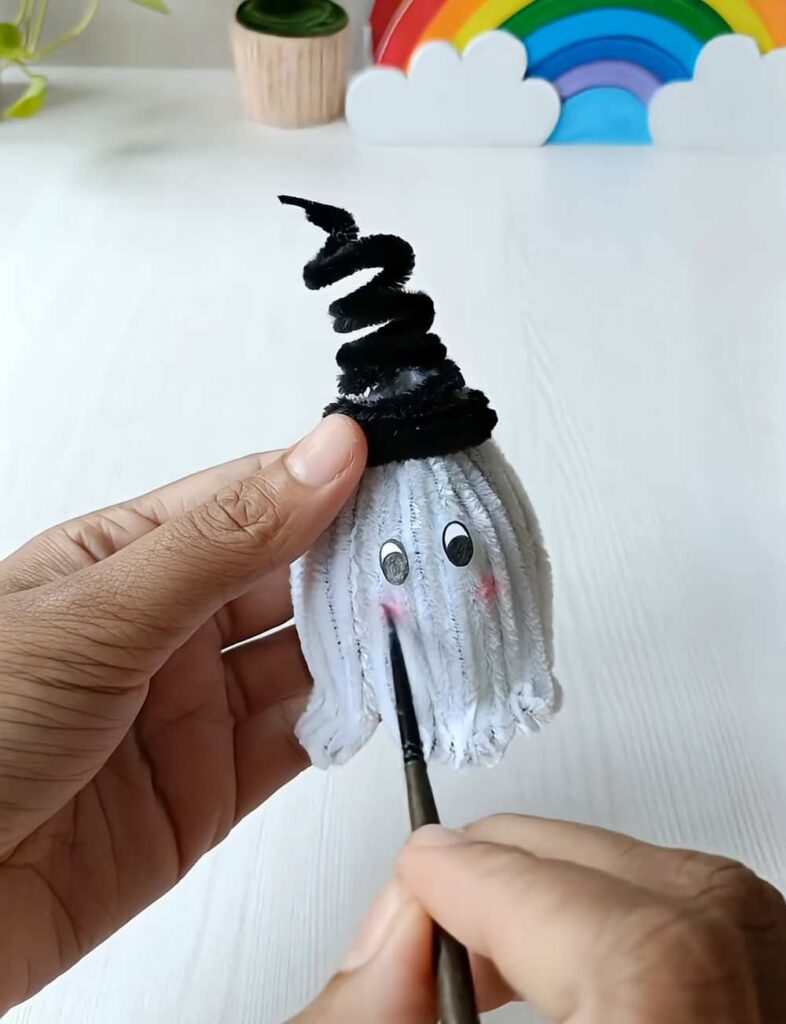
The Face: Glue two small googly eyes onto the front of the ghost body.
-
The Cheeks: Dip a small brush into pink blush or paint and gently dab two rosy circles just below the eyes.
-
Final Assembly: Glue the witch hat onto the ghost’s head.
5. Finishing Touches
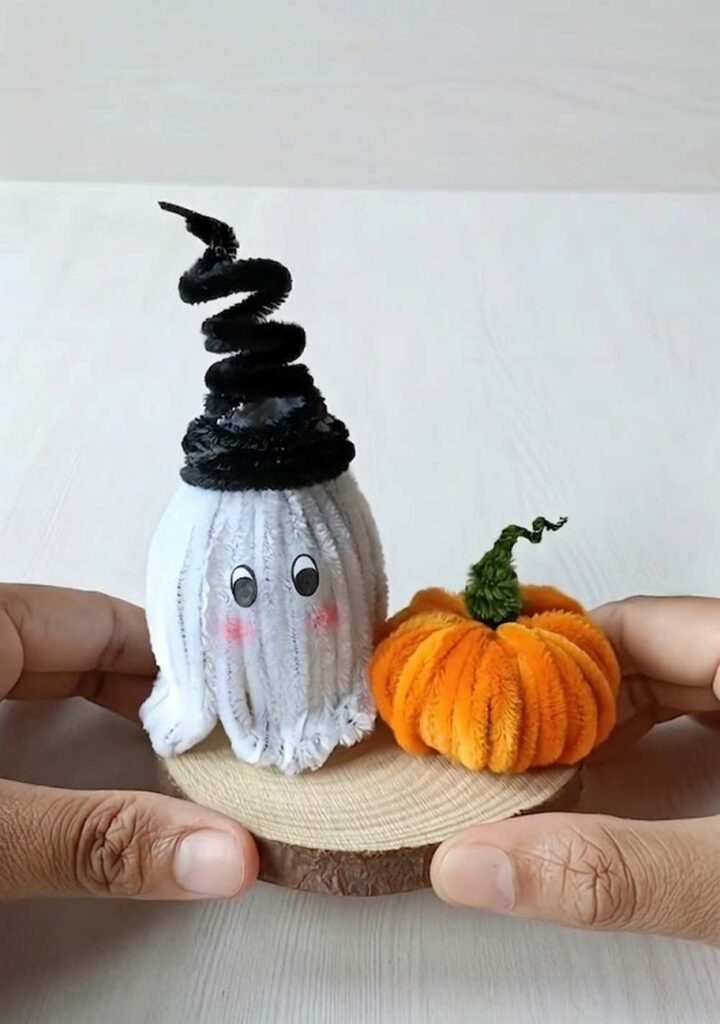
Place your finished ghost and pumpkin onto a small wooden slice or a decorative plate to complete your DIY Halloween display!