Show support for inpom!
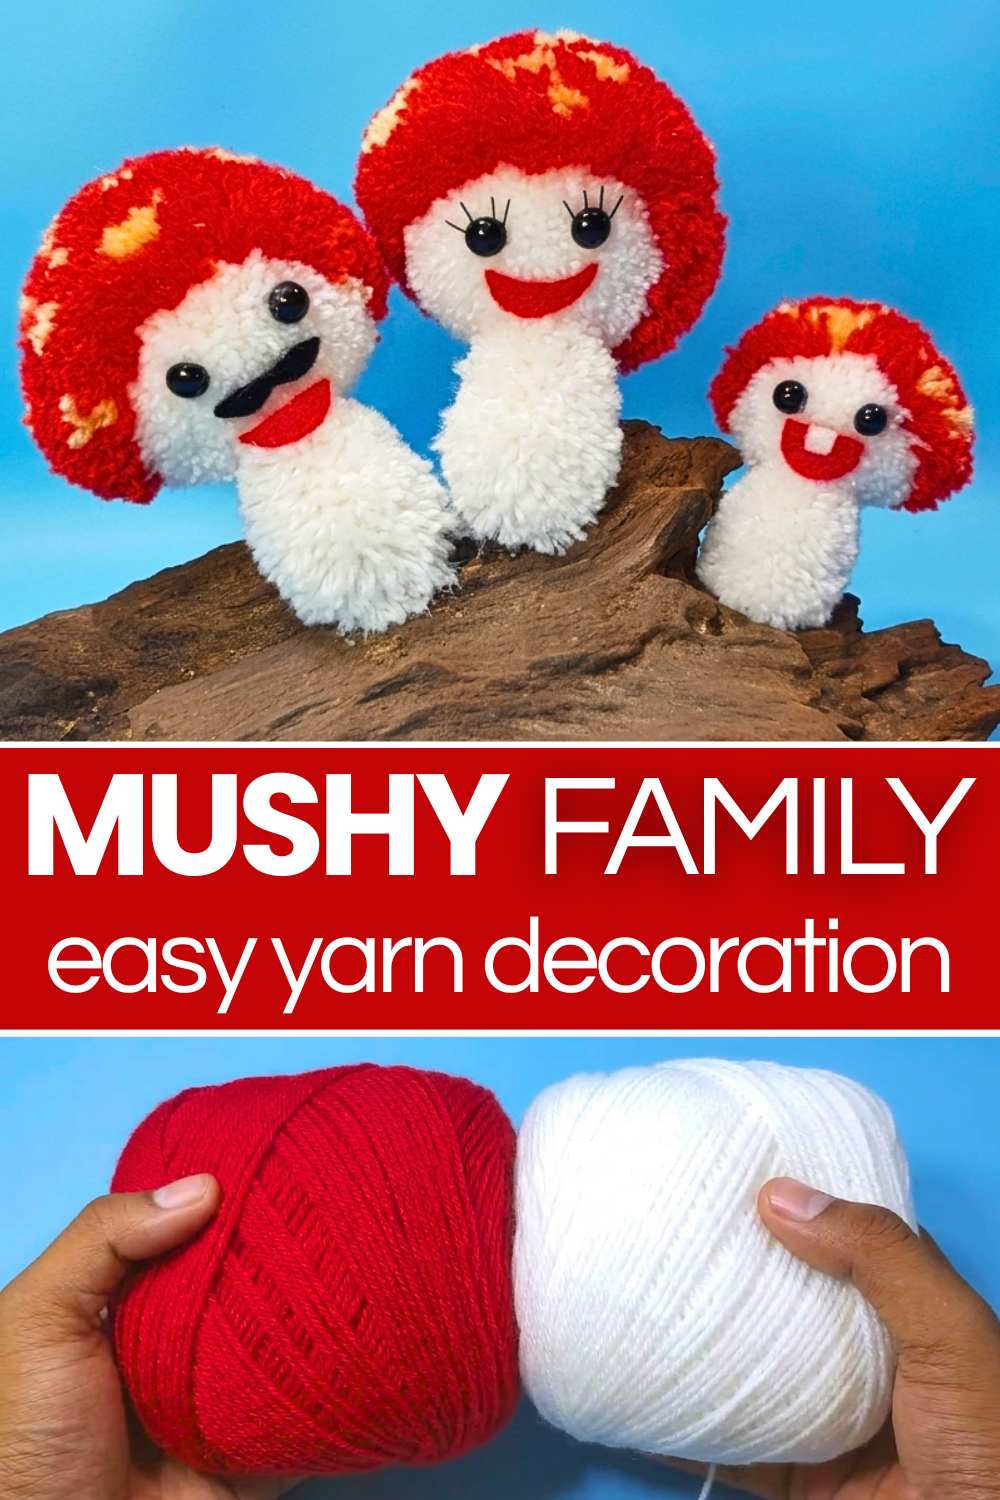
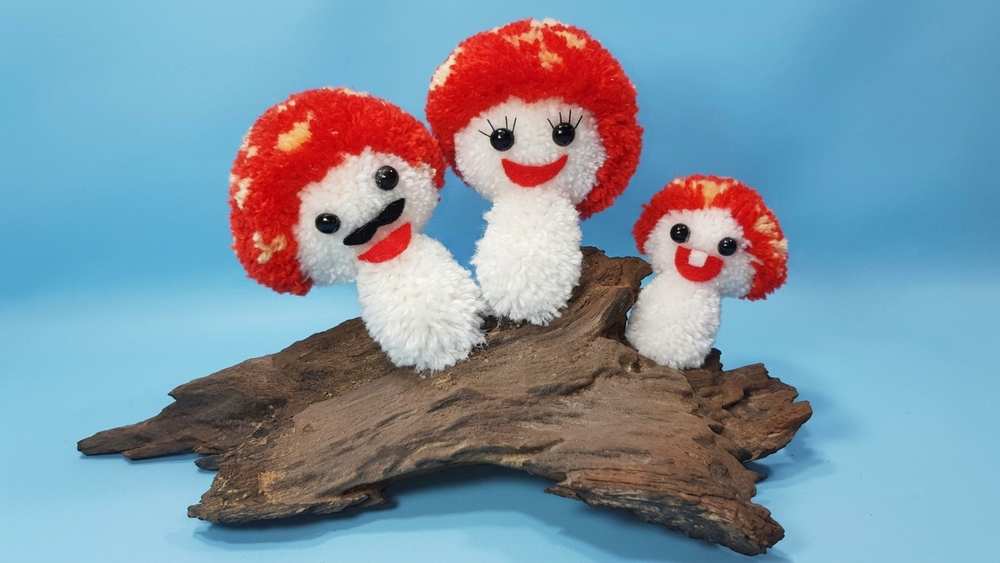
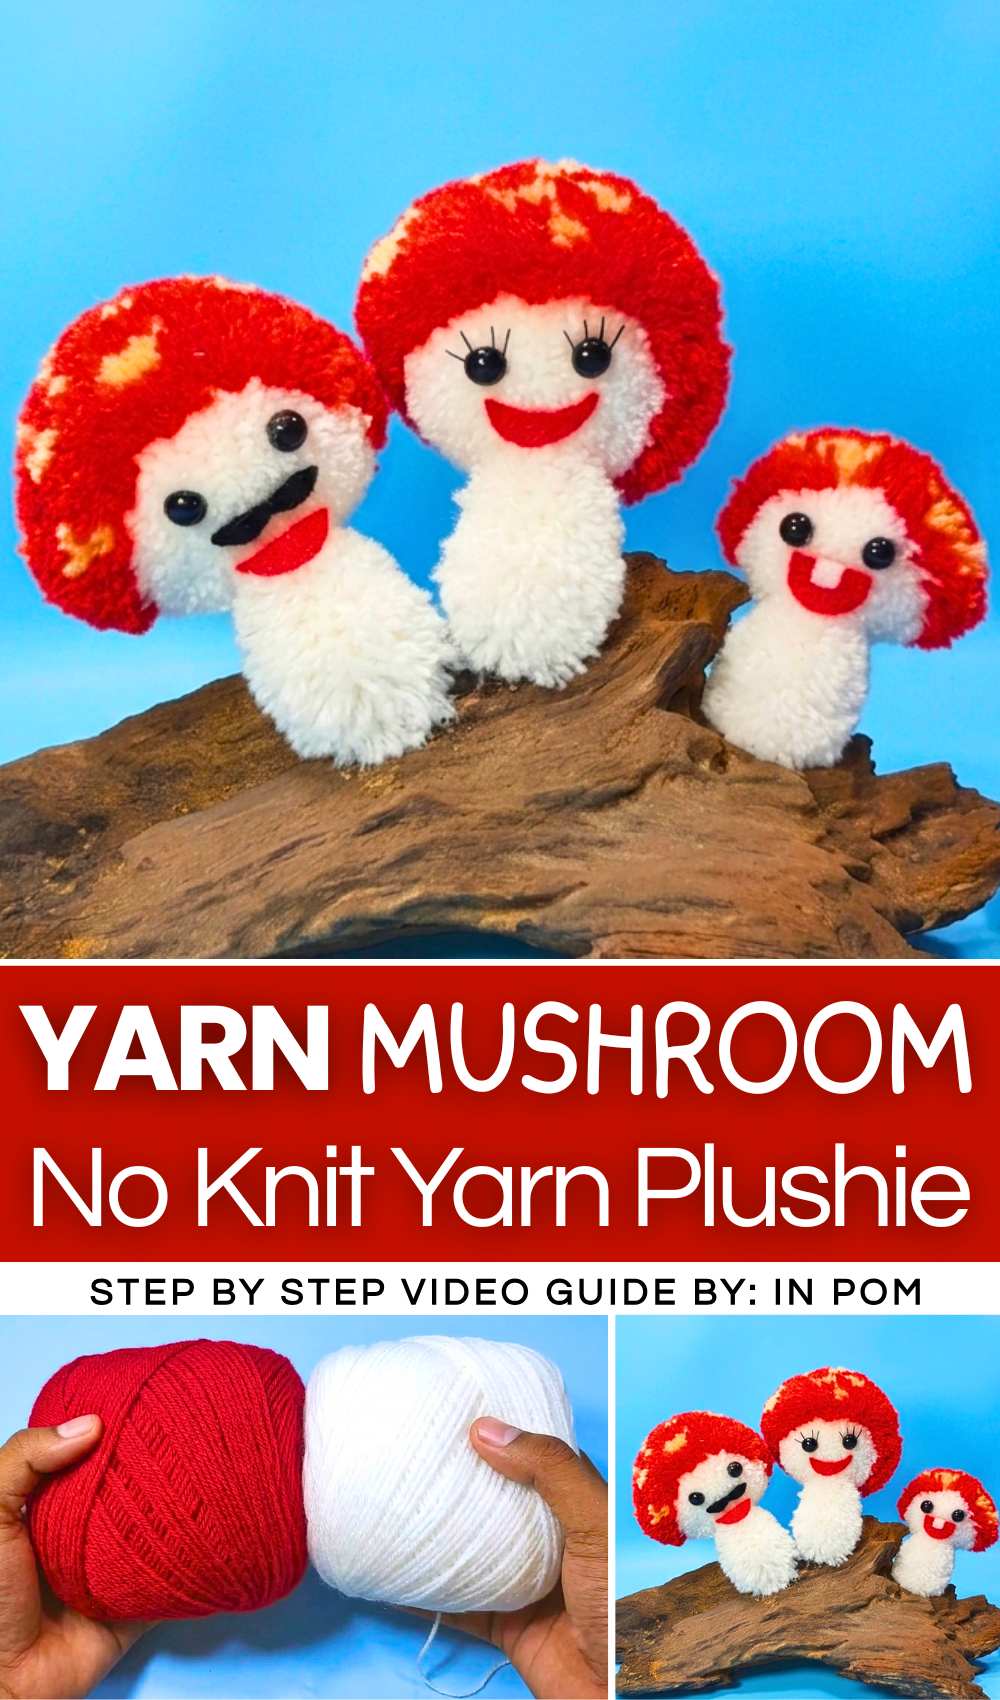
This fall, follow this 3-in-1 no-knit tutorial to DIY a small family of 3 KAWAII pom-pom mushroom plushies! This set includes a MOM, DAD, and baby mushrooms made by changing the pom-pom sizes and adding CUTE felt details such as a mustache for DAD, a kawaii tooth for BABY, and eyelashes for MOM. Decorate your craft or coffee table this year with these miniature toadstool mushrooms. The idea is simple: we make the toadstool mushroom white spots by wrapping white yarn at spaced intervals. In the tutorial, you will even find a clover maker chart with which you can easily understand the wrapping method.
Happy Family Mini Mushroom
Just like the 5 chubby mushrooms set, these are easy mushroom plushies. Also, you can make your family with pink, yellow, purple, and even parrot caps.
We shall be making no-knot pom-pom mushrooms, making the stem and the cap separately. To join them, we can use glue, which means it should be quick to make one mushroom. So, you can easily DIY the whole family of these DIY mushrooms within 30 minutes. I recommend using the clover maker for this project so you get a perfect mushroom plushie every time. Now, continue reading to learn more about this fall & Christmas project.
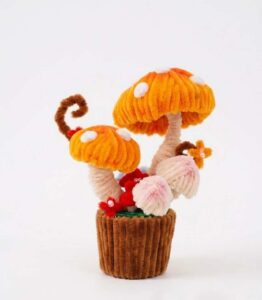
Tutorial to DIY 3 Yarn Pom Pom Mushroom Plushies
Creating a whimsical family of pom pom mushrooms is the BEST way to use up leftover yarn and felt. This guide will teach you how to make the mushroom caps, stems, and their individual personalities.
Materials Needed
-
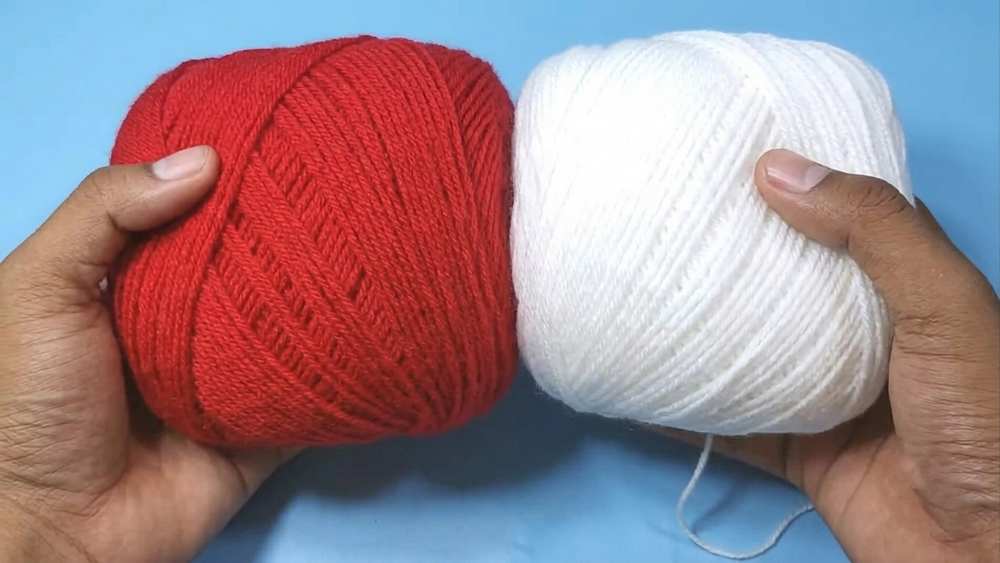
Acrylic Wool (Yarn): Red and yellow (or cream)
-
Pom Pom Makers: 6.8 cm and 4.8 cm sizes
-
Scissors and a Craft Knife (Cutter)
-
Felt/Flannel: Red, black, and white
-
Adhesives: Hot glue gun
-
Details: Small black beads (for eyes), thin black wire or stiff thread (for eyelashes/whiskers), and a piece of decorative wood (driftwood) for the base.
Beginner? Learn with the Video Tutorial
Step 1: Craft the Mushroom Cap
The cap is the most intricate part, requiring a specific wrapping pattern to create the “spots.”
-
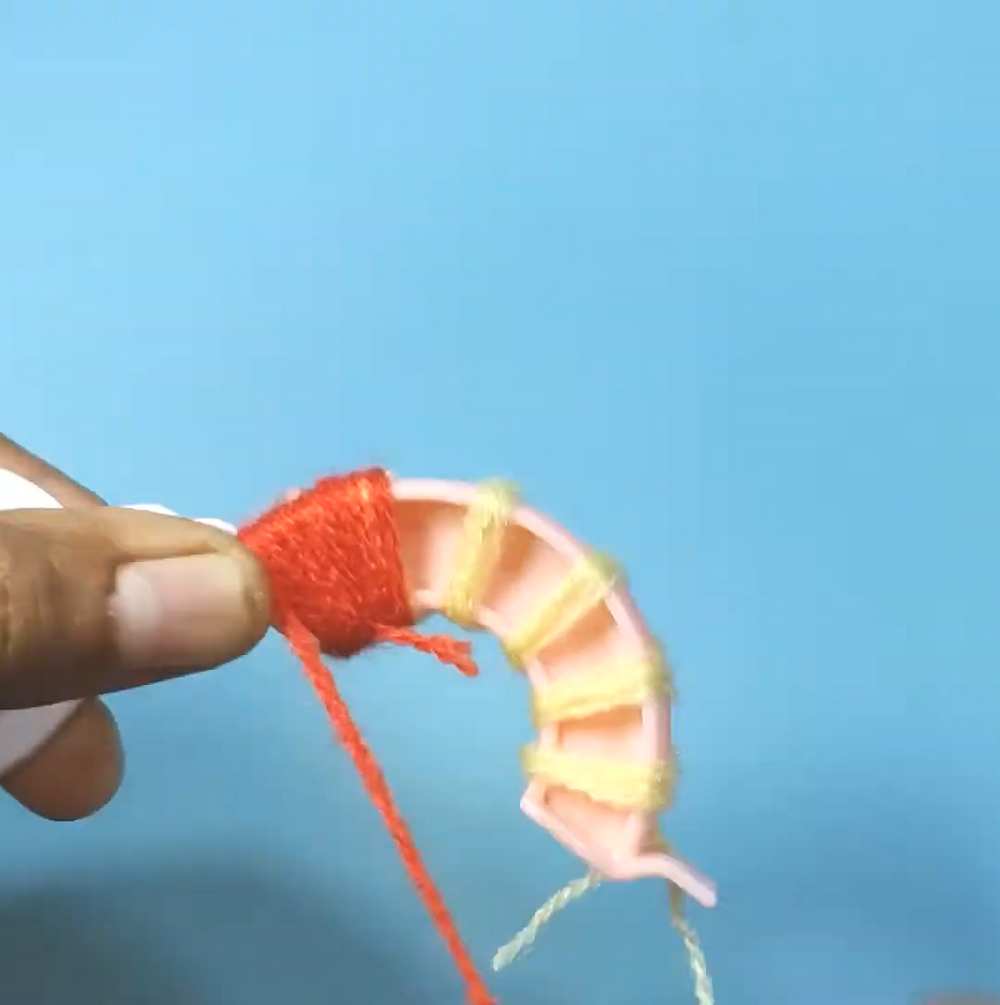
Prepare the Pom Pom Maker (6.8 cm): Open one side of the maker.
-
Layer the Bottom: Wrap yellow yarn around the center of the arm (about 3 rolls). Then, wrap red yarn on either side of the yellow section until the arm is full.
-
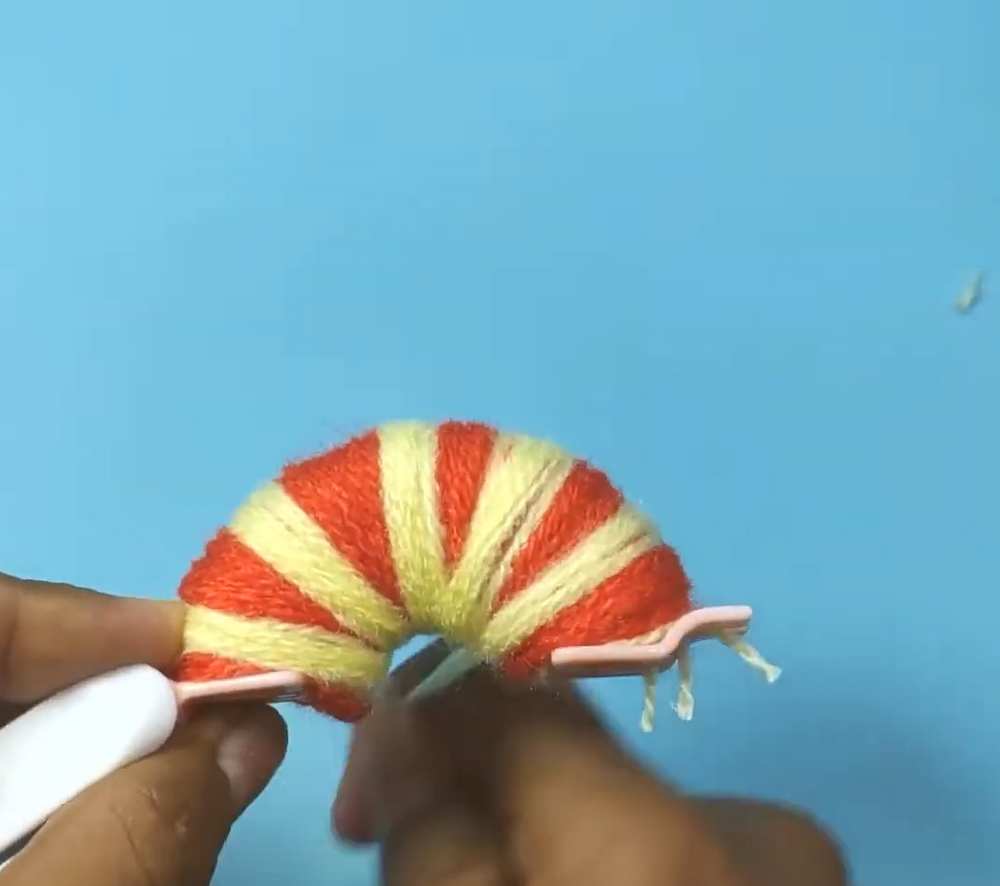
Create the Spots: On the other arm of the maker, alternate between red and yellow yarn. Wrap a section of red, then a small patch of yellow (about 7 rolls), then more red. Repeat this to create several yellow patches across the arm.
-
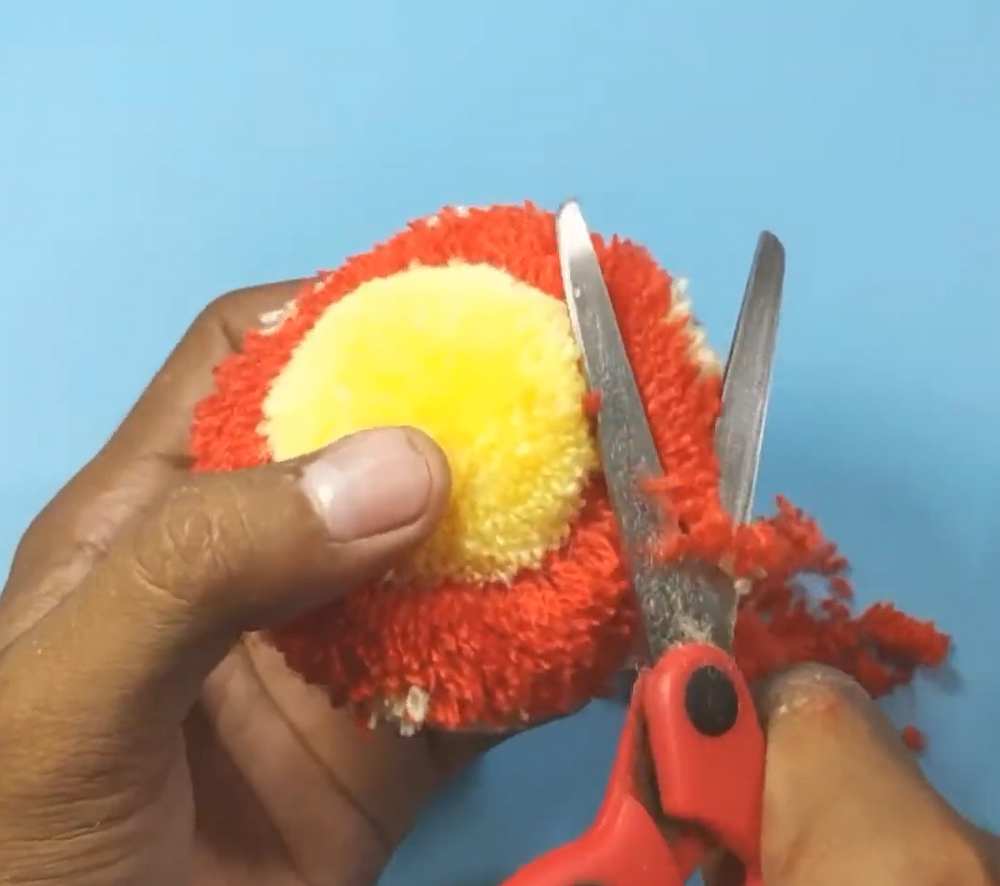
Finalize the Cap: Close the maker, cut through the center groove with a craft knife or scissors, and tie a length of yarn tightly around the middle.
-
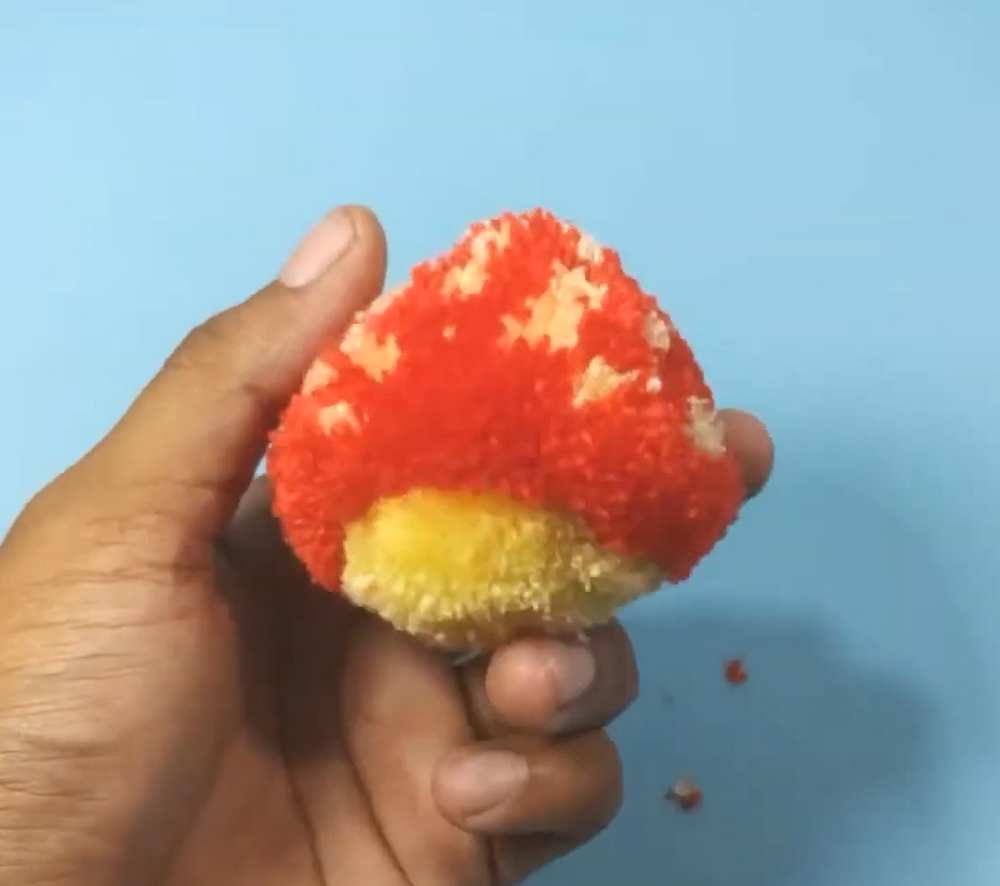
Trim and Detail: Remove the pom pom from the maker. Trim the red part into a rounded dome and the yellow part into a slightly flatter base. Use a craft knife or tweezers to gently pull out and fluff the yellow “spots” so they stand out against the red.
Step 2: Craft the Mushroom Stem
The stem needs to be denser and more elongated than a standard pom pom.
-
Hand Wrapping: Wrap yellow yarn around two fingers approximately 100 times.
-
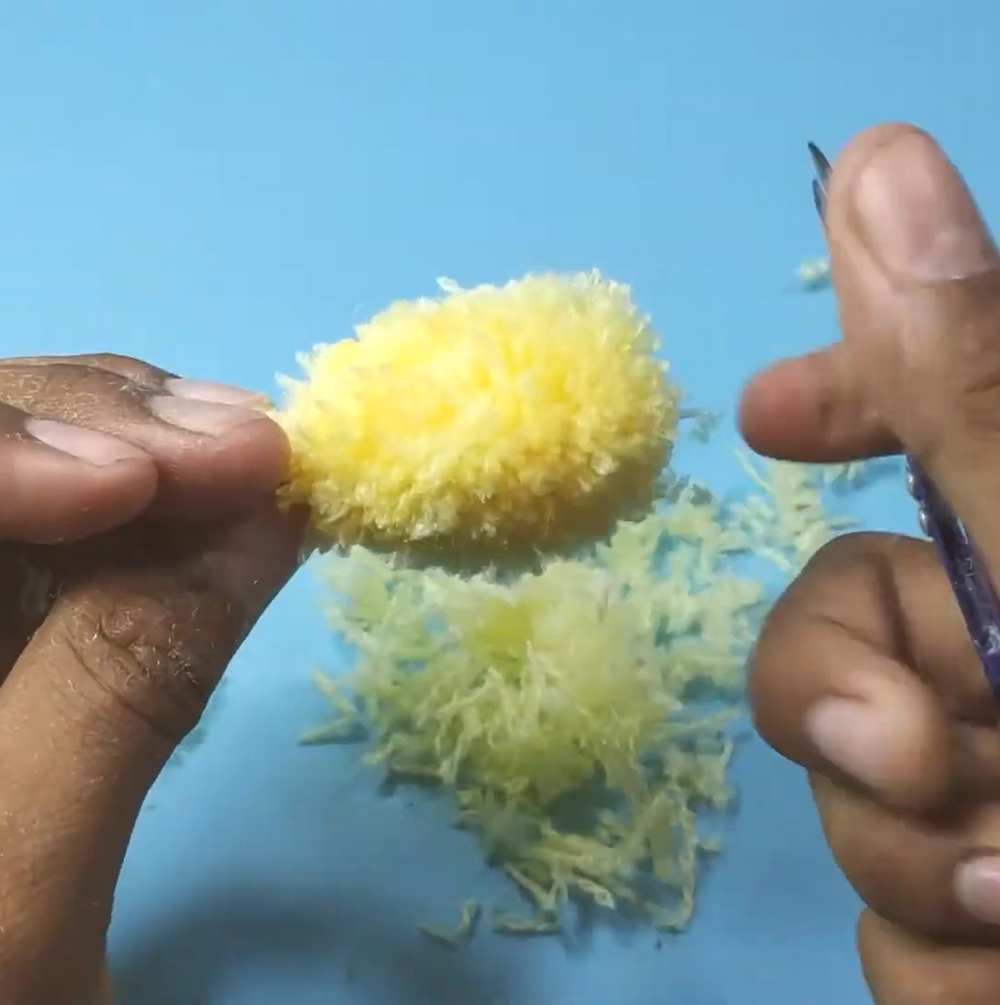
Secure and Cut: Carefully slide the yarn off your fingers. Tie a piece of wire or strong thread tightly around the center of the bundle. Cut the loops on both ends.
-
Shape the Stem: Use scissors to trim the pom pom into a cone or teardrop shape. The base should be wide and the top should be narrower where it will meet the cap.
Step 3: Customizing the Personalities
The “family” consists of a Man, a Woman, and a Boy, each with unique felt features.
-
The Man:
-
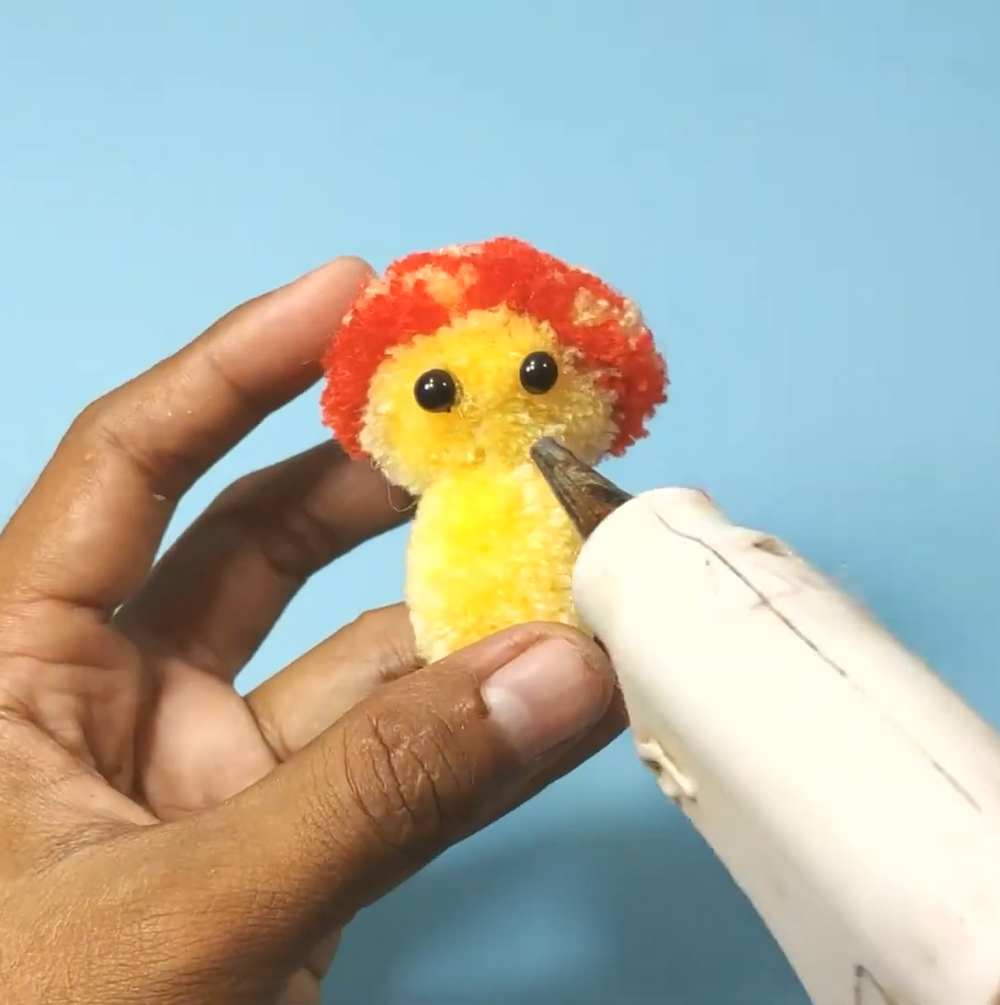
Eyes: Glue two black beads.
-
Mouth: Cut a small semi-circle of red felt.
-
Mustache: Cut a “handlebar” shape from black felt and glue it above the mouth.
-
-
The Woman:
-
Eyes with Lashes: Before gluing the black beads, glue 3-4 short pieces of stiff black thread to the back of each bead to look like eyelashes.
-
Mouth: Glue a red felt semi-circle.
-
-
The Boy (Smaller Version):
-
Follow the same cap/stem steps using the 4.8 cm maker.
-
Eyes: Glue two black beads close together.
- Mouth & Tooth: Glue a red felt semi-circle. Glue a tiny rectangle of white felt on top of the mouth to look like a buck tooth.
-
Step 4: Assembly and Display
-
Connect Cap to Stem: Apply a generous amount of hot glue to the top of the stem and press it firmly into the yellow center of the mushroom cap.
-
Mounting: Apply hot glue to the bottom of each stem and arrange the mushrooms on your piece of decorative wood.
-
Final Flourish: Give the yarn a final light trim to remove any stray hairs and ensure the faces are clearly visible.
Your pom pom mushroom family is now ready to brighten up any shelf or desk