
Subscribe to DIYDreams-x3c!
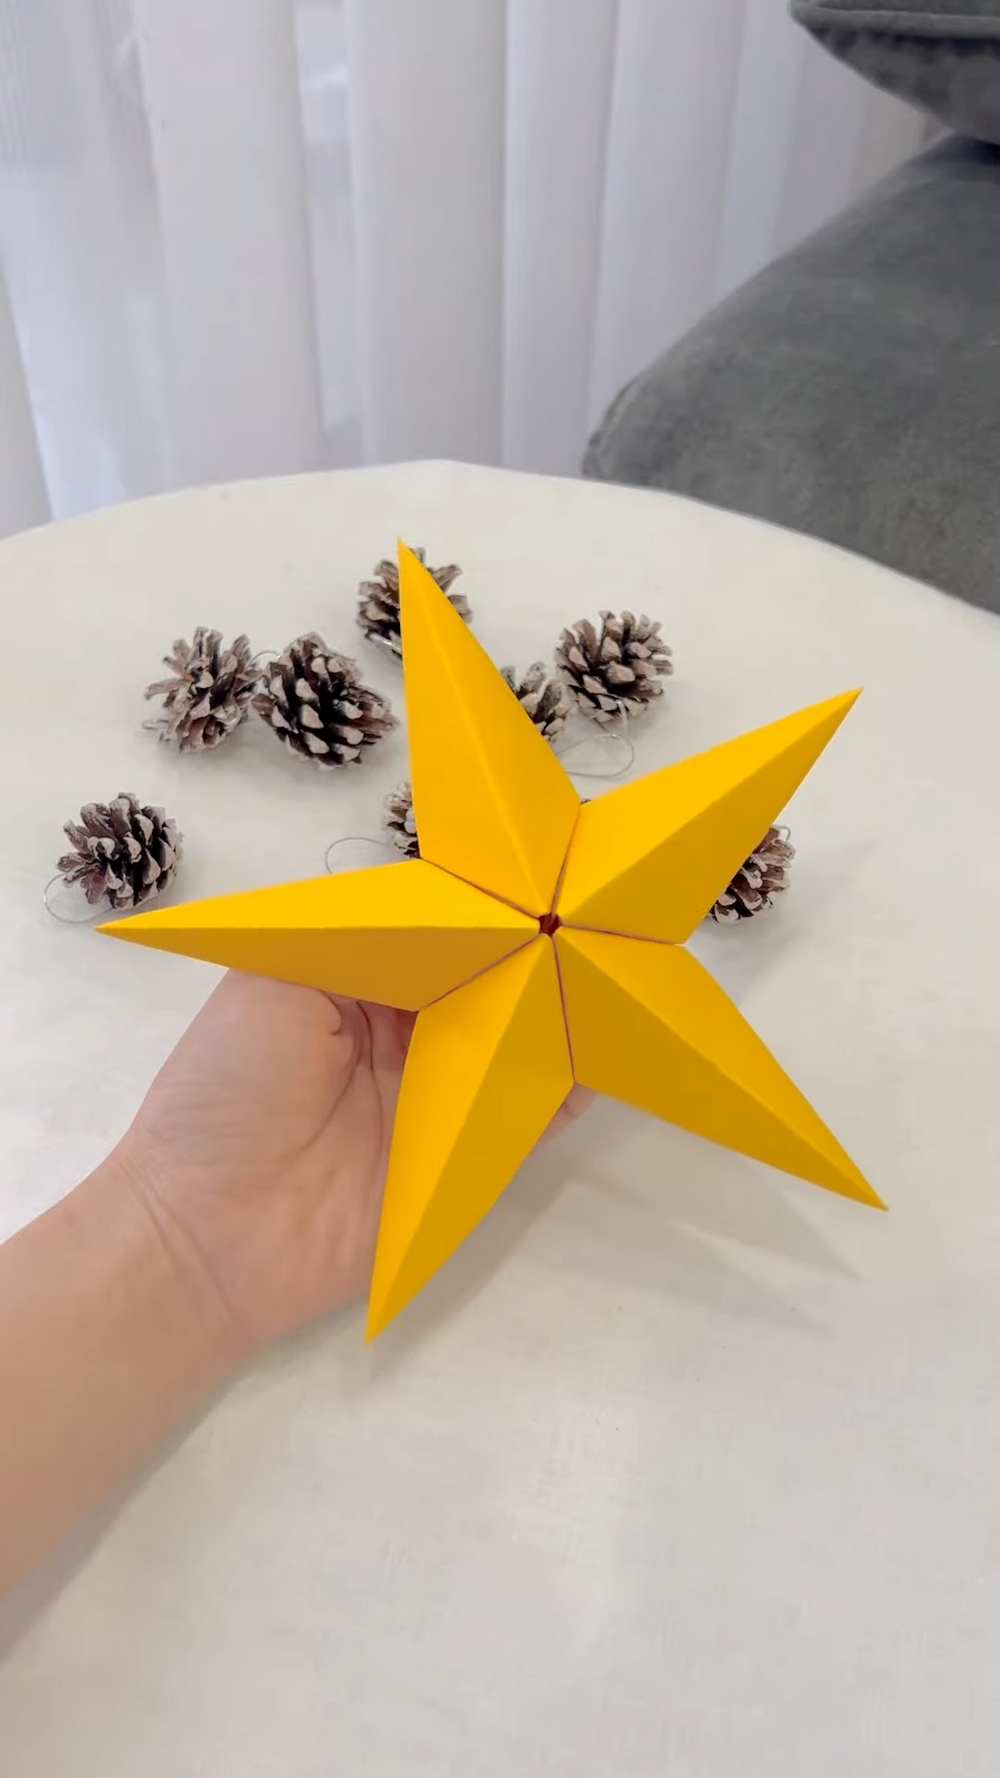
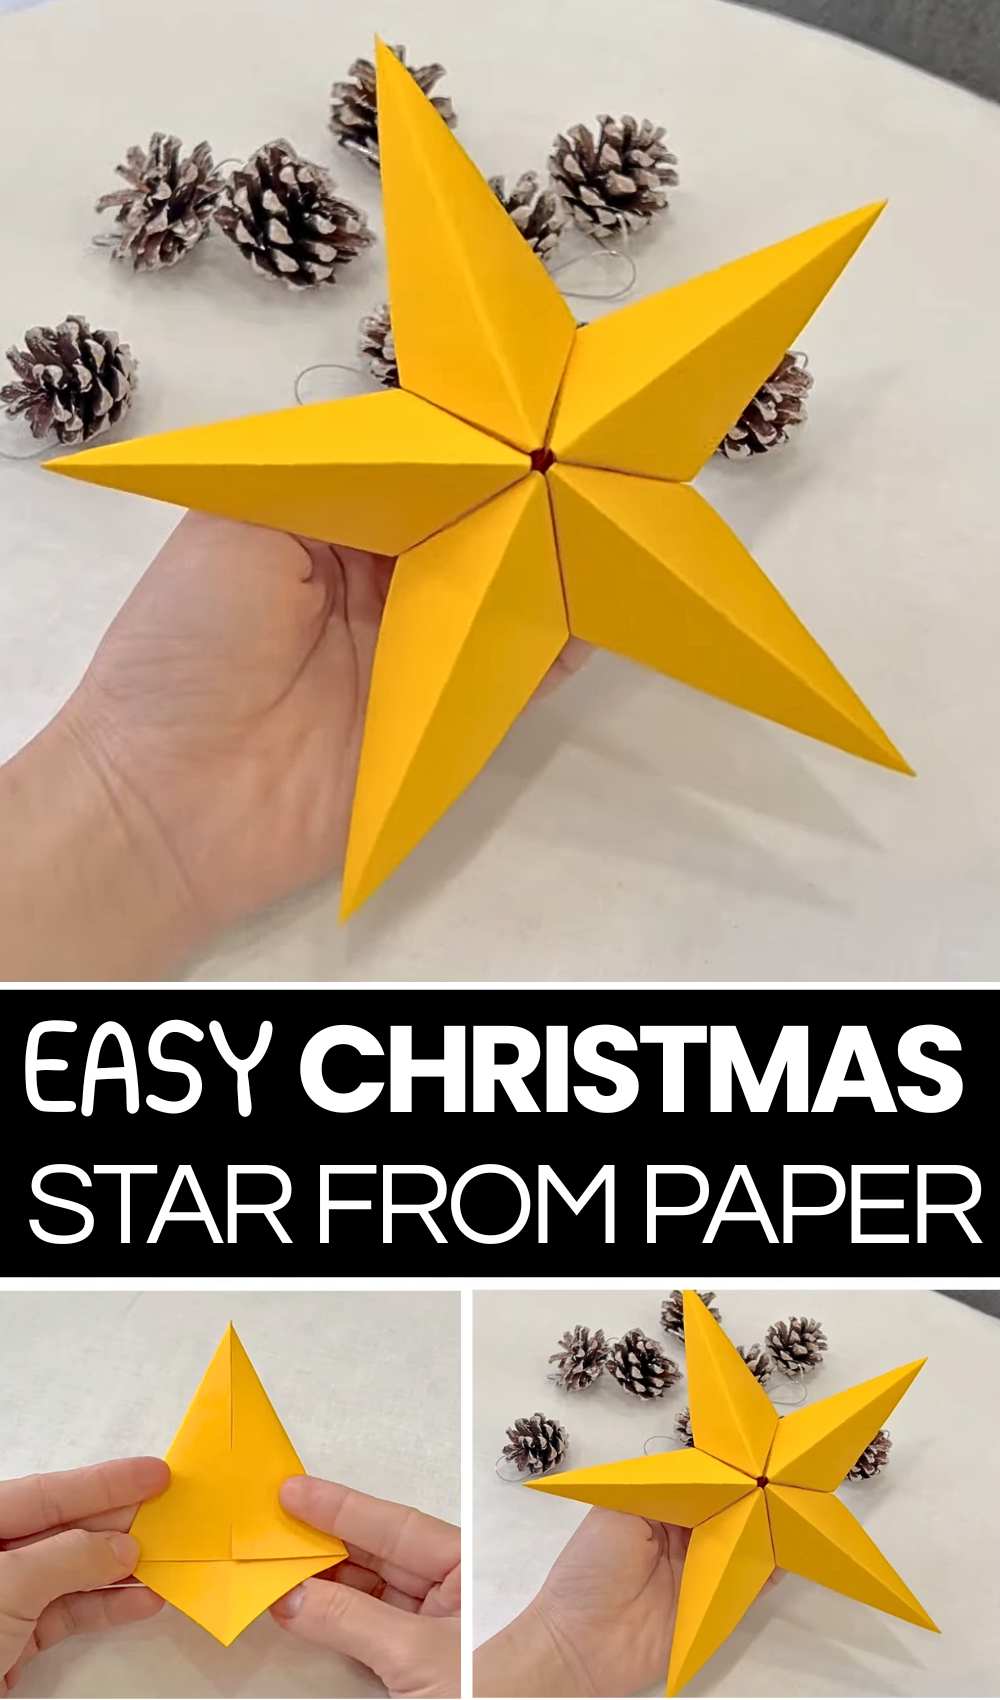
Looking for an absolutely no-scissor method to DIY a paper star to decorate your Christmas tree? Learn how to DIY this modular origami 3D star in just 5 simple steps! Unlike the traditional “fold & cut” paper star DIY, this method always results in the same 5-pointed & truly 3D star, provided you use sheets of the same size. It is worth decorating the top of the Christmas tree with this origami star, or you can make many and hang them as ornaments.
You can make your origami modular star using square sheets and glue in white, red, and yellow. Make smaller stars to decorate Christmas gift boxes or just spread them on your craft table along with the pinecones.
Feel intimidating? Worry not! This modular origami star paper craft only requires folding a kite base, which is one of the beginner-level 1 origami bases. We are making this origami star using the traditional method, but this is a lot more rewarding than the non-sturdy, single-layered fold-and-cut star. Now, continue reading to learn more about this 3-minute Christmas project for beginner folders.
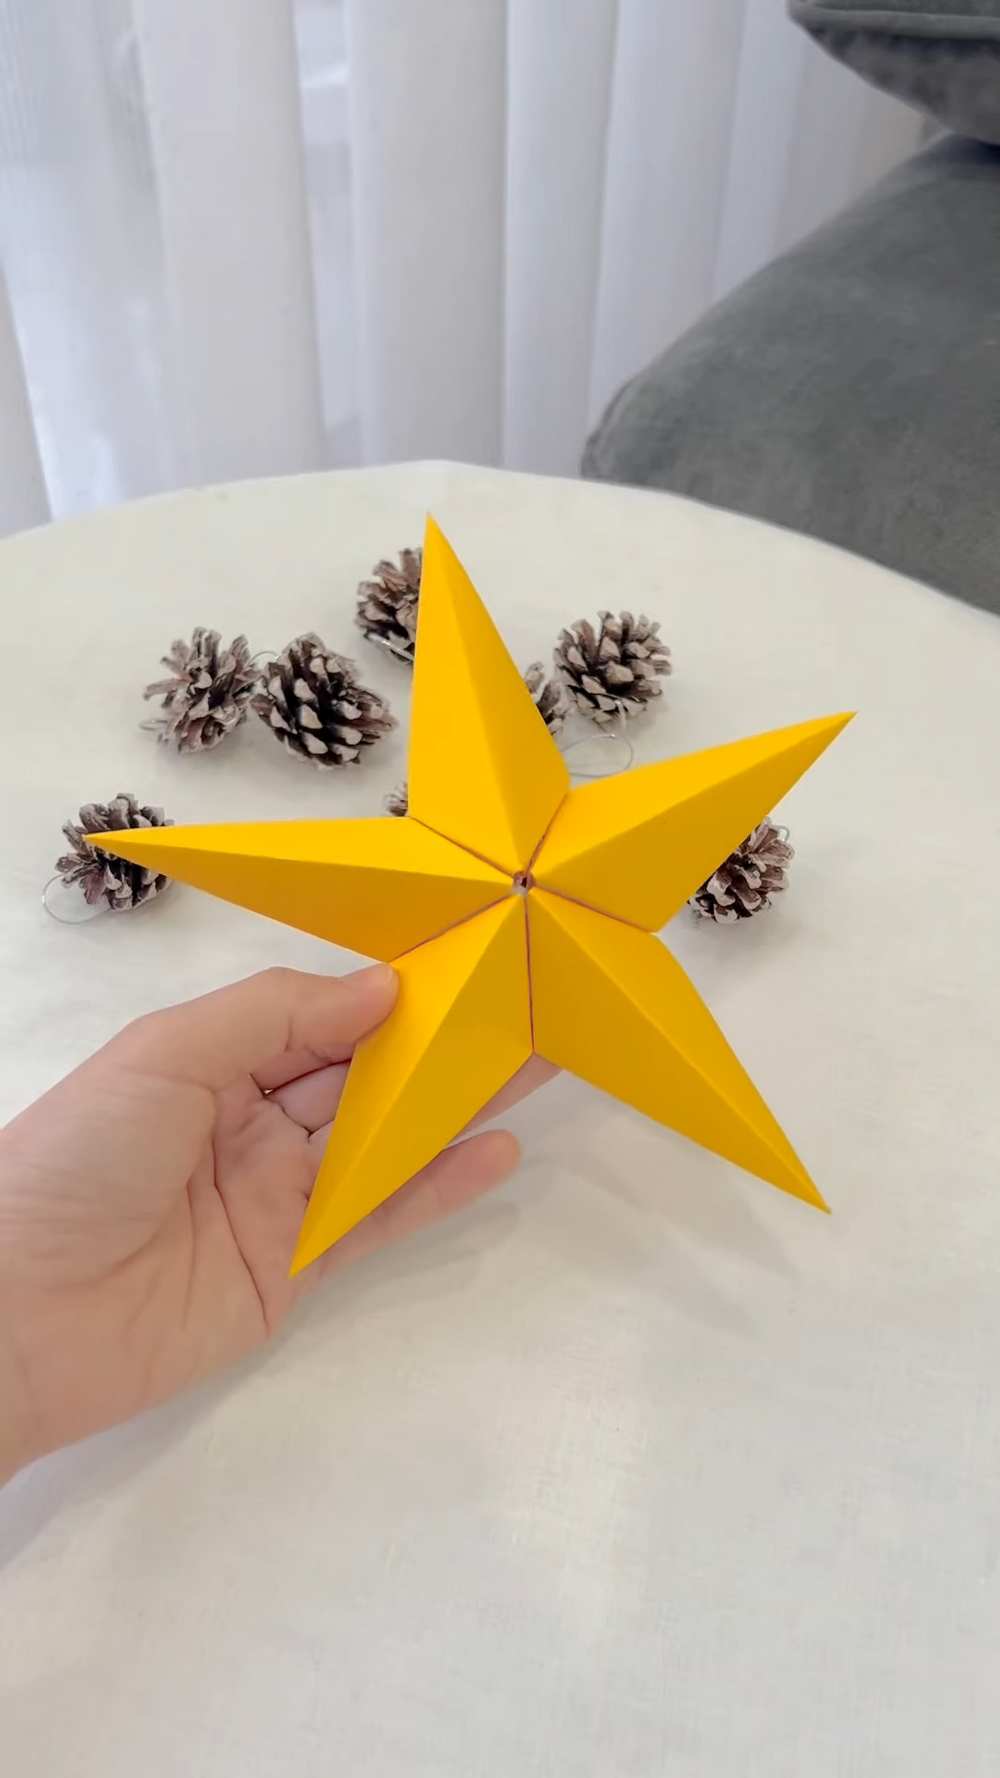
Tutorial DIY Modular Christmas Tree Star
This DIY 3D paper star is a beautiful and simple origami project that makes a decor-ready star paper craft. You will make five identical triangular modules that fit together to form a perfectly symmetrical five-pointed star.
By using bright yellow or metallic paper, you can create eye-catching decorations for holidays, parties, or even as a tree topper.
The process involves basic folding and a bit of glue to hold the 3D shape, making it an accessible craft for both children and adults. It’s a wonderful way to transform flat paper into a sturdy, geometric masterpiece.
Materials Needed
-
Paper: 5 square sheets of paper (all the same size).
-
Glue: A hot glue gun works best for a quick hold, but a strong glue stick or liquid glue will also work.
-
Scissors: (Only if you need to cut your paper into squares).
Video Tutorial?
Step-by-Step Instructions
Step 1: Create the First Point (The Folds)
Take one square piece of paper and follow these steps:
-
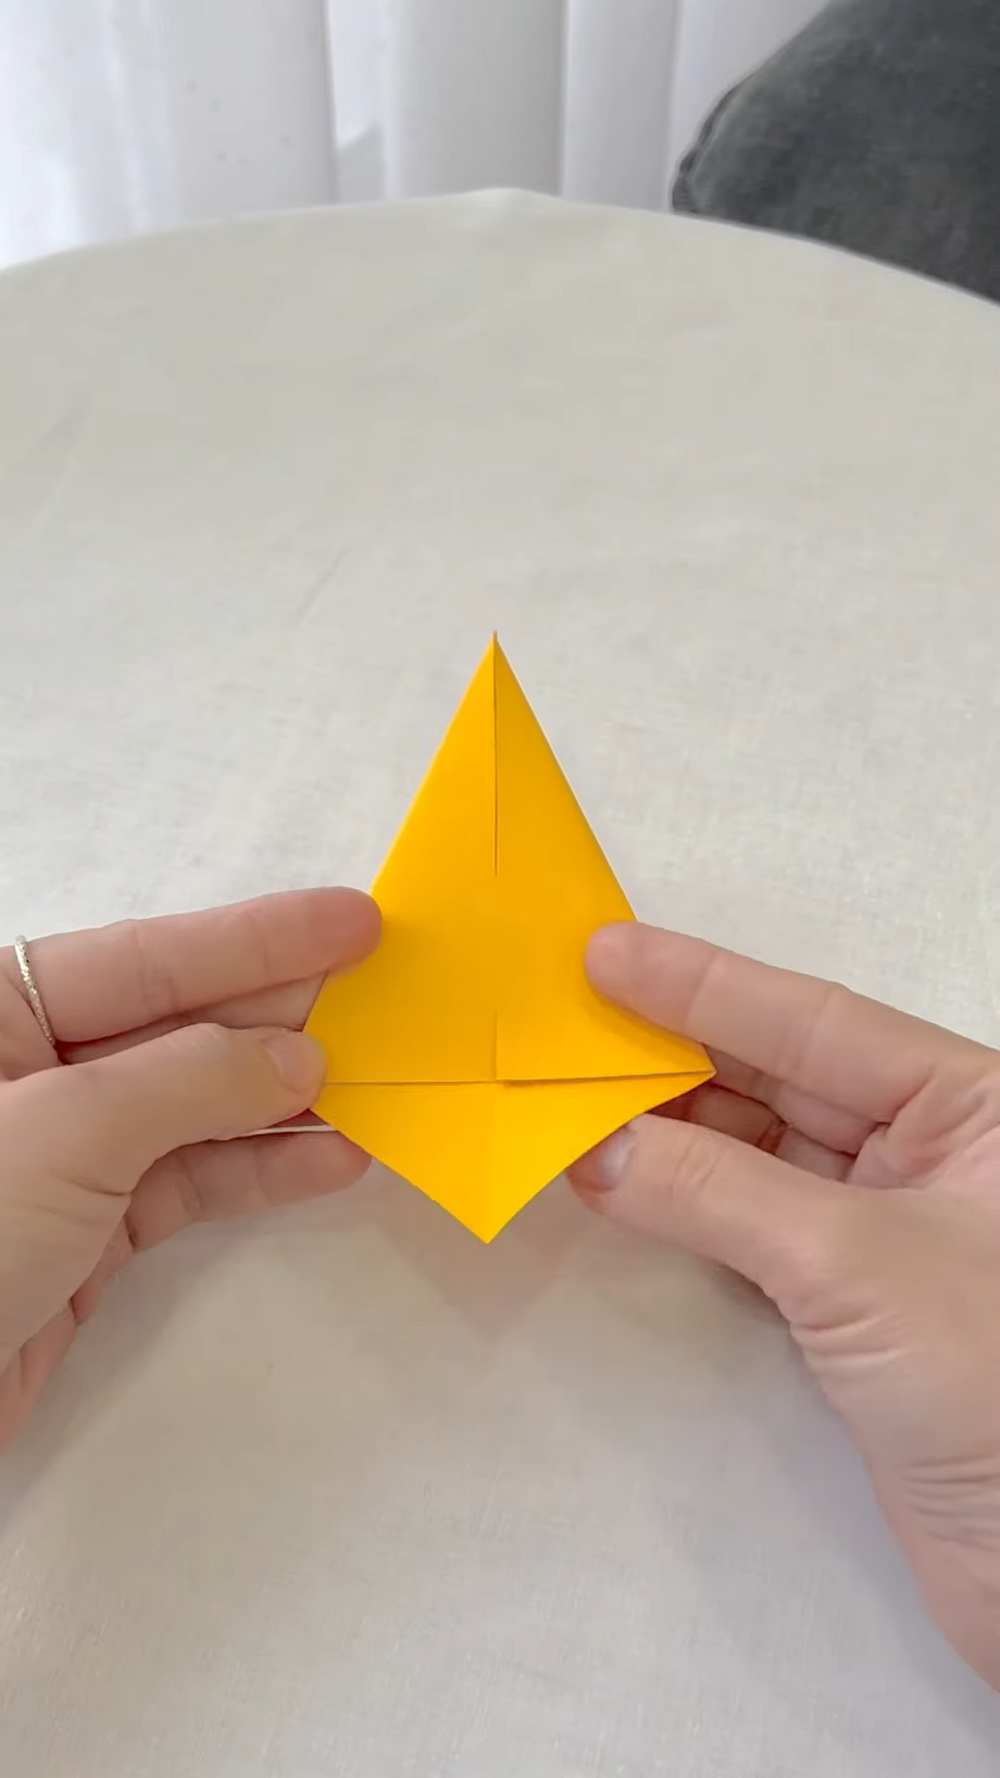
Diagonal Fold: Fold the paper corner-to-corner to create a triangle. Press the crease firmly, then unfold it so you have a line running across the middle.
-
Kite Fold: Take the top-left edge and the top-right edge and fold them inward so they meet exactly at the center crease you just made. Your paper should now look like a kite.
-
Bottom Fold: Take the small triangle sticking out at the bottom and fold it upward so it covers the bottom parts of your kite folds.
Step 2: Turn it 3D
-
Fold in Half: Fold the entire shape in half vertically along the very first center crease you made.
-
Glue the Flap: Open the last fold slightly. Apply a small amount of glue to the small triangular flap you folded up in Step 1.3.
-
Seal the Point: Press the sides together so the glue holds. You should now have a 3D triangular “point” that is hollow inside.
Step 3: Make Four More Points
Repeat Step 1 and Step 2 for the remaining four squares of paper. When you are finished, you should have five identical 3D star points.
Step 4: Assemble the Star
-
Join Two Points: Take two of your star points. Apply a line of glue along the side edge of one point (near the base).
-
Press Together: Press the side of the second point against the glued side of the first one. Make sure the bottom corners line up perfectly.
-
Continue the Circle: Glue the third, fourth, and fifth points one by one in the same way, always attaching them at the sides.
Step 5: Close the Star
To finish, apply glue to the remaining open side of the fifth point and join it to the first point. Gently press the center of the star to ensure all pieces are securely attached.
Your 3D Paper Star is complete! You can hang it with a string or place it on a shelf for a lovely handmade decoration.