Subscribe to Her Million Crafts!
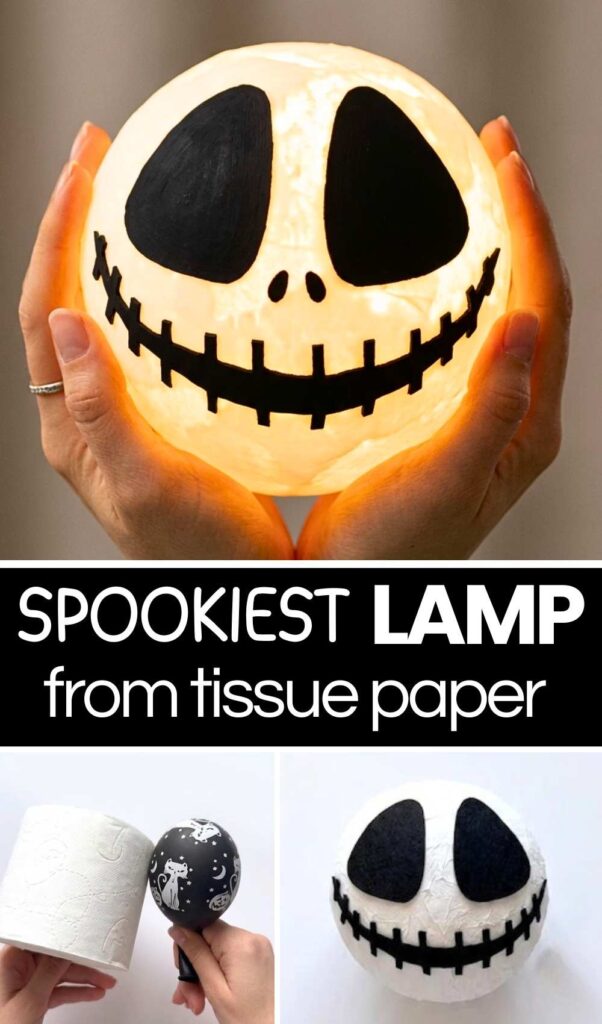
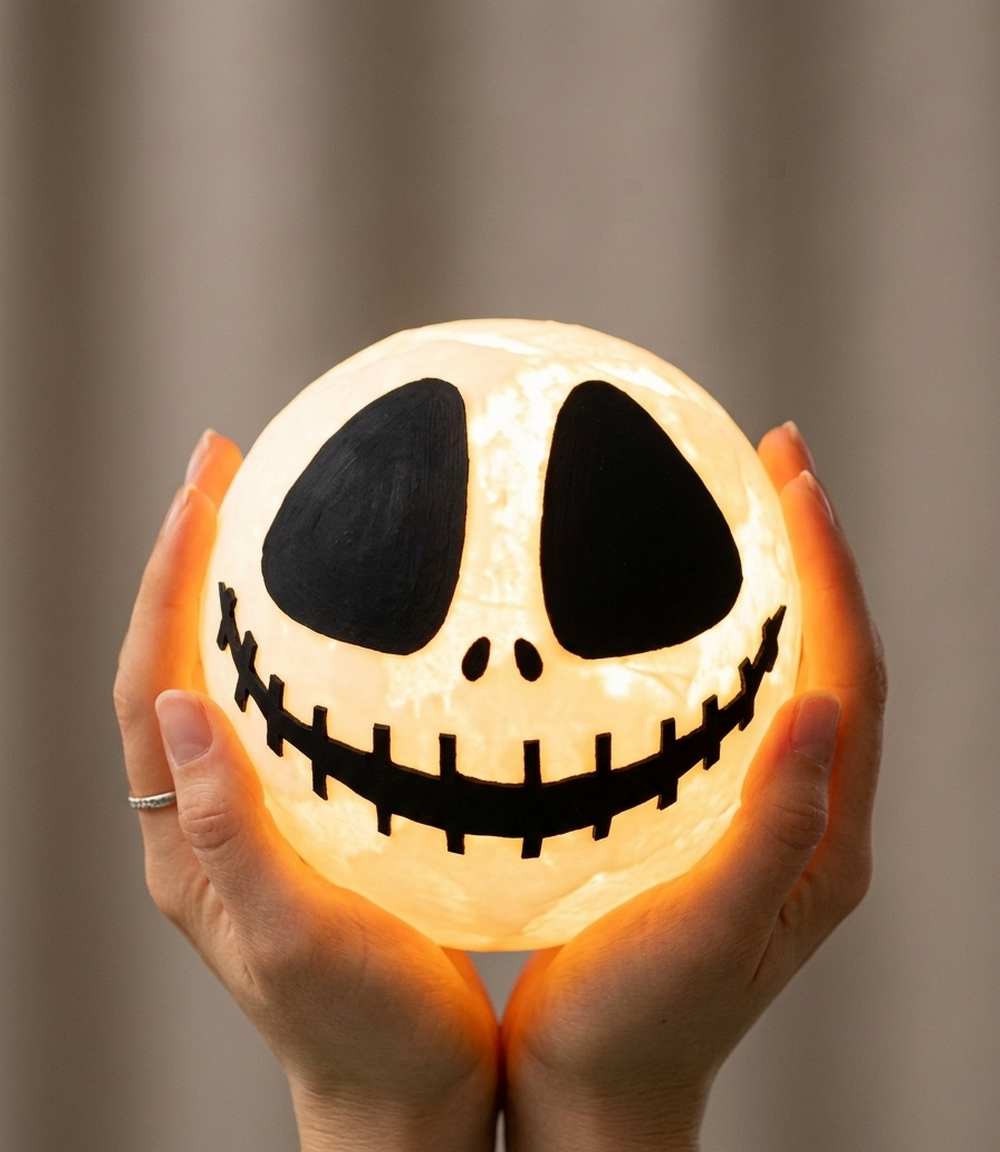
Looking for an absolutely clever way to DIY a Halloween lantern? Learn how to DIY this glued tissue paper SPOOKIEST Halloween lamp with a step-by-step tutorial + a written guide as well. This has a spooky, iconic skeleton character face made by cutting felt pieces that include the eyes, wound-stitch mouth, and the nose. You can hang this Halloween spooky lamp from your front door for Halloween night and welcome the kids for trick-or-treating. Through the holes, the fairy lights can be inserted, or you can also use the battery-charged tea lights.
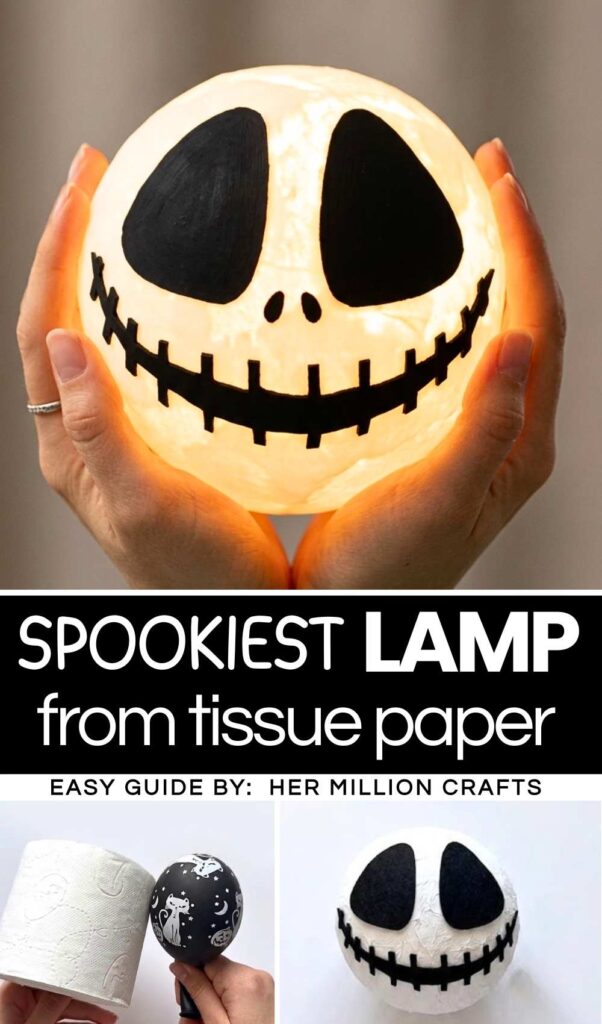
The idea to make this lamp is pretty clever, as we are gonna attach glue-soaked tissue paper around a blown balloon and remove the balloon after drying. This will let you make a perfectly shaped hollow sphere upon which you can make the skeleton character face.
Even though the white PVA glue is used to make this hollow jack lamp, it will still glow golden light and make your Halloween night & party even more special. It is a perfect way to welcome the guests, and you can use this same technique with colored PVA glue to make a pumpkin lamp. Now, continue reading to learn more about this glow-in-the-dark Halloween project and also the complete method for making one!
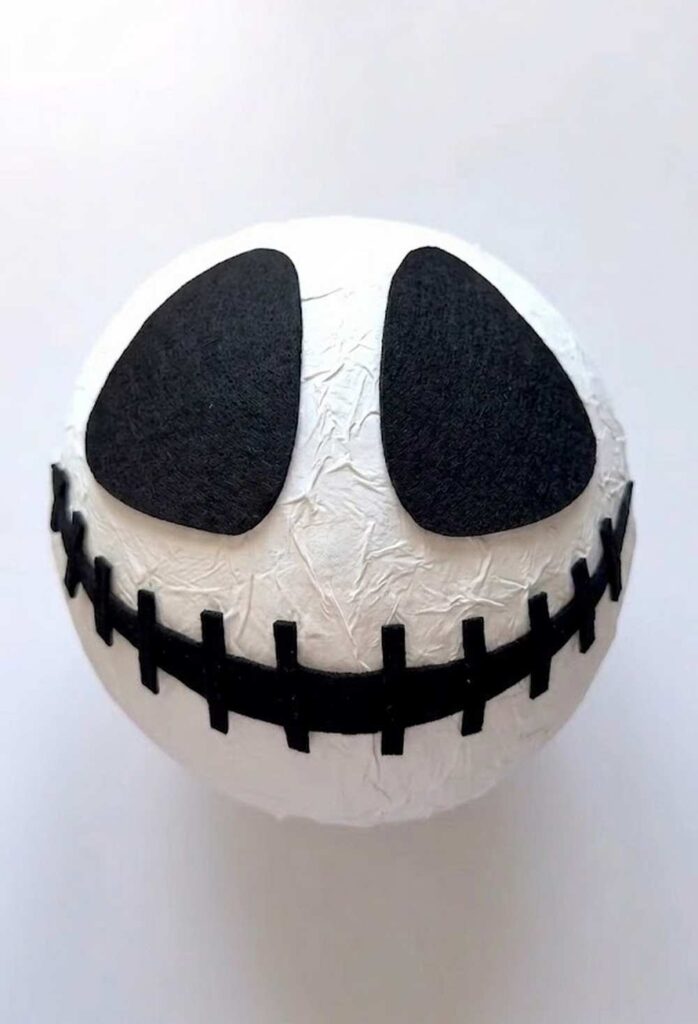
Tutorial to Make a White Spooky Halloween Lamp
Making a spooky lamp for Halloween is a fun and easy project. You only need a few simple things like a balloon, tissue paper, and white glue. First, you mix the glue with a little water in a dish. Then, you put many layers of paper onto the balloon using the glue.
You must wait for the glue to dry until it feels very hard. After it is dry, you pop the balloon and pull it out. Now you have a white ball. Draw a scary face on the ball and cut it out. Finally, put a small light inside.
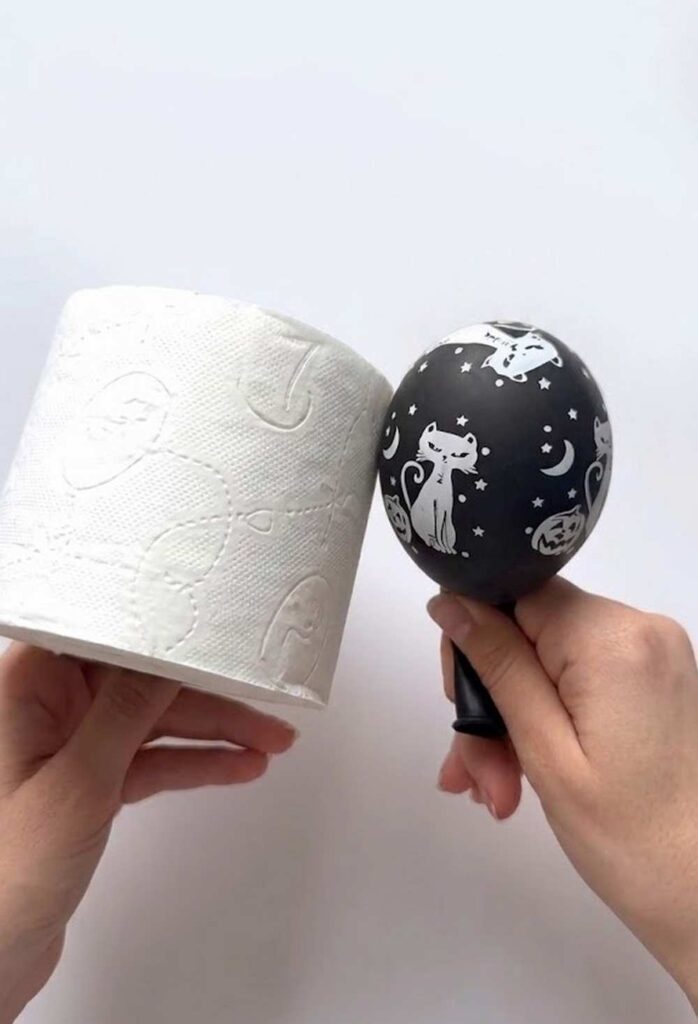
Detailed Guide to Making a DIY Spooky Lamp
Materials You Will Need:
-
A balloon
-
A roll of toilet paper or white tissue paper
-
White glue (PVA glue)
-
Water
-
A paintbrush
-
A small plate
-
A needle or pin
-
Scissors
-
A black marker
-
A small LED light or battery-operated candle
Video Tutorial?
Step-by-Step Instructions:
-
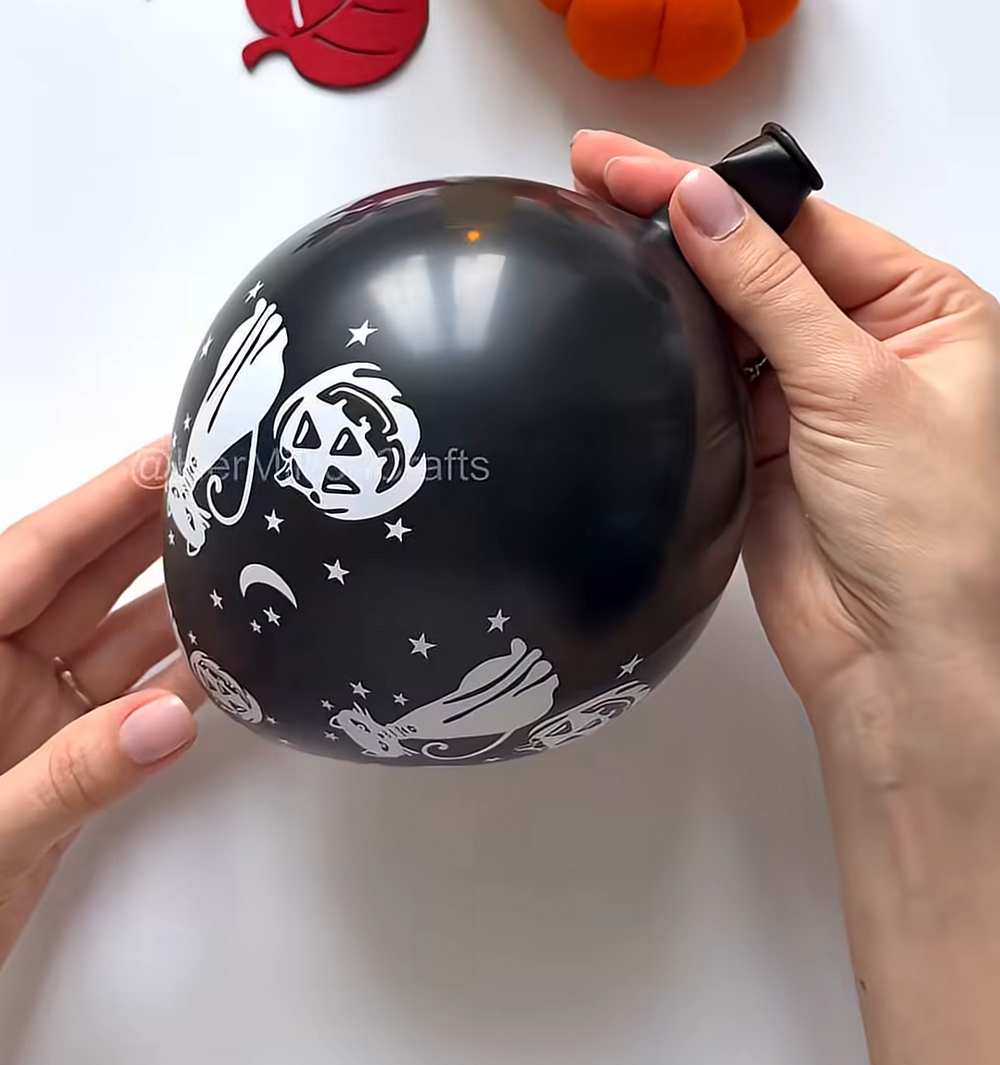
Blow up the balloon: Blow up your balloon until it is round and tie the end in a knot.
-
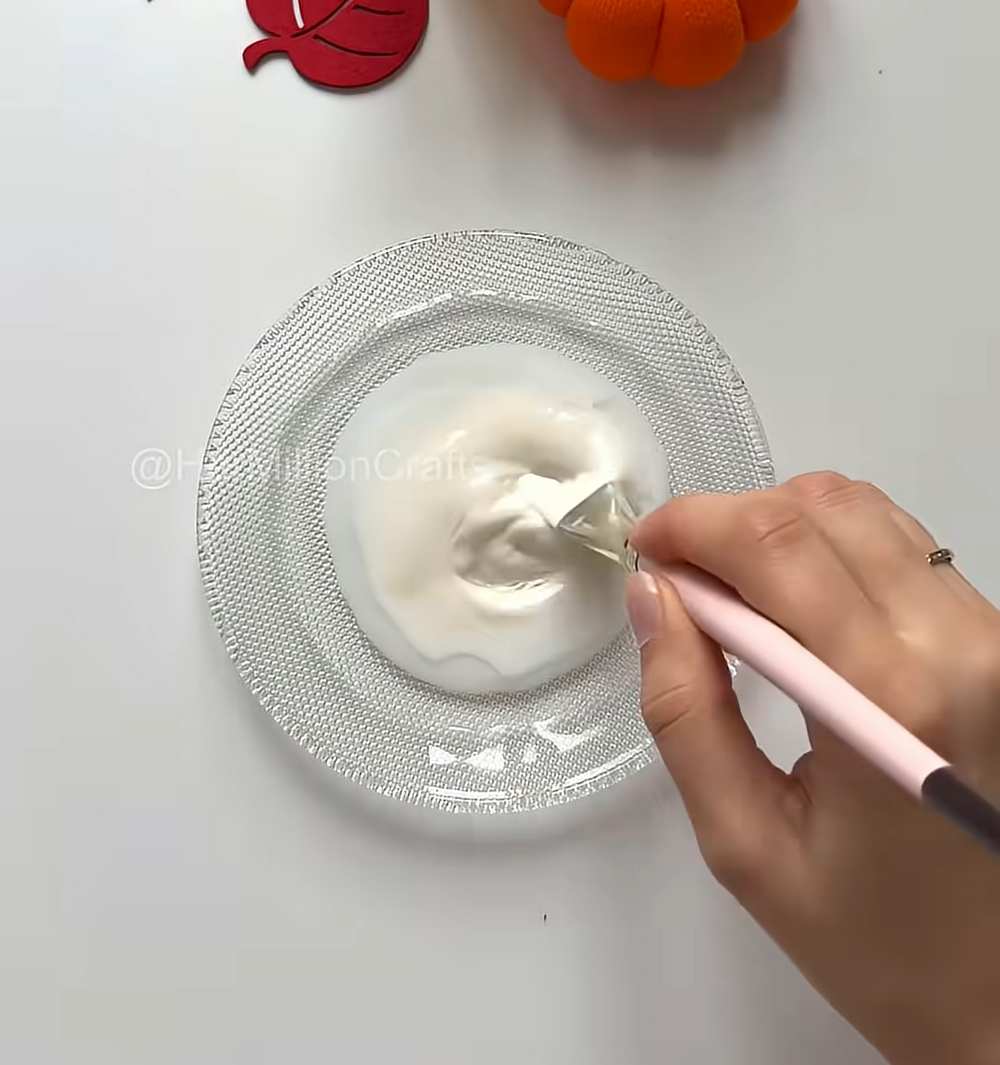
Prepare the glue: Pour some white glue onto a plate. Add a small splash of water to make it thinner. Use your paintbrush to mix it well.
-
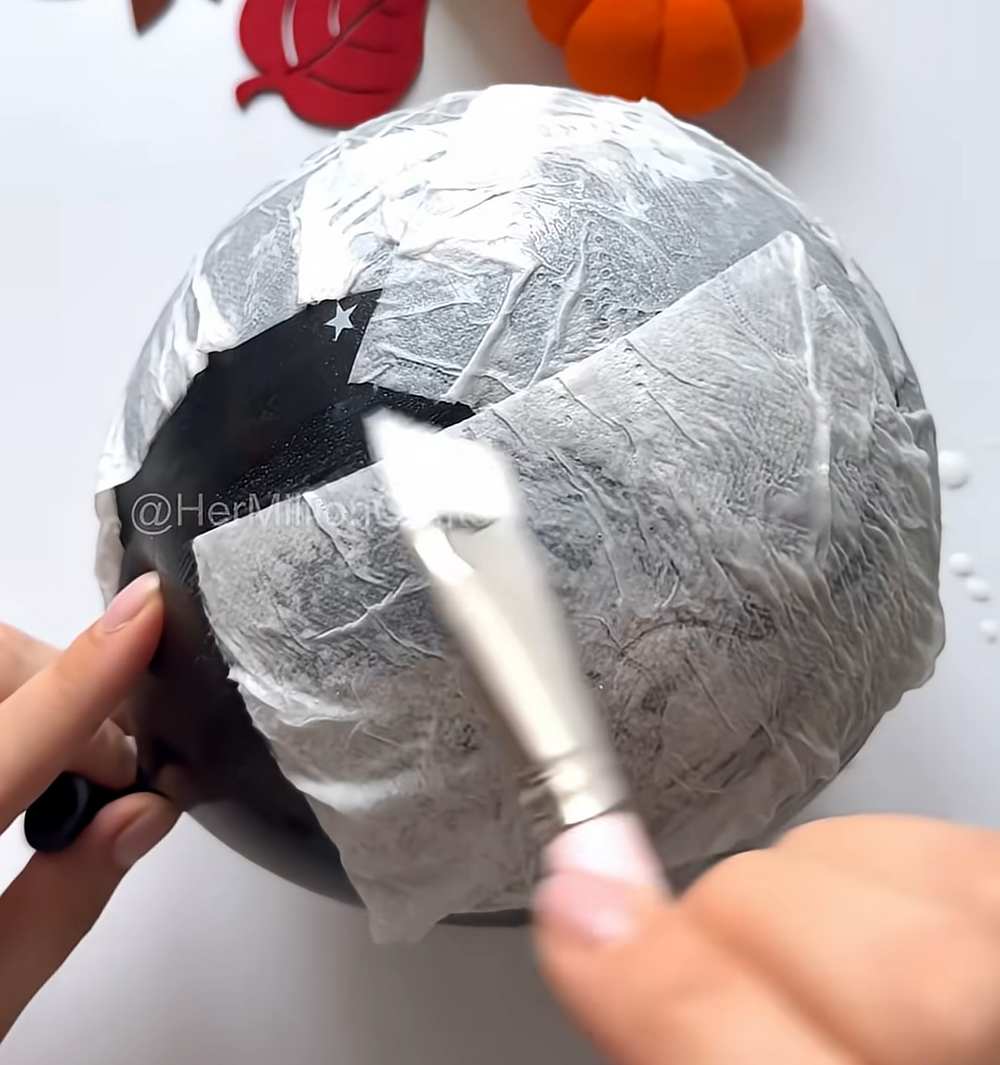
Start layering: Tear off squares of toilet paper. Use the brush to put a little glue on the balloon, then place a piece of paper on top.
-
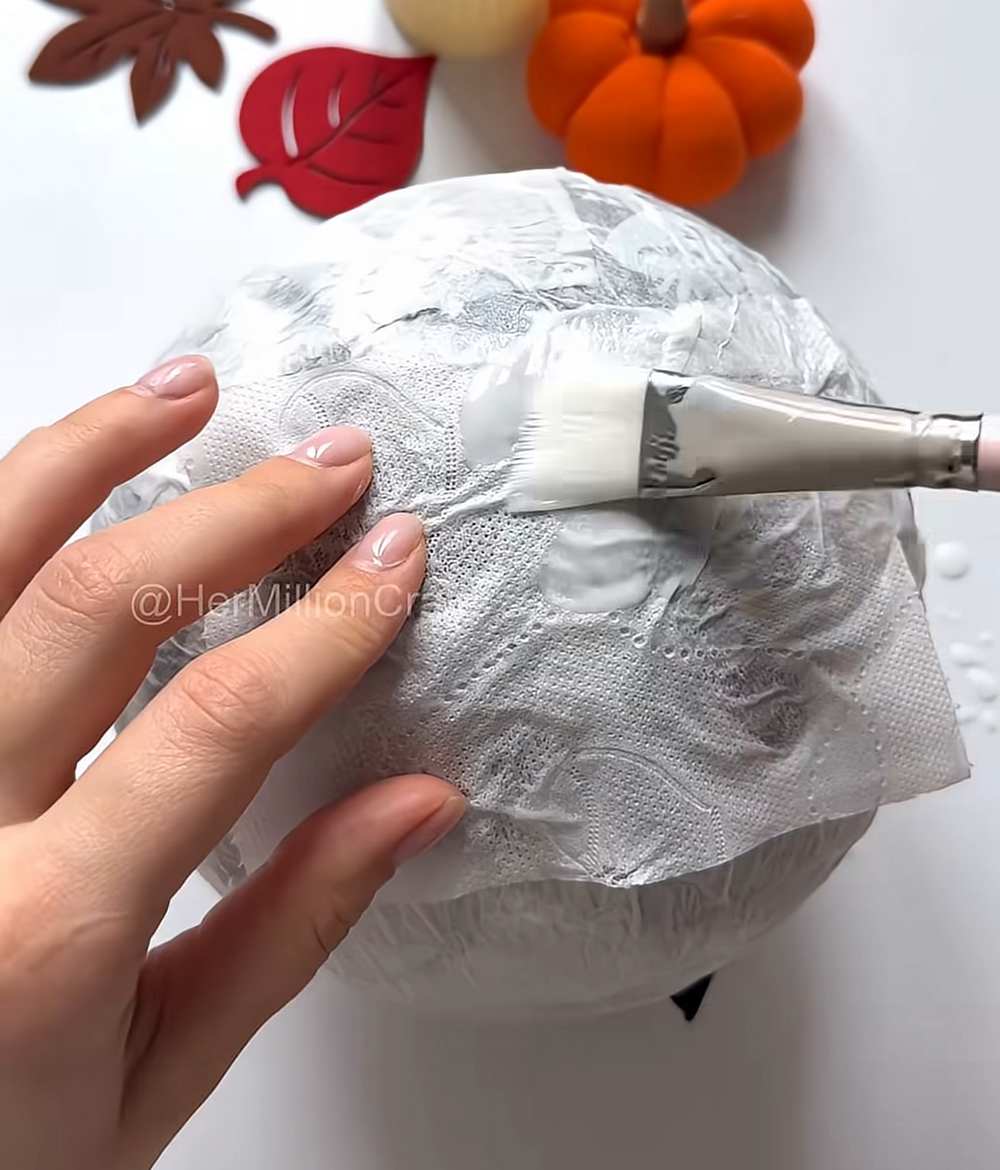
Seal the paper: Brush more glue over the paper until it is completely wet and flat against the balloon.
-
Build strength: Repeat this until the whole balloon is covered. You need to do at least 4 or 5 layers of paper. If the paper is too thin, the lamp will break. Leave a small circle of space around the balloon knot so you can take the balloon out later.
-
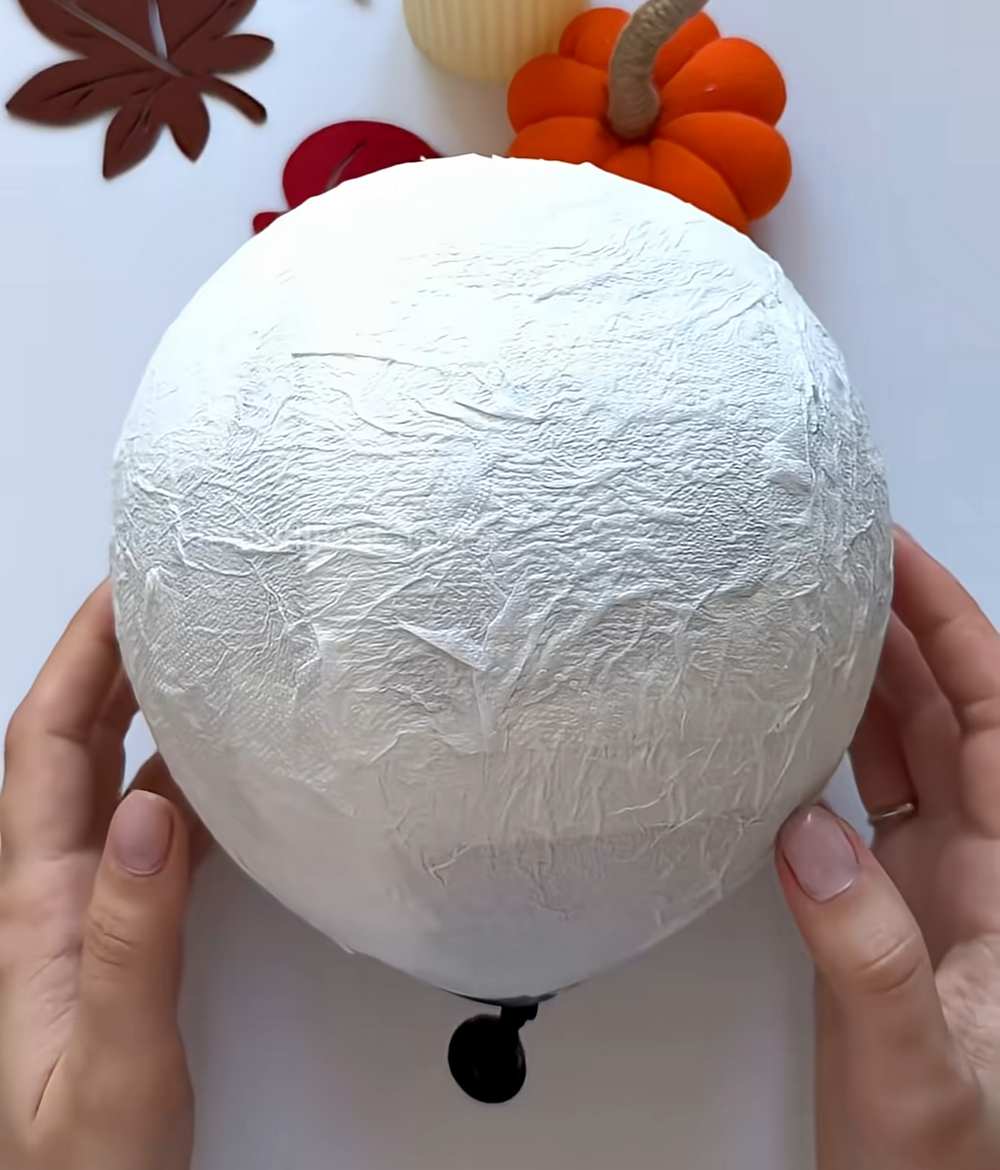
Let it dry: Put the balloon in a safe place to dry. It needs to stay there until the paper feels completely dry and hard, like a shell. This may take a few hours or overnight.
-
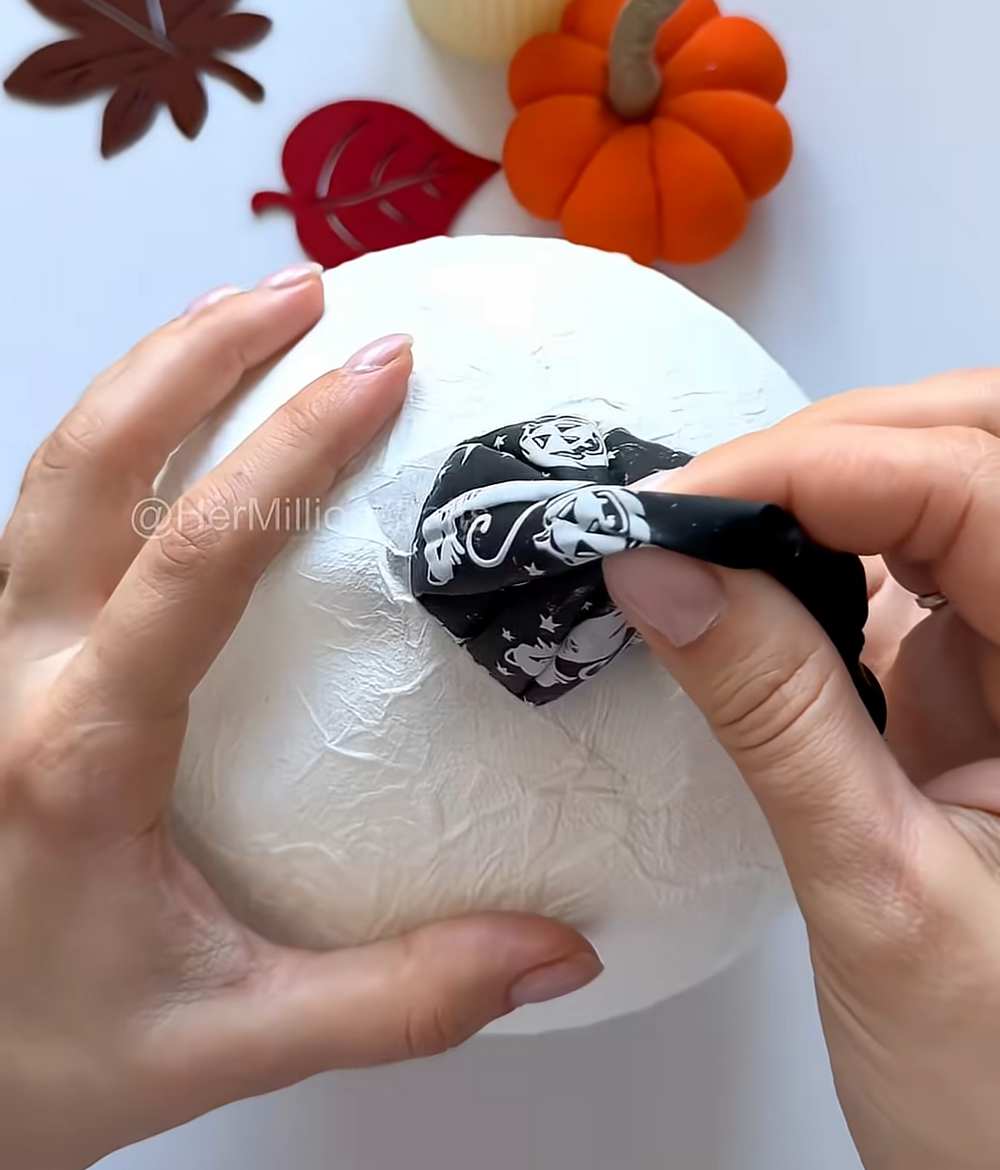
Pop the balloon: Once it is hard, use a needle or pin to pop the balloon. Carefully pull the empty balloon pieces out through the hole at the top.
-
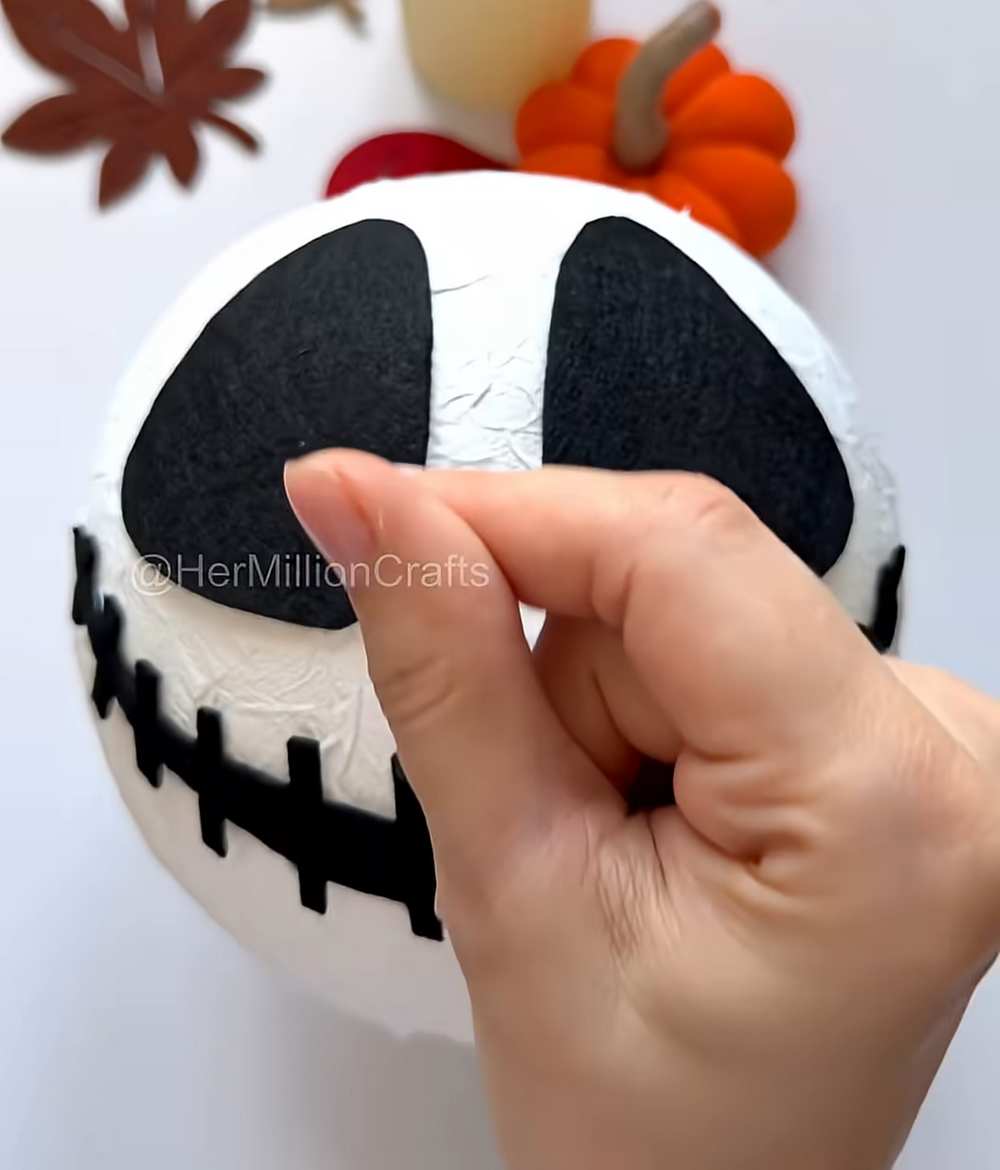
Draw the face: Use a black marker to draw two large eyes and a long, stitched mouth on the front of your paper ball.
-
Cut the shapes: Use your scissors to carefully cut out the eyes and the mouth shapes you drew.
-
Add light: Place a small LED light or a battery candle inside the paper shell. Turn it on to see your spooky face glow in the dark!
Share on Social Media!