
Subscribe to FishMamaStudio!
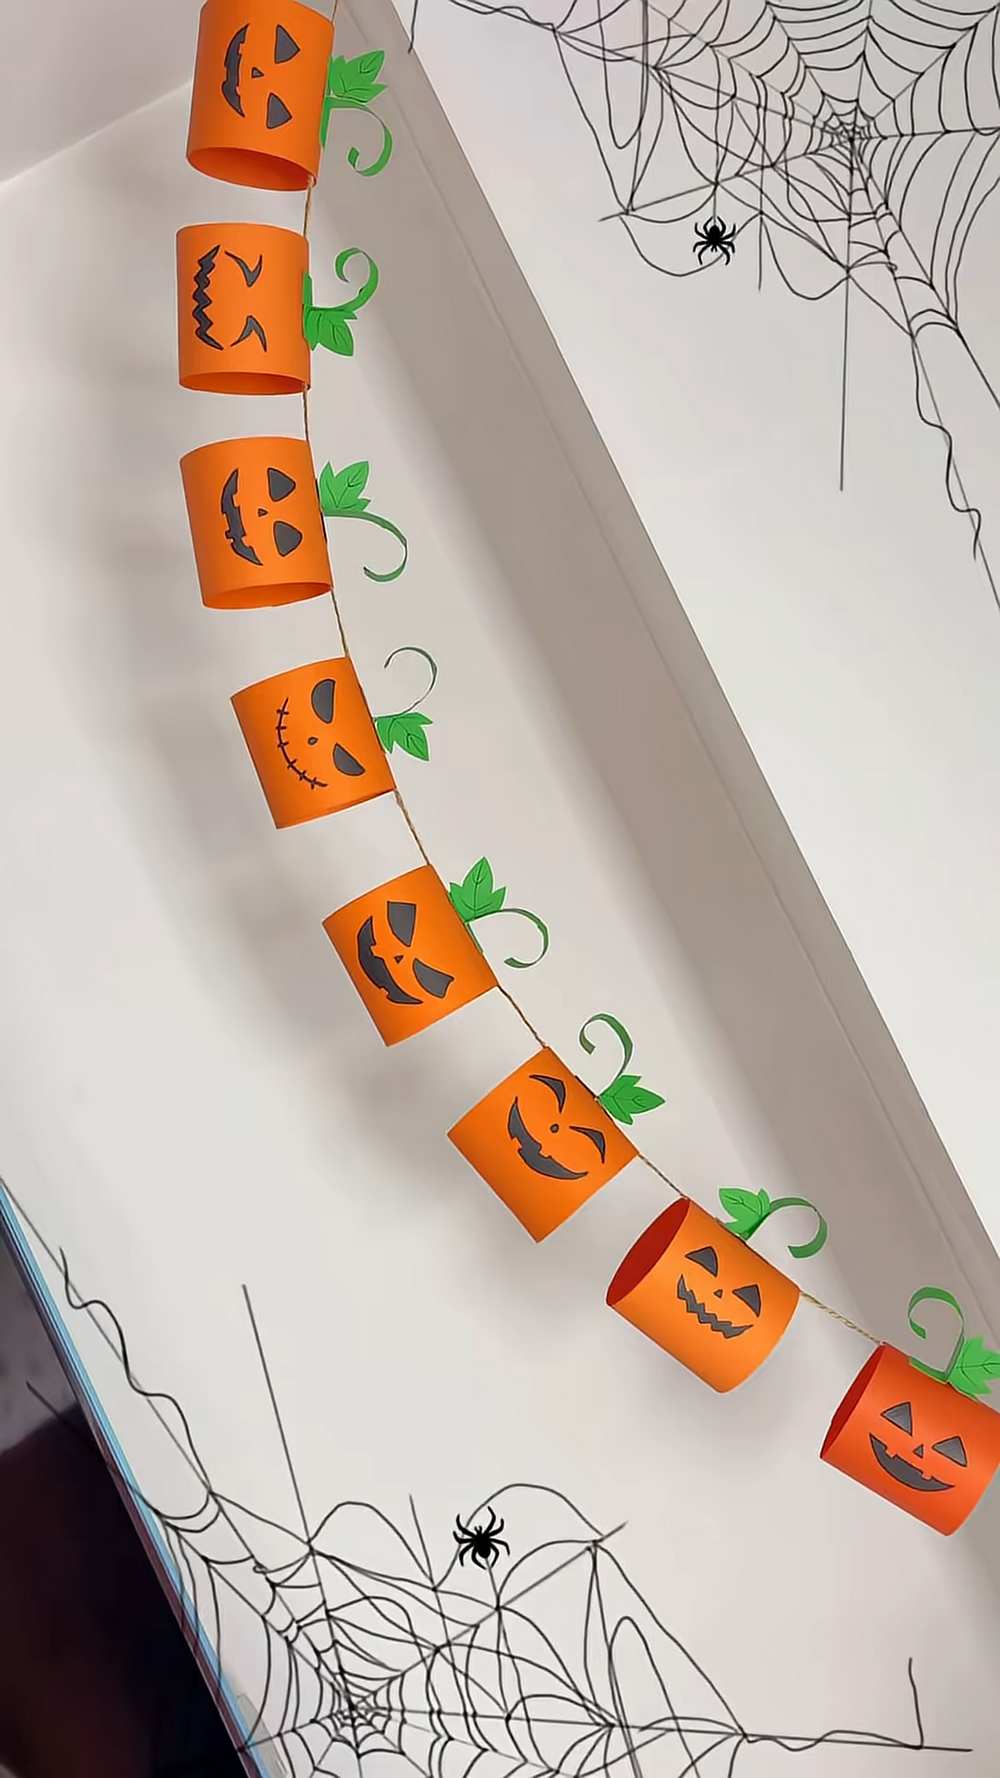
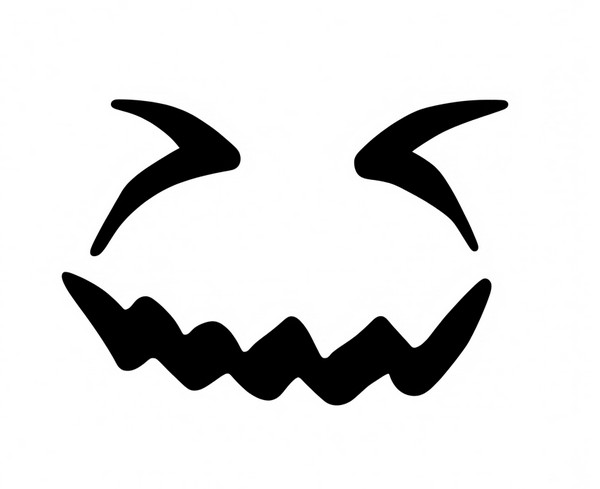
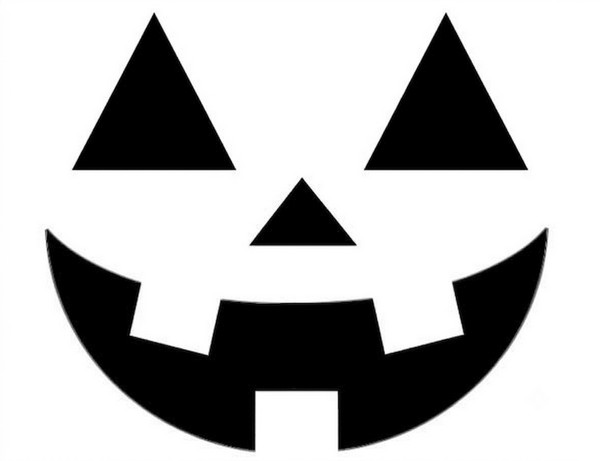
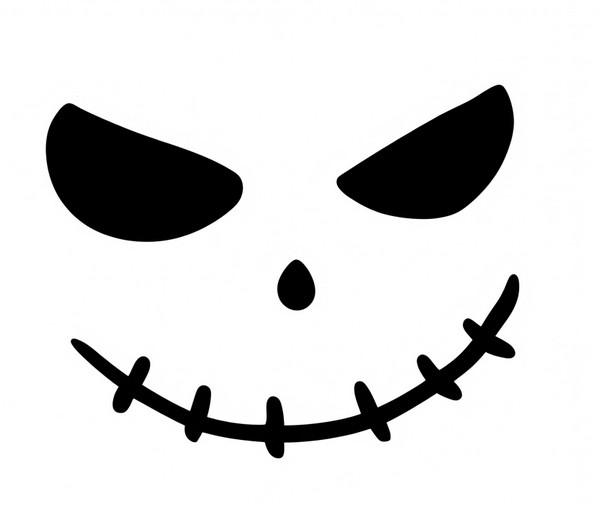
This Halloween, learn how to DIY this 2-minute 3D pumpkin bunting to make a last-minute Halloween garland for kids’ Halloween party decor. To make the neighbouring buntings in the Halloween garland look UNIQUE, you will learn 3 jack-o’-lantern face variations, including the classical spooky, mischievous, and smiling jack-o’-lantern face.
You can either draw or print these jack-o’-lantern faces using FREE printable templates. These pumpkin roll crafts can also be turned into Halloween pencil holders and bouncing rolling toys.
You will also have a curly stem and the pumpkin leaf cutout on the top. Now, continue reading to learn more about this beginner-friendly DIY Halloween craft project. You will learn how to make these jack-o-lantern roll pumpkins out of rectangular sheets with both the step-by-step guide and the tutorial as well.
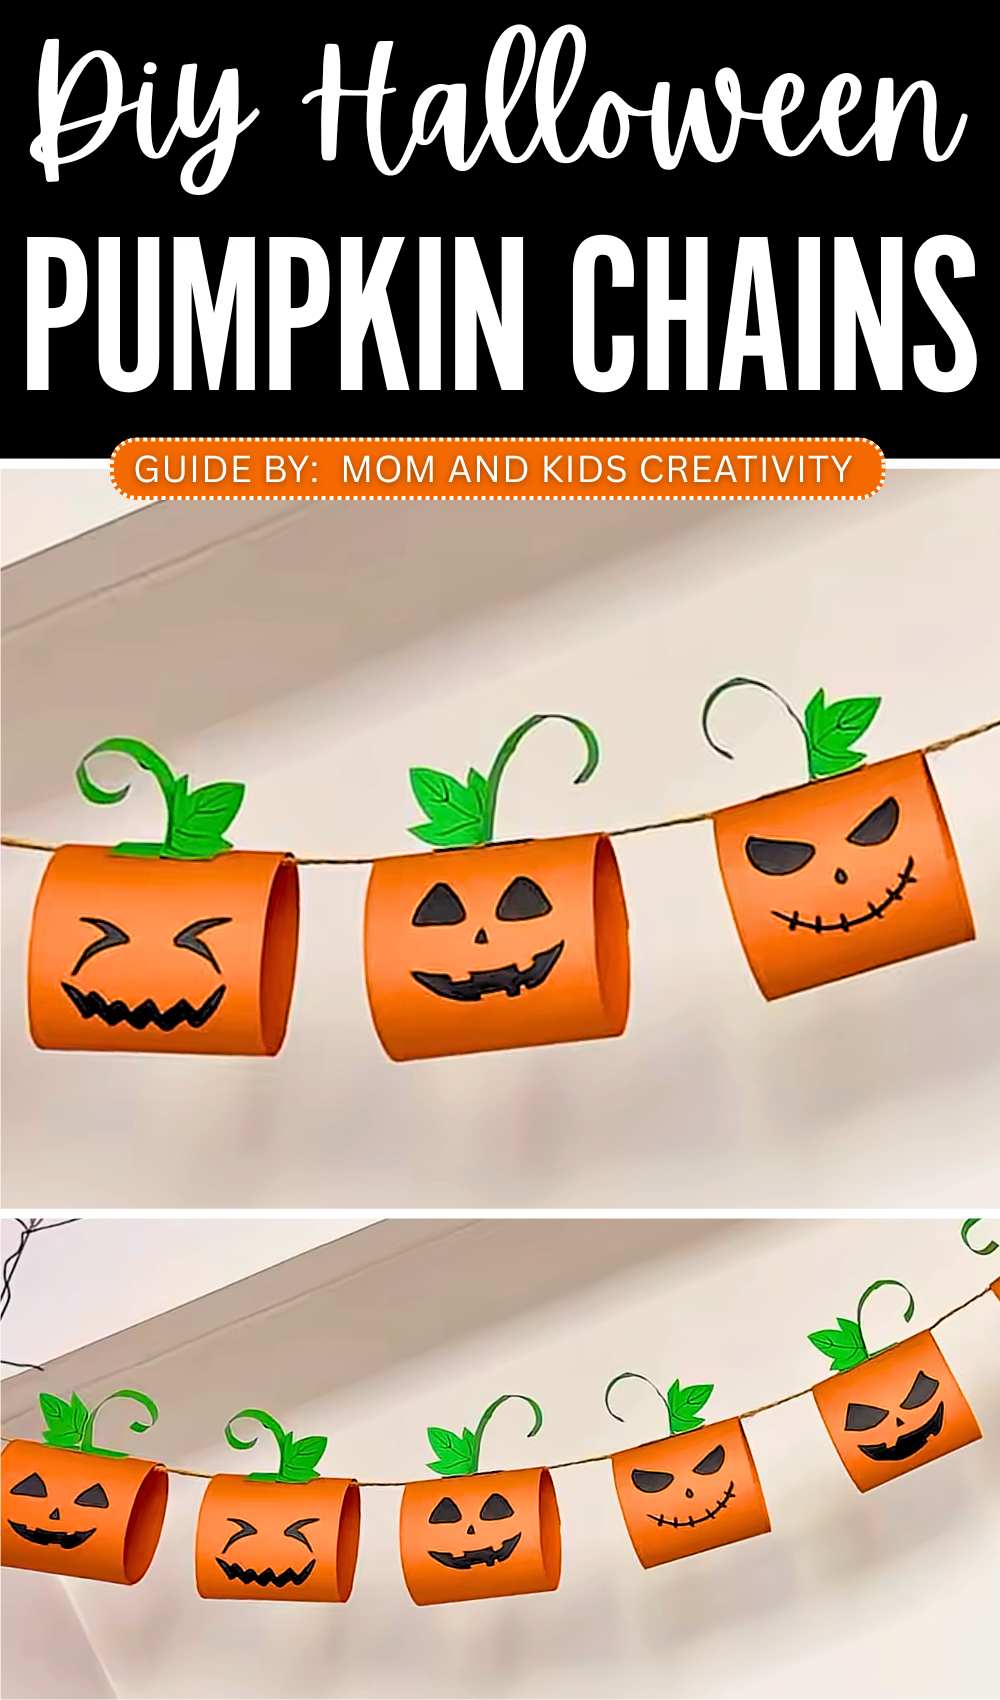
Tutorial to Make A Jack-o-Lantern Pumpkin Roll Craft
This DIY paper pumpkin garland is a fun and easy way to decorate for Halloween. You will need orange paper, green paper, a black pen, tape, and string. First, you draw a scary or happy face on a piece of orange paper.
Then, you roll the orange paper into a circle and tape it together. Next, you roll a small piece of green paper around a pen to make a stem. You tape the stem to the top of the pumpkin. Finally, you put a string through all your pumpkins to hang them up.
Detailed Instructions
What You Need:
-
Orange paper (cut to 6.5 cm x 20 cm)
-
Green paper strip
-
Black marker or pen
-
Double-sided tape or glue
-
A pen or pencil (for rolling)
-
String or twine
Video Tutorial?
Step 1: Draw the Face
Take your rectangular piece of orange paper (6.5 cm x 20 cm). Use your black marker to draw two triangle eyes and a jagged mouth in the center of the paper. This will be your pumpkin’s face.
Step 2: Create the Pumpkin Body
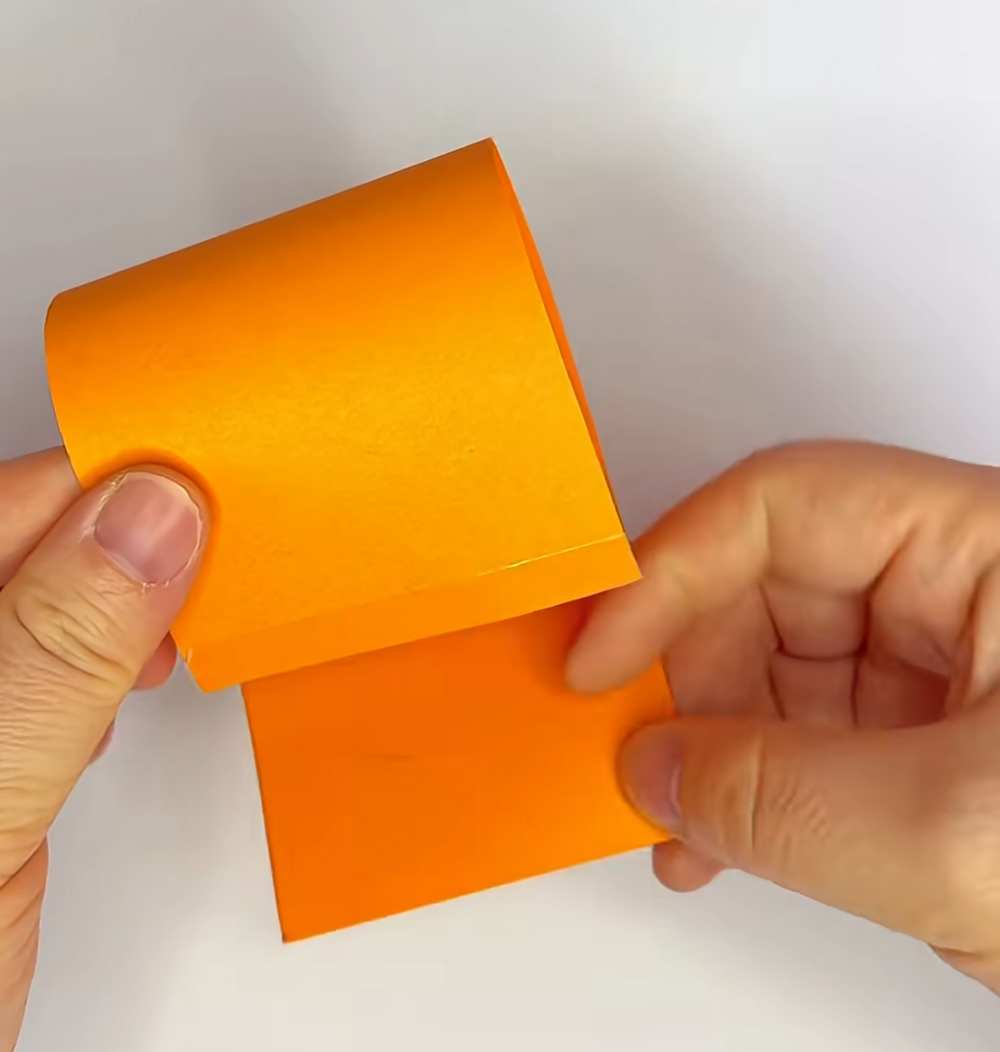
Flip the paper over or look at one of the short ends. Apply a piece of double-sided tape (or a line of glue) to one edge. Roll the paper into a tube (cylinder) so that the face is on the outside. Press the edges together to secure the shape.
Step 3: Make the Green Stem
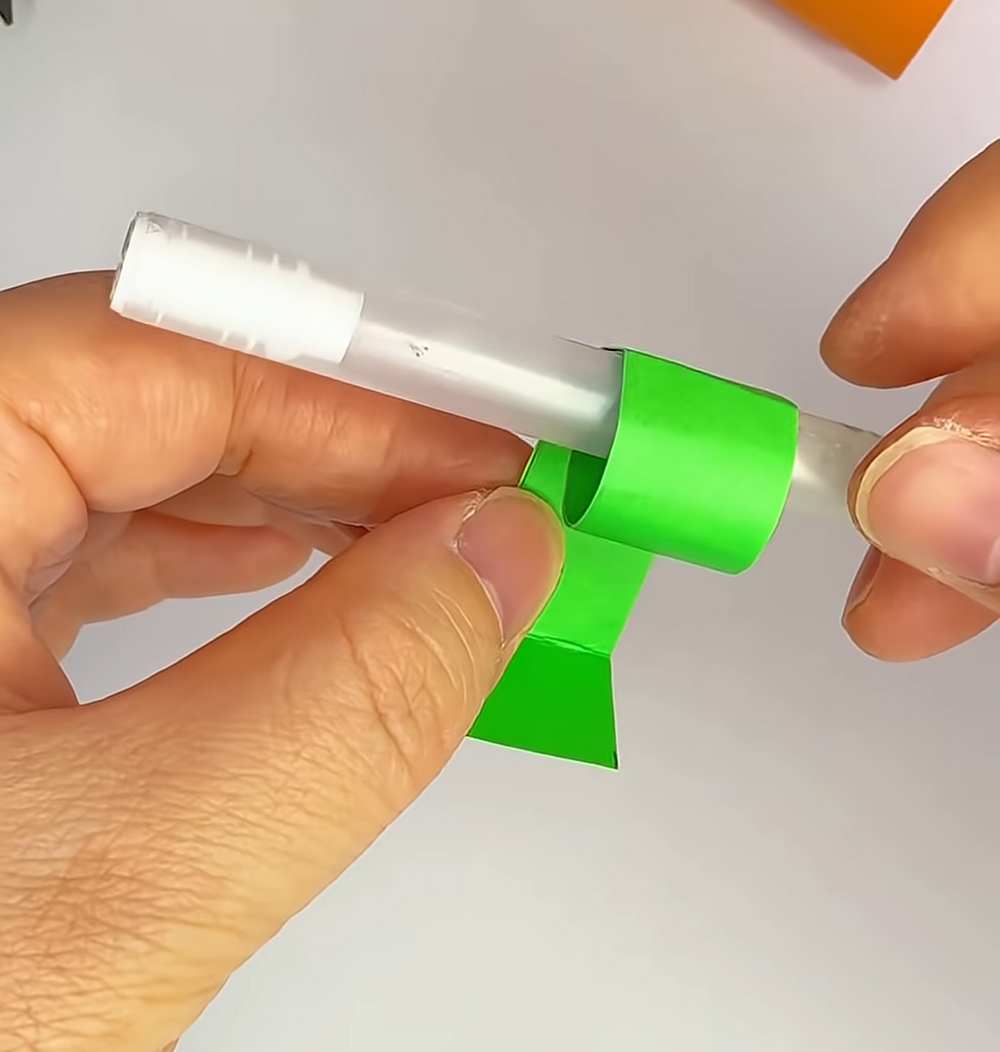
Take a thin strip of green paper. To make it look like a curly stem, wrap it tightly around a pen or pencil. Hold it for a few seconds, then slide the pen out. You should have a small green paper tube.
Step 4: Attach the Stem
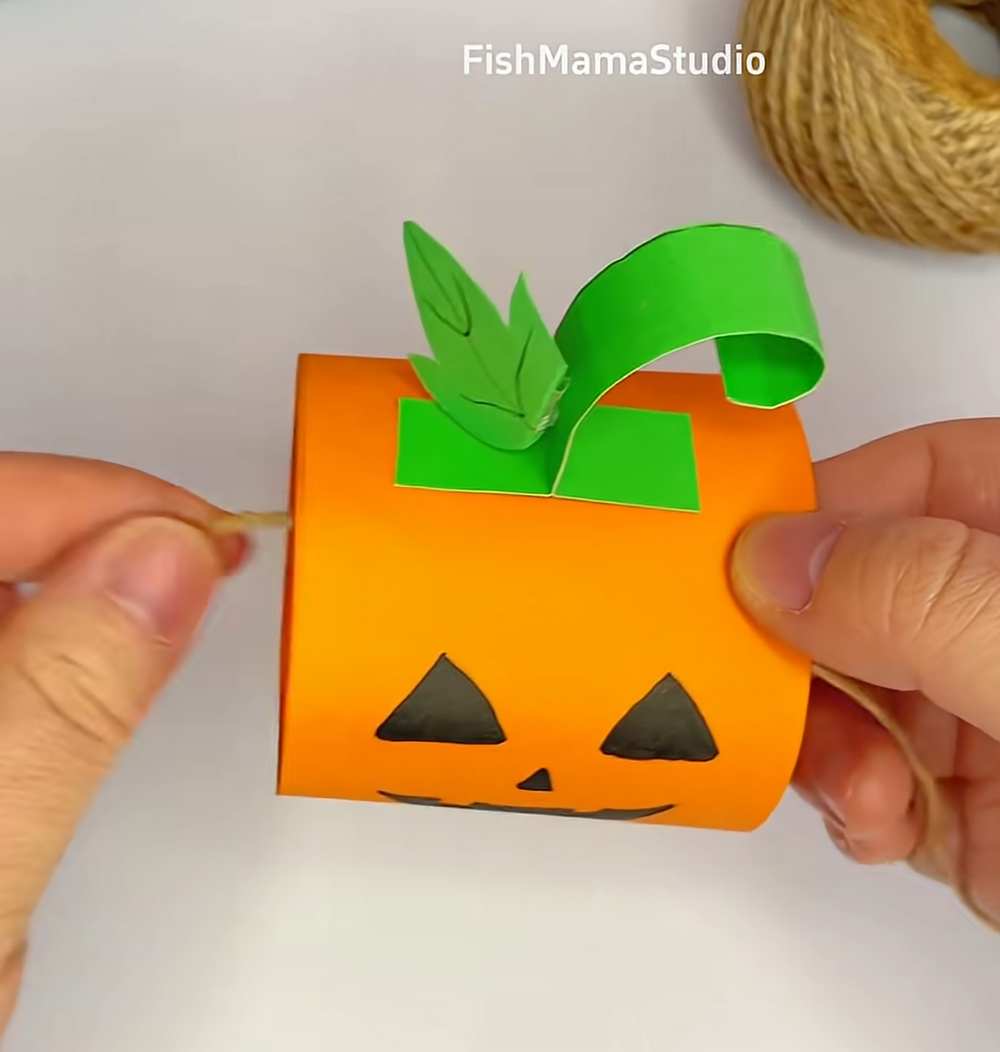
Apply a small piece of tape or glue to the bottom of your green stem. Stick it to the inside top edge of your orange pumpkin body. Make sure it sticks out from the top.
Step 5: String the Garland
Repeat these steps to make as many pumpkins as you like! Once you have enough, take a long piece of string or twine. Pass the string through the center of each pumpkin (or through the stems) to connect them.
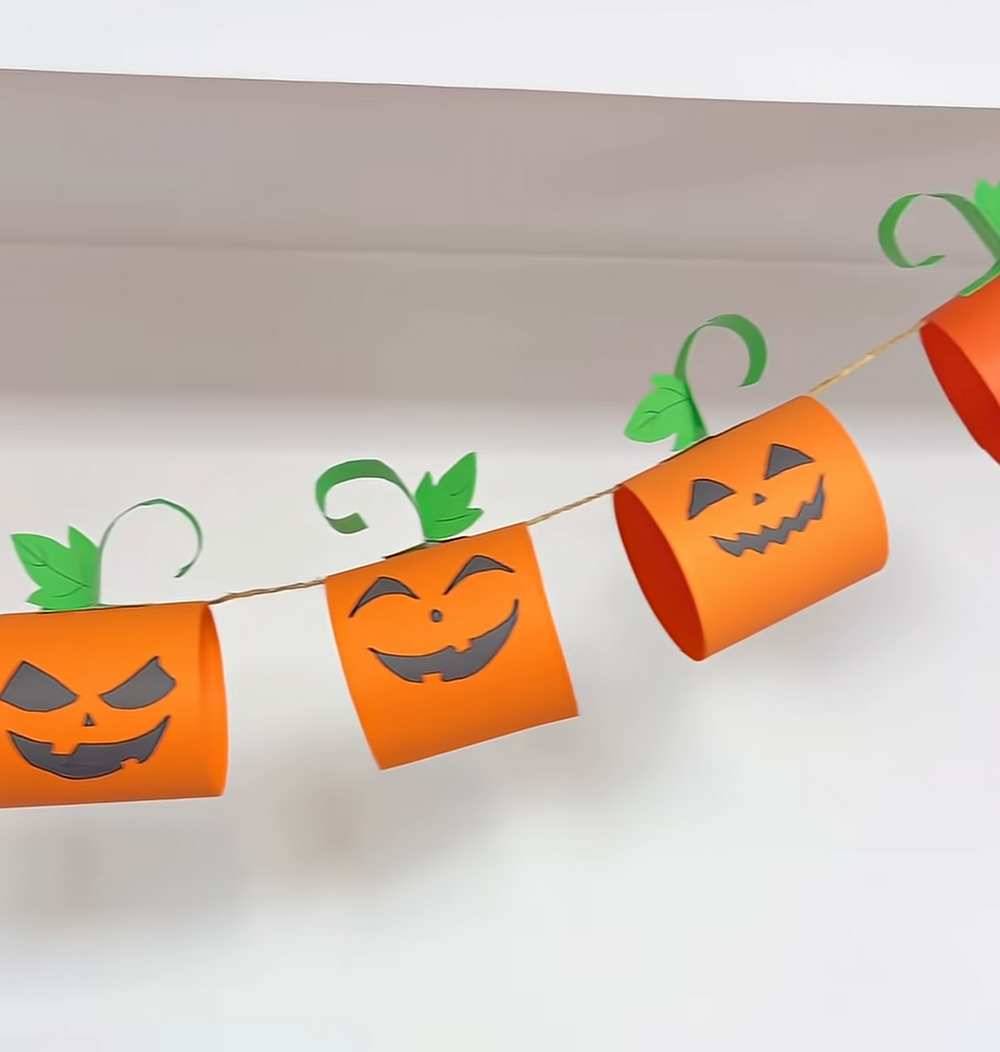
Your DIY Halloween garland is now ready to hang on a wall or doorway!