
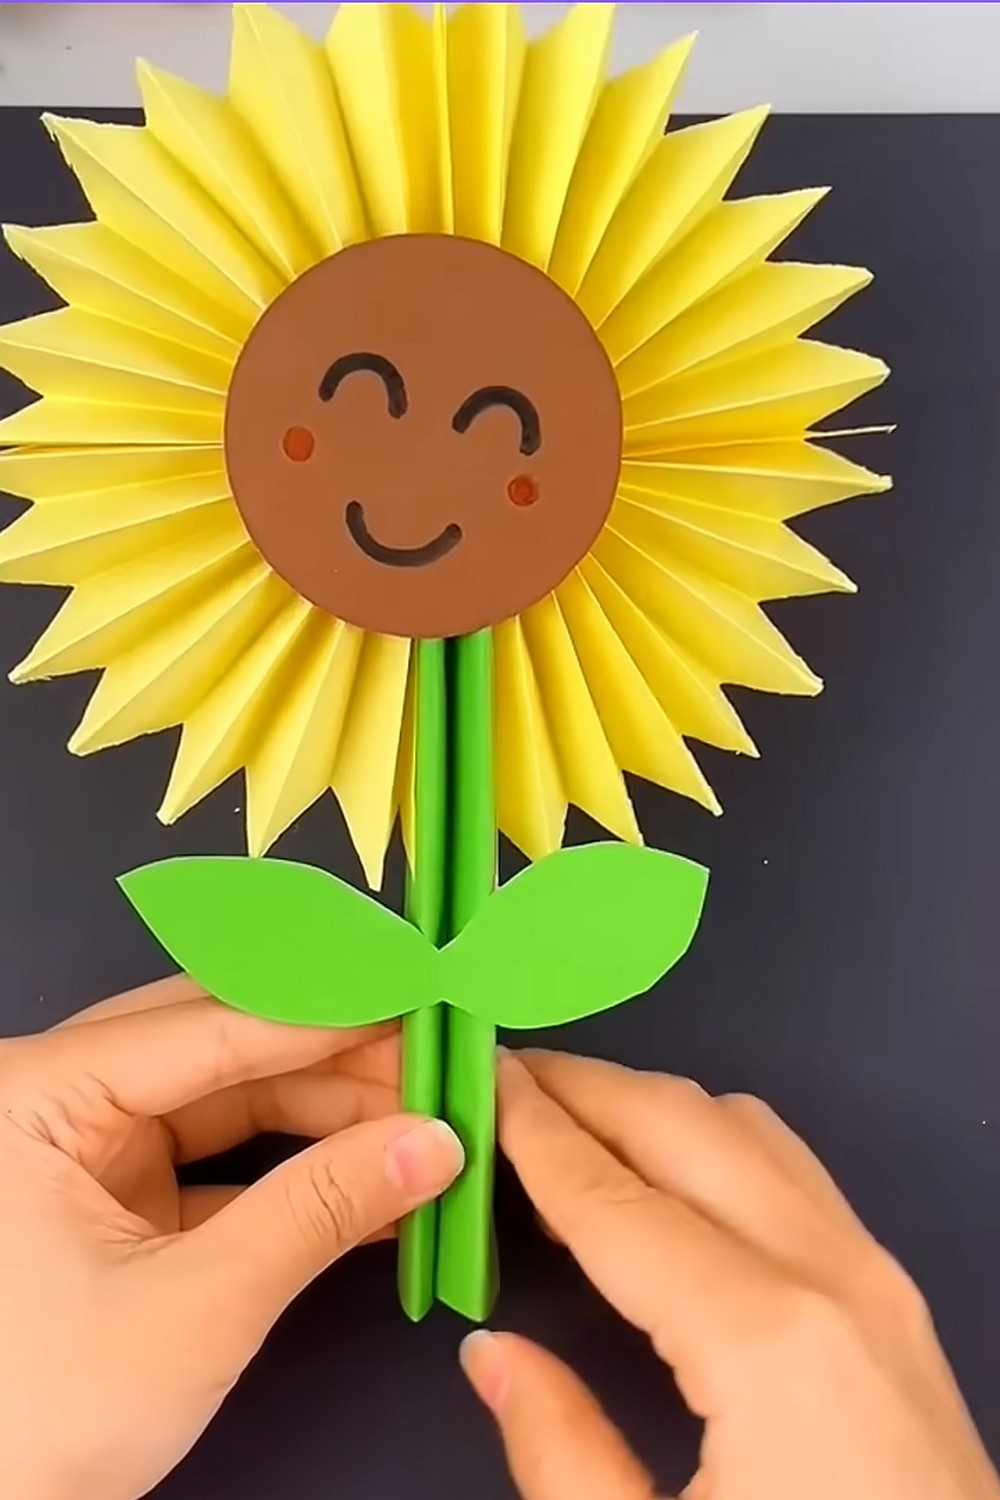
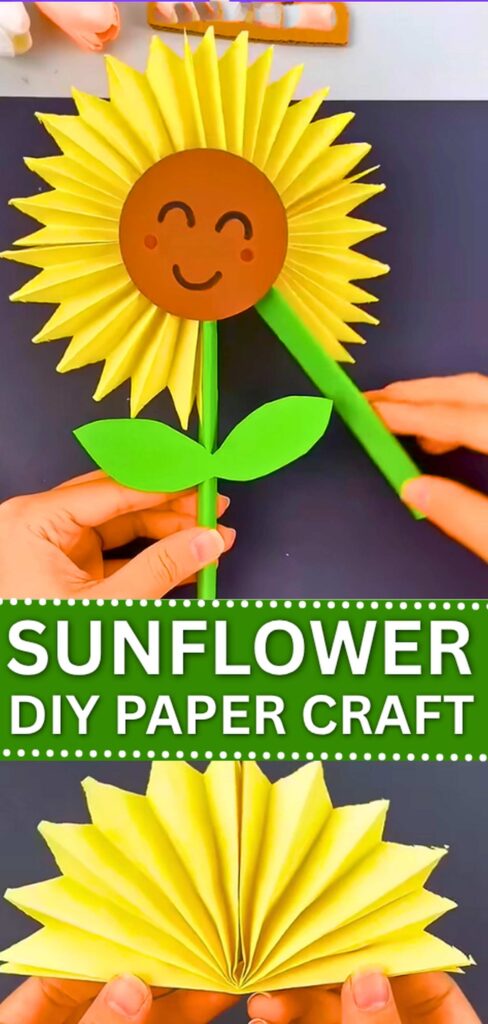
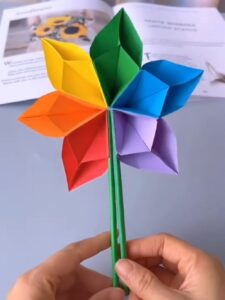
Learn how to make a CUTE kinetic paper sunflower toy for kids, following these instructions. Similar to the modular rainbow flower I talked about last time, this sunflower can be fanned out and in, much like a Chinese paper fan. That’s why it has two stems that you will hold, and the pleated petals that look so elegant.
Surprisingly, we shall use the usual accordion fold to make it fan out, and with a clever cut to make the pointy petals.
If you are looking for a quick 2-in-1 summer decoration and toy that kids can make in 10 minutes, be sure to make this sunflower. It also has a smiling face and a perfect leaf over one of its stems. So, they are gonna love it! And be sure to read my discussion on summer activities to find more similar FUN crafts.
Model Type: Folding with Glue (Modular Origami)
Difficulty Level: Beginner Level 2
Recommended Paper: Use the Tant paper for Texture
Materials Used
- Yellow A4 Construction Papers
- Scissors
- Double-sided Tape (or Glue)
- Pen/Pencil: For marking the cutting line.
- Brown Paper Circle: For the sunflower center.
- Green Paper: To create the stem or leaves.
Kinetic Sunflower Paper Toy: Step-by-Step Instructions
Here is the detailed, step-by-step method to fold a modular origami sunflower, along with the petal and assembly, often known as a Kusudama petal.
Step 1: Divide by Halves
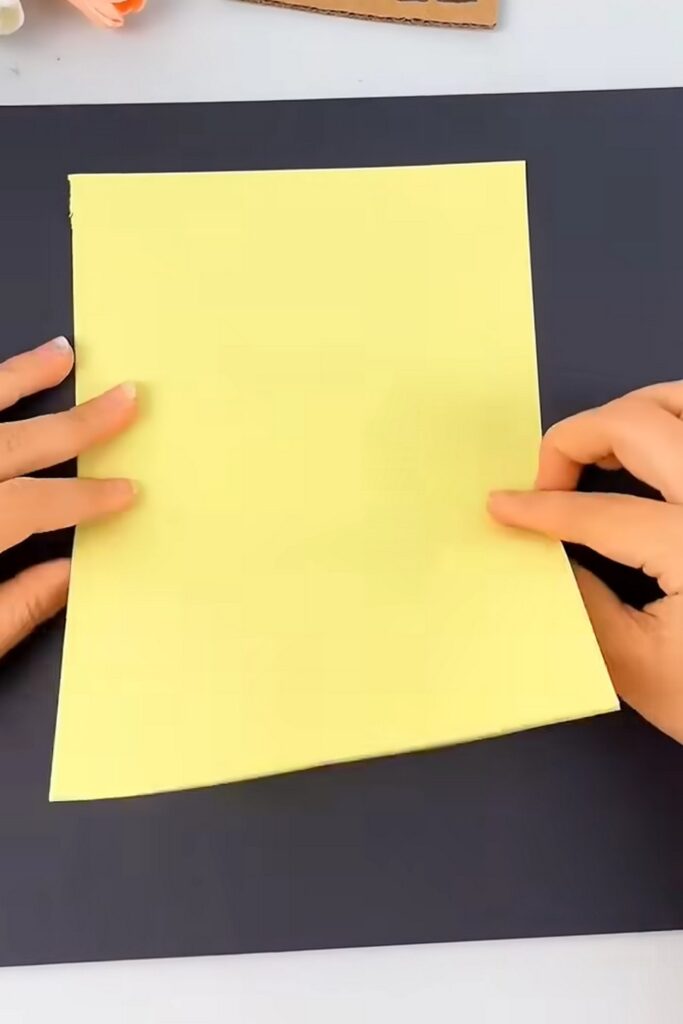
Take your rectangular sheet of paper and fold it in half along the length.
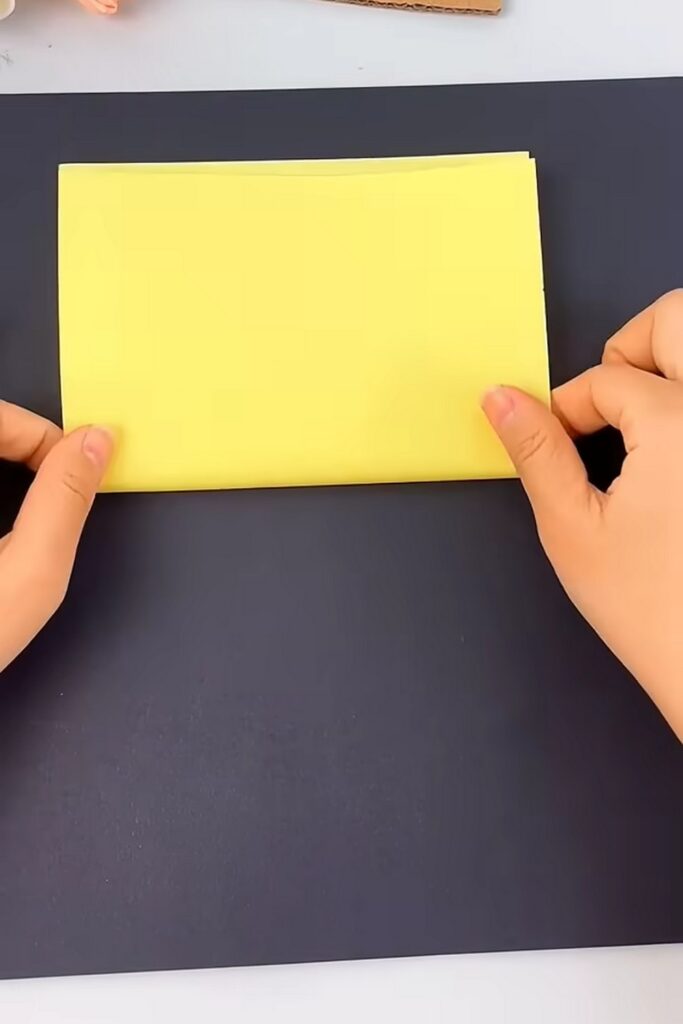
Fold it in half again (to the fourths), and continue this folding until you have a low-width, multi-layered strip. This will make sure that all your pleats are identical.
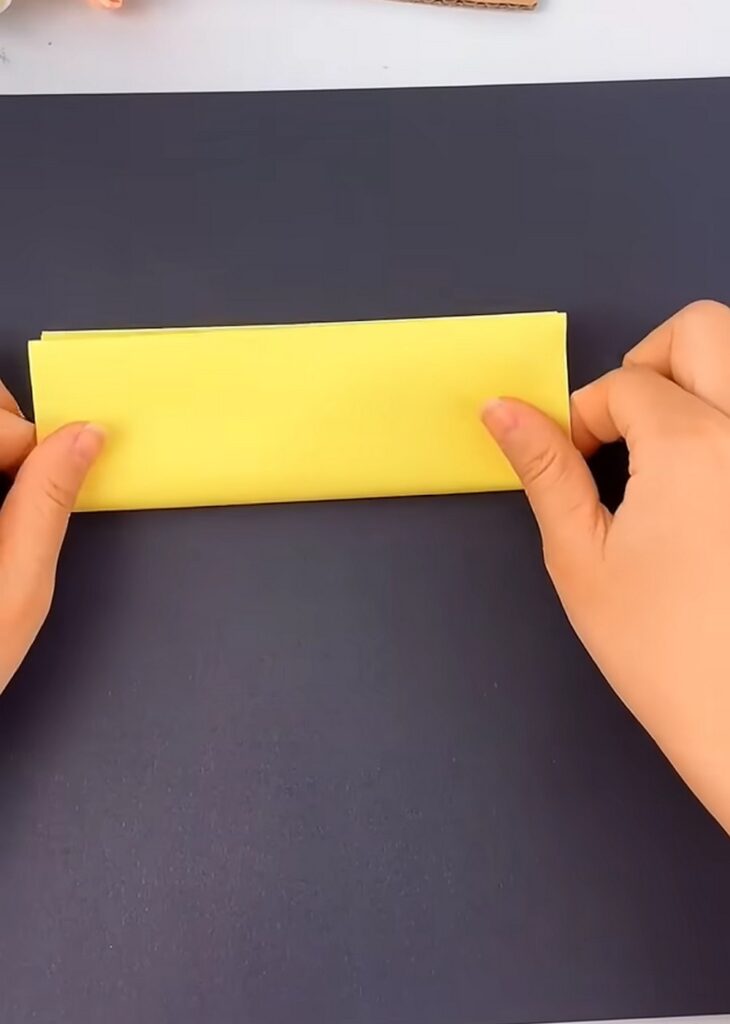
Note: This is a preliminary step for accordion folds. You can also do this using the usual method, but this step makes it easier!
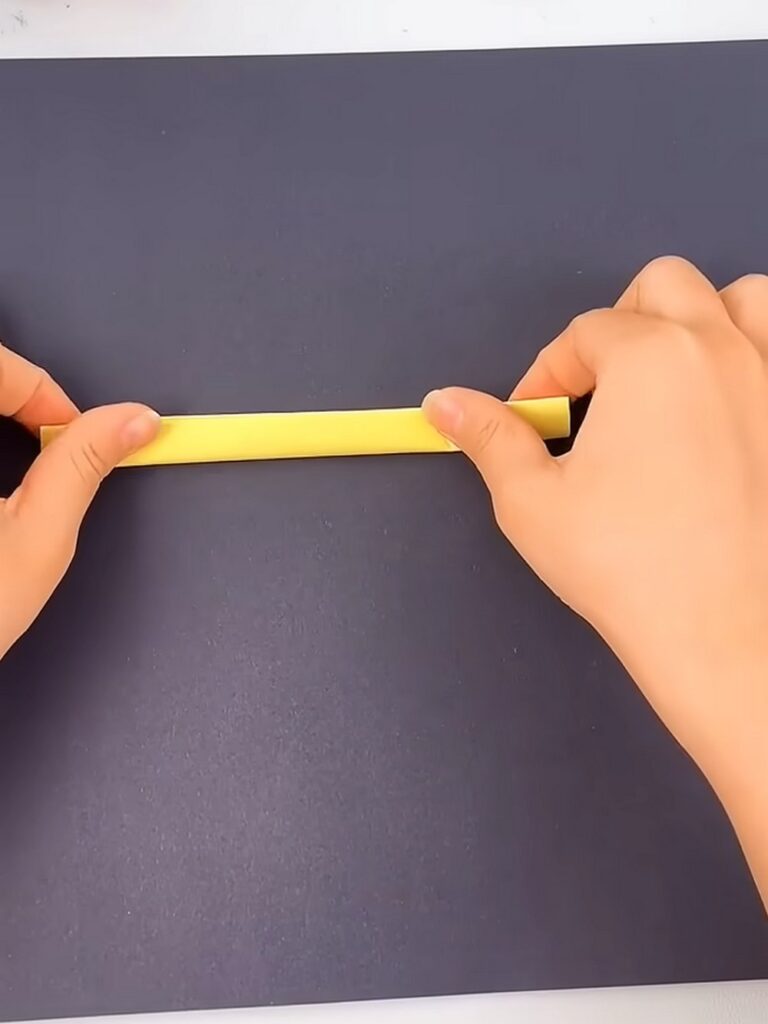
Step 2: Set the Creases
Unfold the paper completely. You will see a series of parallel “valley” folds. To get the petal to fan out correctly, you must now manually “reverse” every other fold to make a mountain-and-valley pattern (the zigzag shape).
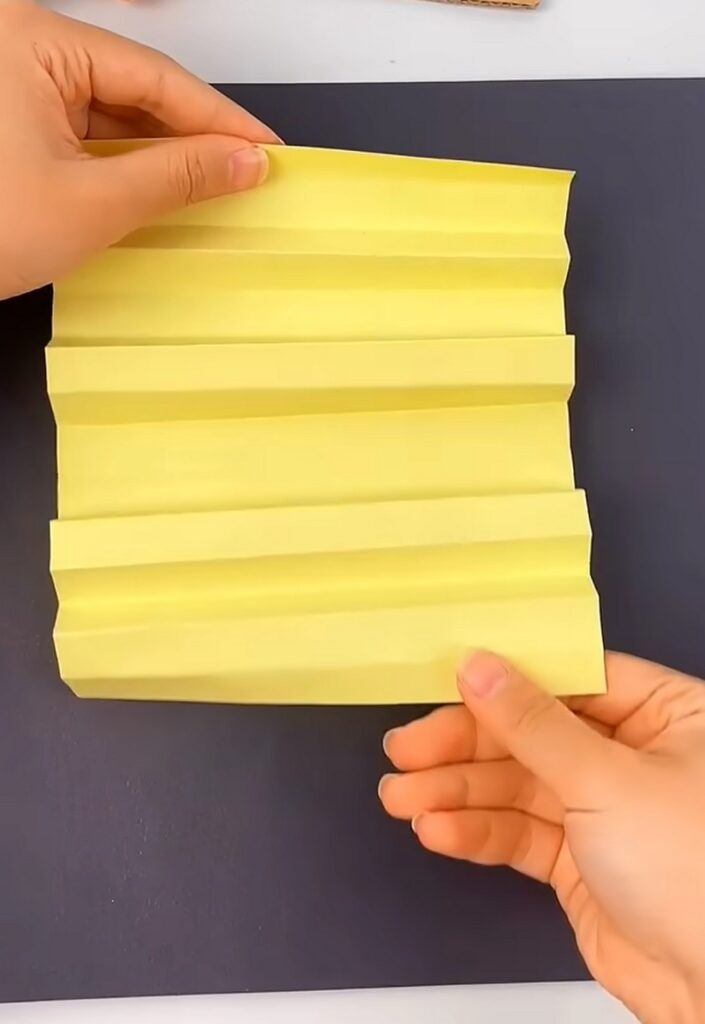
This is similar to the accordion fold, but now it should be easier for you to do so as you already have creases.
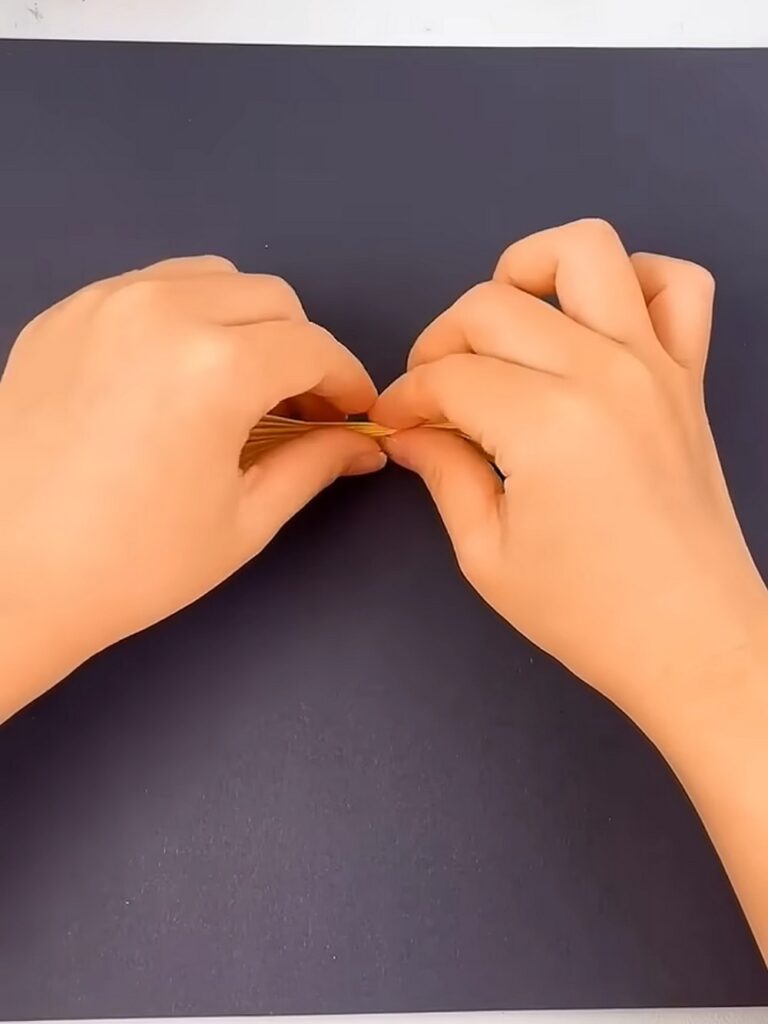
Step 3: Compress and Center-Fold
Grip the paper so it collapses back into a tight, thin strip along those lines. Once you have a single narrow strip again, fold the entire strip in half lengthwise to find the exact center.
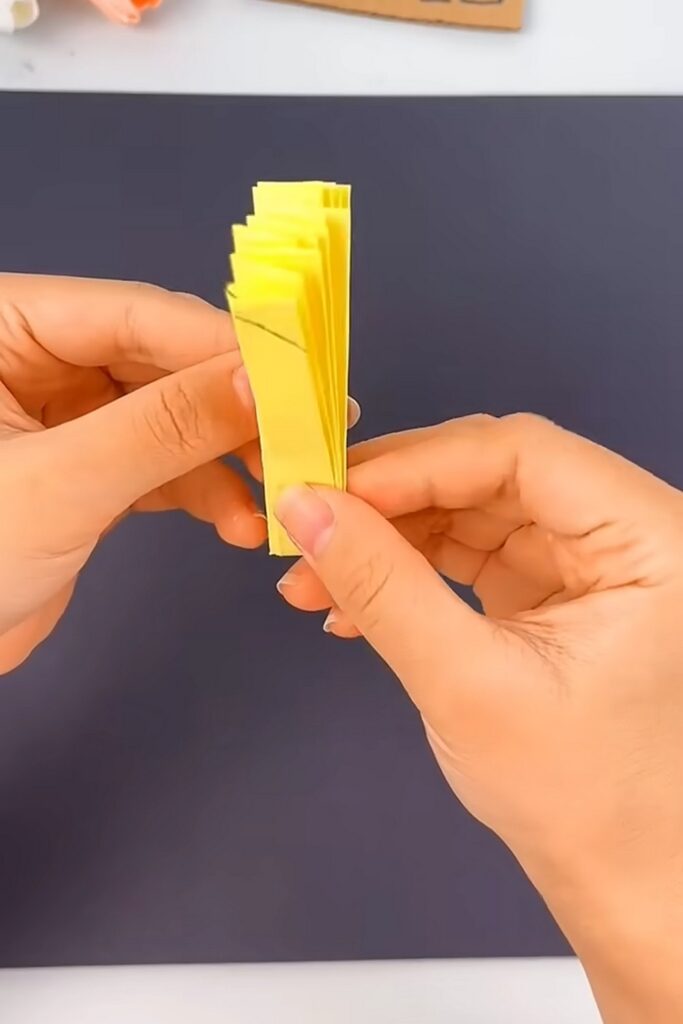
Step 4: The Tapered Cut
Hold the strip at the center-fold. On the open ends (the top), draw a diagonal line starting from the top corner down towards the folded edge.
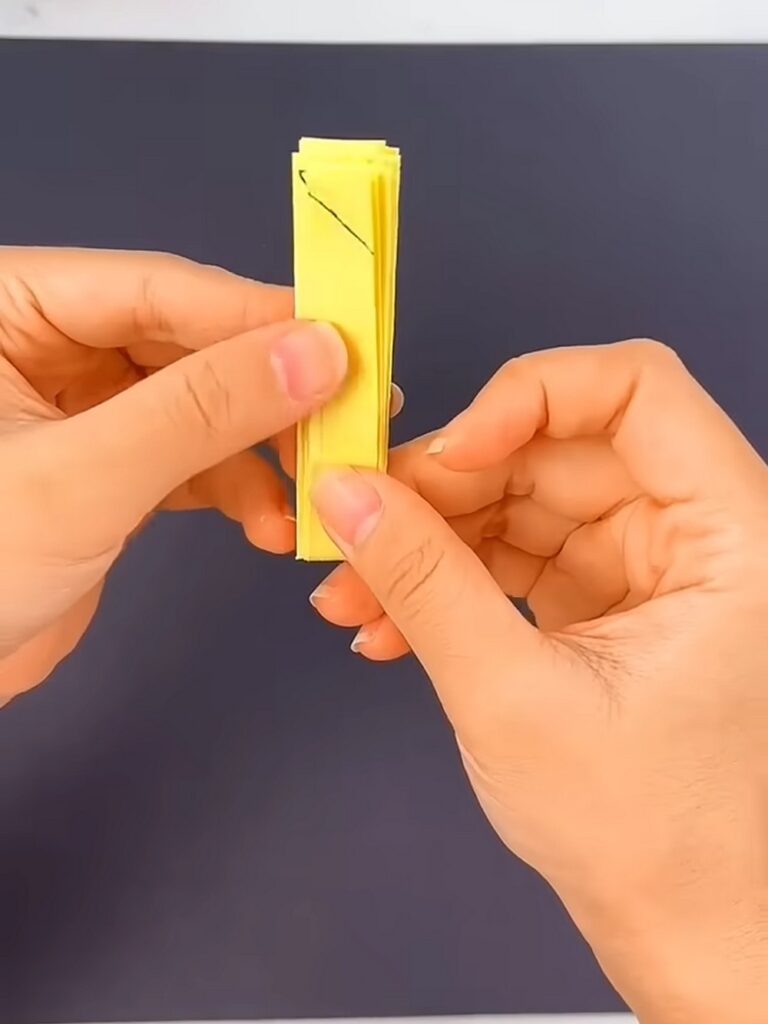
Use your scissors to cut through all the layers at once along this line. This creates the pointed petal.
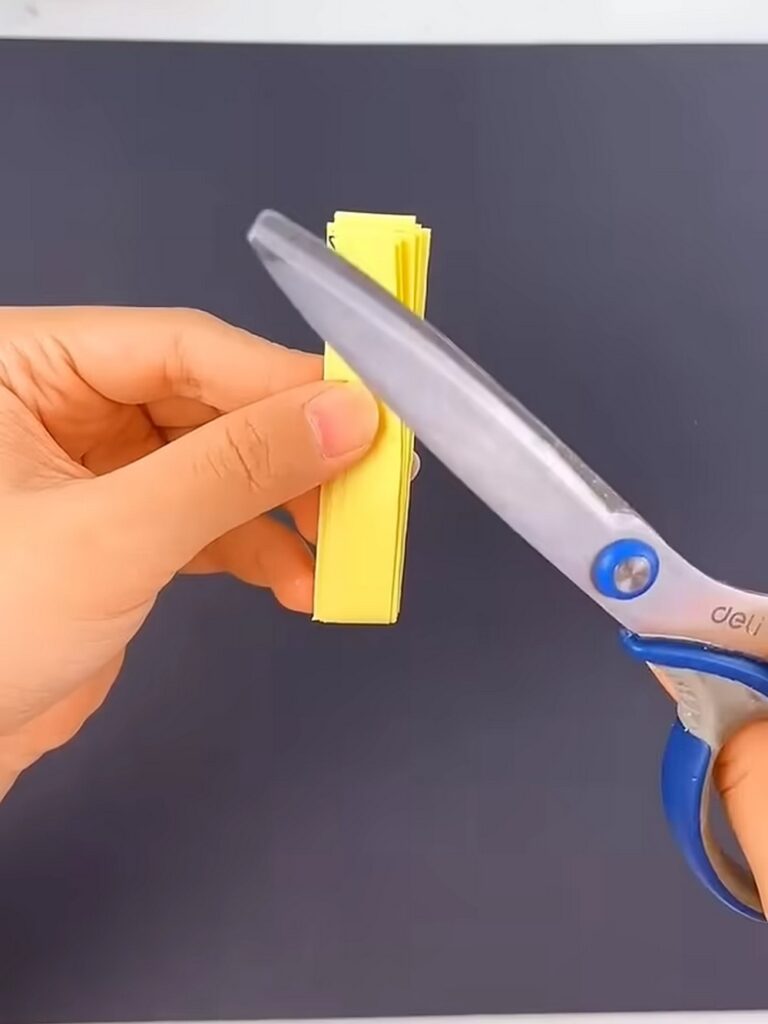
Step 5: Join the Inner Edges
Apply a strip of double-sided tape to one of the inner flat faces of the center-fold.
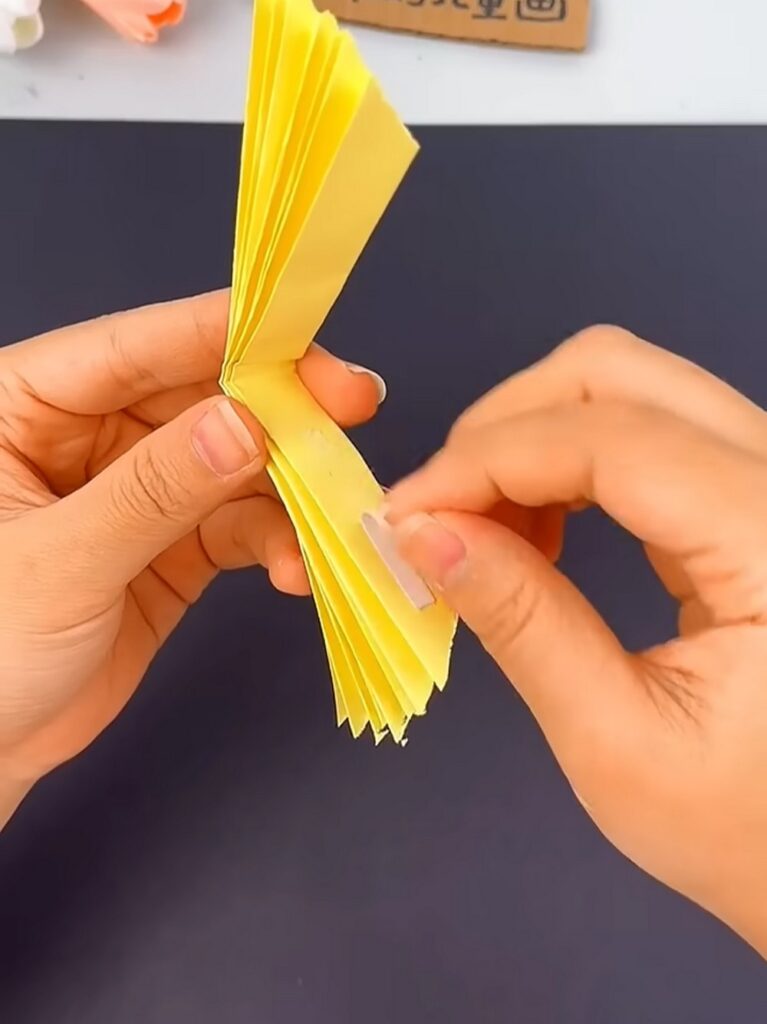
Bring the two halves of the strip together so they stick, forcing the pleats to fan out from the center.
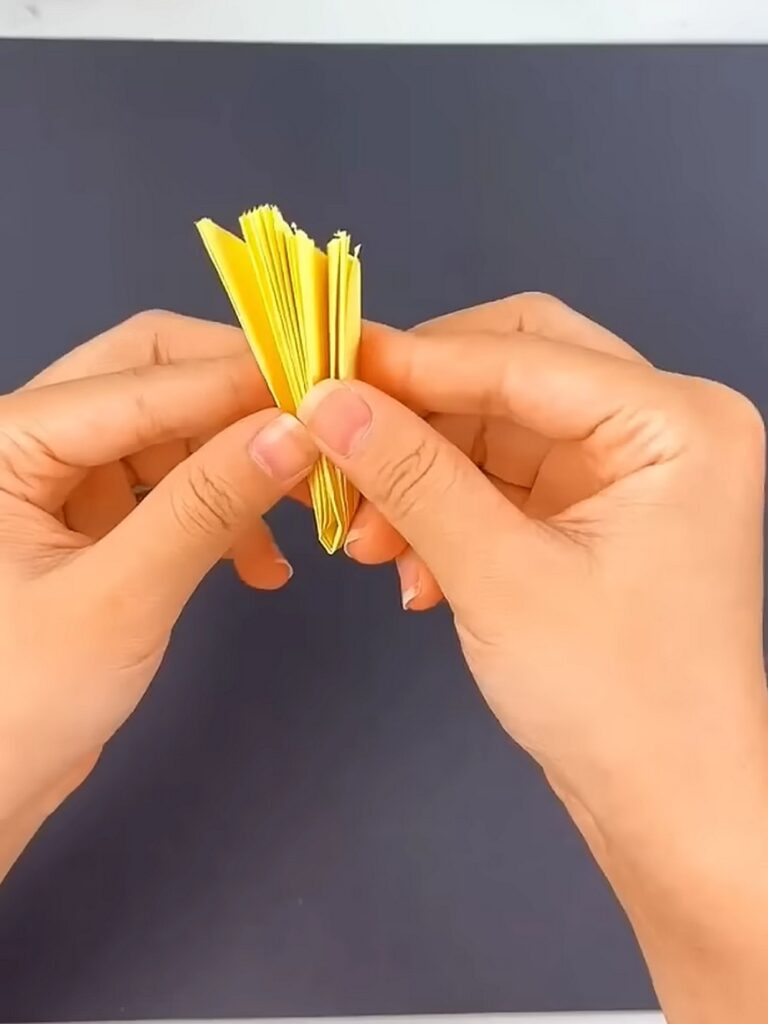
Step 6: Final Fan Out
Holding the joined center (the base of the petal), pull the outer edges apart. The paper will spread into a beautiful, jagged semi-circle that is just like the texture of a real sunflower petal.
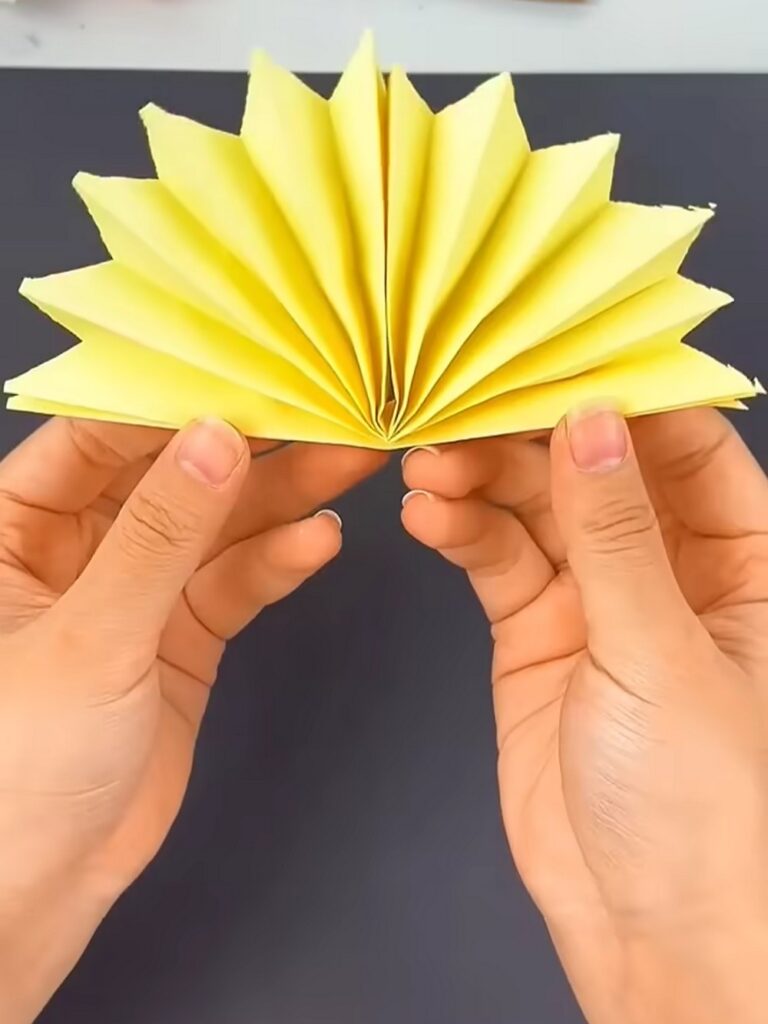
Step 7: Join Two Petal Halves
Take two of the pleated segments you prepared. Apply double-sided tape along one of the long, flat outer edges of the first part. Align the second segment against it and press. You now have a larger, double-width fan.
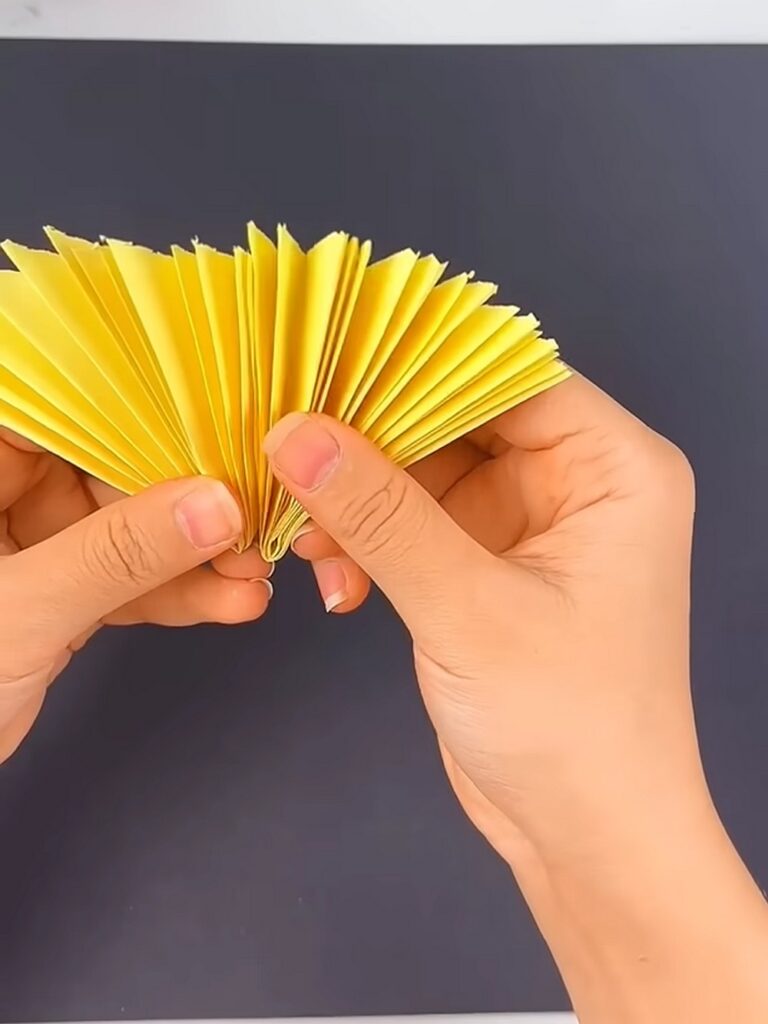
Step 8: Make the Folding Stems
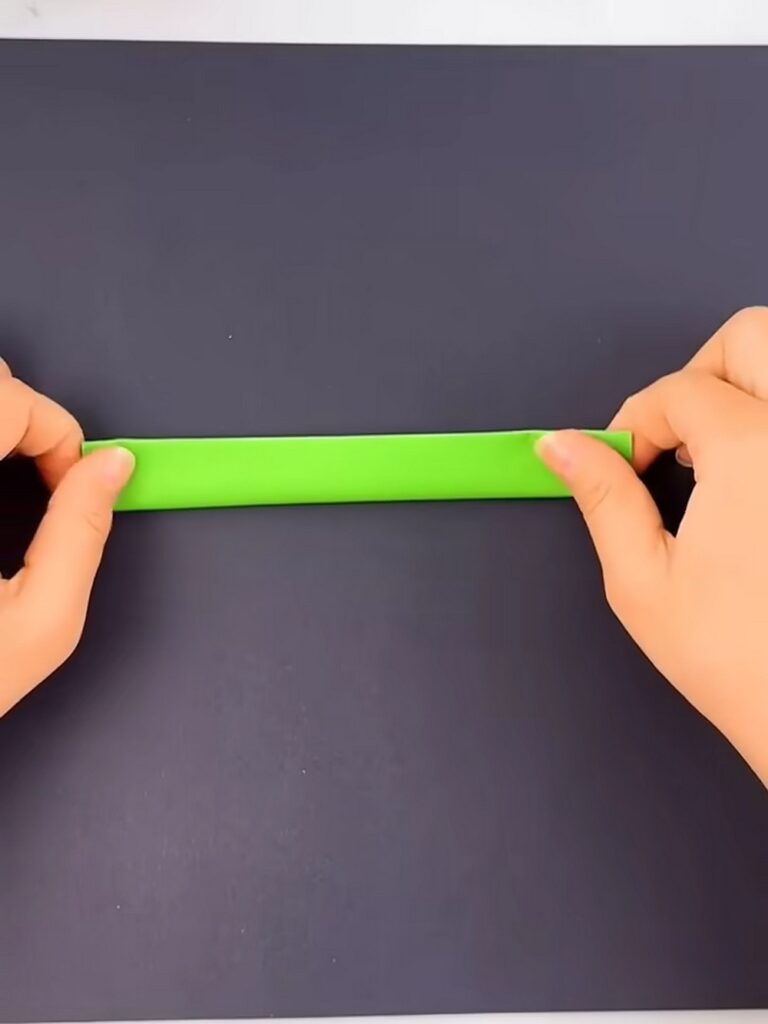
Take your A4 rectangular paper in green. Fold it in half, then in half again, and continue until you have a thick, sturdy flat strip.
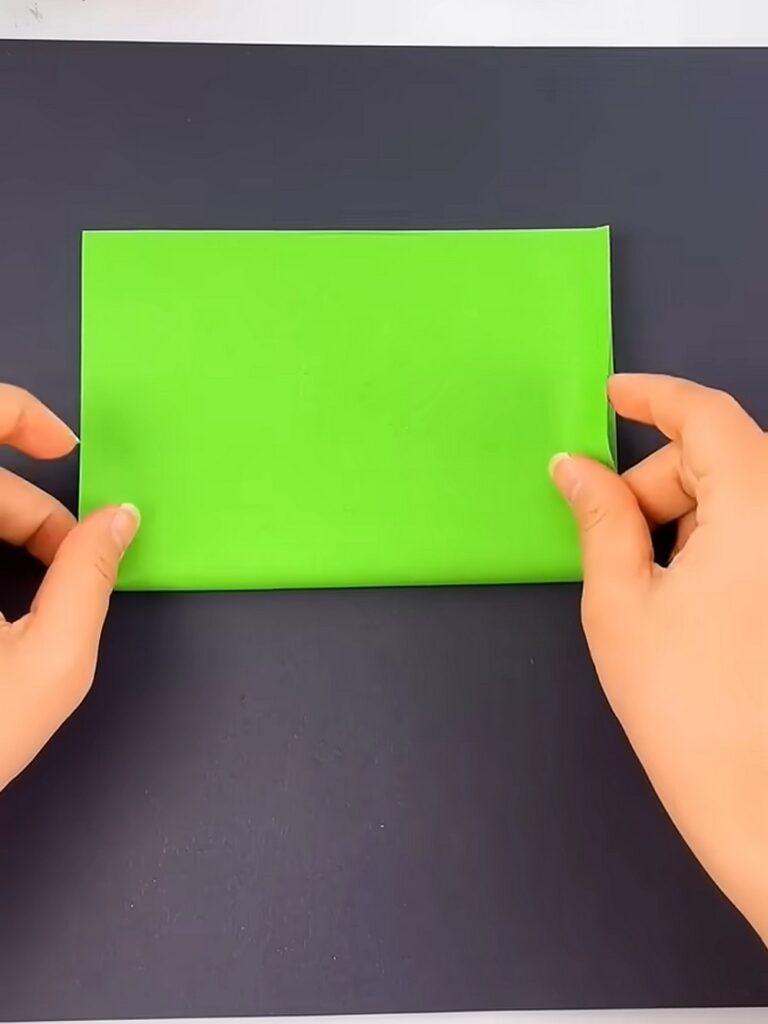
Glue the final flap down to secure it. Repeat this so you have two stems.
Step 9: Attach the Stems to the Fan
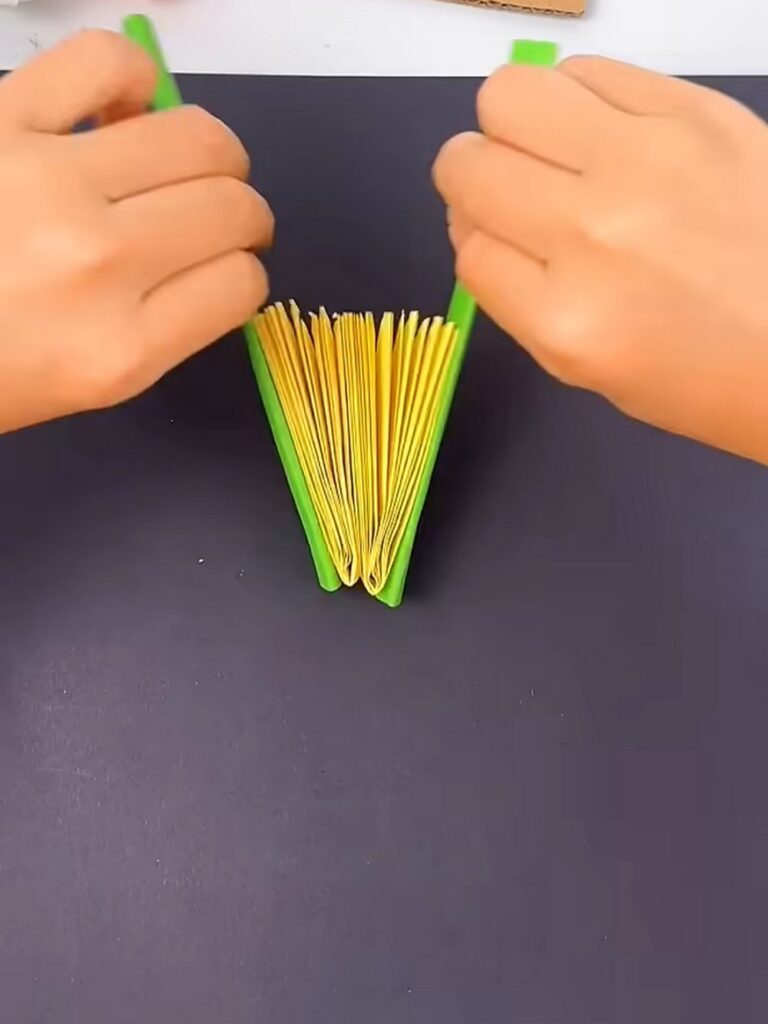
Take your two large yellow fan parts that are already joined in the middle. Apply glue or double-sided tape to the entire outer flat edge of the left side and the right side.
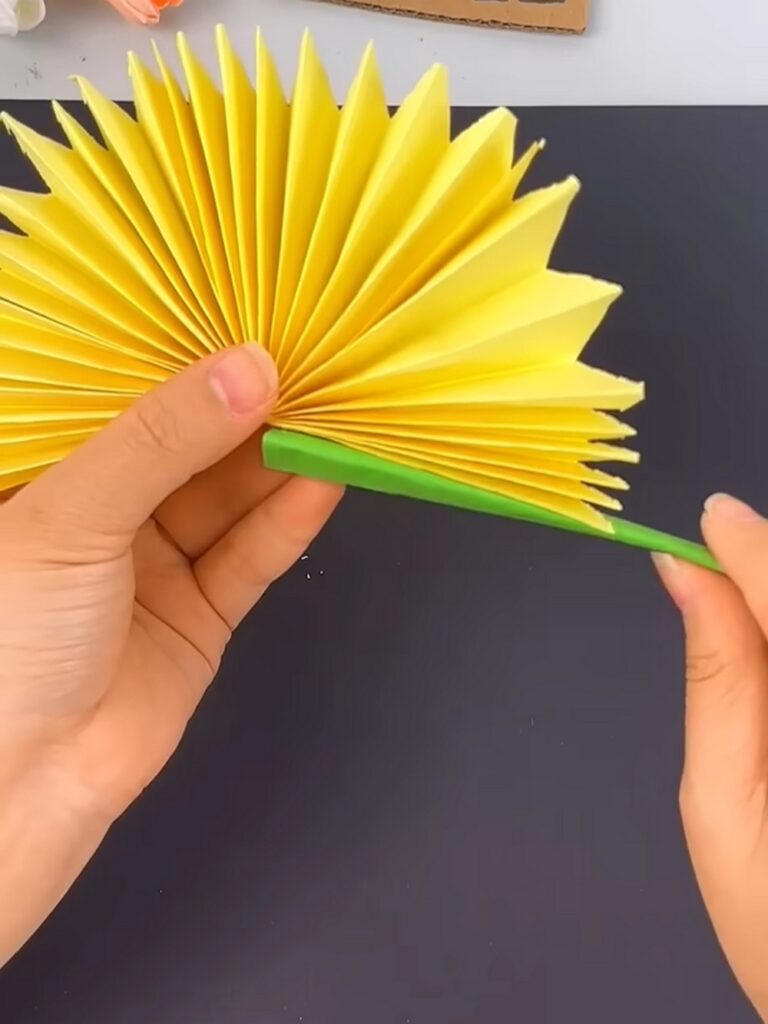
Press one green stem onto each edge. These stems will now work as the handles to pull the fan open or fold it shut.
Step 10: Prepare the Leaves
Cut two leaf shapes out of green paper.
To make them look more life-like, you can fold them in half and then accordion-fold them diagonally to create “veins.” When you unfold them, they will have a nice 3D texture.
Feel Difficult?
Step 11: Attach the Leaves
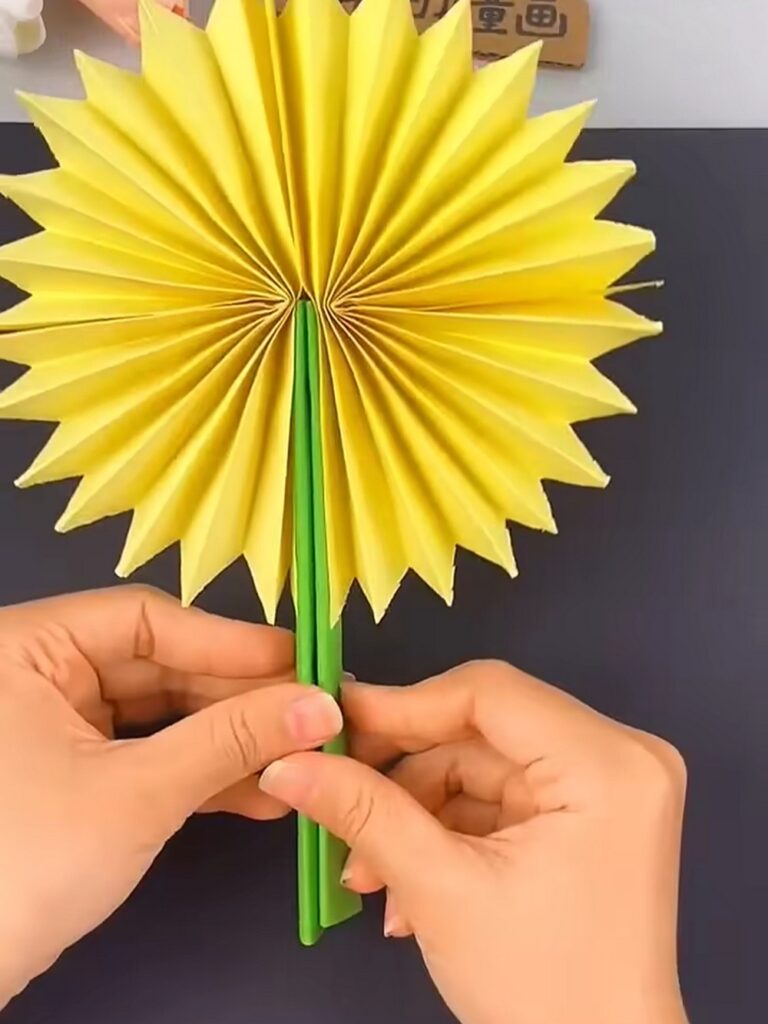
Glue one leaf to the side of each green stem. Position them so they point outward when the fan is closed. This makes the stems look like a flower stalk when the sunflower is “tucked away.”
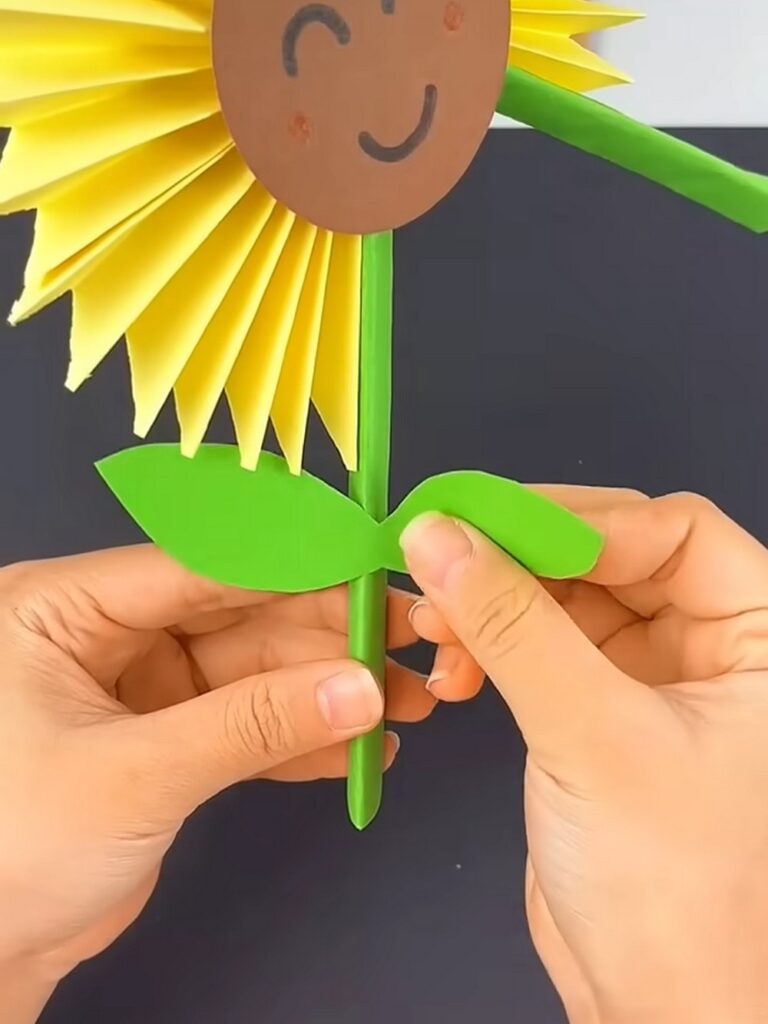
Step 12: Make the “Smile” Center
Cut a brown circle for the sunflower’s face. Use a black marker to draw a happy “smiley face” with two eyes and a curved mouth.
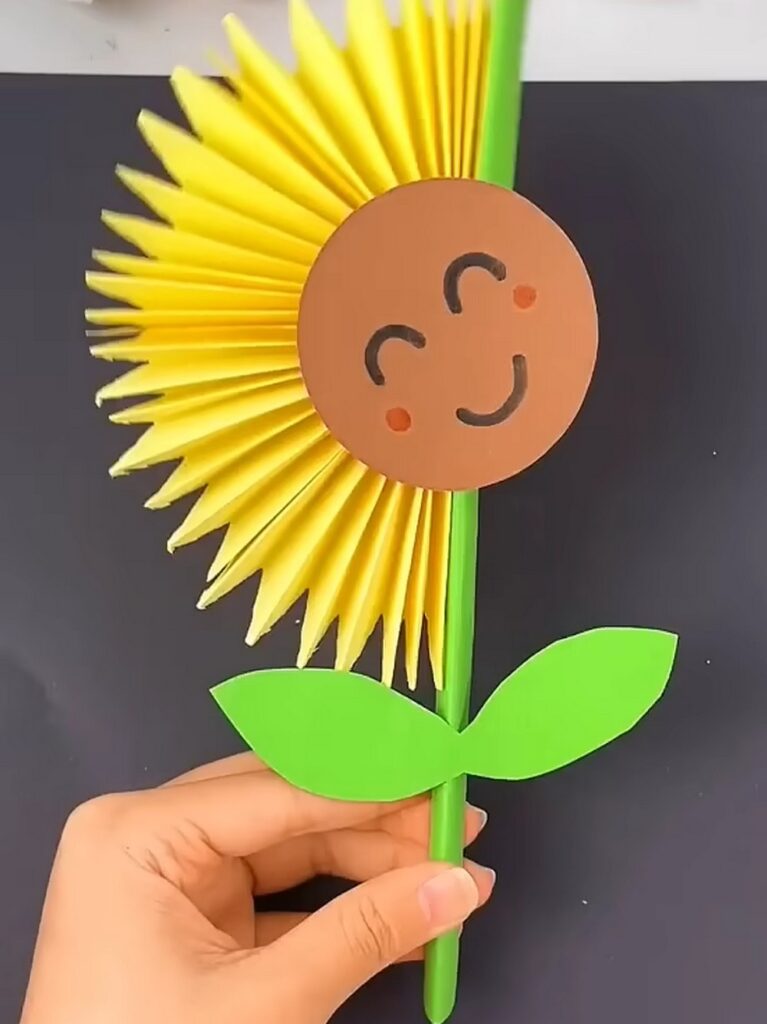
Step 13: The Final Assembly
Apply glue only to one half of the back of your smiley circle. Carefully stick it to the center of the yellow pleats on one side of the join.
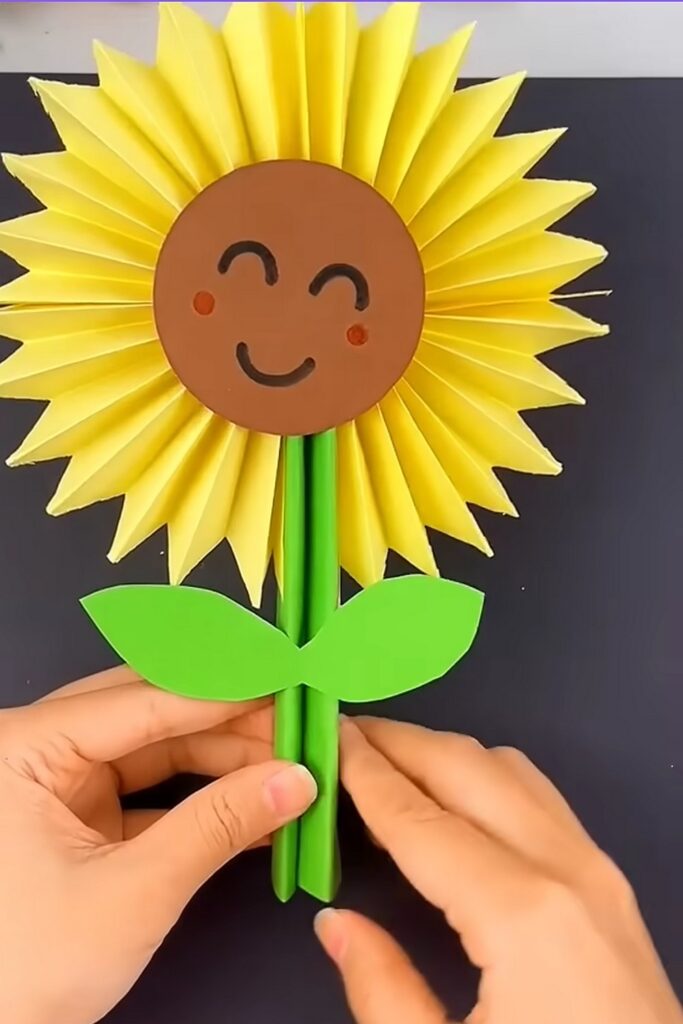
Important: Do not glue the circle to both sides, or the fan won’t be able to open! By gluing it to just one side, the face stays in the center when the fan is expanded, but slides out of the way when you fold the stems together.
And that’s it!
Was this Plushie Tutorial Helpful? Tell us in the Comments.
Your feedback is a great way for us to improve the tutorials. Did you find the tutorial helpful? Be sure to subscribe to the creator’s channel!
About "MAKE DIY via YouTube"
She is running one of the most special corner of paper crafts that are all quick and easier and require no skill!

About "Talha"
Hey, I’m Talha, the Crafter on Craftstive.com. I love to share guides on folding cute origami models and paper crafts, and I am always ready to inspire your next craft project with my weekly craft discussions.