

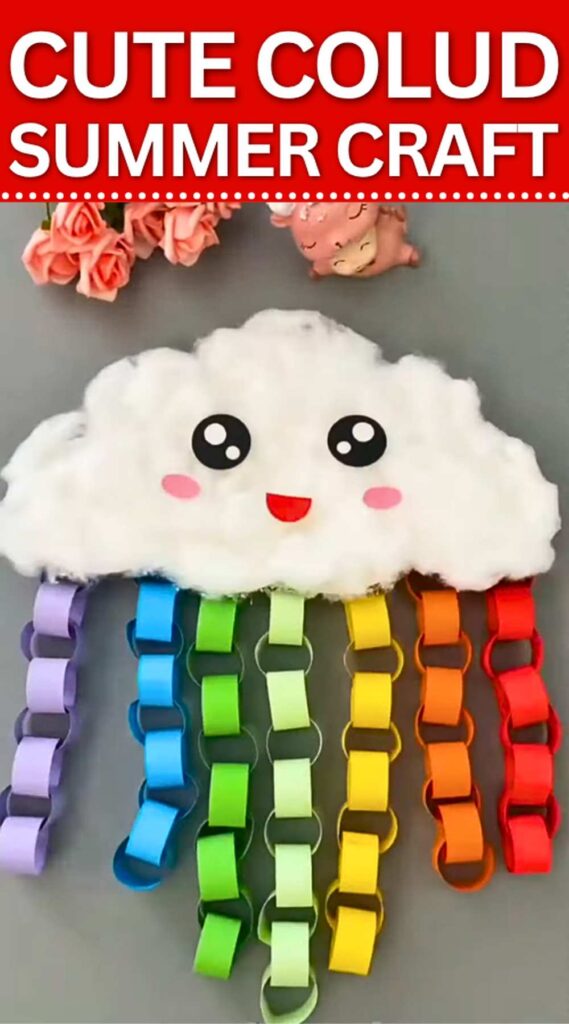
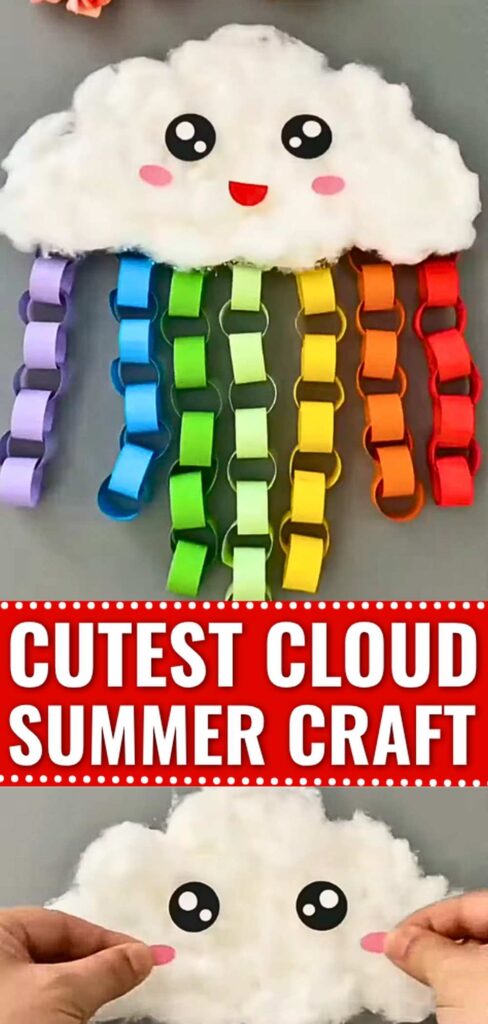
Let the kids try this FUN and COLORFUL rainy day craft activity this summer! We will be making a smiling, kawaii & fluffy cotton-covered paper cloud with rainbow paper hanging chains. I have discussed a similar idea to “COOL sun rainbow countdown craft.”
This is also made the same way; that is, with the paper loop chains. Each day, kids can remove one link and track how much time is left until summer adventures begin.
It will also make an irresistible wall window hanging for the kids’ room. When the air blows, the chains will wave in the breeze and make any rainy day colorful and brighter. You can make it as big as you want with basic cutting and the use of double tape. Now, let me show you how you can DIY this FUN summer decor and indoor activity!
Skill Needed: None
Supervision: Yes
Time: 30 minutes
Techniques Kids can learn: With this craft, kids can learn the following techniques:
- Cut a symmetrical cloud shape by folding the paper in half.
- Make chains out of paper loops.
- Attaching cutouts to a cotton stuffing!
Paper Cloud & Rainbow: Step-by-Step Instructions
Follow these step-by-step instructions to make this paper cloud by yourself:
Materials Needed
- White paper or cardstock (for the cloud base)
- Colored paper (red, yellow, green, purple, orange, black, and pink are needed for the facial features)
- Scissors
- Cotton balls or polyester fiber stuffing
- Double-sided tape (used in the demonstration)
Step 1: Cutting the Cloud Shape
Start with a piece of white paper or cardstock. To be sure your cloud is perfectly symmetrical, fold the paper in half.
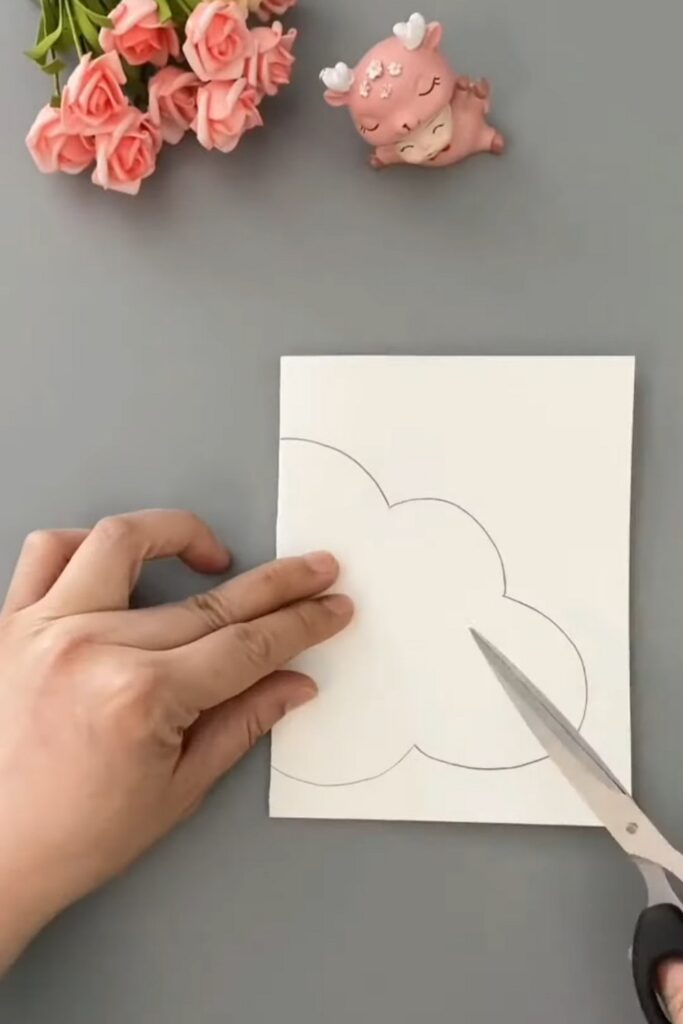
Outline half of a cloud along the folded edge. Use your scissors to cut along the curved pencil lines.

Step 2: Unfolding the Cloud Base
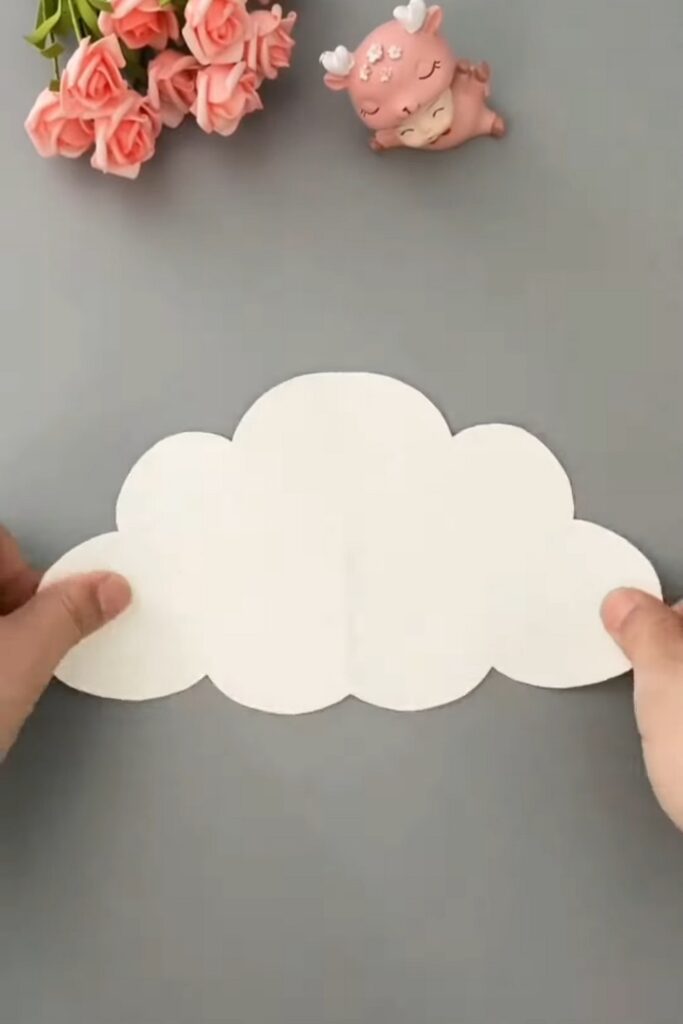
Once you have finished cutting, open up the folded paper. You will now have a perfectly even and symmetrical cloud shape to be used as the base for your craft. Lay it flat on your workspace.
Step 3: Applying the Adhesive
Apply strips of double-sided tape directly onto the white paper cloud. You will want to cover the surface of the cloud with adhesive.
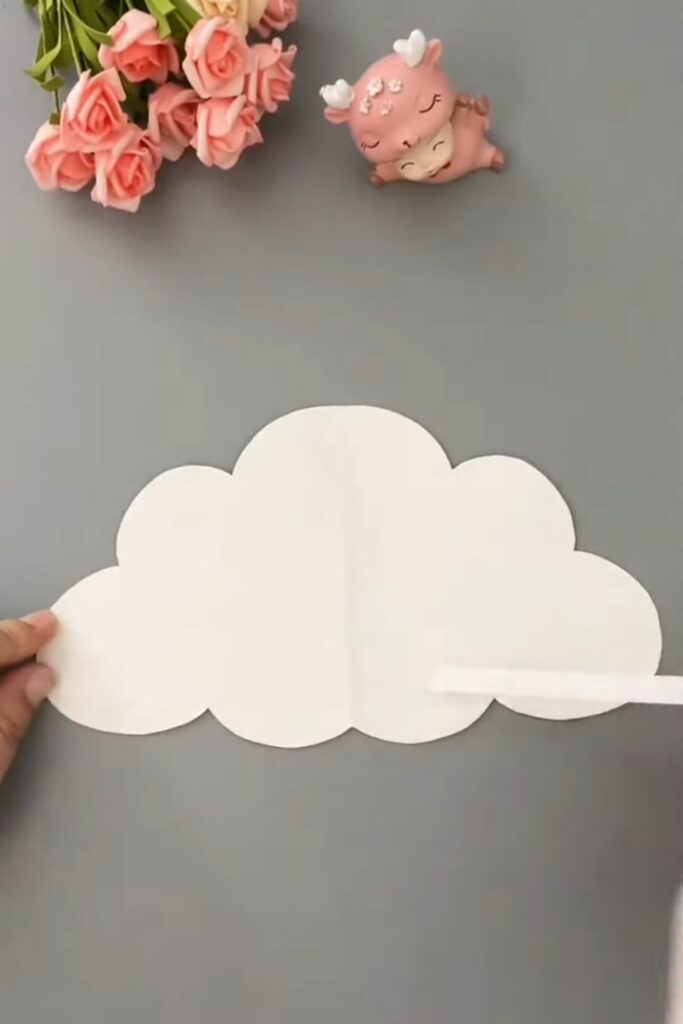
Tip: While tape is used here, spreading a thin, even layer of white glue across the surface of the paper is highly recommended, as it will grab the cotton much better and prevent it from peeling off later.
Step 4: Adding the Fluffy Texture
Take your cotton balls or stuffing and pull them apart slightly to make them look more like light, airy clouds.
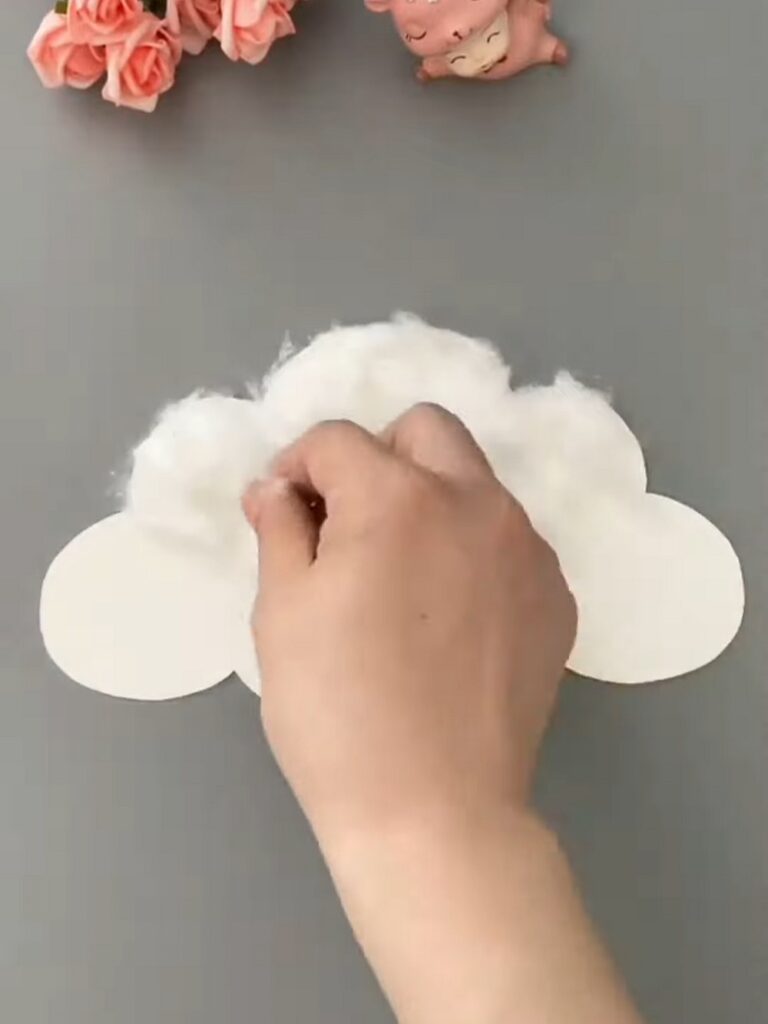
Press the cotton onto the adhesive (tape or white glue) on your paper base. Continue adding cotton until the entire paper cloud is completely covered and fluffy.
Step 5: Face
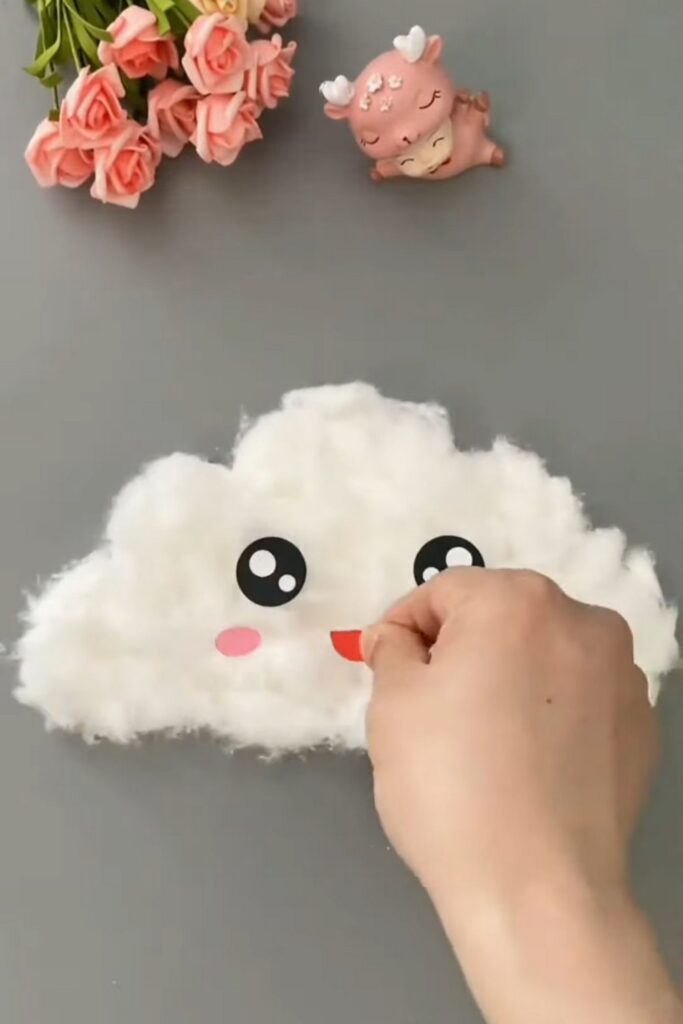
Cut out large, cute eyes using black and white paper, two small pink ovals for the cheeks, and a tiny red half-circle for a smiling mouth.
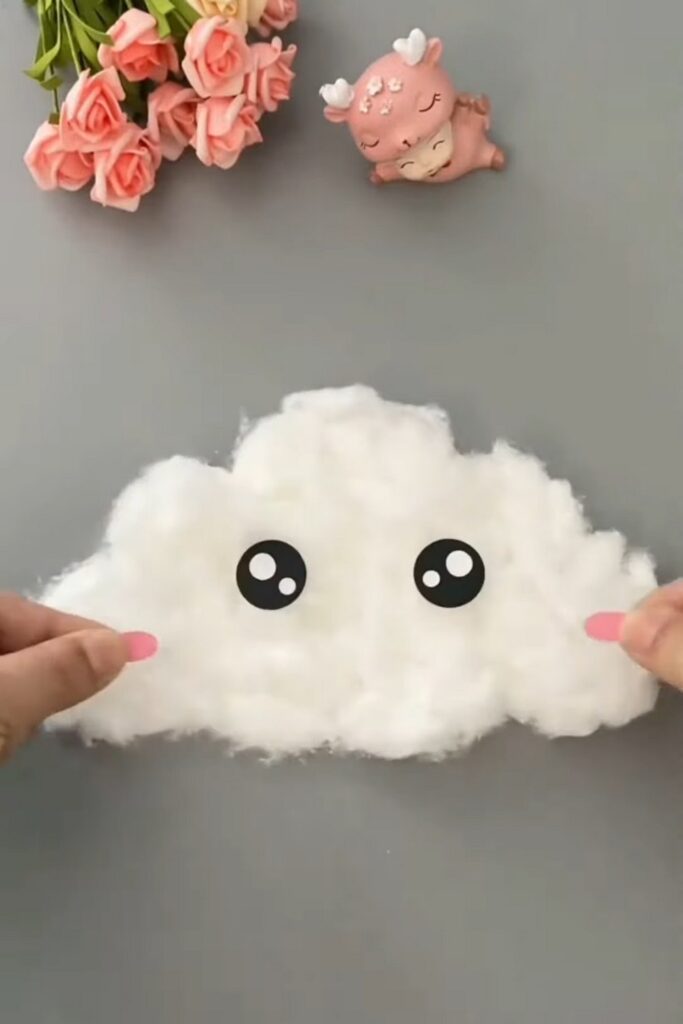
Apply a small dab of white glue to the back of each thing and press them into the cotton fluff.
Step 6: Preparing the Chain Links
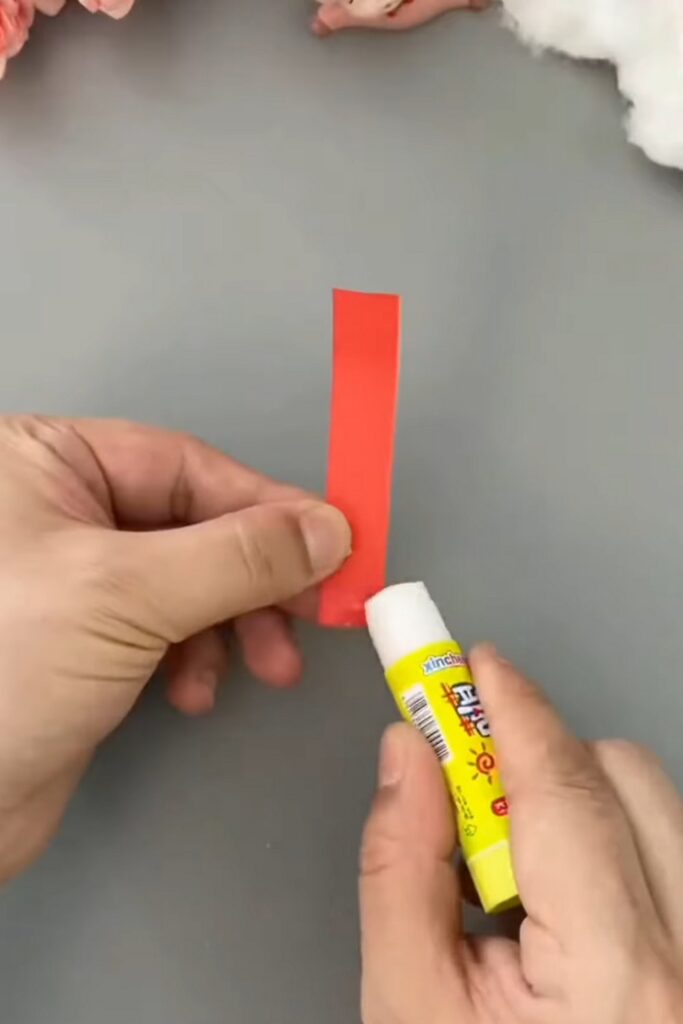
Cut your colored paper into even, rectangular strips. These will become the links for your hanging chain.
Take one strip and apply gluestick to just one of the ends.
Step 7: Making the First Loop
Bring the dry end of the paper strip around to meet the glued end, overlapping them slightly.
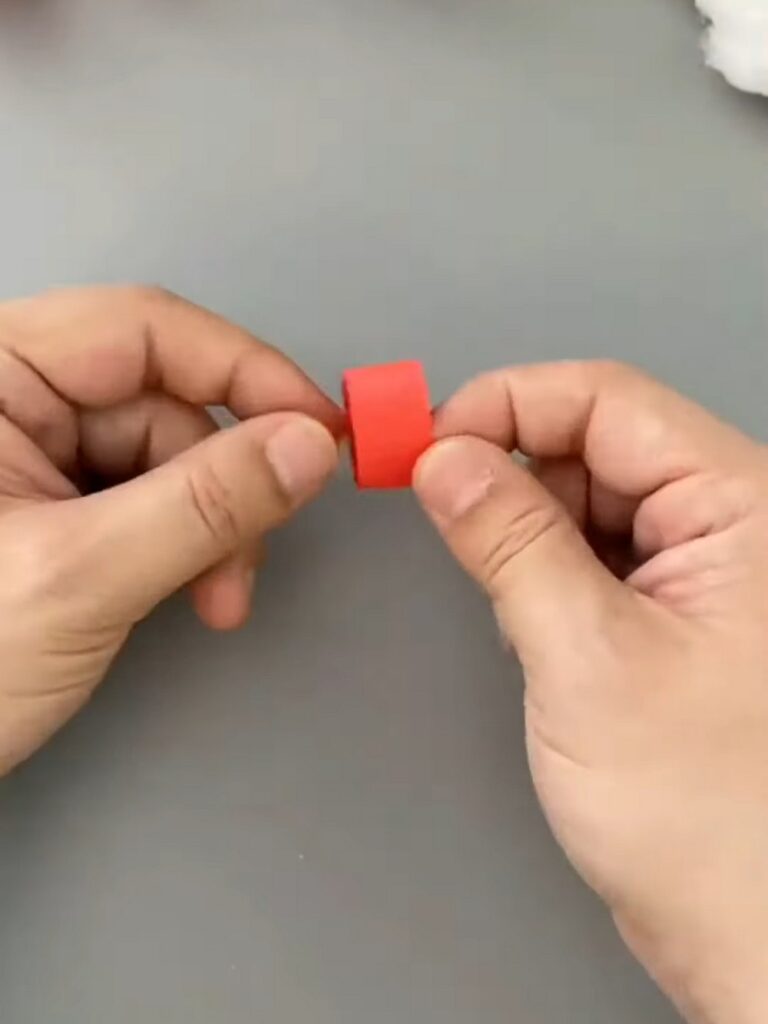
Press them together between your fingers to make a secure, round paper ring. This is the first link of your chain.
Step 8: Linking the Chain Together
Take a second straight strip of red paper and pass it through the center of the first ring you just made.
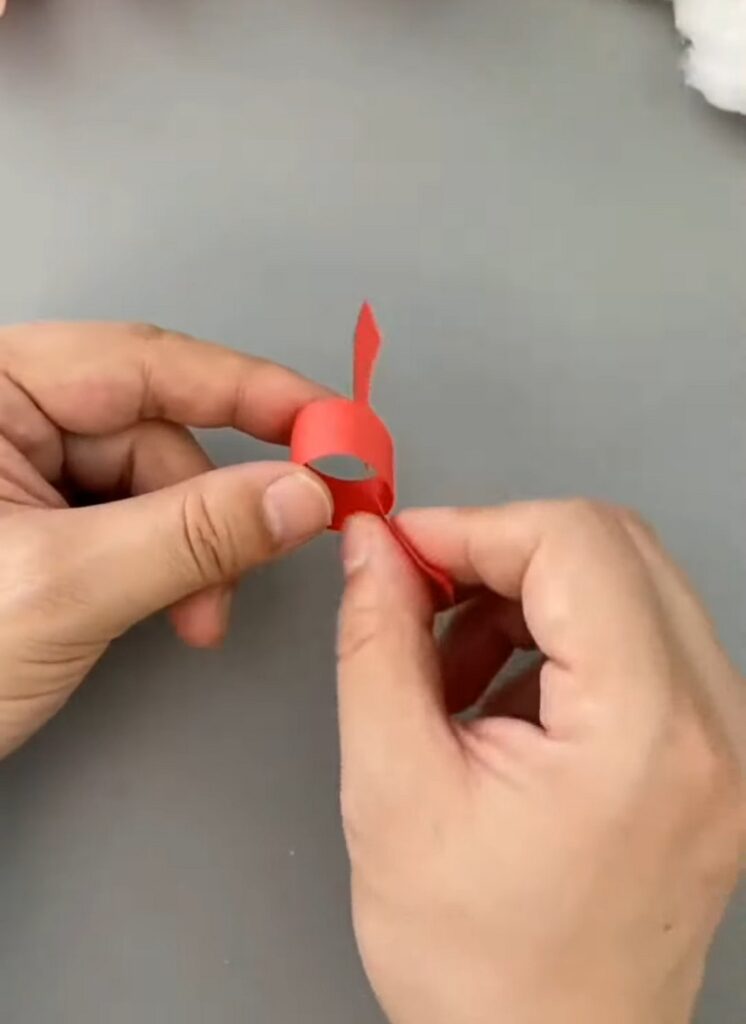
Apply your glue to the end of this new strip, just like you did in Step 6.
Step 9: Building the Chain Length
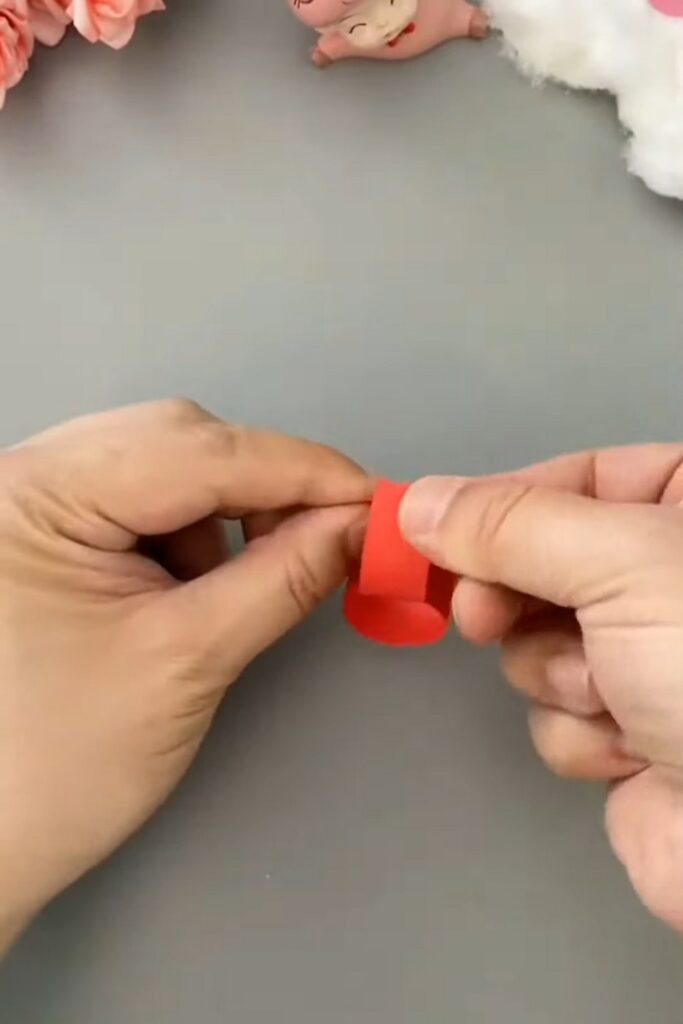
Close the second loop by pressing its ends together. You now have two linked rings! Continue this exact process.
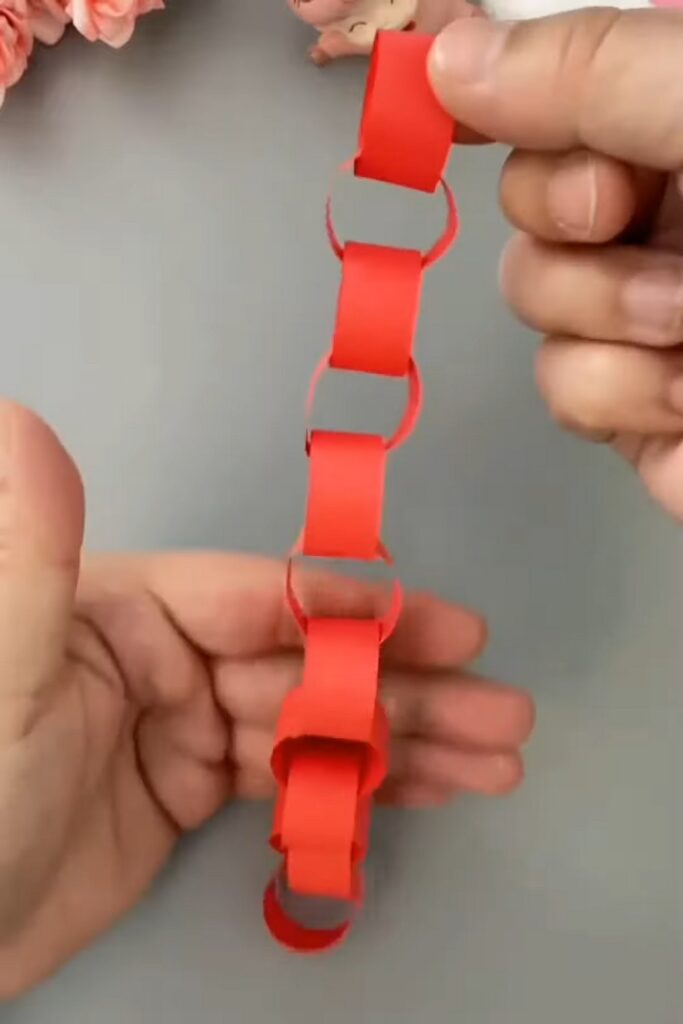
Threading a new strip through the last closed loop, gluing the end, and pressing it shut.
Feels Difficult?
Step 10: Finishing the Craft
Secure your final paper loop to complete the chain. To finish the entire cloud countdown craft, you will attach the top loop of your completed chain to the back or bottom edge of your fluffy cloud.

You can repeat steps 6 through 10 with different colors of paper to create a beautiful, hanging rainbow beneath your happy cloud!

And that’s how you can make a countdown craft for you and the kids.
Was this Tutorial Helpful? Tell us in the Comments.
Your feedback is a great way for us to improve the tutorials. Did you find the tutorial helpful? Be sure to subscribe to the creator’s channel!
About "MAKE DIY via YouTube"
She is running one of the most special corner of paper crafts that are all quick and easier and require no skill!

About "Talha"
Hey, I’m Talha, the Crafter on Craftstive.com. I love to share guides on folding cute origami models and paper crafts, and I am always ready to inspire your next craft project with my weekly craft discussions.