
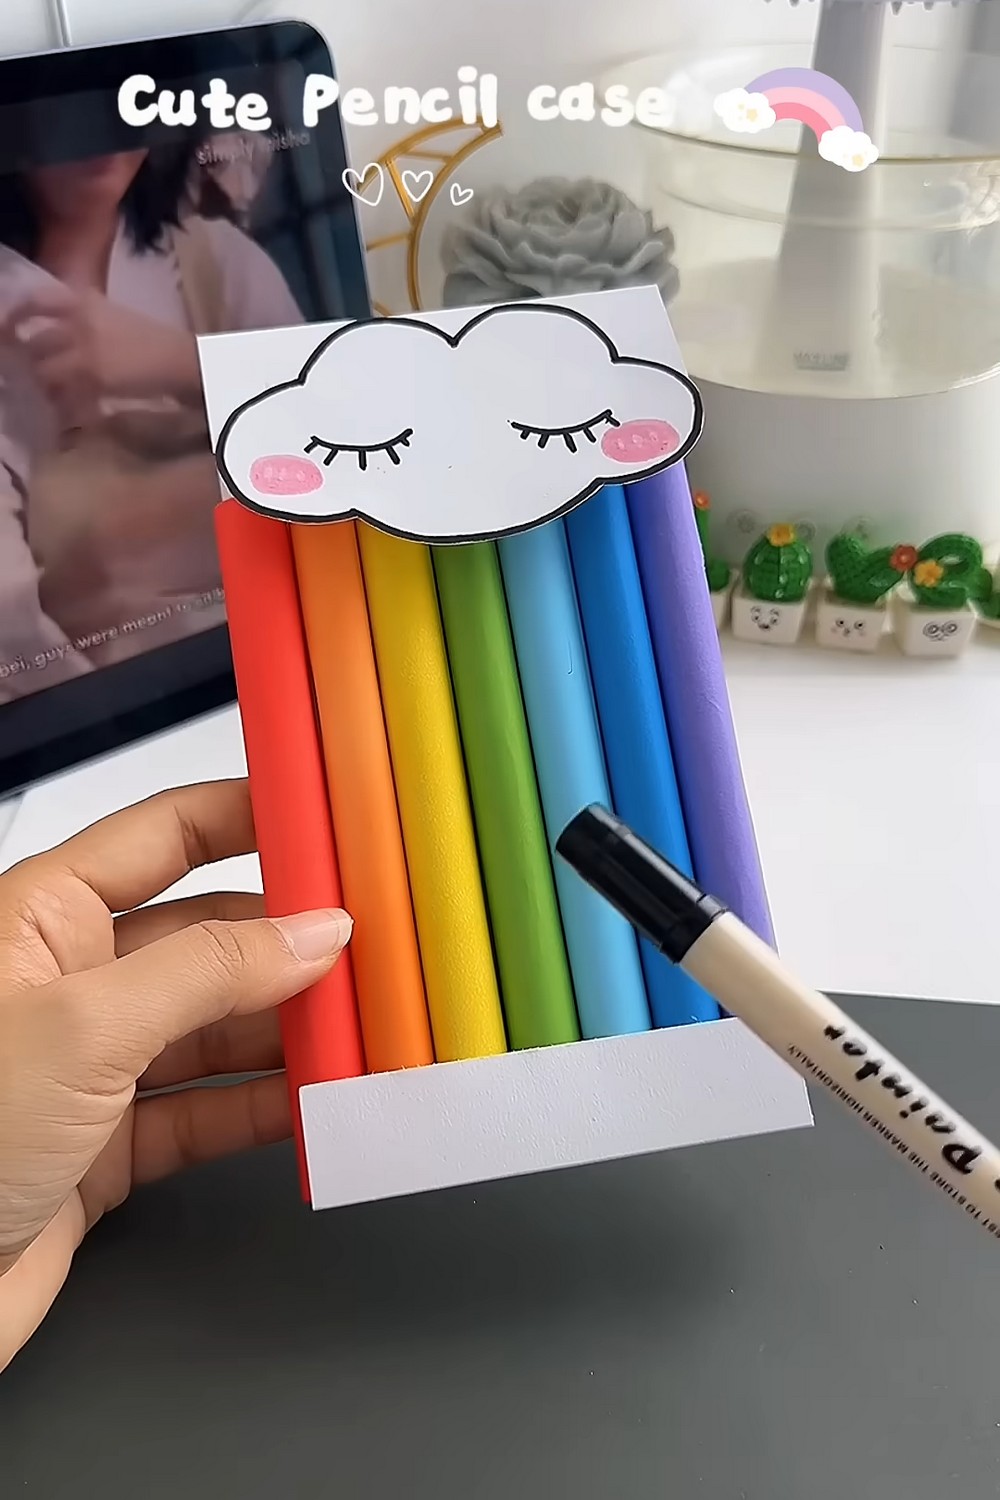
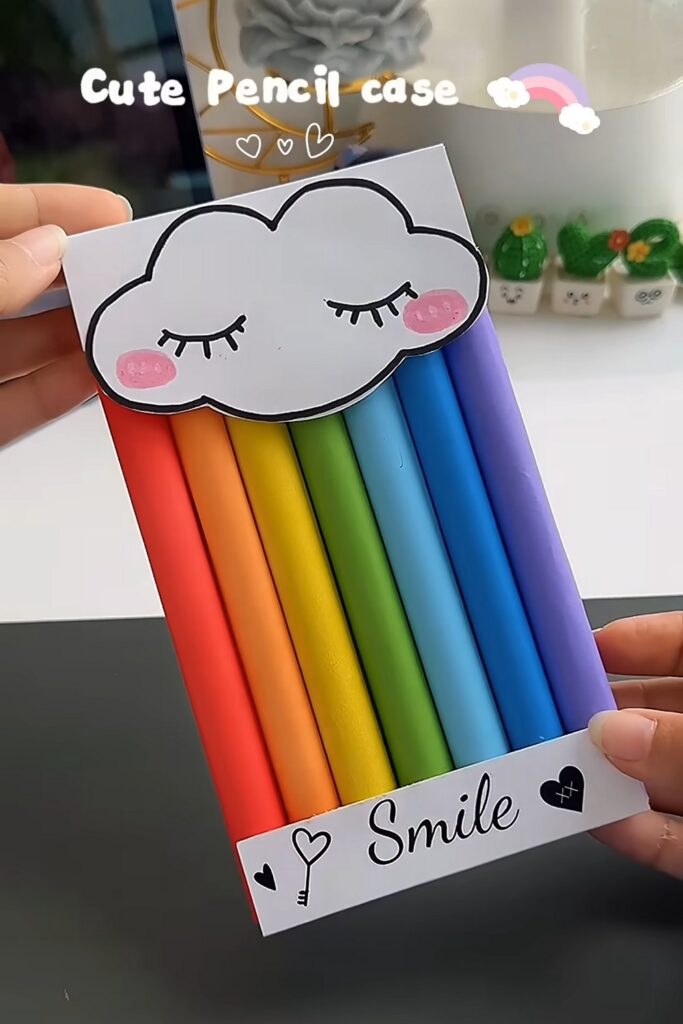
Make this COLORFUL and CUTE rainbow tube marker holder & decor with these easy instructions. Unlike the rainbow basket pencil holder I taught last time, this pencil holder is designed as a mini showcase stand with a KAWAII blushing and sleeping cloud on the top and a hand-drawn SMILE and Heart doodle greeting.
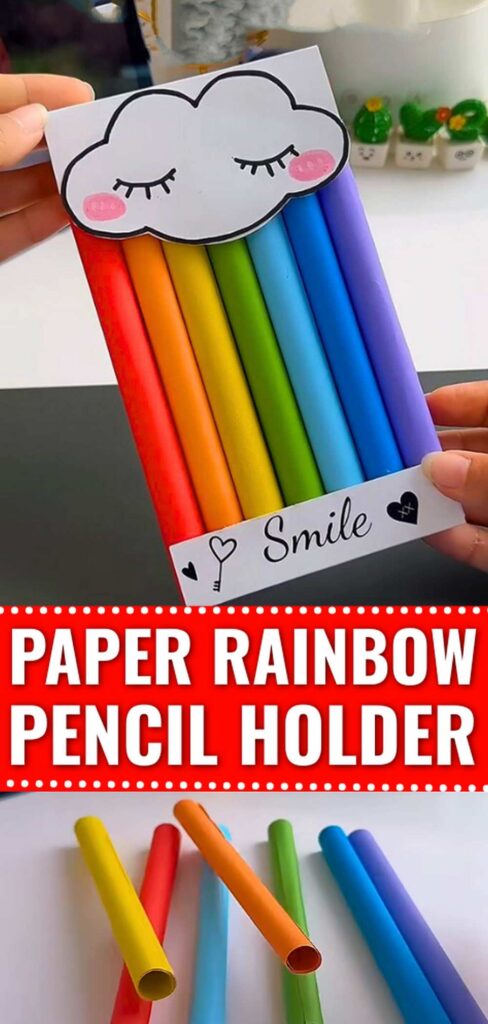
The top white section is actually a lid that we shall cleverly close using a magnetic button. The idea will be to make paper tubes of cardstock in multiple colors and attach them to a white template. Kids will WELCOME it on their craft or study desk for sure.
It will make a dream present for a young artist. They can identify the colors and keep each color in the corresponding tube. Definitely the MOST FUN summer craft activity it will be. If you like this one, you can later try the stacking star basket and also the rainbow countdown wall hanging.
Skill Needed: Crafting Basics
Supervision: Yes
Time: 30+ minutes
Techniques Kids can learn: With this craft, kids can learn the following techniques:
- Kawaii drawing
- Make paper tubes
- Working with double tape
- Handwriting Font in English
Materials Needed
- Colored paper sheets (red, orange, yellow, green, blue, purple)
- White cardstock or thick paper (for base and cloud)
- Pencil or an Ink Remover
- Scissors
- Glue (white glue or a strong adhesive like B-7000)
- Double-sided tape
- Small magnets (2 pieces)
- Black marker
- Pink marker or blush
Part 1: Rainbow Pencil Tubes Instructions
Follow these step-by-step instructions to make the tube and stand part of this pencil holder decoration:
Step 1: Prepare the Colored Paper
Select sheets in rainbow colors. Cut them into equal rectangular strips. Be sure that the width of each is about 1.2x of the marker height.
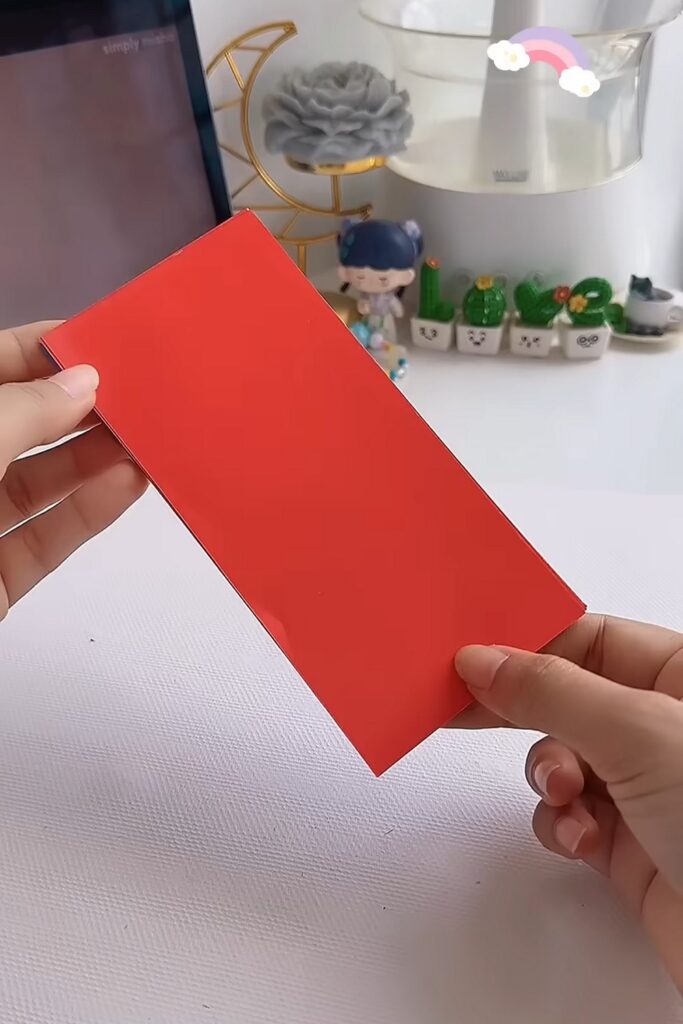
Step 2: Roll the Paper Around a Pencil
Place a pencil along one edge of a paper strip.
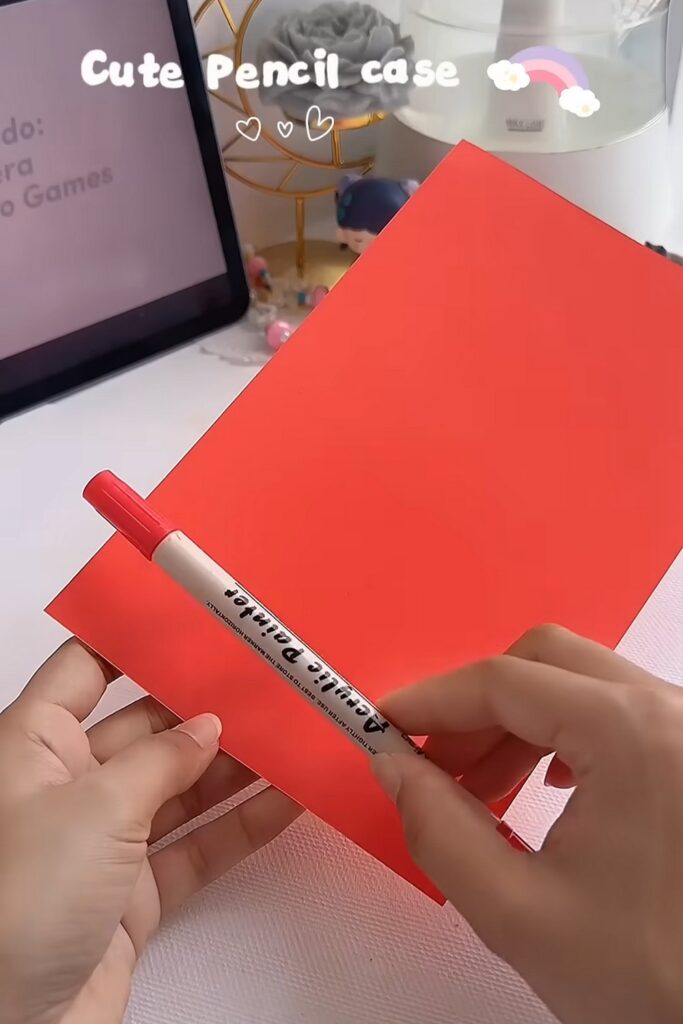
Start rolling the paper tightly around the pencil, keeping the roll straight and even.
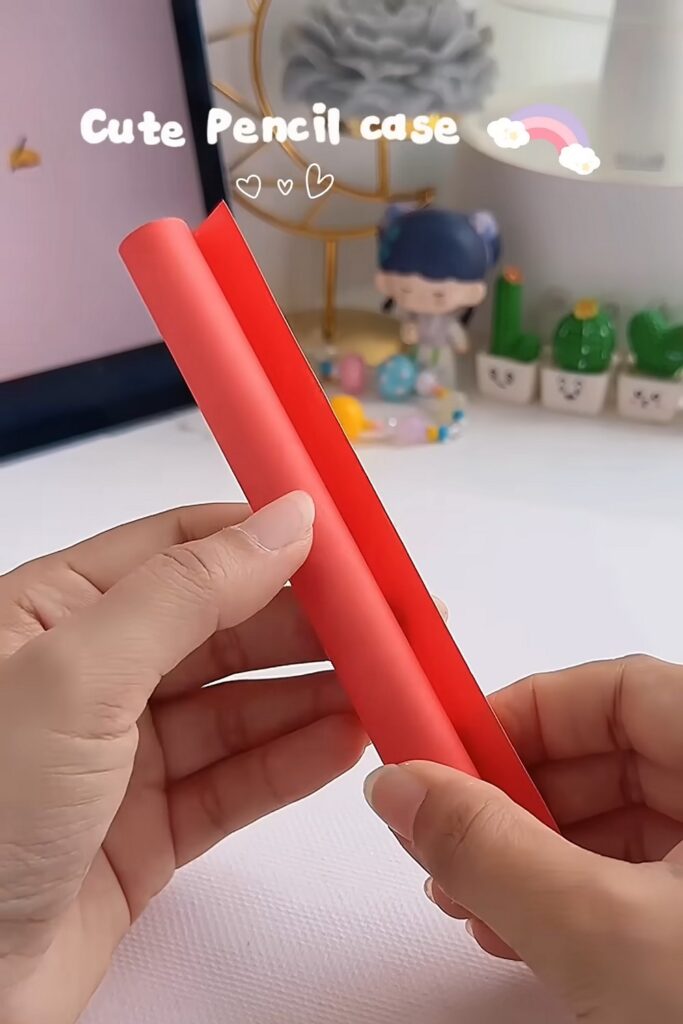
Step 3: Secure the Roll
Before reaching the end of the paper, apply a thin layer of glue along the edge.
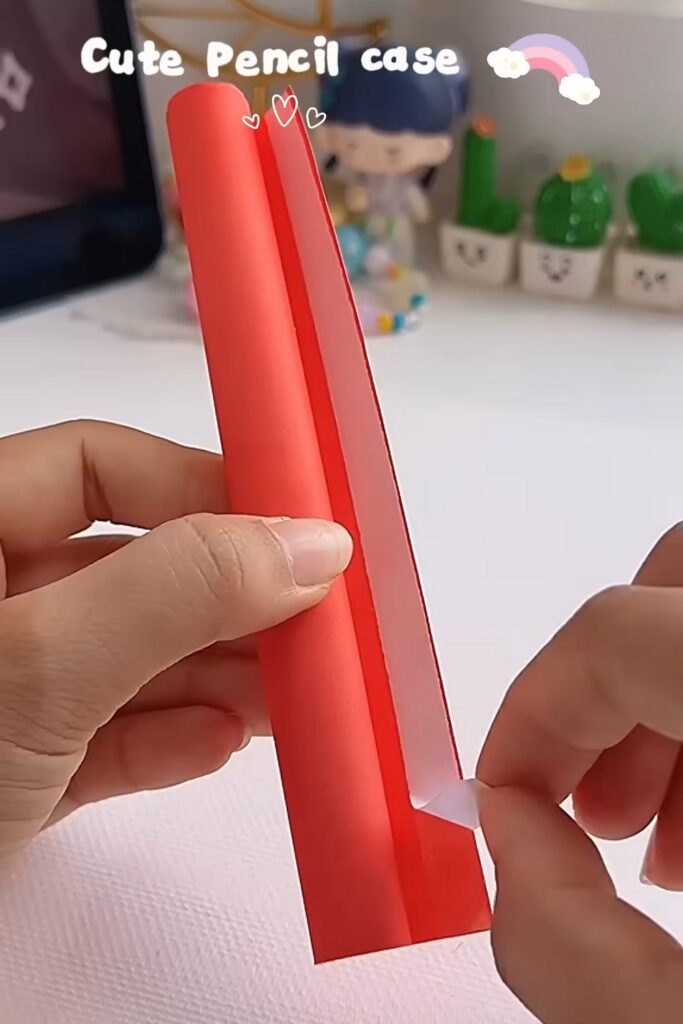
Complete the roll and press gently to seal it. Hold for a few seconds to ensure it adheres properly. Or you can also apply the double tape for strong glue.
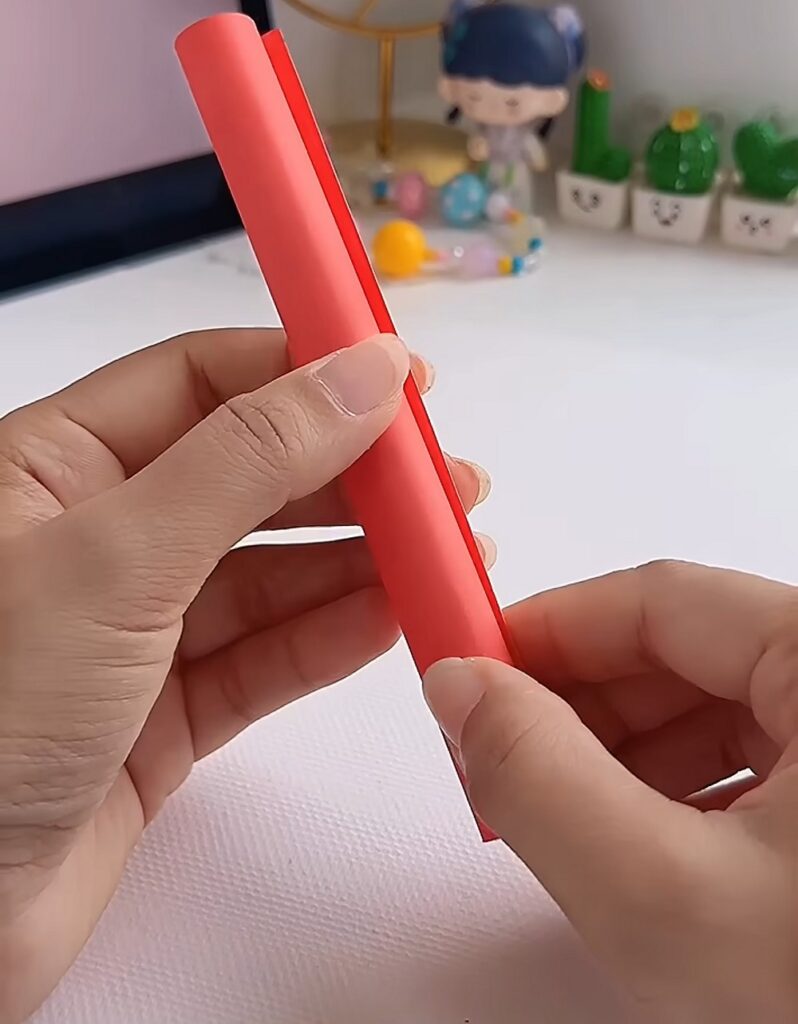
Step 4: Remove the Pencil
Slide the pencil out from the center. Do this gently to avoid deforming the tube. You will have a hollow paper tube.
Step 5: Repeat for All Colors
Repeat the rolling process for each color:
- Red
- Orange
- Yellow
- Green
- Light blue
- Dark blue or purple
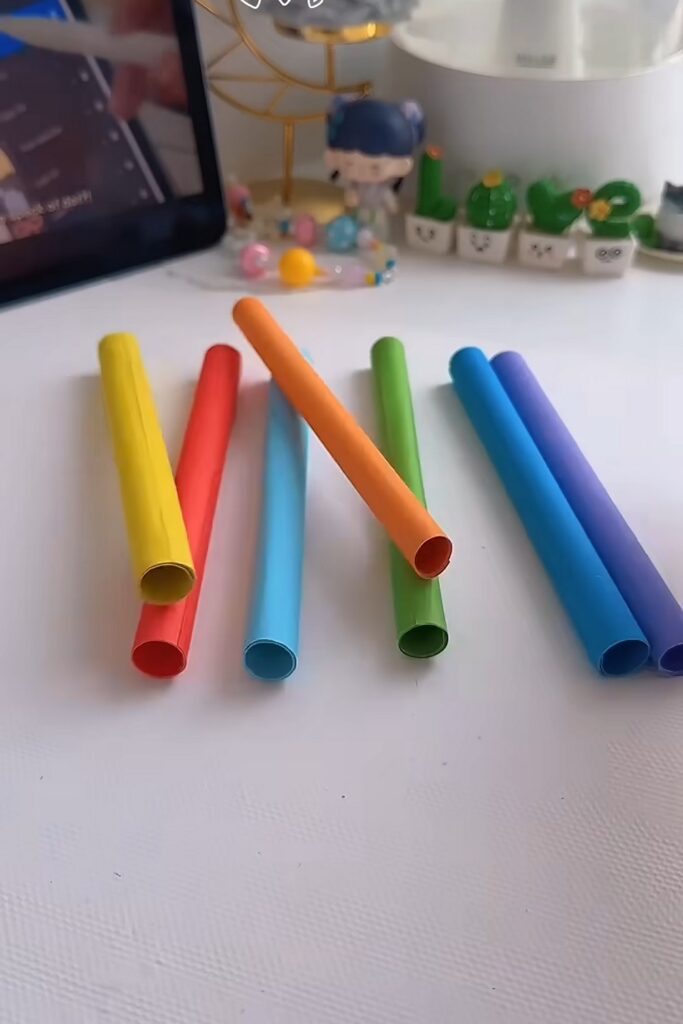
Make sure all tubes are similar in length and diameter.
Step 6: Prepare the Base Card
Take a piece of white cardstock and fold it to create:
A vertical back support
A horizontal bottom flap
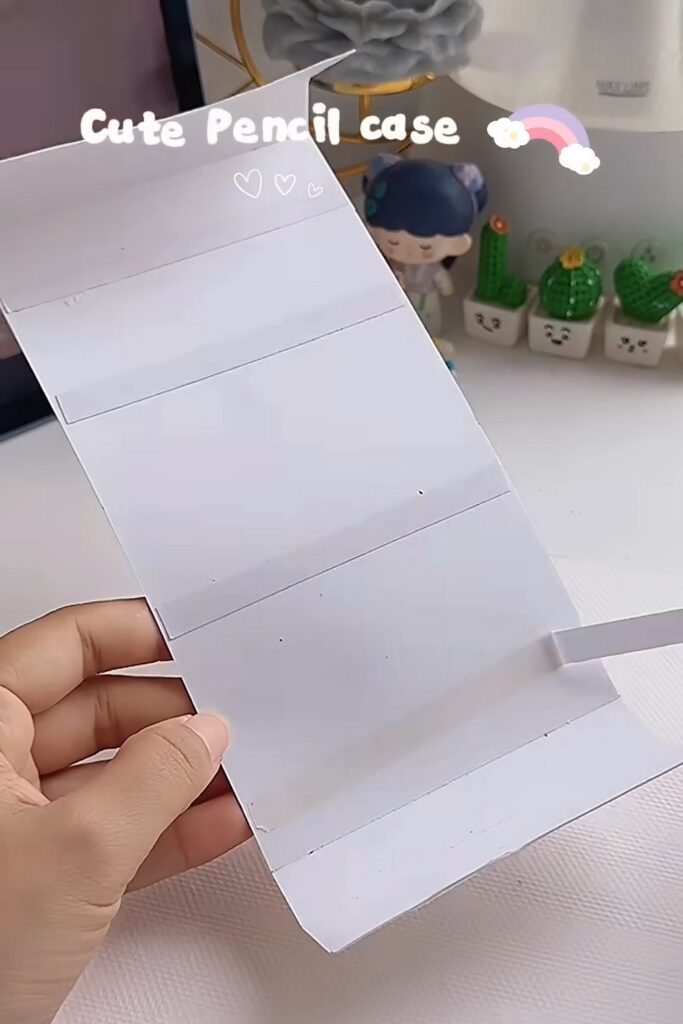
The bottom flap will act as the base where the tubes will stand. Crease the fold by pressing it firmly.
Apply double-sided tape or glue to the base area where the tubes will be attached; it will be the middle.
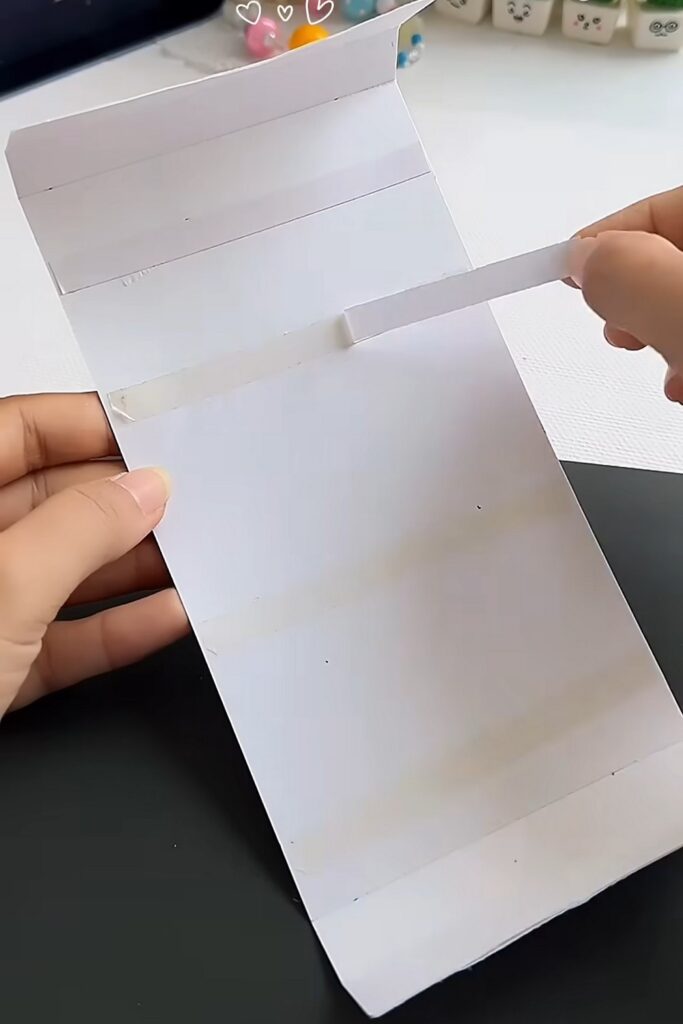
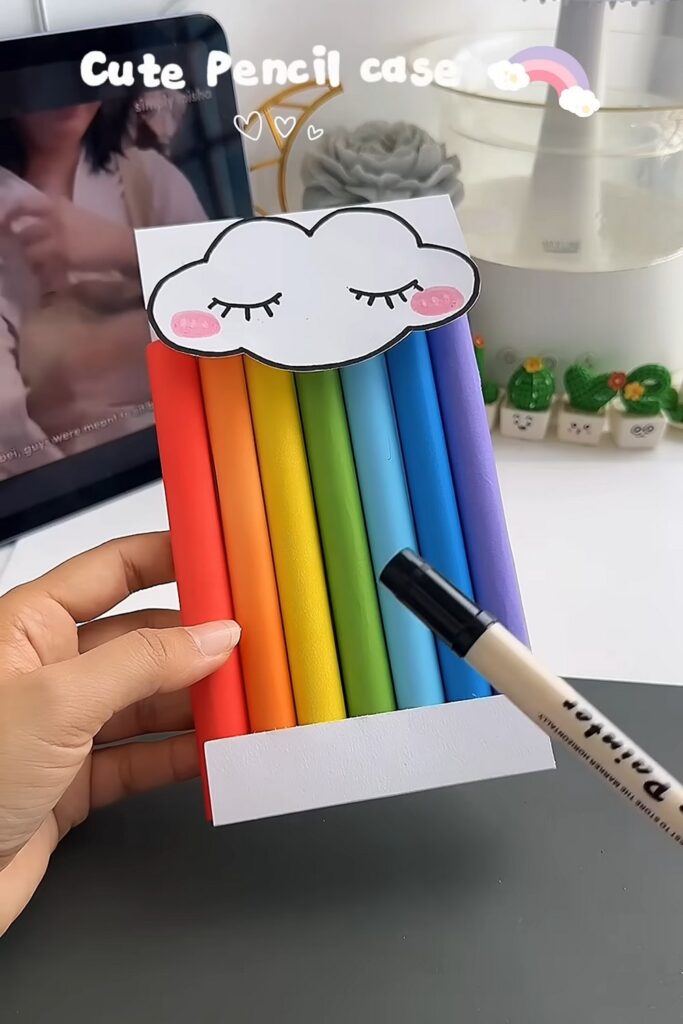
Step 7: Attach the Rainbow Tubes
Arrange the tubes side-by-side in rainbow order.
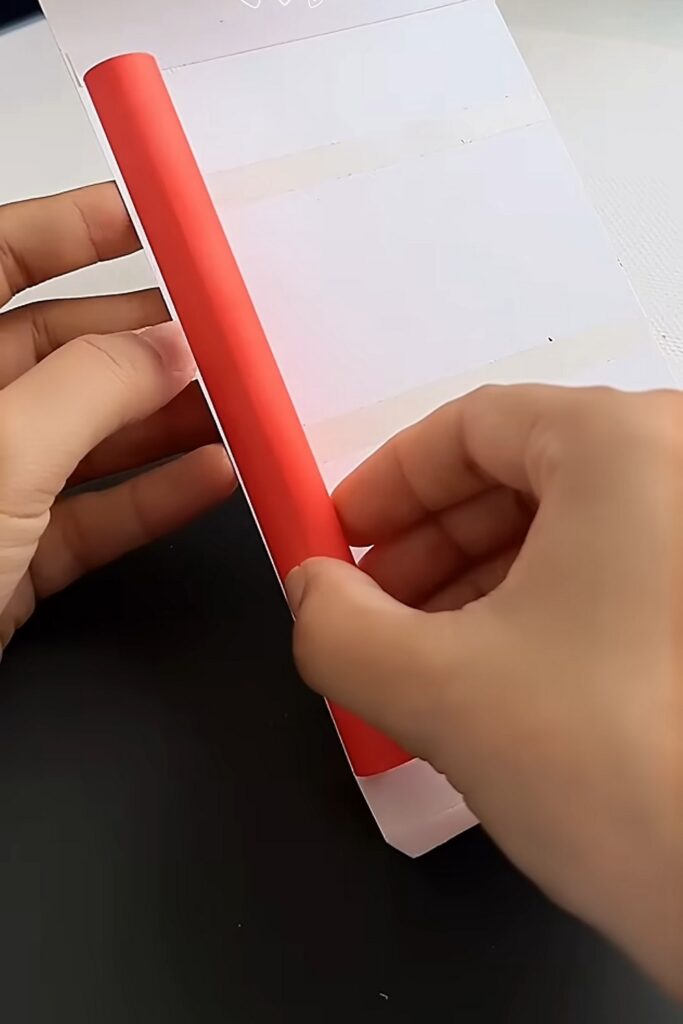
Press each tube onto the adhesive base; be sure they are aligned straight and tightly packed together. Allow time for the glue to set if using liquid glue.
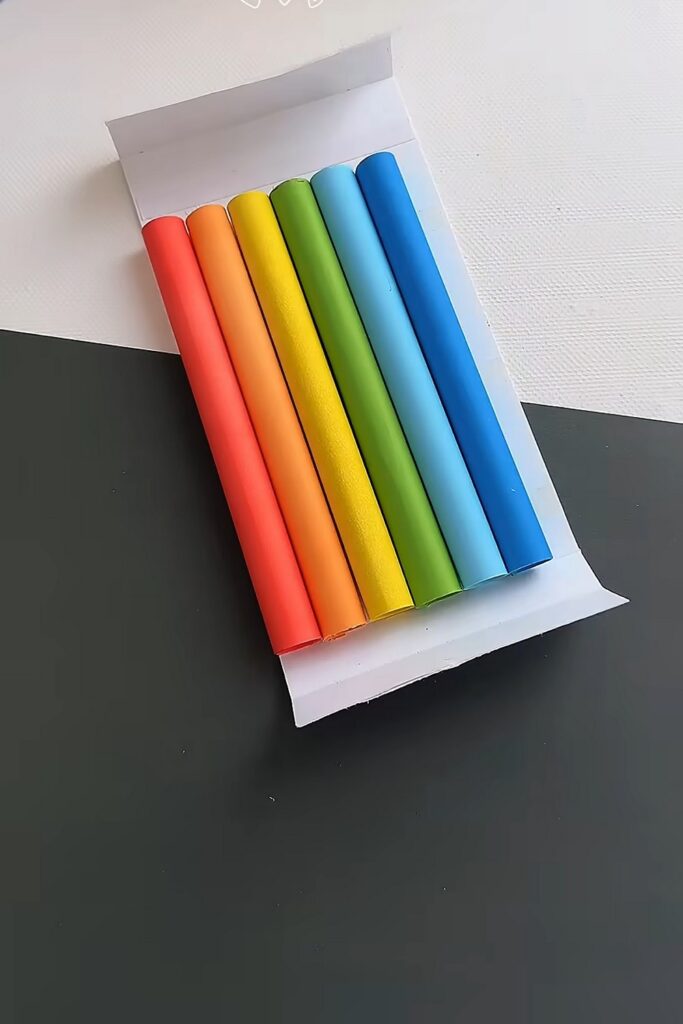
Step 8: Add a Front Support Strip
Cut a narrow strip of white cardstock and glue it across the front bottom edge of the tubes. This will prevent the tubes from shifting or falling forward.
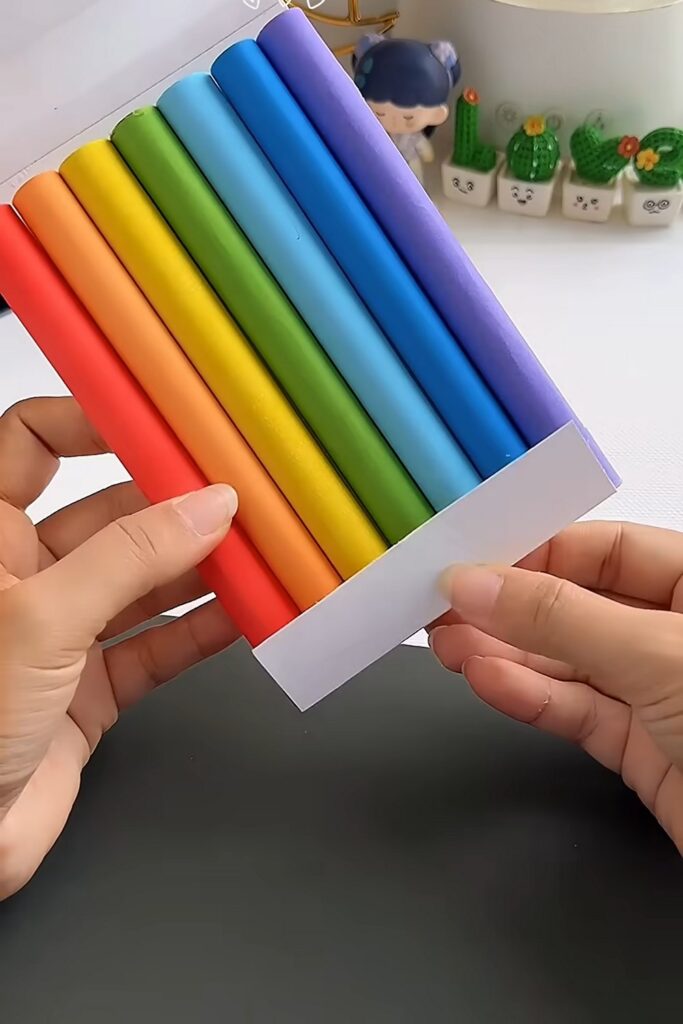
Part 2: Making the Cloud Top
Follow these step-by-step instructions to make the cloud for this holder decoration:
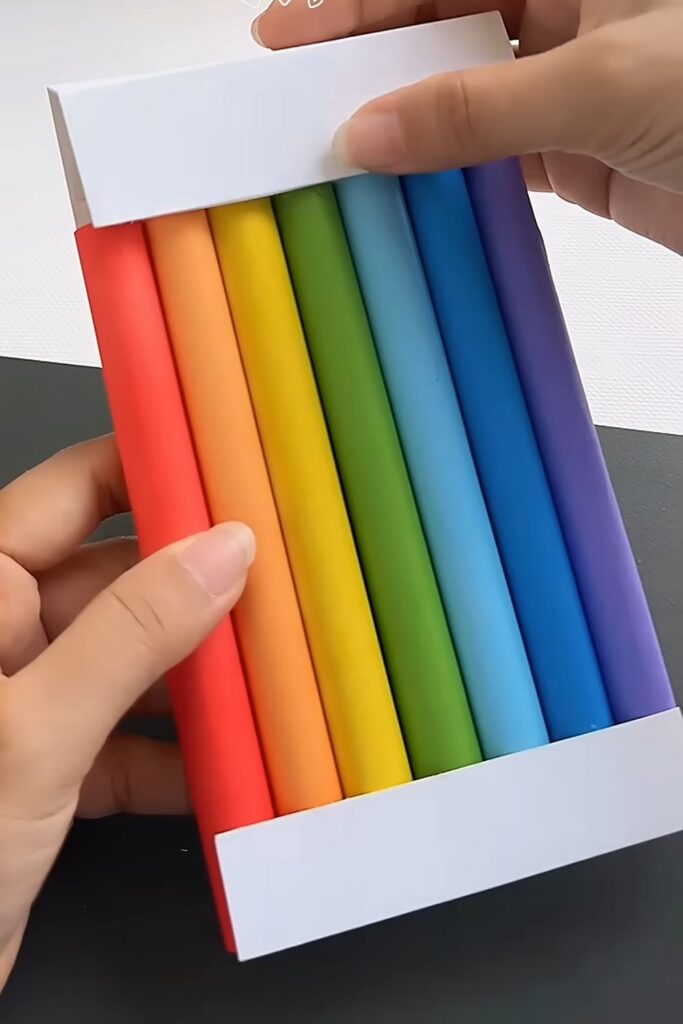
Step 9: Draw and Cut the Cloud Shape
On white cardstock, draw a cloud shape. Cut it out.
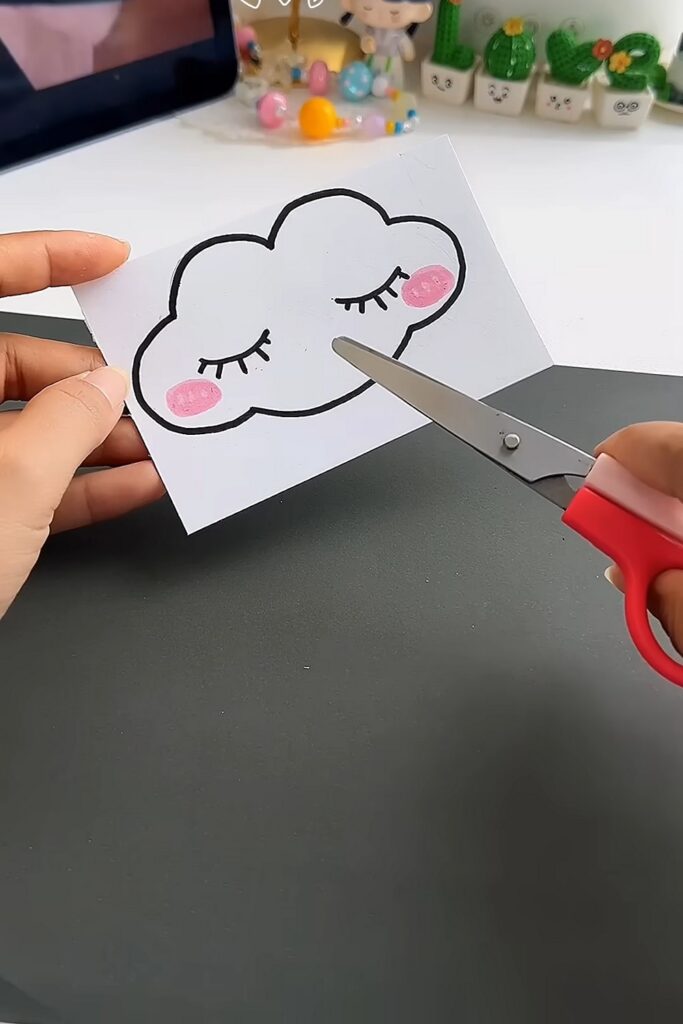
Use a black marker to draw closed eyes with lashes, and add pink cheeks. Outline the cloud for a clean appearance.
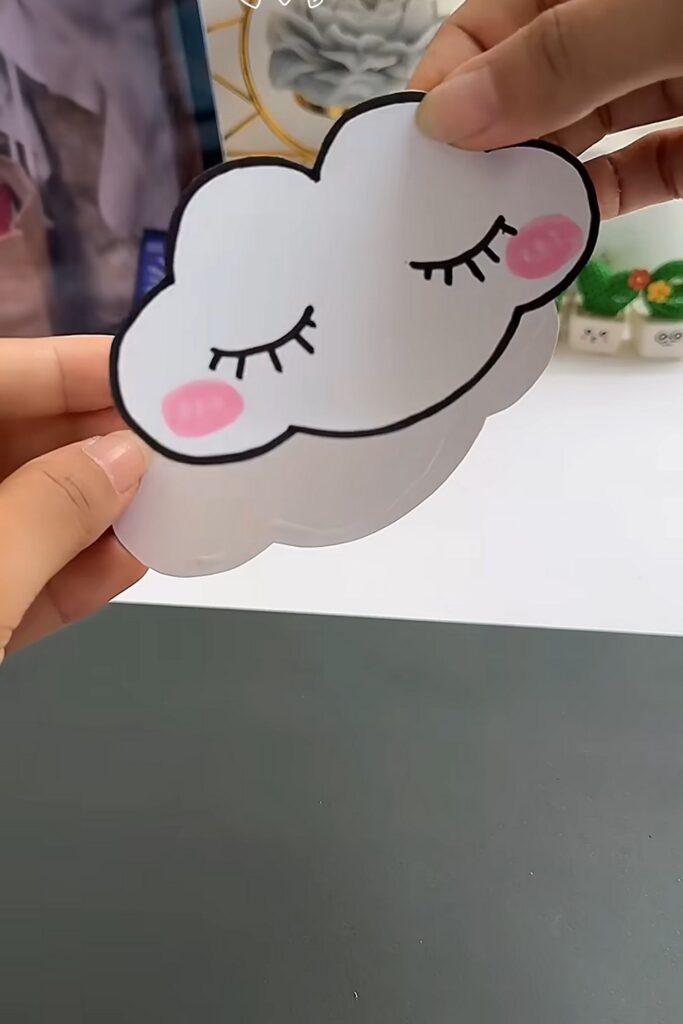
Step 10: Add a Second Layer for Strength
Trace and cut a second cloud shape. Glue it behind the first one to create a thicker, more durable structure.
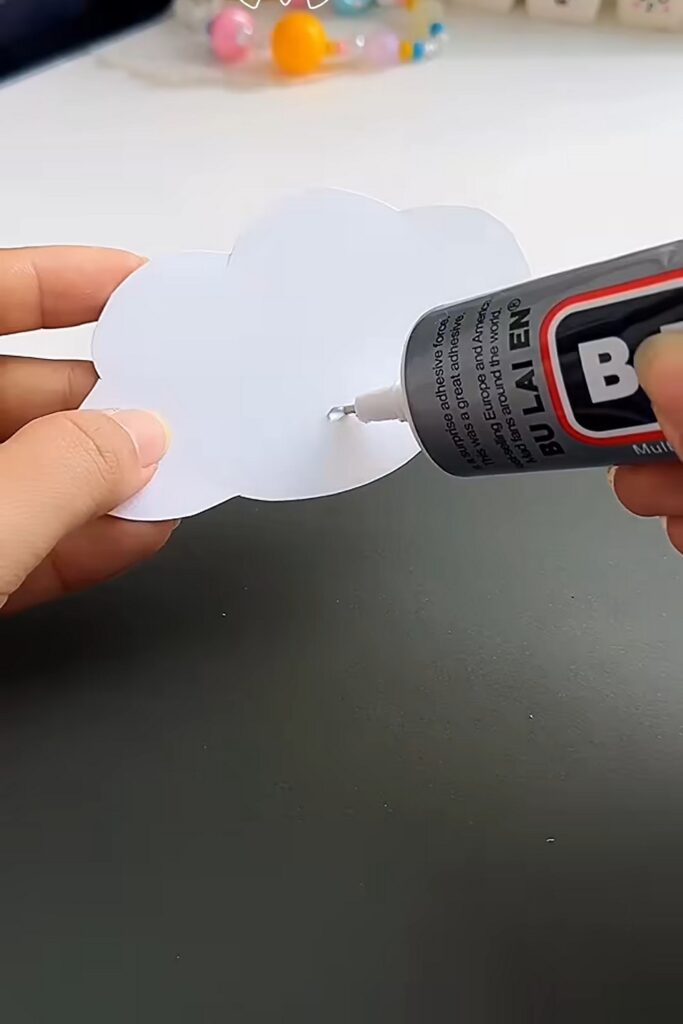
Align the edges carefully before pressing them together. Make sure you don’t apple the glue to full cloud for now!
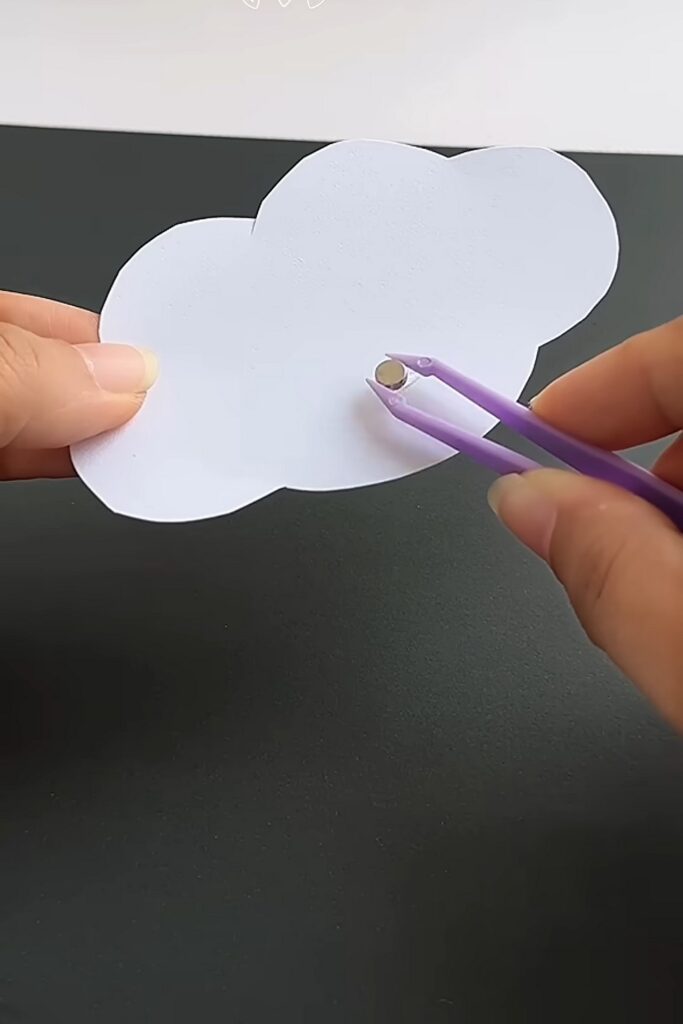
Step 11: Attach the Magnet to the Cloud
Glue one magnet to the back of the cloud, positioning it near the center. This will make the balanced attachment when placed on the holder.
Step 12: Attach the Matching Magnet to the Base
Fix the second magnet to the top back of the pencil holder (on the cardstock support). Make sure it aligns with the magnet on the cloud for proper connection.
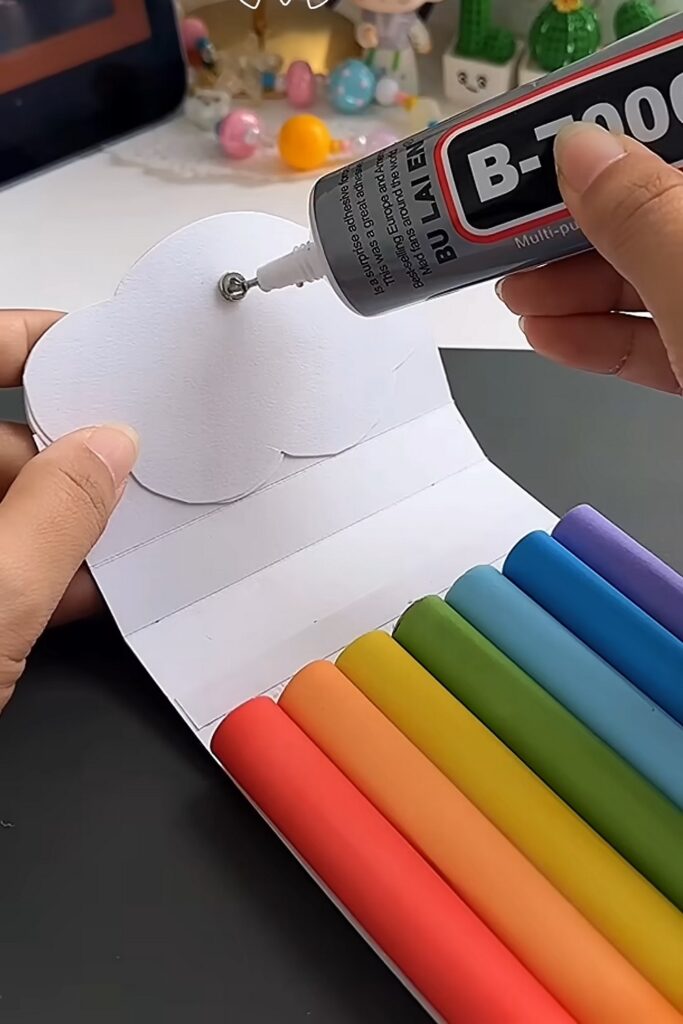
Step 13: Attach the Cloud
Place the cloud onto the holder. The magnets will connect and hold it in place securely. This allows the cloud to be removable or adjustable.
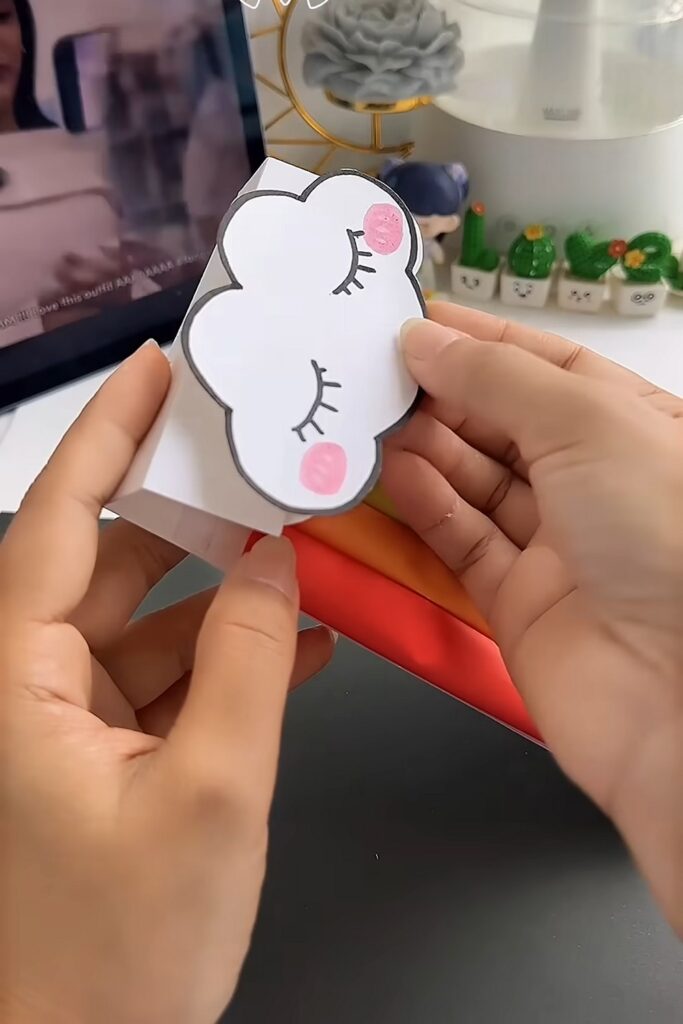
Part 3: Final Decoration and Assembly
Now, we shall assemble a few more things:
Step 14: Make a Text Label
Cut a small strip of white paper. Write a word such as “Smile” using a black marker. Add simple decorations like hearts or small doodles if needed, or you can.
Feels Difficult?
Step 15: Attach the Label
Glue the label strip to the front bottom of the holder, just below the tubes or on the support strip.
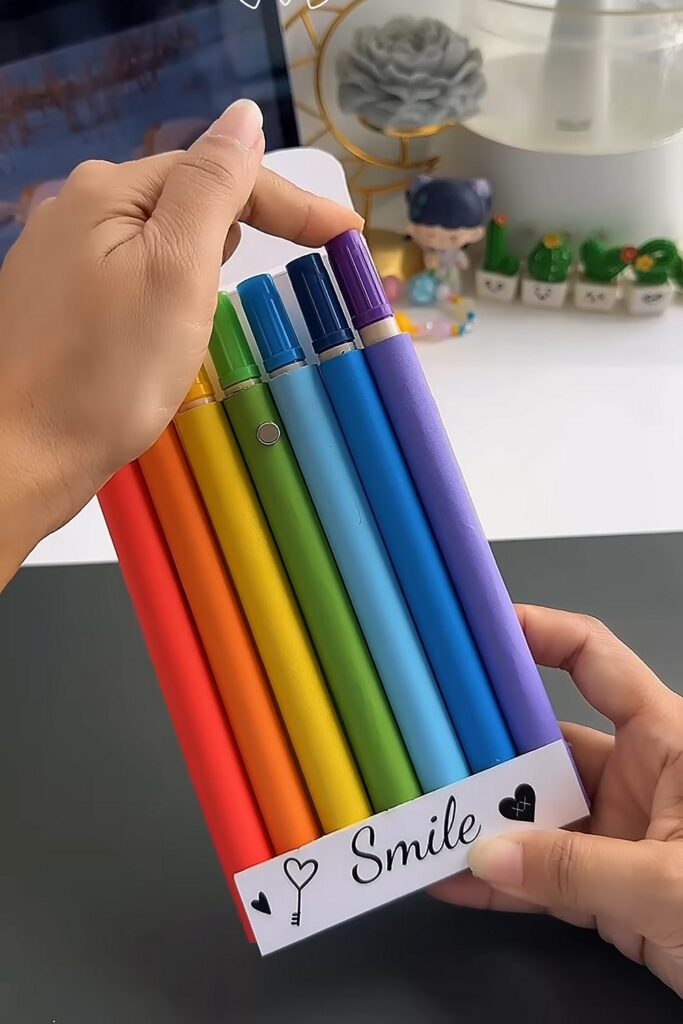
Step 16: Final Adjustments
Check that all tubes are evenly aligned and securely attached
Press all glued areas firmly to ensure stability.
Remove any excess glue for a clean finish
Allow the entire structure to dry completely before use.
And that’s how you can make a rainbow and cloud craft for you and the kids.
Was this Tutorial Helpful? Tell us in the Comments.
Your feedback is a great way for us to improve the tutorials. Did you find the tutorial helpful? Be sure to subscribe to the creator’s channel!
About "Mukta Art & Crafts via Youtube"
Mukta is running one of the most popular quick crafts channel and they are always so bright and colorful that you won't want to miss them.

About "Talha"
Hey, I’m Talha, the Crafter on Craftstive.com. I love to share guides on folding cute origami models and paper crafts, and I am always ready to inspire your next craft project with my weekly craft discussions.