
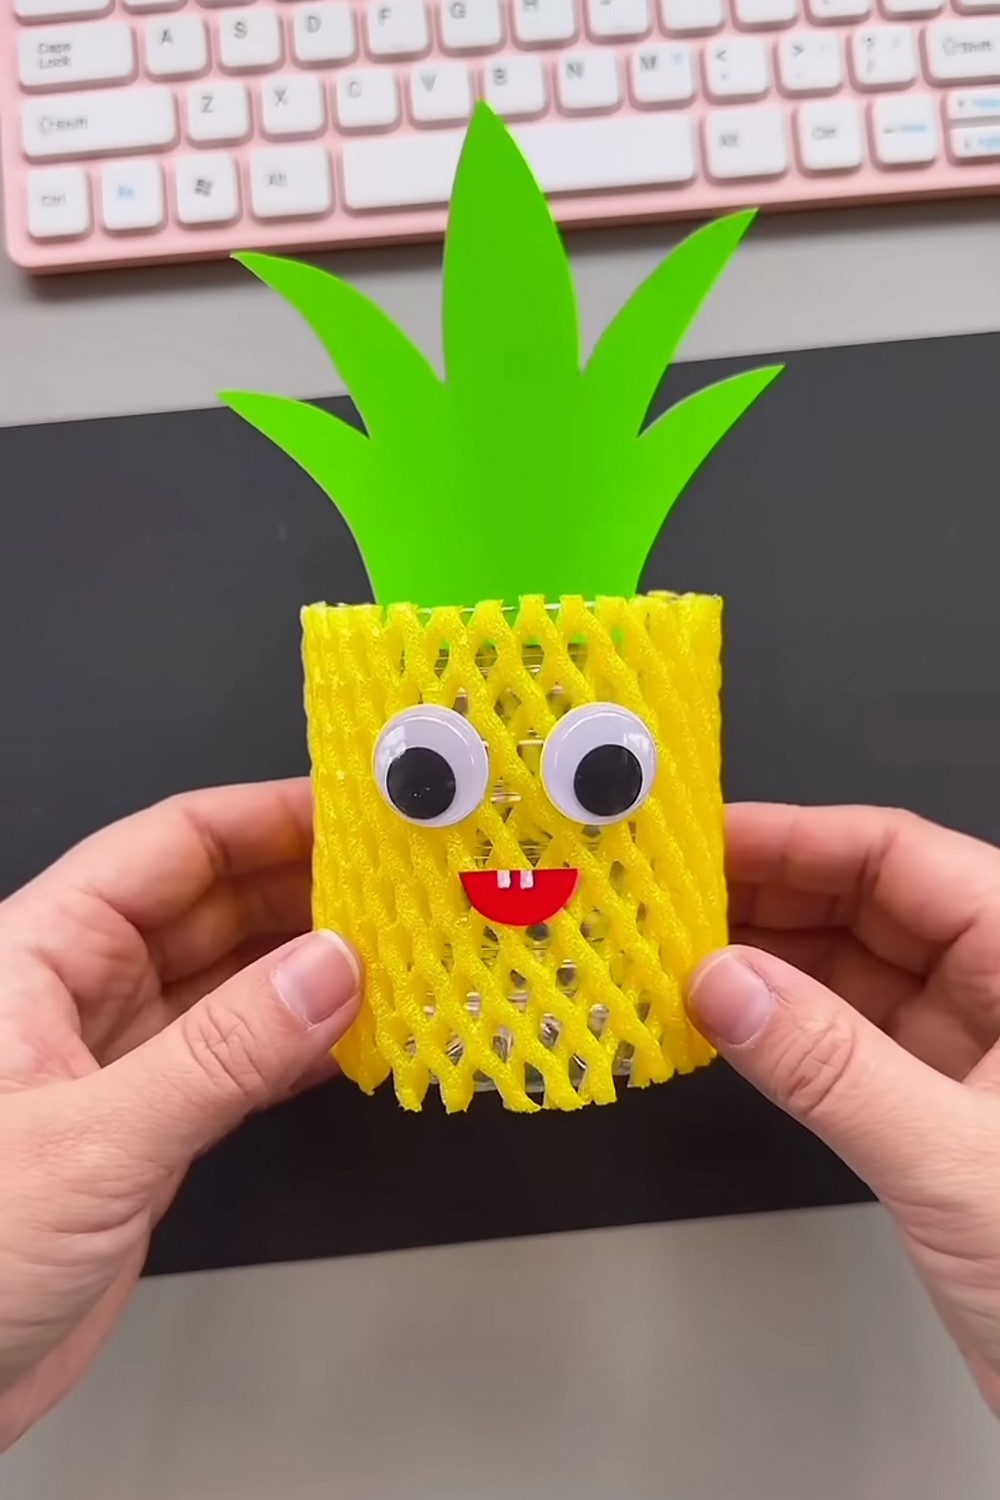
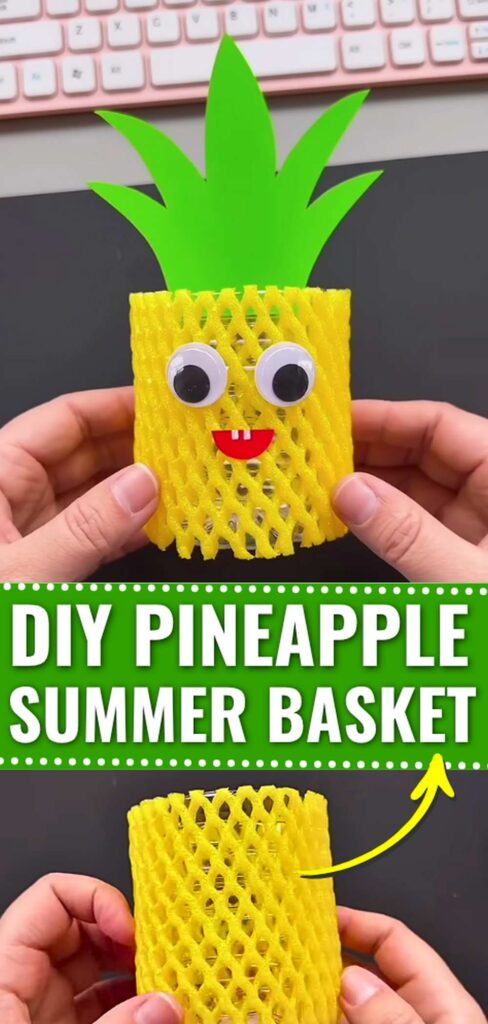
Continuing the fruit net craft series, today, I will show you how to DIY a simple but CUTE pineapple pencil holder by upcycling an empty plastic bottle and a yellow foam net. Kids will love this googly-eyed holder and miniature basket, welcome it over their crafting or study table.
They can put their crayons, markers, pencils, or other small school supplies inside. Making it will just require cutting a plastic bottle to the height you want, and wrapping it with the foam net. We shall use a construction paper cutout as a crown.
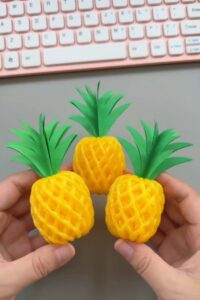
So, unlike the first pineapple from foam net, it is way simpler and easier to craft, even for preschoolers with your supervision. Make it today, especially for back-to-school, graduation gifting, and for Mother’s Day, too. Because of its simplicity, I would definitely discuss it in the updated pineapple craft series.
Skill Needed: Zero
Adult Supervision: Yes
Time: 5 – 10 minutes
What will kids learn?
- Rightly cutting a water bottle using a utility knife
- Cutting a foaming stuff like fruit foam
- Taking cutouts from cardstock
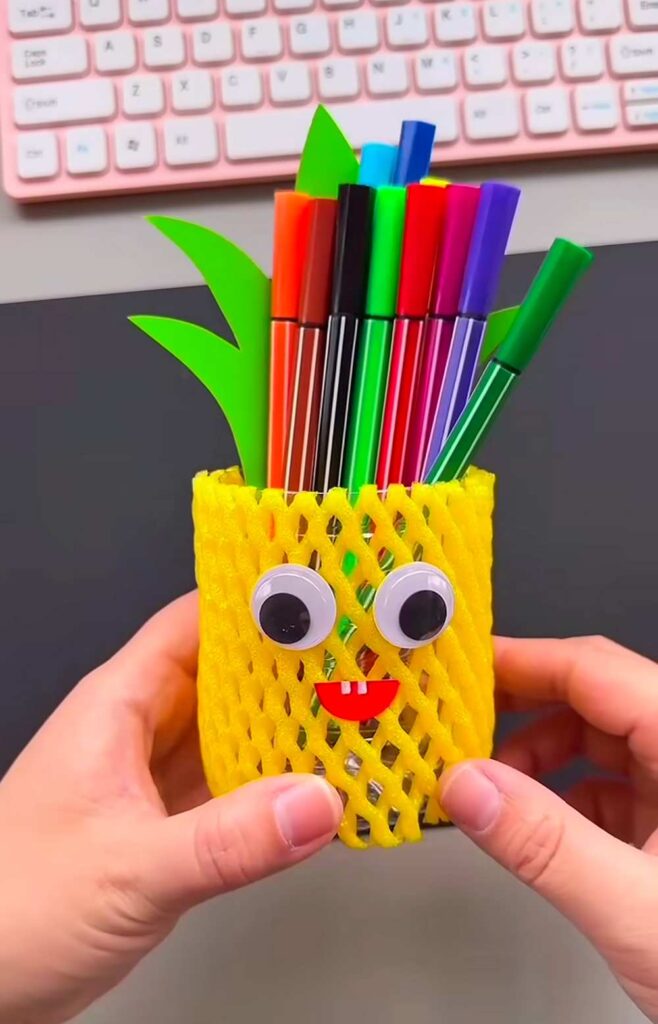
More Uses of this Craft
- Planter: If you make a few small drainage holes in the bottom, you can even use it to hold a small succulent or an air plant.
- Lantern: The foaming net has holes, and the bottle we used is transparent, so you can light a light inside. (No fire, please!)
- Makeup Brush Station: Because the bottle is waterproof, it’s a great place to store makeup brushes, eyeliners, or even toothbrushes.
Pineapple Pen Holder: Step-by-Step Instructions
Follow these step-by-step instructions to make this foam net pen holder using a net and a water bottle:
Material Suggestions
- Plastic water bottle 550ml
- Yellow foam fruit net
- Green cardstock or Tant paper (be sure it is a stiff paper, unlike Kami)
- Googly eyes
- Red and white paper scraps (for the mouth and teeth)
- Utility knife or scissors
- Adhesive (Double-sided tape or white glue)
Step 1: Prepare the Bottle
Start with an empty 550 ml or 600 ml plastic water bottle. Make sure it is clean and completely dry.
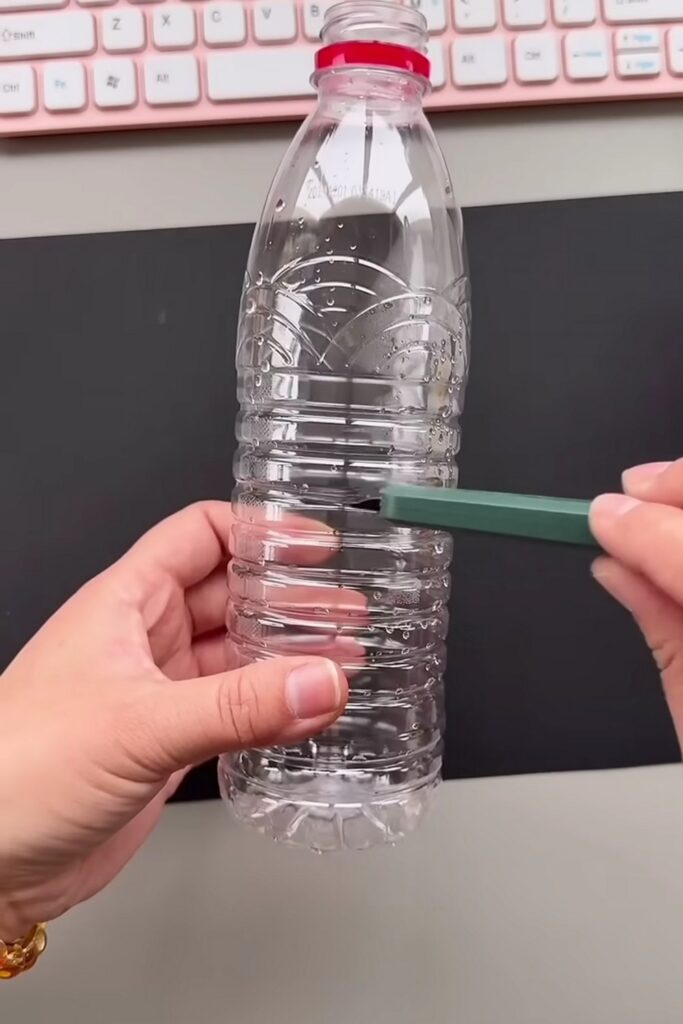
Using a utility knife or a pair of strong scissors, cut the bottle around its middle part. Try to cut as evenly as possible so the edge is straight.
Keep the bottom half of the bottle, as this will be used as the base of your pen holder. You can smooth any rough or sharp edges with scissors for safety.
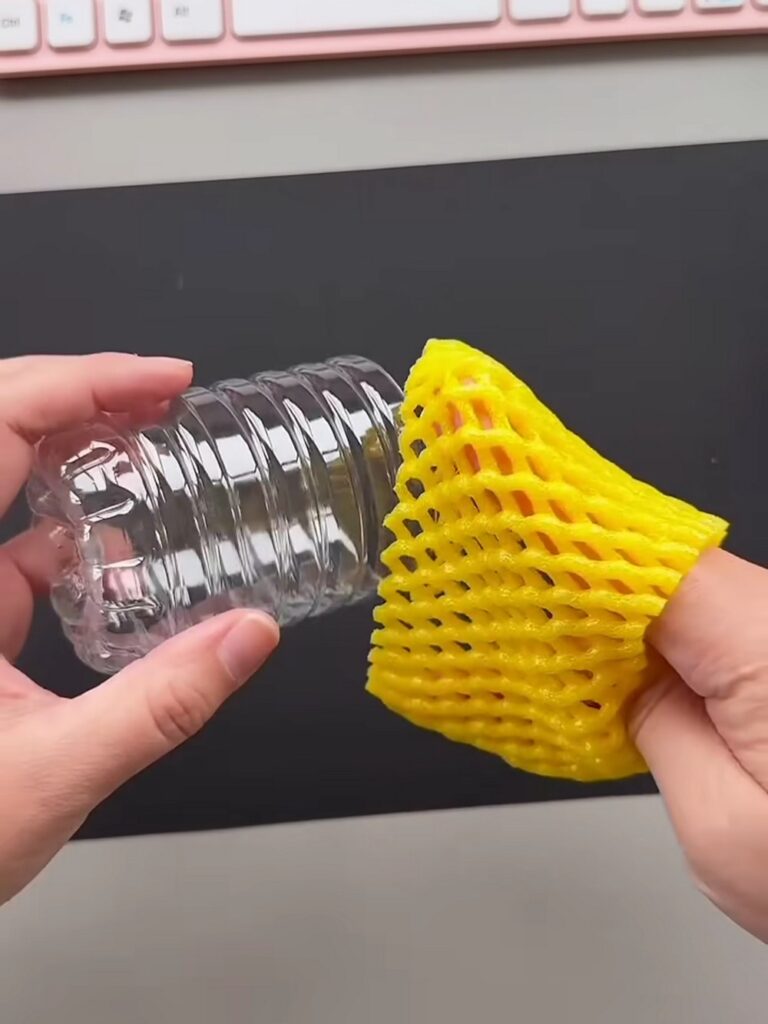
Step 2: Add the Pineapple Skin
Take a yellow foam net. Stretch or flatten it so it becomes easier to work with, and then cut the foam net so that its height matches the height of the bottom half of your bottle.
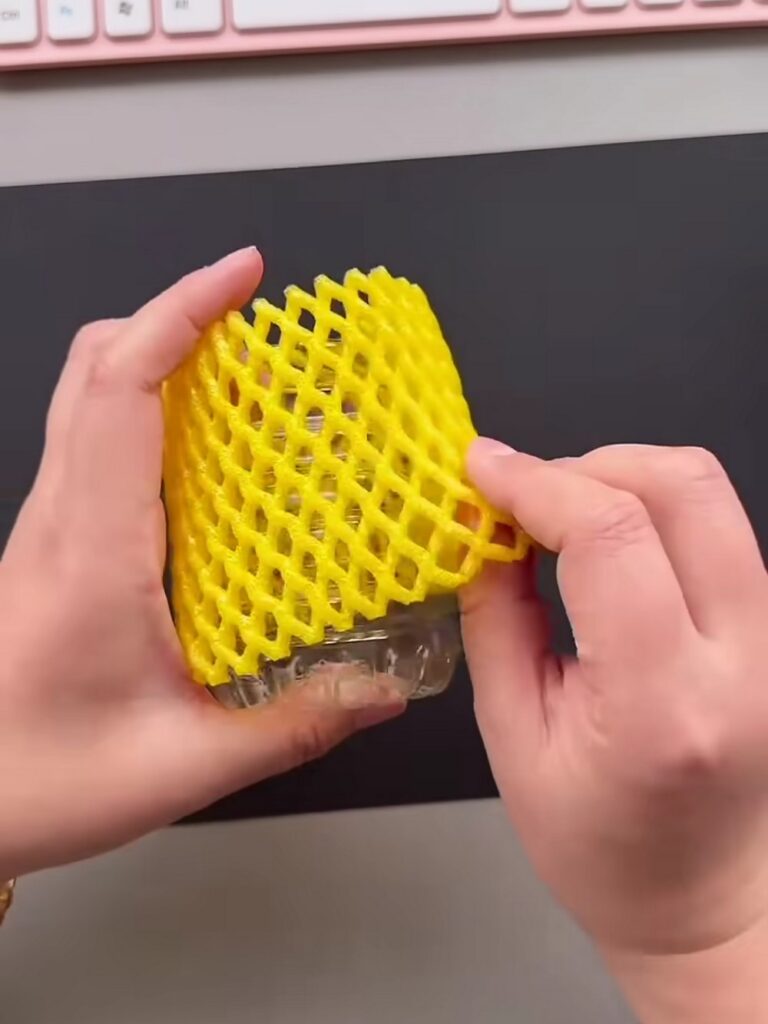
Step 3: Fit the Foam Net
Slide the foam net over the bottom part of the bottle. Adjust it so it fits evenly and covers the outside.
If the foam net is too long, trim off the extra. Alternatively, you can make a small slit and tuck the extra portion inside the bottle if your foam is loose.
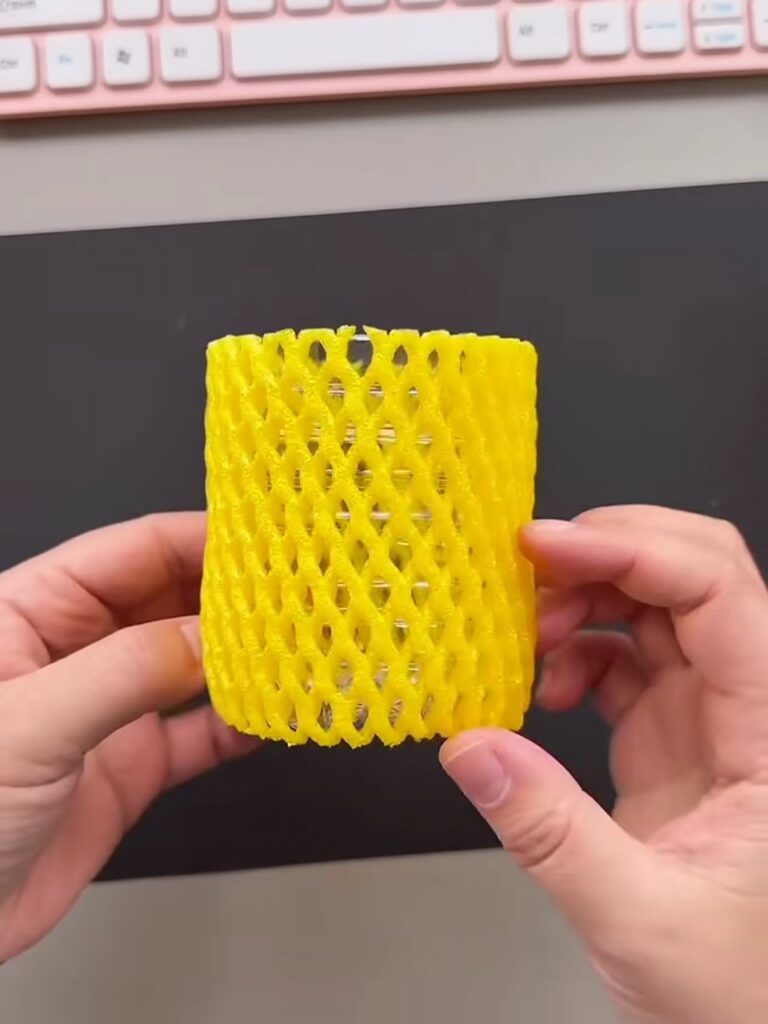
Make sure the net fits snugly and does not slip around. You can also glue it around.
Step 4: Make the Leaves
Take a piece of green cardstock and draw a spiky leaf pattern similar to the top of a pineapple.
Cut out the shape neatly. Ensure that the bottom edge of the leaves is straight and flat, as this will make it easier to attach them. We are using a flat crown instead of a 3D one, as we shall attach it to the inside.
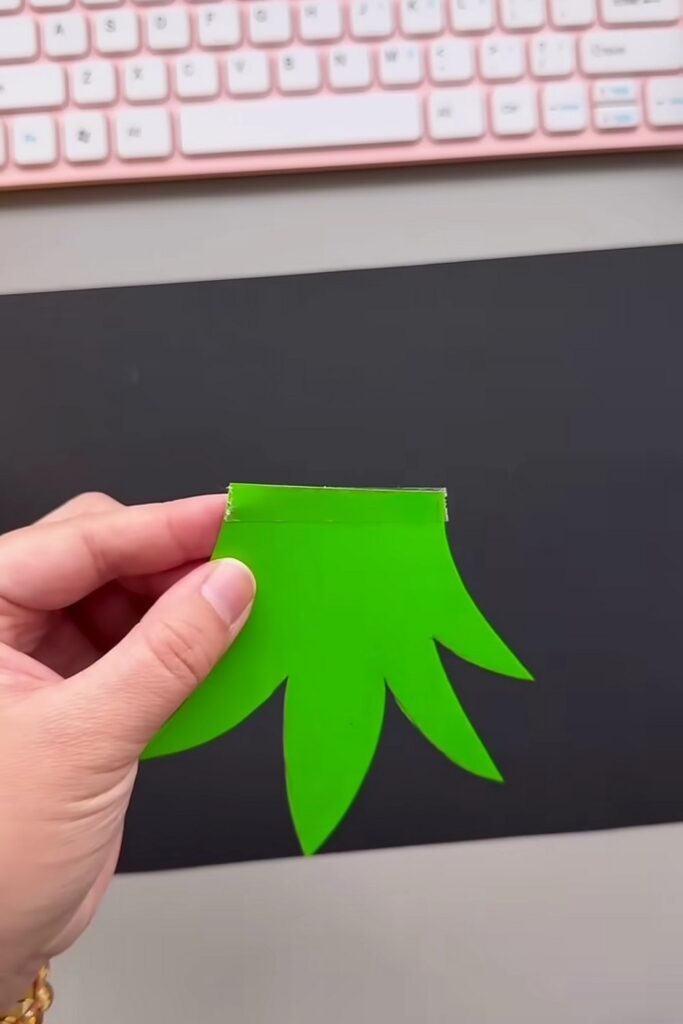
Step 5: Attach the Leaves
Apply glue along the flat bottom edge of the leaf cutout.
Place the glued edge along the inside rim of the bottle opening. Press it down and hold it in place for a few seconds so it sticks well.
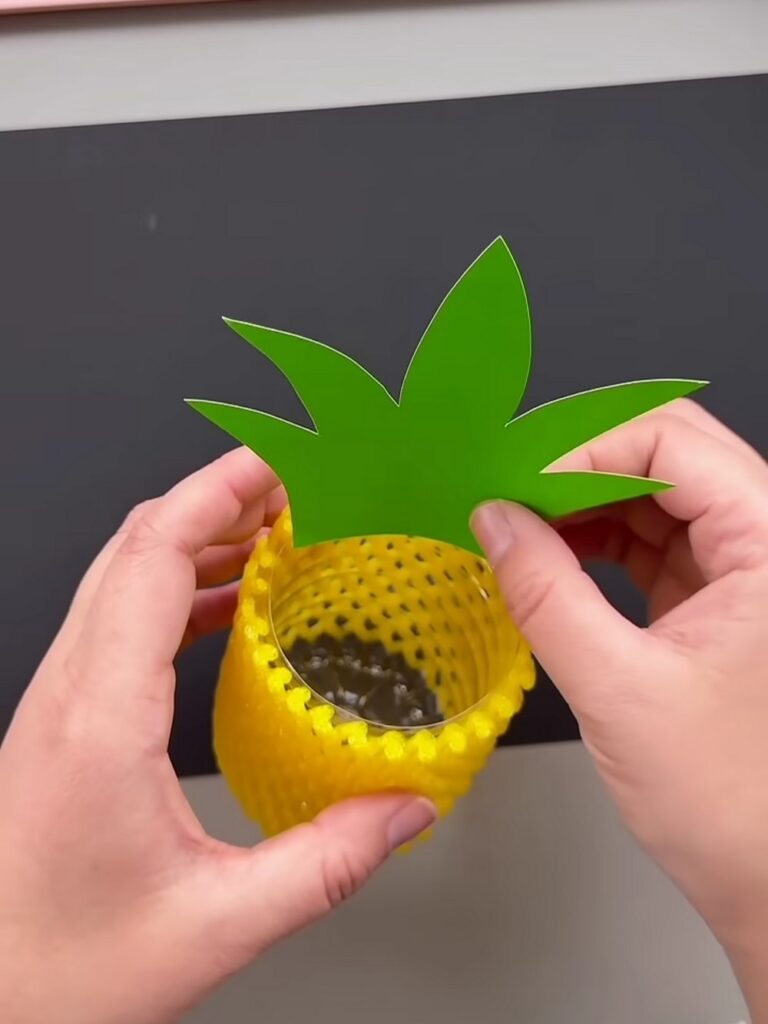
Step 6: Add Eyes
Take two googly eyes and attach them to the front side of the foam-covered bottle.
Press them so they stick well. Position them rightly so your pineapple face does not look funny.
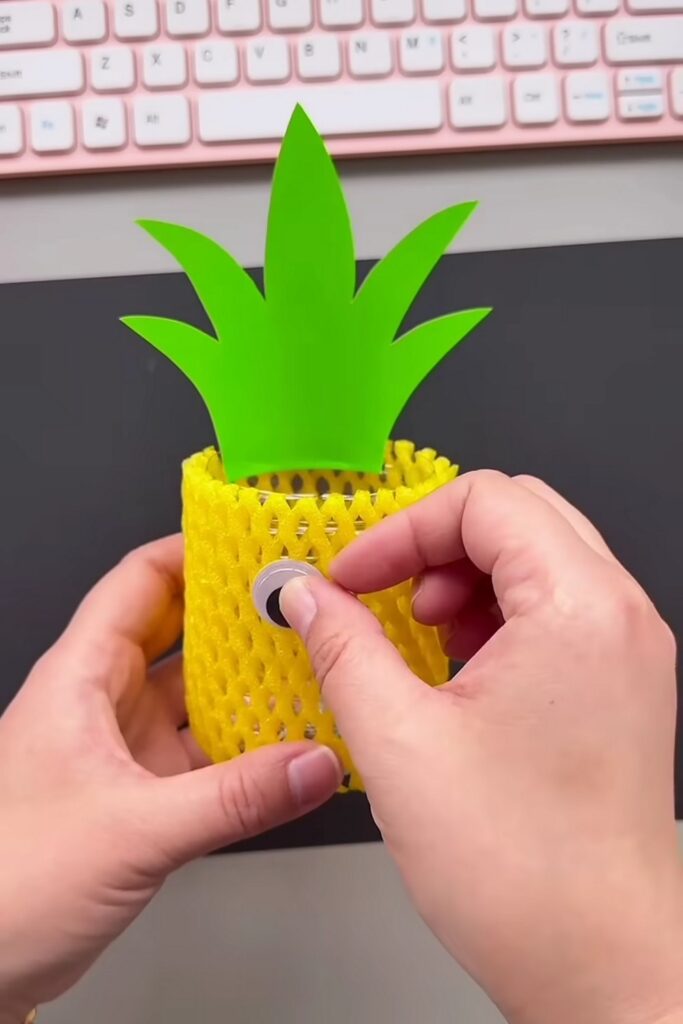
Still Seems Difficult?
Step 7: Make the Smile
Cut a small half-circle shape from red paper to create the mouth.
Then cut two tiny white squares as the teeth and glue them onto the top edge of the mouth.
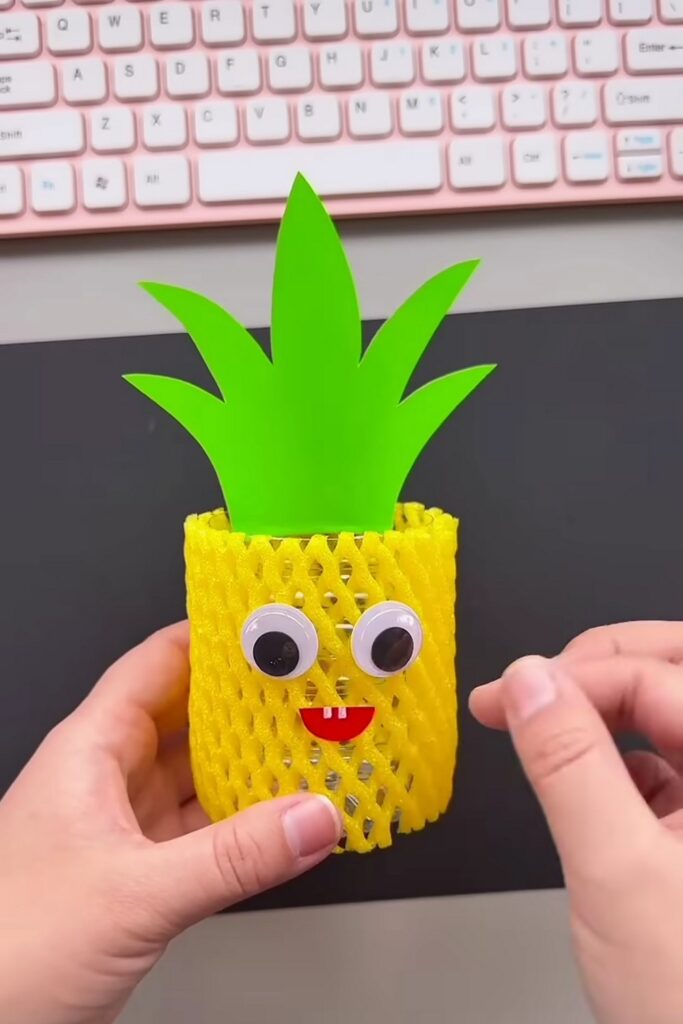
Finally, glue the completed mouth onto the front of the bottle, just below the eyes.
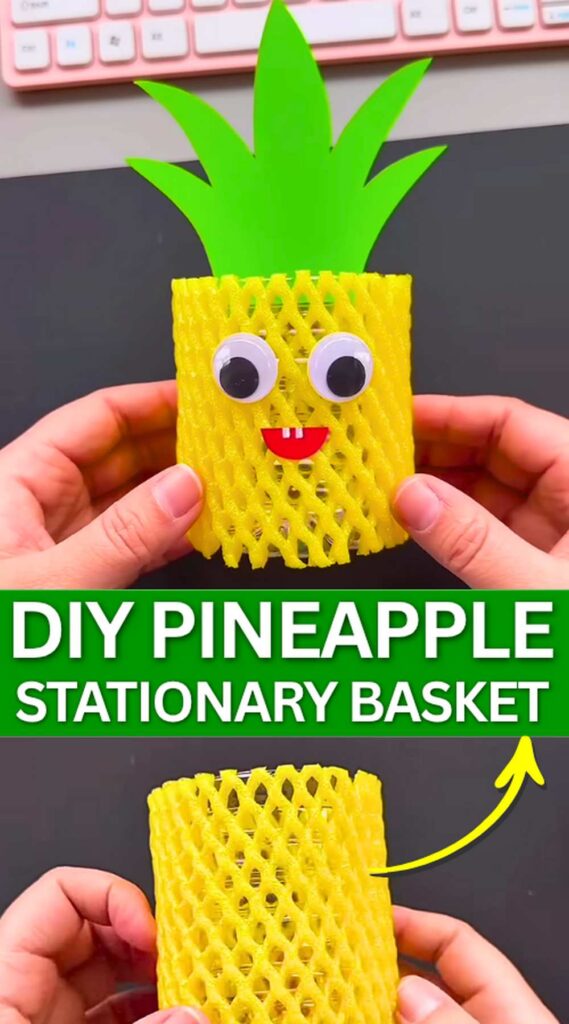
And that’s how you can make a pineapple holder out of a net and a plastic bottle for you and the kids.
Was this Tutorial Helpful? Tell us in the Comments.
Your feedback is a great way for us to improve the tutorials. Did you find the tutorial helpful? Be sure to subscribe to the creator’s channel!
About "MAKE DIY via YouTube"
She is running one of the most special corner of paper crafts that are all quick and easier and require no skill!

About "Talha"
Hey, I’m Talha, the Crafter on Craftstive.com. I love to share guides on folding cute origami models and paper crafts, and I am always ready to inspire your next craft project with my weekly craft discussions.