
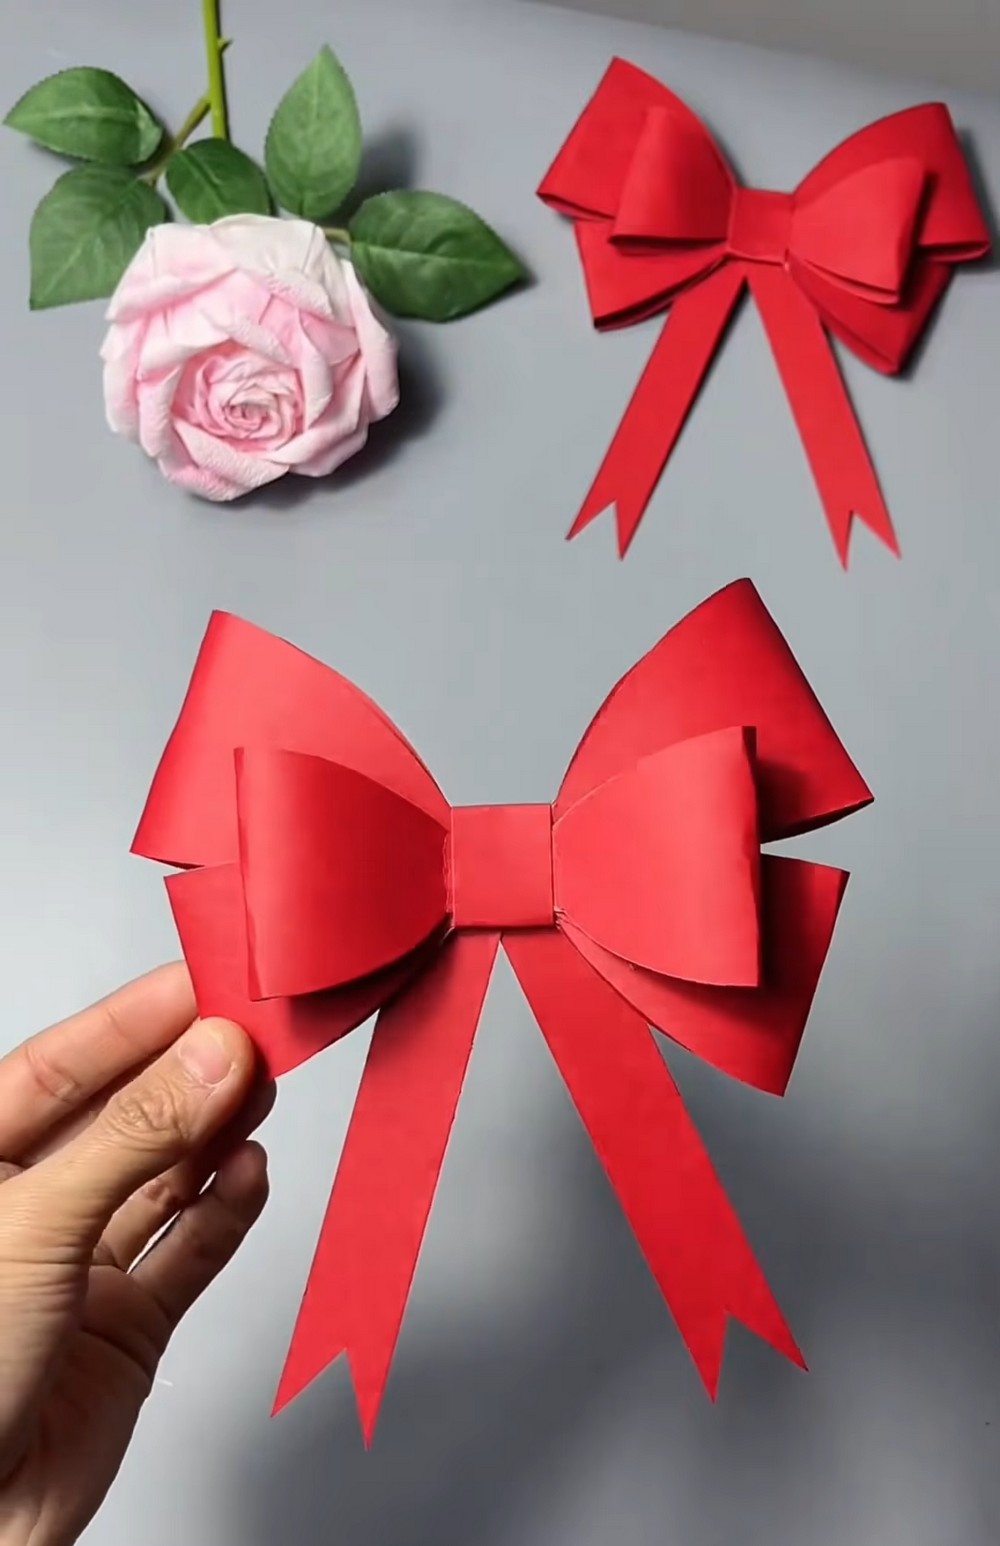
Mother’s Day is coming, and a RED paper bow will definitely be the CUTEST gift box or Mother’s Day card charm. So, follow these instructions to make a no-origami paper coquette bow with a FREE printable template. Unlike my “origami with scissors & glue” paper bow, it is a three-tier bow and does not require sketching the diagonal and guessing the right side for the middle.
The template includes a guide for all the tiers. You can make it for any present, including New Year’s Day, Valentine’s Day, Christmas, birthdays, or as an accessory, too. You can assemble it in minutes.
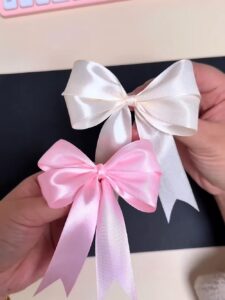
So, make at least a trio of red, purple, and the popular pink. You can also decorate it with beads in the middle or use a patterned sheet, such as one with flower doodles. Now, let me show you how you can remake it!
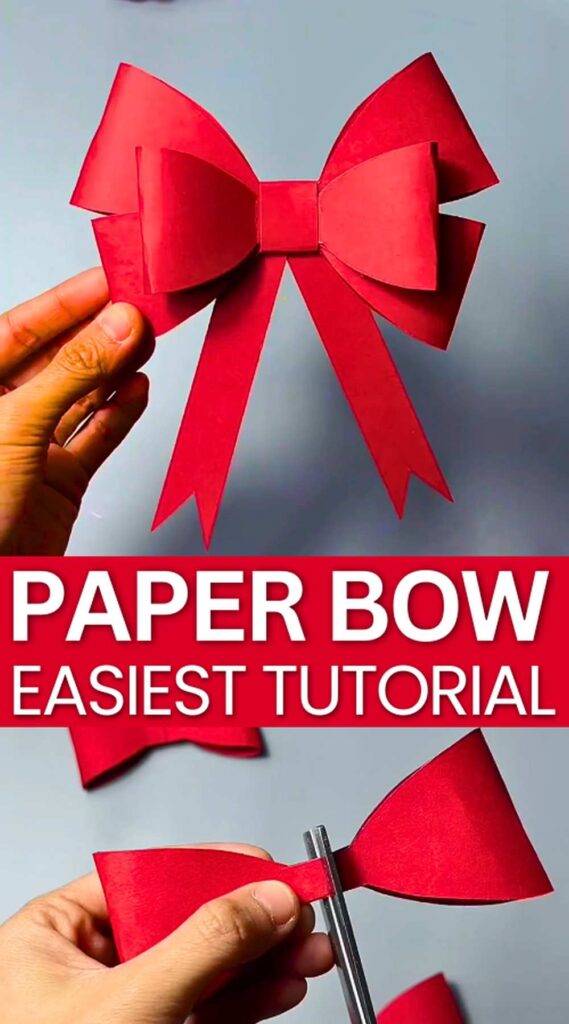
Time: 5 minutes
Model Type: Non-traditional paper bow craft
Techniques: In this paper, you will learn and use the following techniques:
- Using the double-tape
- 2nd method for making a paper bow
- Cutting from a printed template
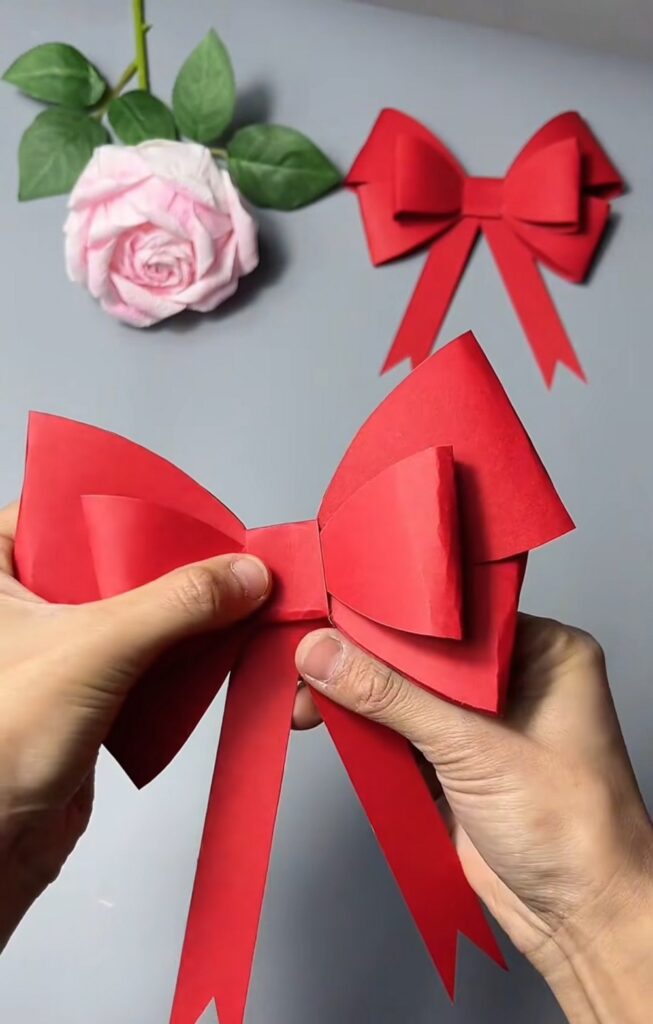
What you need
Buy or gather the following supplies to make this quick gift box bow out of paper only:
- Red Colored Paper: At least one A4 sheet. You will also need a few strips of the scraped construction paper again in red.
- Double-Sided Tape
- Scissors: For cutting the templates and the “V-cut” tails at the end.
- Pencil or Pen
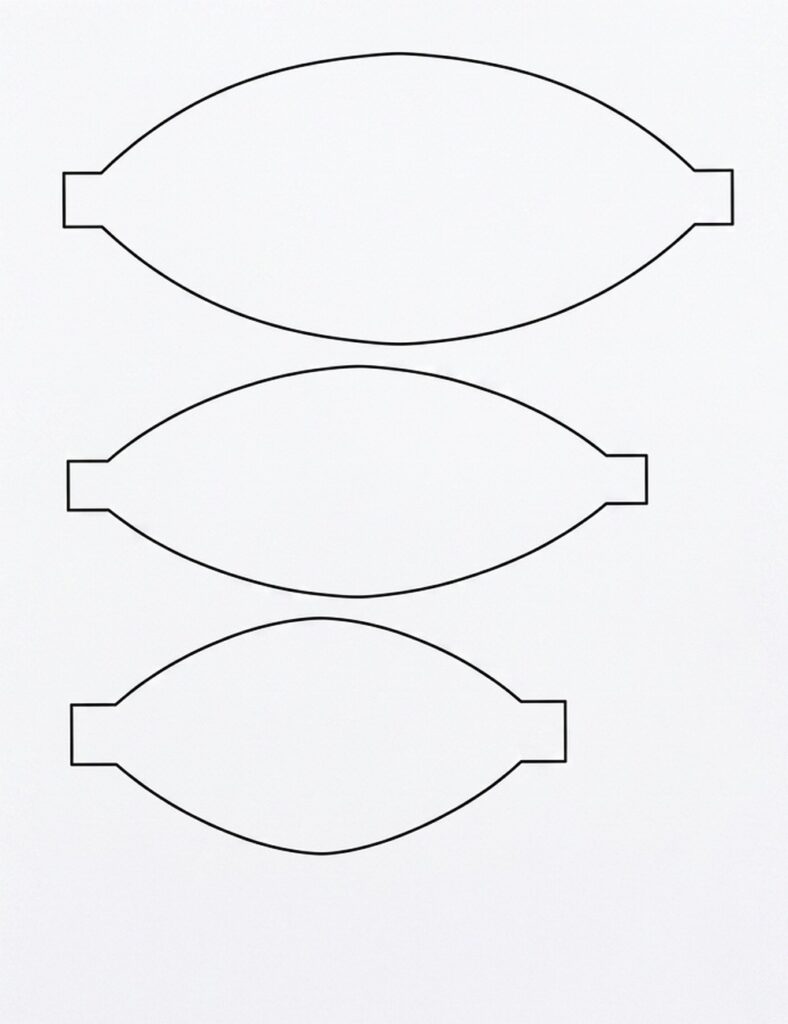
- Bow Templates: A set of three different-sized bow templates (Large, Medium, and Small) you can at the end of this post.
- Ruler
- Adhesive Backing Remover (Optional): If you find it difficult to peel the double-sided tape backing with your fingernails, a pair of tweezers can be helpful.
DIY Couquette Bow Charm: Step-by-Step Instructions
Here are the step-by-step instructions to make this decorative bow for any special occasion:
Part 1: Preparation and Cutting
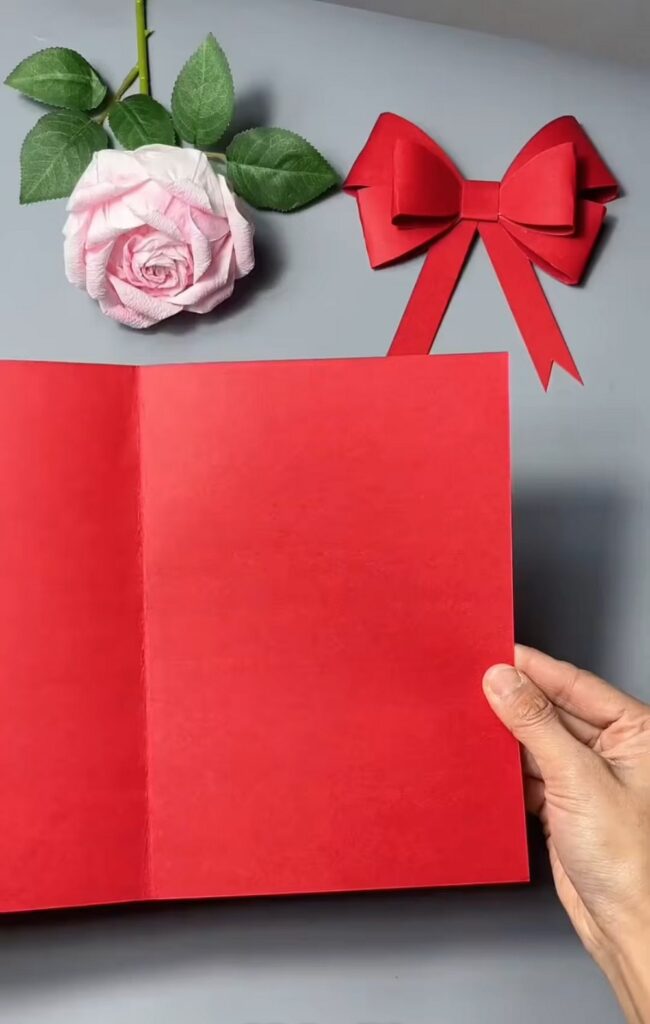
Fold the Paper: Take an A4 sheet of red paper and fold it exactly in half along its height.
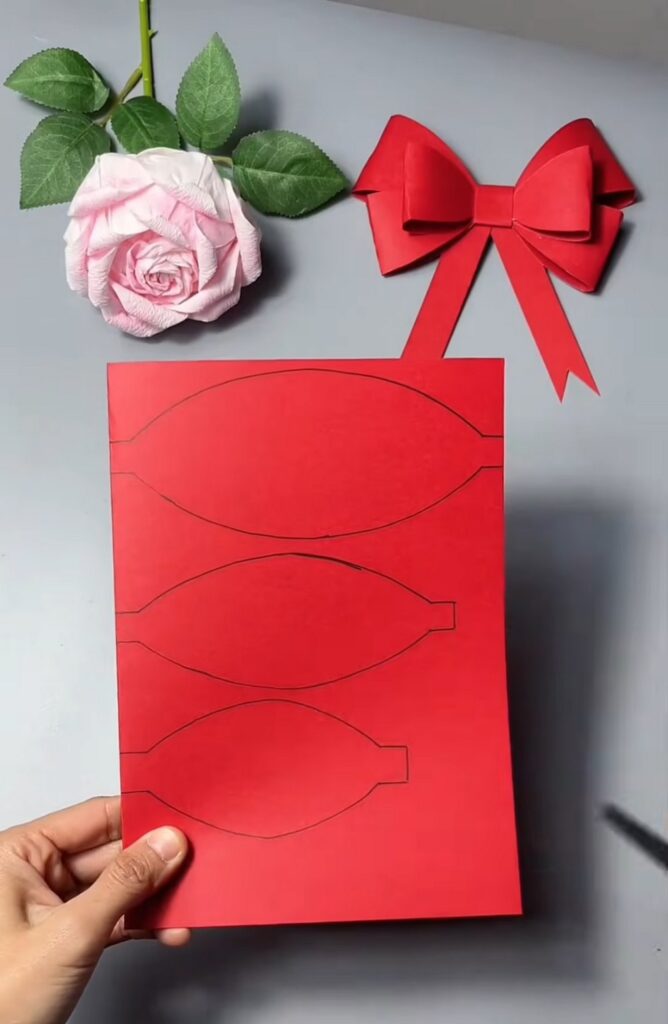
Trace the Templates: Using the FREE template in the end, trace the three bow halves of different sizes onto the paper. Be sure to trace the three pieces in decreasing order of area (large, medium, and small).
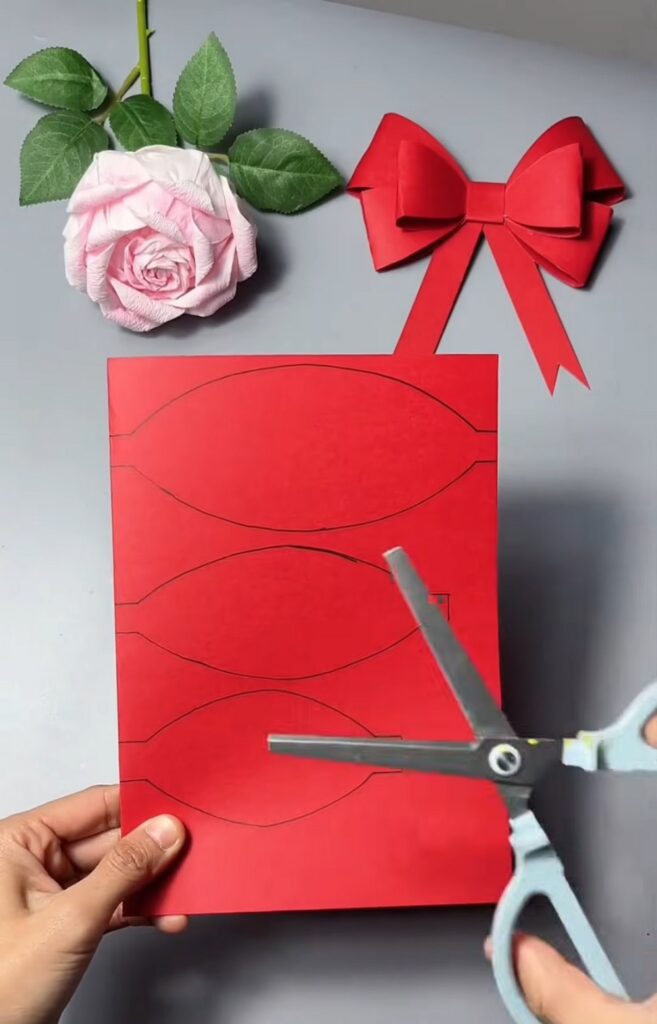
Cut the Shapes: With a pair of scissors, carefully cut along the outlines of the drawn shapes through the paper. Once finished, you will have your flat cutout pieces ready for assembly.
Part 2: Assembling the Bow Loops
Prepare the Adhesive: Take one of the flat paper cutouts and lay it open flat.
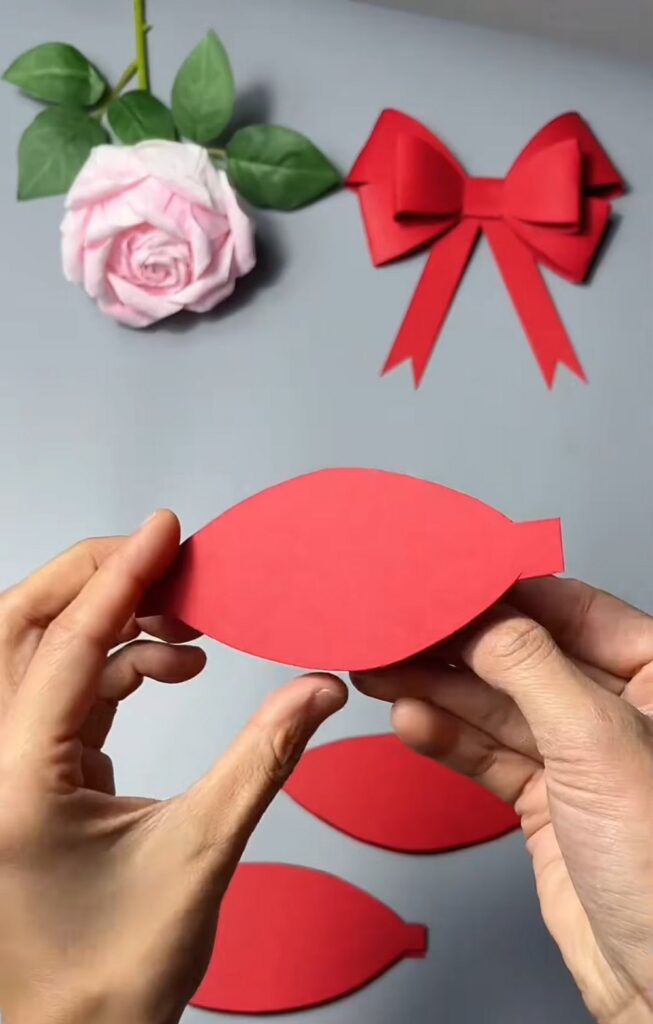
Place a small strip of double-sided tape in the middle (the narrowest point) of the cutout.
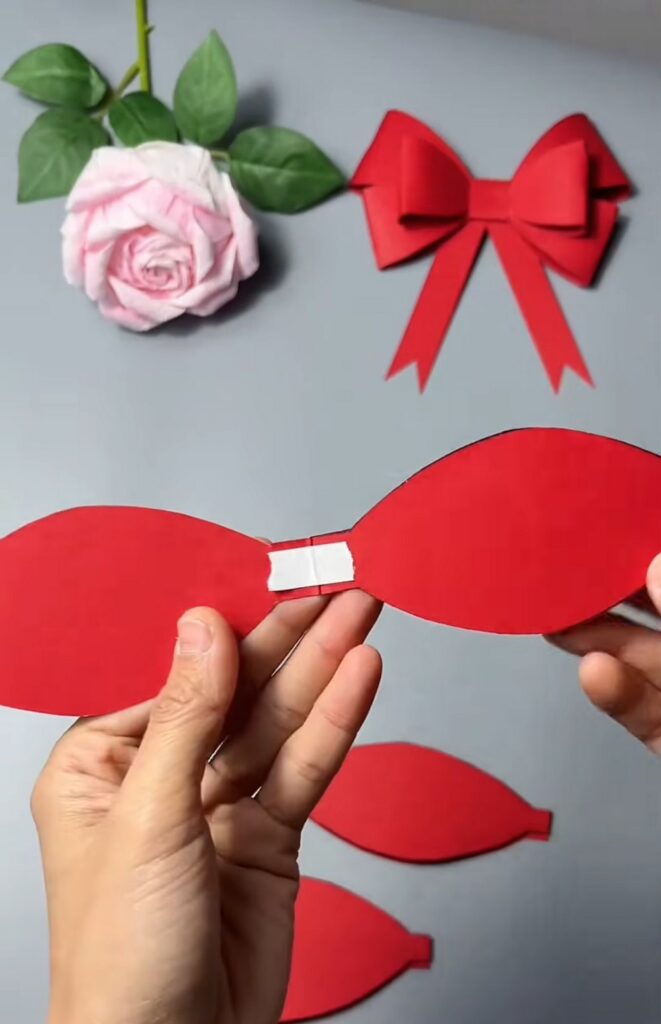
Peel the Backing: Remove the protective paper backing from the double-sided tape to expose the adhesive.
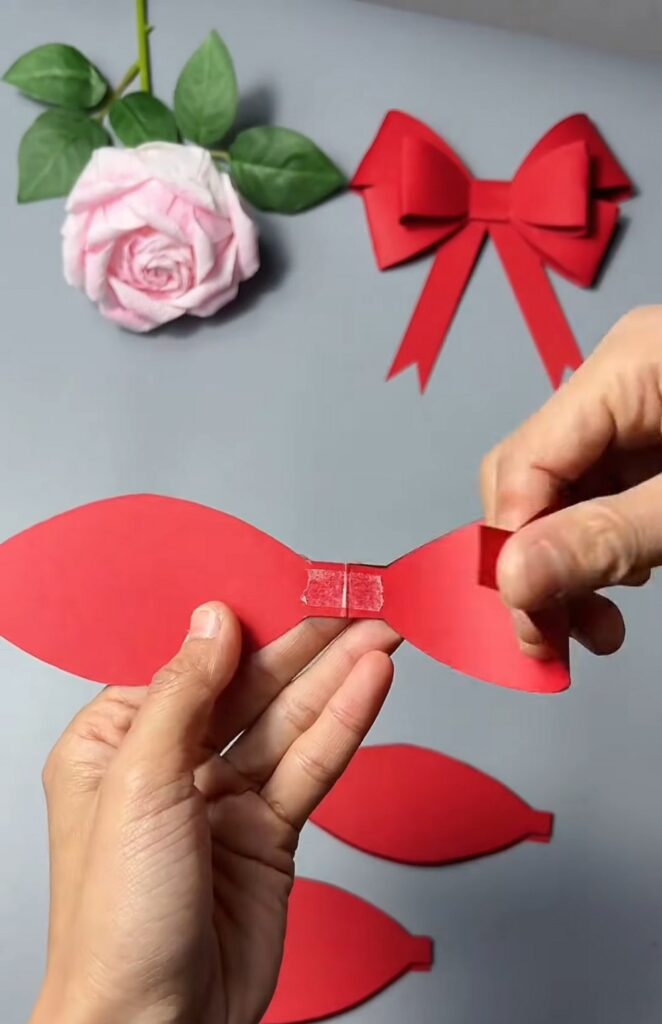
Fold the First Side: Take the rectangular tab on one end of the shape, curl the paper inward toward the center (without creasing the loop), and press the tab onto the double-sided tape.
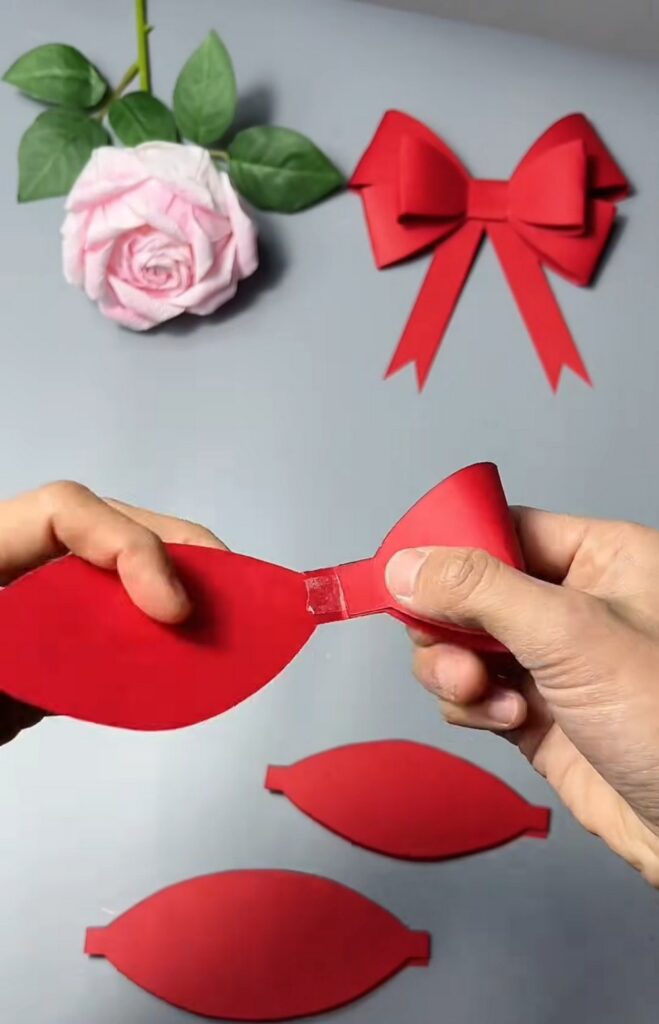
Secure the Second Side: Apply another small piece of double-sided tape directly on top of the tab you just stuck down (or peel the backing if you used a pre-applied overlapping tape method). Curl the opposite end’s rectangular tab inward and press it down on top of the first tab.
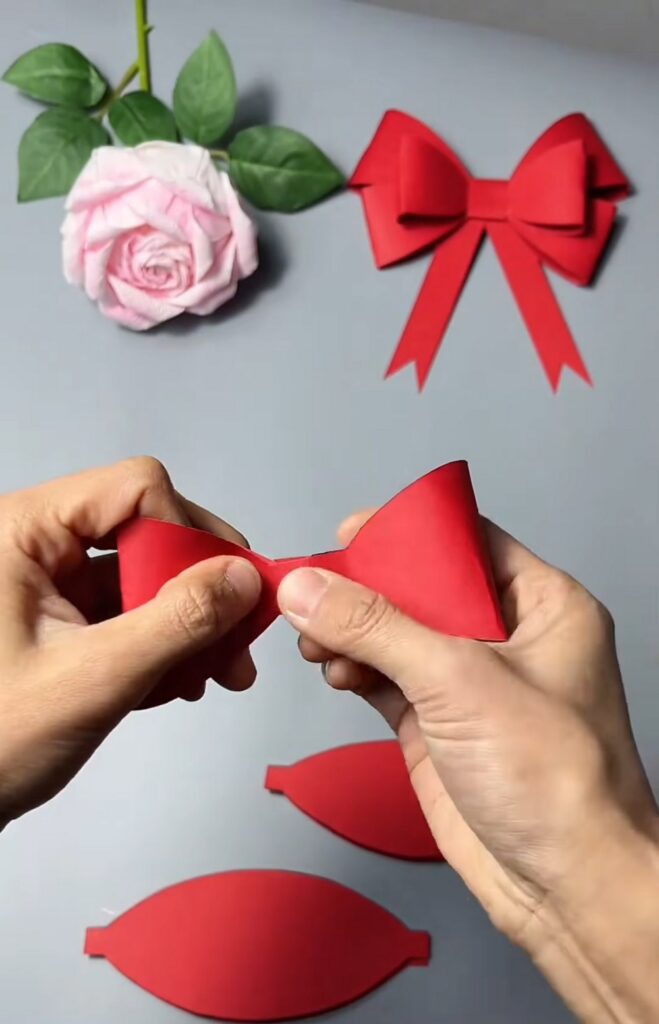
Complete the Set: You have now made a 3D, figure-eight bow loop.
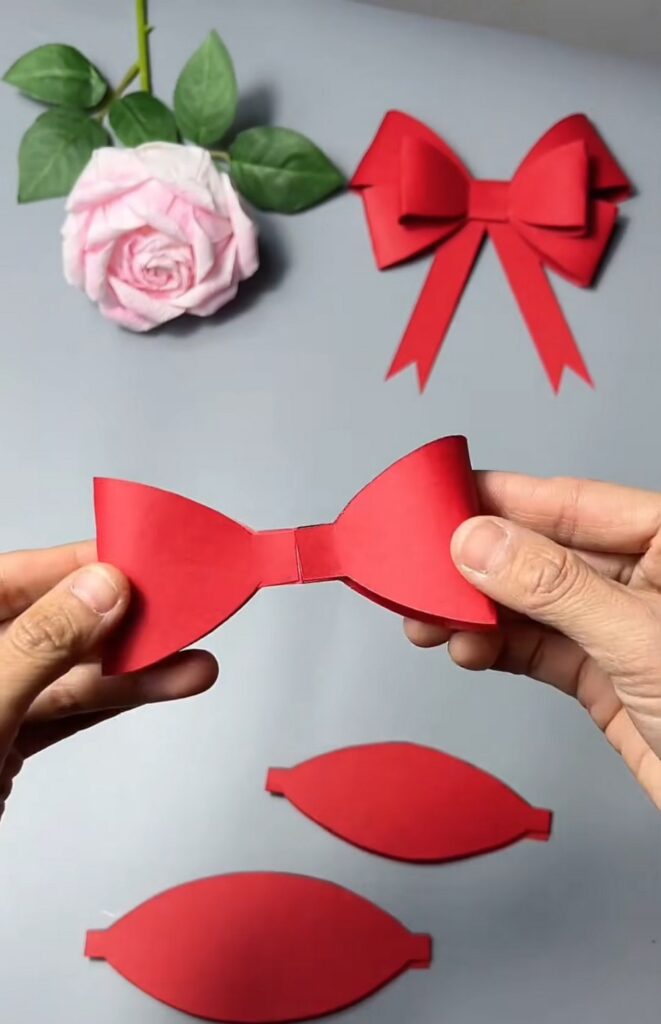
Repeat steps 4 through 7 for the remaining two cutouts to finish assembling all three loop sizes.
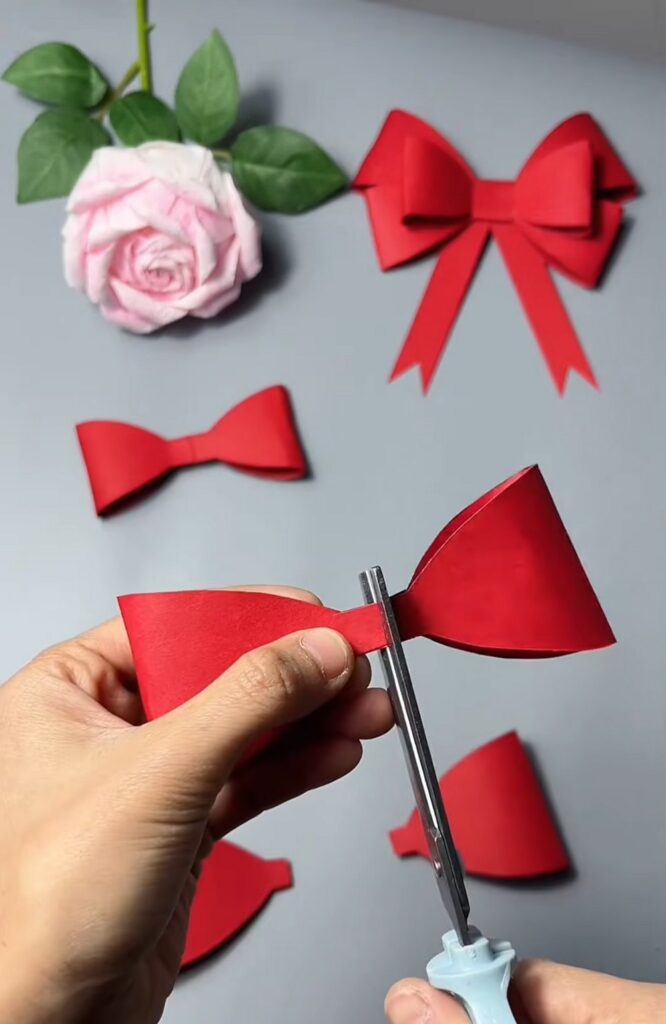
Cutting: Cut each of the bow pieces from the middle. Note that we shall only cut the largest and the medium-sized bows.
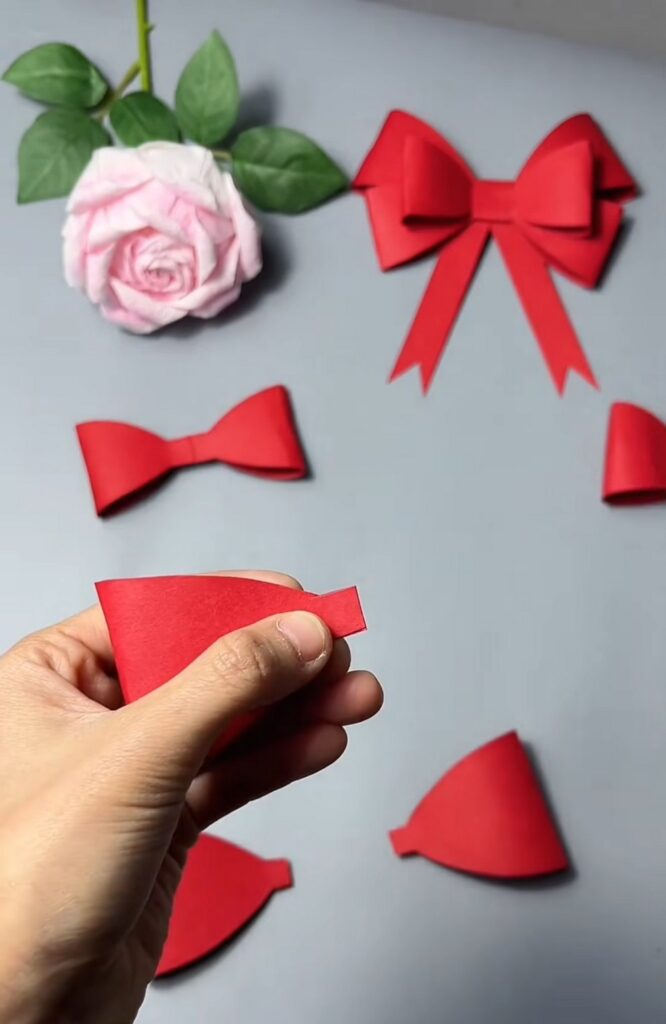
Step 3. Prepare the Binding Strip:
Instead of assembling loops separately, you can use a single vertical strip of red paper with double-sided tape as the foundation to build your bow. Lay the tape strip flat with the adhesive exposed.
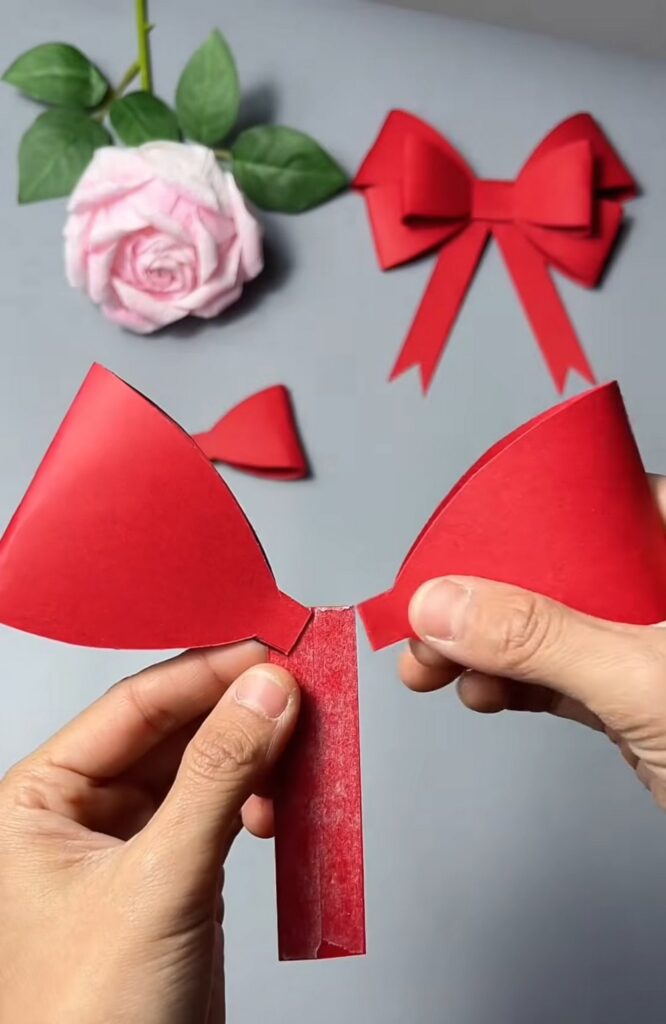
Cut a long, thin rectangular strip of red paper, approximately 6 inches in length. Apply a strip of double-sided tape along the top half of this base strip.
Step 4: Layering the Bow Pieces
The Top Layer: Take the two largest half-pieces. Attach the first piece to the top left of the base strip at an upward angle. Press the tab into the adhesive. Repeat this on the right side with the second large piece, and be sure that the wings are symmetrical.
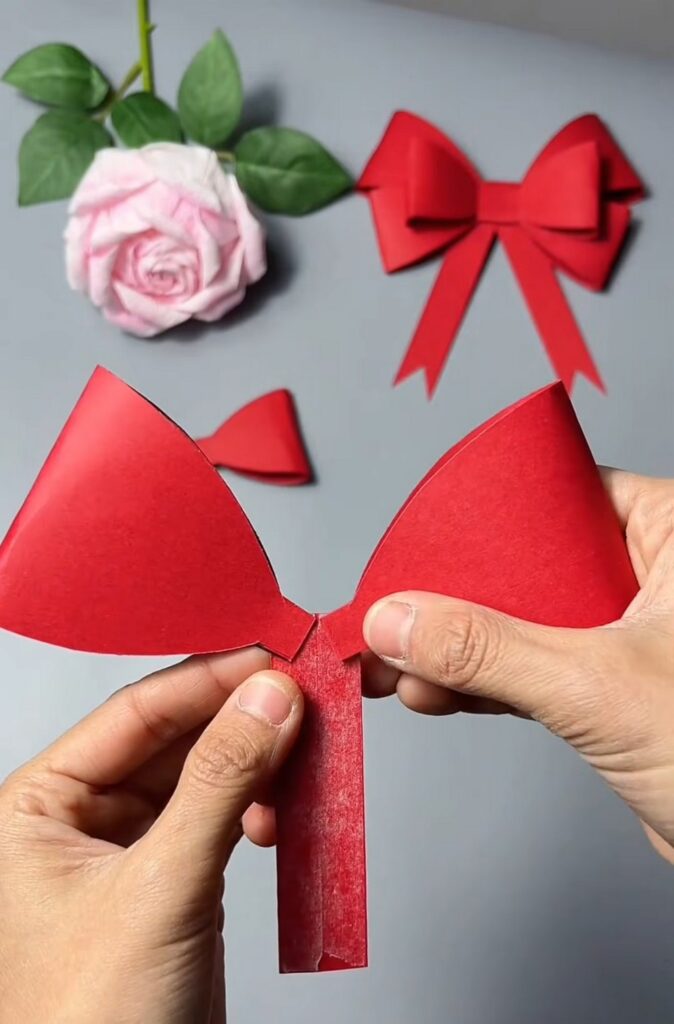
The Bottom Layer: The medium halves should be placed further down the strip. Position these below the large pieces at a similar angle.
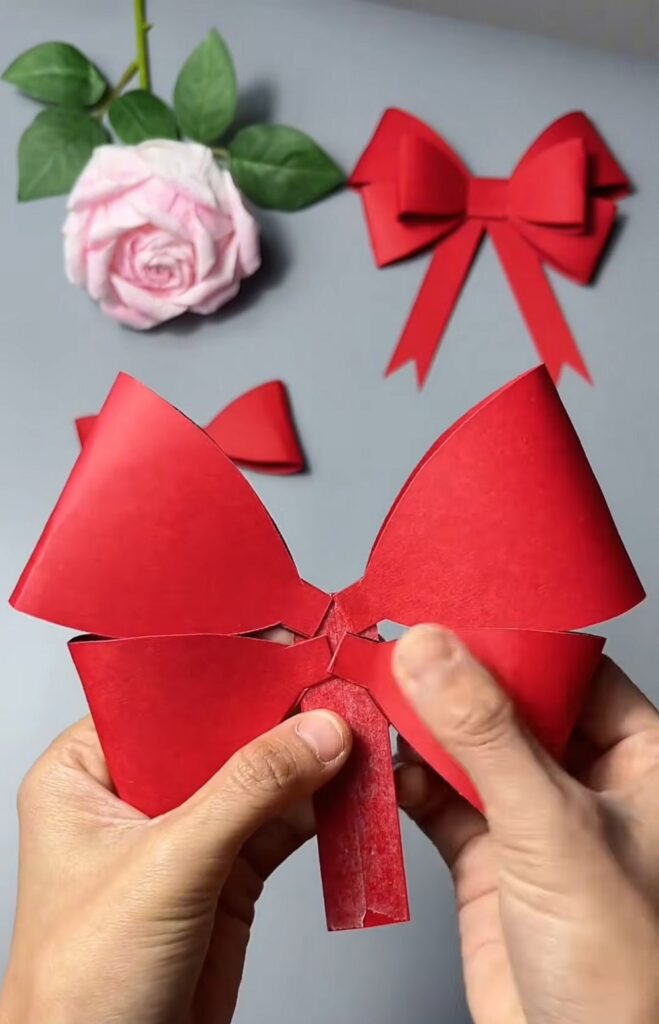
The Middle Layer: Place the two smallest bows that are cut between the large and medium pieces. You can see how layering multiple pieces makes volume and hides the central tabs.
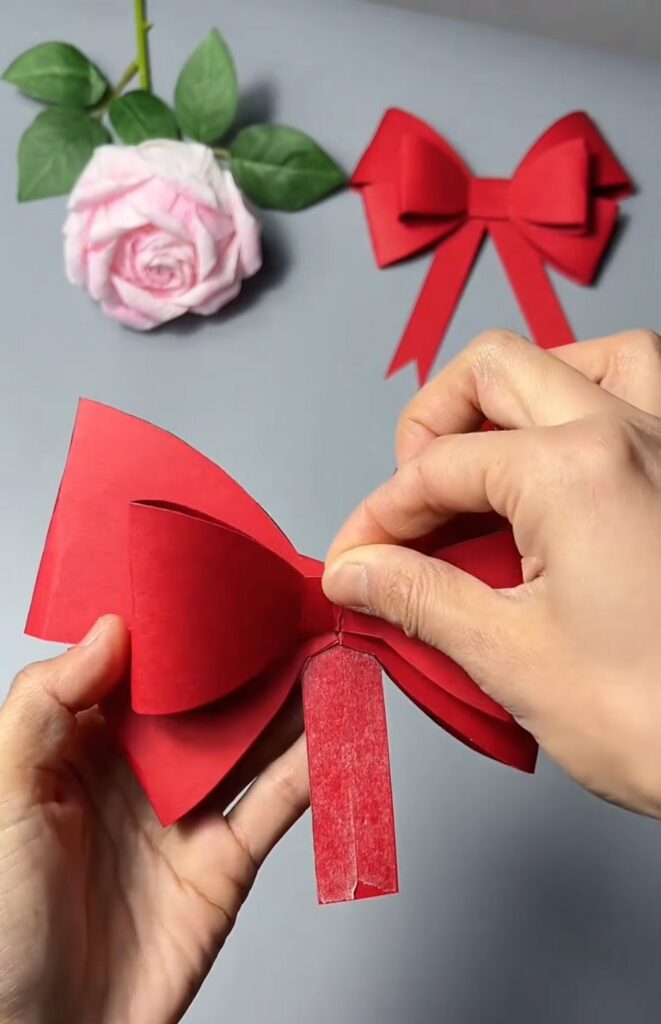
Once all six pieces are attached to the top half of the 6-inch strip, the remaining length of that same strip should be used to finish the center. Be sure you had the strip long enough.
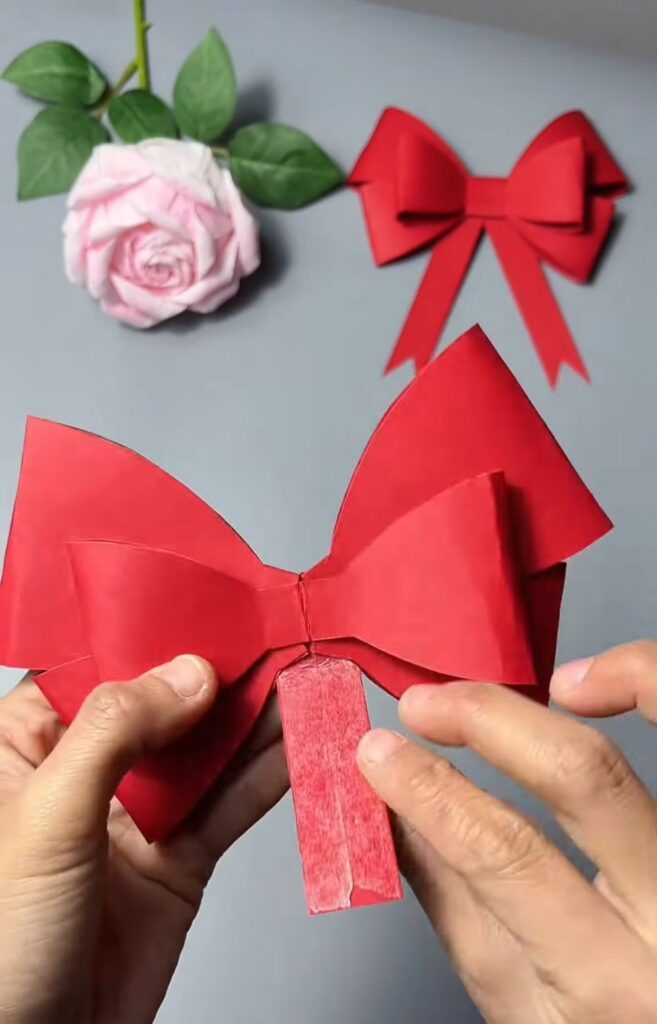
Step 5: Finishing
Roll the strip around the middle from the bottom, and as the glue is already attached, it will secure the middle in the back.
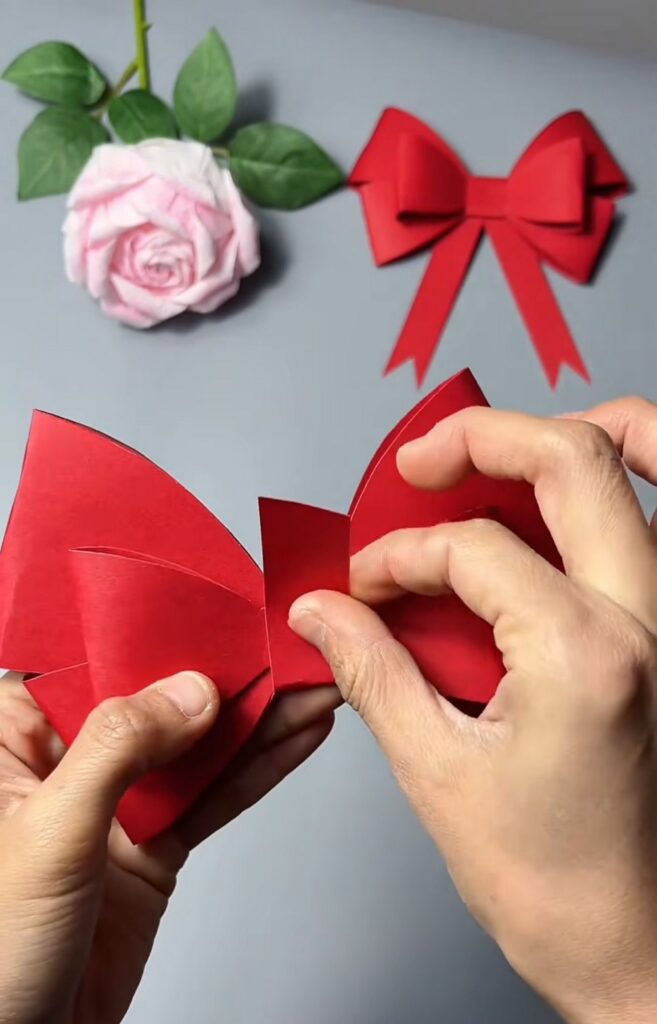
Then attach the strips with V-cuts at an angle at the bottom!
Now, let’s attach this paper bow to a gift box, which you can make with my Masu box tutorial!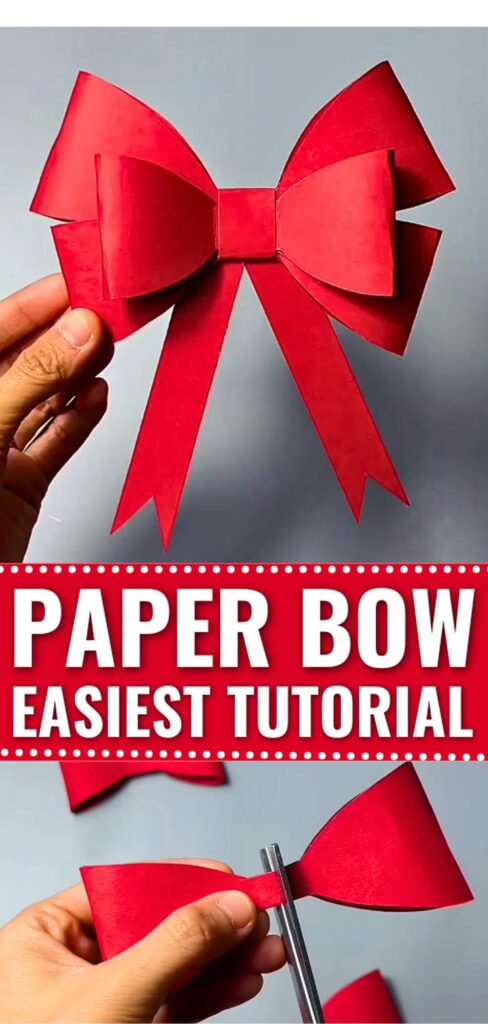
Template!
Was this Tutorial Helpful? Tell us in the Comments.
Your feedback is a great way for us to improve the tutorials. Did you find the tutorial helpful? Be sure to subscribe to the creator’s channel!
About "MAKE DIY via YouTube"
She is running one of the most special corner of paper crafts that are all quick and easier and require no skill!

About "Talha"
Hey, I’m Talha, the Crafter on Craftstive.com. I love to share guides on folding cute origami models and paper crafts, and I am always ready to inspire your next craft project with my weekly craft discussions.