
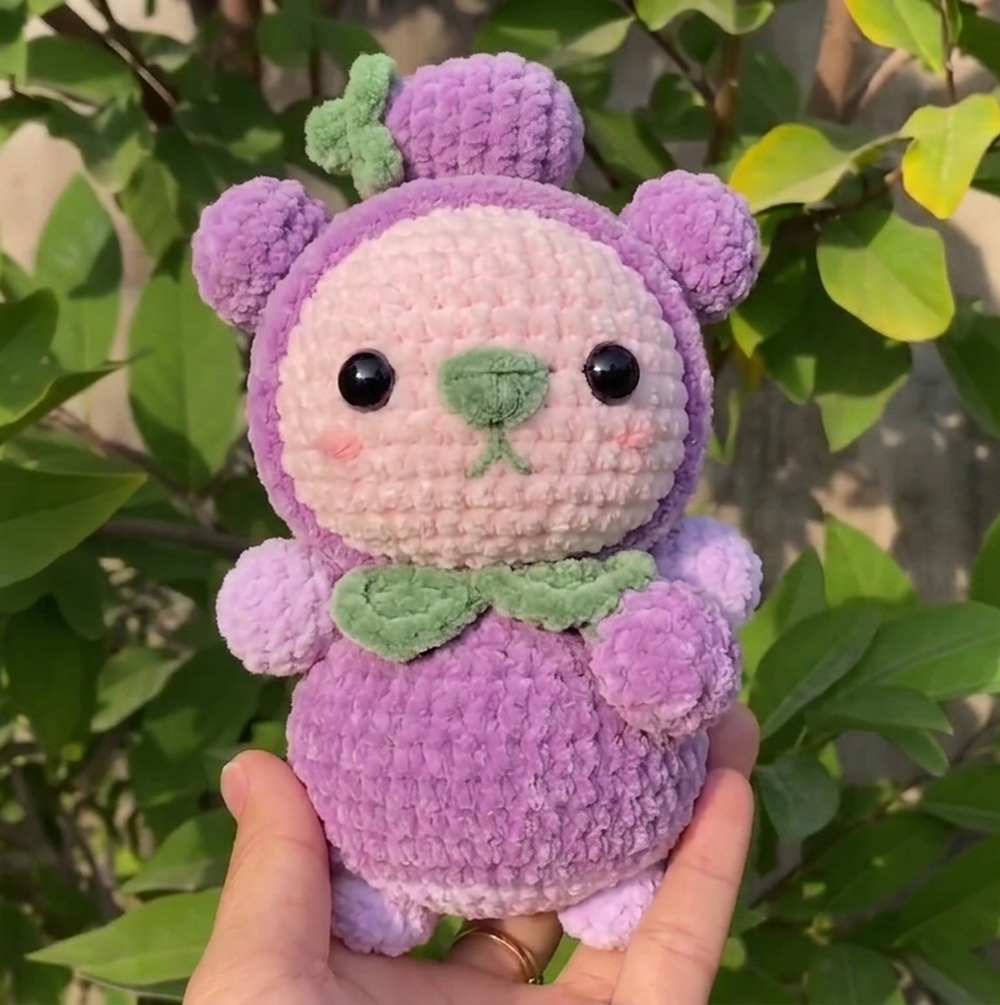
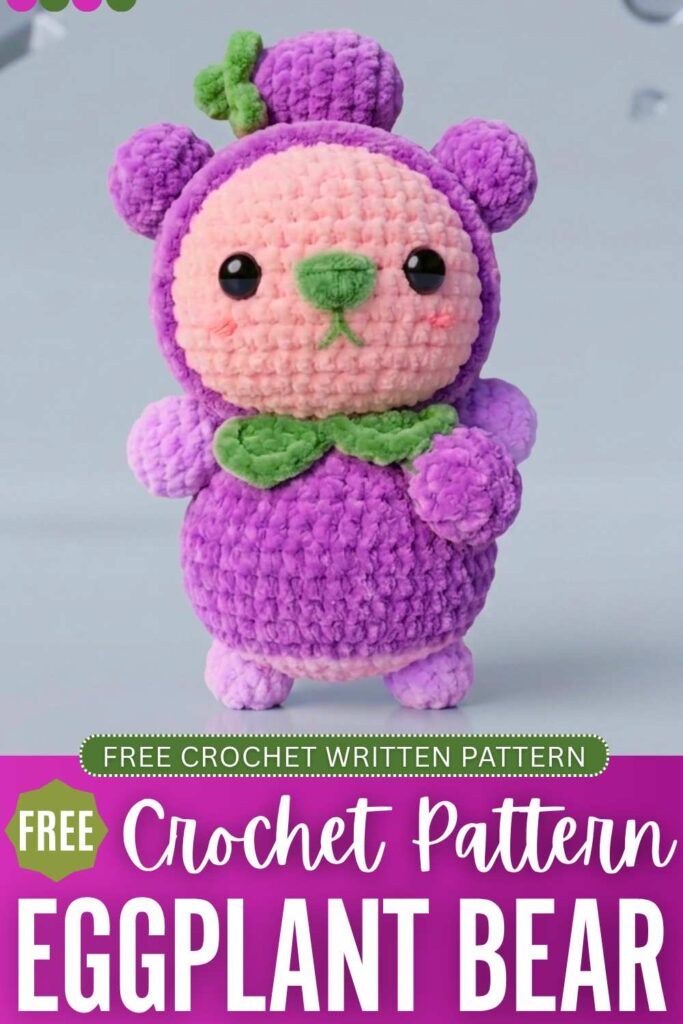
After the CUTE eggplant turtle plushie, today, you will learn about another adorable eggplant-themed plush. So, with a free pattern, learn how to crochet this big bear in an eggplant costume plushie for summer. This is a crochet chubby bear plush with an eggplant hoodie, onesie, and a crochet shoulder bag in the same theme. We will also crochet a small eggplant that can be placed over its head.
The nose is embroidered, and there are also plush cheeks. If you like this crochet cosplay bear plushie, you will LOVE the cosplay pig plushies for which I have shared a pattern already. This is Thanksgiving, fall, Valentine’s Day, and also a gift for a nature lover. Now, continue reading for the full pattern to crochet this plush.
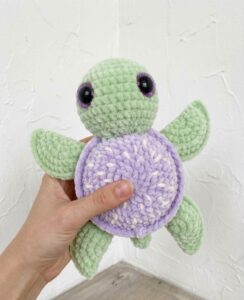
Another eggplant-based plushie for beginners? Will you do this one?
Crochet Eggplant Animal Plushie: Round-by-Round Pattern:
Here is the complete written pattern for crocheting this eggplant bear plushie for all skill levels:
Abbreviations (US Terms)
-
MR: Magic Ring
-
ch: Chain
-
sc: Single crochet
-
hdc: Half double crochet
-
dc: Double crochet
-
tr: Treble (triple) crochet
-
inc: Increase (2 sc in one stitch)
-
tr inc: Treble increase (2 tr in one stitch)
-
dec: Decrease (sc 2 together)
-
sc3tog: Single crochet 3 stitches together
-
FLO: Front Loops Only
-
sl st: Slip stitch
-
st(s): Stitch(es)
-
[ … ]: Work instructions within brackets into the same stitch/space
-
*: Repeat instructions inside parentheses the specified number of times
Materials Needed
- Yarn: Chenille super bulky yarn in light purple, dark purple, green, and pink.
- Crochet Hook: 5mm
- Safety Eyes: 1 pair of 6mm–8mm black safety eyes
- Embroidery Thread
- Stuffing: Fiberfill polyester stuffing
- Tools: Yarn needle, stitch markers, scissors, and a keychain ring (optional)
1. Head (Đầu)
-
R1: MR, 7 sc (7)
-
R2: 7 inc (14)
-
R3: (sc, inc) * 7 (21)
-
R4: (sc, inc, sc) * 7 (28)
-
R5: (3 sc, inc) * 7 (35)
-
R6: (2 sc, inc, 2 sc) * 7 (42)
-
R7 – R9: 42 sc (42)
-
R10: (5 sc, inc) * 7 (49)
-
R11 – R13: 49 sc (49)
-
R14: 13 sc, (2 sc, inc) * 4, (inc, 2 sc) * 4, 12 sc (57)
-
R15: 14 sc, (2 sc, inc) * 2, 18 sc, (inc, 2 sc), 13 sc (60)
-
R16: 61 sc (61) Note: Follow pattern count as written
-
R17: 29 sc, 2 dec, 28 sc (59)
-
R18: 14 sc, (2 sc, dec) * 2, 16 sc, (dec, 2 sc) * 2, 13 sc (55)
-
R19: sc3tog, 4 sc, (dec, 4 sc) * 8 (45)
-
R20: (3 sc, dec) * 9 (36)
-
R21: (sc, dec, sc) * 9 (27)
-
R22: (sc, dec) * 9 (18)
-
R23: 9 dec (9)
-
Fasten off and leave a tail for sewing.
2. Body (Cơ thể)
-
R1: MR, 9 sc (9)
-
R2: 9 inc (18)
-
R3: (sc, inc) * 9 (27)
-
R4: (sc, inc, sc) * 9 (36)
-
R5: (5 sc, inc) * 6 (42)
-
R6: (3 sc, inc, 3 sc) * 6 (48)
-
R7: (7 sc, inc) * 6 (54)
-
Change color
-
R8 – R14: 54 sc (54)
-
R15: 14 sc, dec, 22 sc, dec, 14 sc (52)
-
R16: 14 sc, dec, 20 sc, dec, 14 sc (50)
-
R17: 13 sc, dec, 20 sc, dec, 13 sc (48)
-
R18: (2 sc, dec, 2 dec) * 8 (24) Note: Follow sequence around
-
R19: (3 sc, dec) * 8 (16) Note: Follow pattern count
-
R20: (sc, dec, sc) * 8 (8) Note: Follow pattern count
-
Fasten off.
Collar (Cổ áo)
-
Change color. Start at the center front/back of the neck area.
-
FLO: [ch 4, tr], (2 tr inc) * 2, 18 dc, (2 tr inc) * 2, [tr, ch 4, sl st]
-
Fasten off and weave in ends.
3. Hoodie (Áo trùm đầu)
-
R1: MR, 7 sc (7)
-
R2: 7 inc (14)
-
R3: (sc, inc) * 7 (21)
-
R4: (sc, inc, sc) * 7 (28)
-
R5: (3 sc, inc) * 7 (35)
-
R6: (2 sc, inc, 2 sc) * 7 (42)
-
R7: (5 sc, inc) * 7 (49)
-
R8 – R19: 49 sc (49)
-
R20: 11 sc, dec, (10 sc, dec) * 3 (45)
-
Fasten off, leaving a long tail to attach or frame around the head.
4. Limbs & Ears
Ears (Tai) – Make 2
-
R1: MR, 6 sc (6)
-
R2: 6 inc (12)
-
R3: (sc, inc) * 6 (18)
-
R4 – R5: 18 sc (18)
-
R6: (sc, dec) * 6 (12)
-
Fasten off, leaving a tail for sewing.
Arms (Tay) – Make 2
-
R1: MR, 6 sc (6)
-
R2: 6 inc (12)
-
R3: (sc, inc) * 6 (18)
-
R4: 18 sc (18)
-
R5: (sc, dec) * 6 (12)
-
R6: 12 sc (12)
-
R7: (2 sc, dec) * 3 (9)
-
R8: (sc, dec) * 3 (6)
-
Fasten off, leaving a long tail for sewing.
Legs (Chân) – Make 2
-
R1: MR, 6 sc (6)
-
R2: 6 inc (12)
-
R3: 12 sc (12)
-
R4: (2 sc, dec) * 3 (9)
-
R5: Fold piece flat, work 4 sc through both sides to close the opening. (4)
-
Fasten off, leaving a tail for sewing.
5. Accessories
Eggplant (Cà tím)
-
R1: MR, 6 sc (6)
-
R2: 6 inc (12)
-
R3: (sc, inc) * 6 (18)
-
R4 – R6: 18 sc (18)
-
R7: (sc, dec) * 6 (12)
-
R8 – R11: 12 sc (12)
-
R12: 6 dec (6)
-
Fasten off, weave tightly to close.
Eggplant Stalk (Cuống cà tím)
-
R1: MR, 6 sc (6)
-
R2: (sc, inc) * 3 (9)
-
R3: (ch 4, skip 2 chains, sc in 3rd ch from hook, hdc in 4th ch, skip 2 stitches on the main ring, sl st into the next stitch) * 3
-
Fasten off, leaving a tail to sew onto the top of the eggplant.
Bag (Túi)
-
R1: MR, 6 sc (6)
-
R2: 6 inc (12)
-
R3: (sc, inc) * 6 (18)
-
R4 – R5: 18 sc (18)
-
R6: (sc, dec) * 6 (12)
-
Change color
-
R7: (2 sc, dec) * 3 (9)
-
R8: ch 40 (or desired length for the strap), attach with a sl st to the opposite side of the bag rim to form the bag string.
-
Fasten off and weave in ends.
Assembly Instructions
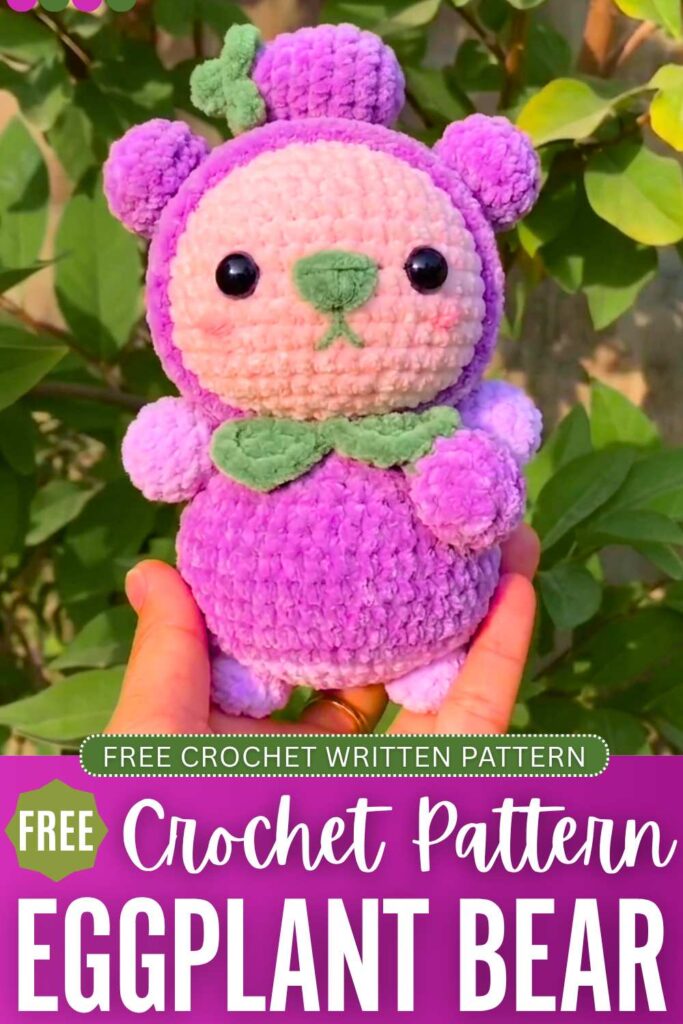
-
Head & Body: Stuff the head and body firmly with fiberfill before closing. Sew the head securely to the neck opening of the body.
-
Hoodie & Ears: Place the hoodie over the head. Position and sew the ears to the top of the head/hoodie.
-
Limbs: Sew the arms symmetrically to the sides of the body just below the collar. Sew the flattened legs to the bottom of the body so the bunny can sit steadily.
-
Accessories: Sew the green stalk to the top of the eggplant. Drape the bag strap over the bunny’s shoulder so the bag rests at its side.