
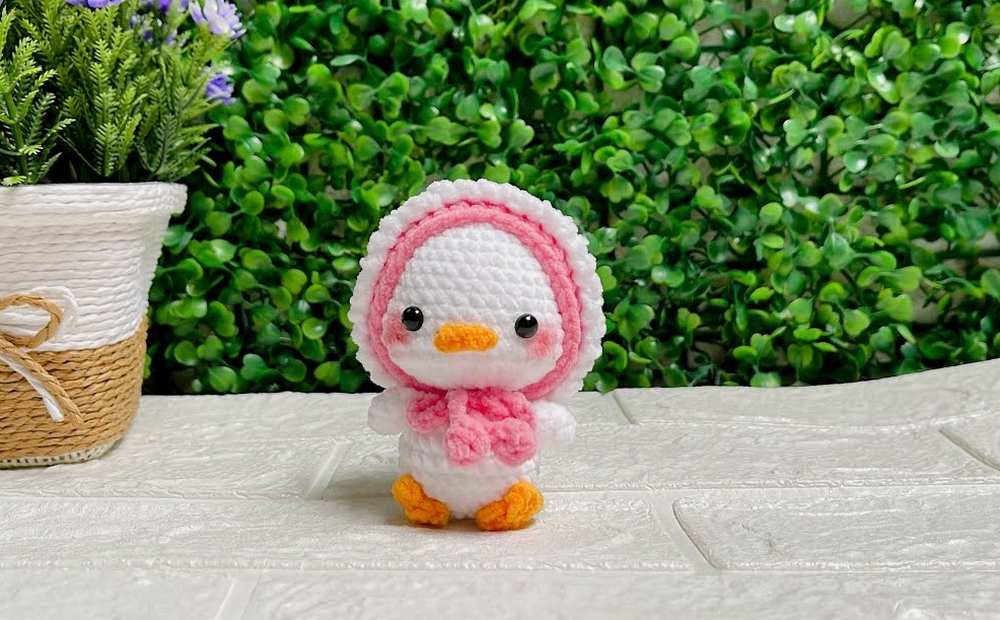
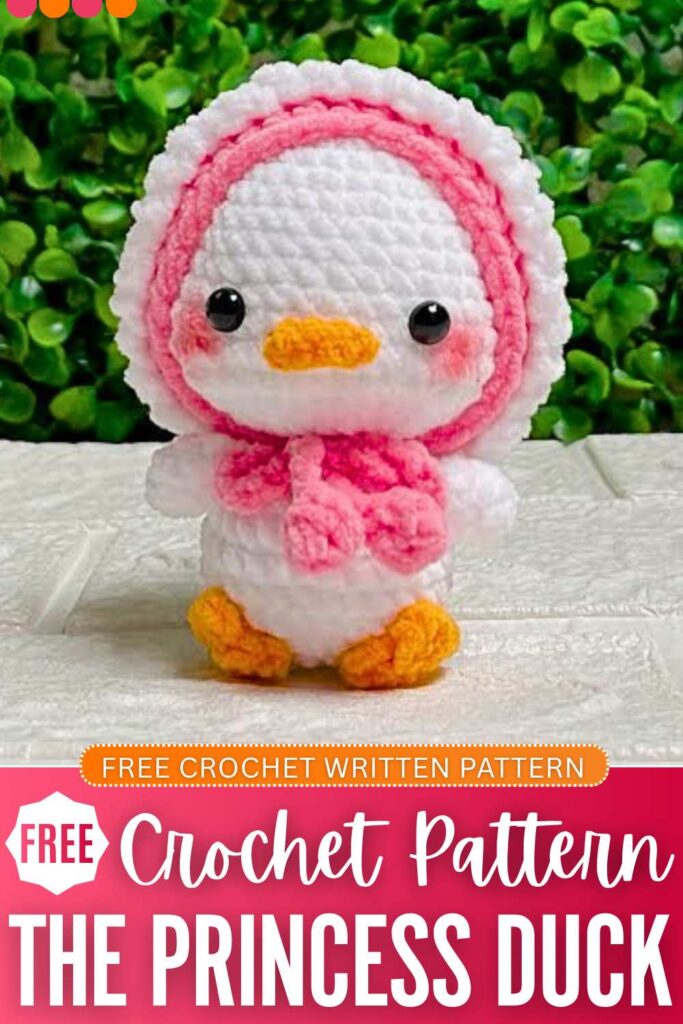
Continuing the crochet “plushie costume” series for the crochet duck plushie doll, today you will learn how to crochet this oh-so cute duck head scarf with a FREE pattern. This is a Mother’s Day present, and you can call this duck plushie the Mummy duck plush.
The face scarf is crocheted like a balaclava, with ties to the hood and two layers of the hoodie. I will soon try to bring the crochet duck doll base pattern, too. Also, if you missed it, let me remind you that I have already shared a pattern to crochet the lotso bear plush hat pattern, too.
Be sure to check that if you like the themed crochet cosplay for the plushies. You will love the combo of the white and the pink in this scarf and the four crochet balls attached at the end. Now, continue reading for the full crochet pattern.
Crochet Princess Mom Duck Costume: Round-by-Round Pattern
Here is the written pattern for crocheting this elegant, princess duck balacava with ruffled border and comfortable ties for a small amigurumi duck:
Materials Needed
-
Yarn: Chenille/velvet plush yarn in Pink (main bonnet) and White (ruffled border)
-
Crochet Hook: 5mm crochet hook
-
Other Tools: Scissors, tapestry needle, and, optionally, some pink blush for the cheeks
Abbreviations Used
-
ch: Chain
-
st / sts: Stitch / Stitches
-
sl st: Slip stitch
-
sc: Single crochet
-
hdc: Half double crochet
-
dc: Double crochet
-
hdc-inc: Half double crochet increase (2 hdc in the same stitch loop)
-
dc-inc: Double crochet increase (2 dc in the same stitch loop)
-
BLO: Back Loop Only
-
FLO: Front Loop Only
1. The Main Bonnet (Pink)
The bonnet starts in joined rounds to build the back of the head, then changes to turning rows to create the open front area.
-
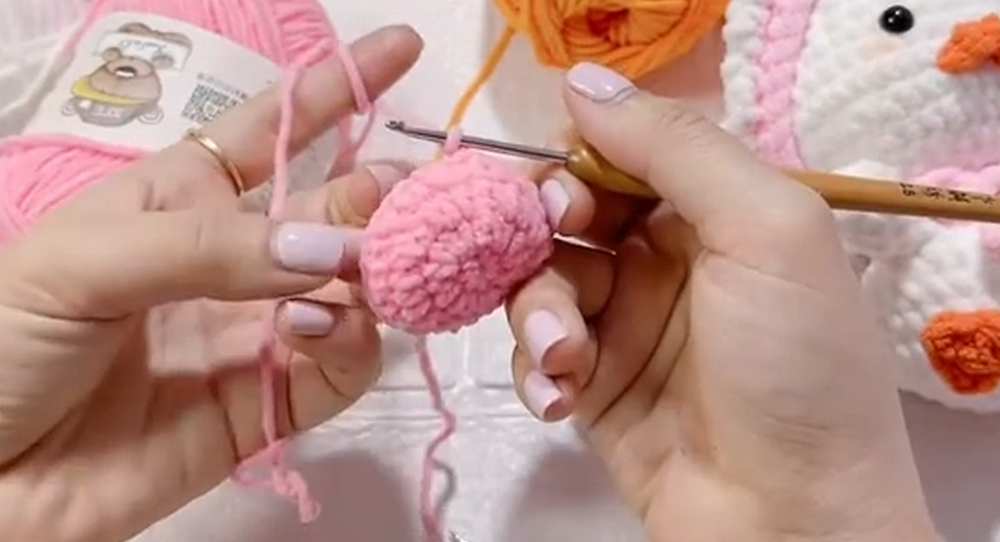
Round 1: Start with a magic ring. Ch 1, work 8 sc into the ring. Sl st to the first sc to join. [8 sts]
-
Round 2: Ch 2. Work 8 hdc-inc around (2 hdc in each stitch, starting right in the joining stitch). Sl st to join. [16 sts]
-
Round 3: Ch 2. Work a pattern of [1 hdc, 1 hdc-inc] repeated 8 times around. Sl st to join. [24 sts]
-
Round 4: Ch 2. To keep the bonnet perfectly circular, offset the increases: work 1 dc, 1 dc-inc. Then, repeat a pattern of [2 dc, 1 dc-inc] 7 times. Work 1 dc in the final stitch. Sl st to join. [32 sts]
-
Round 5: Ch 2. Work 32 hdc around (1 hdc in each stitch). Sl st to join. [32 sts]
-
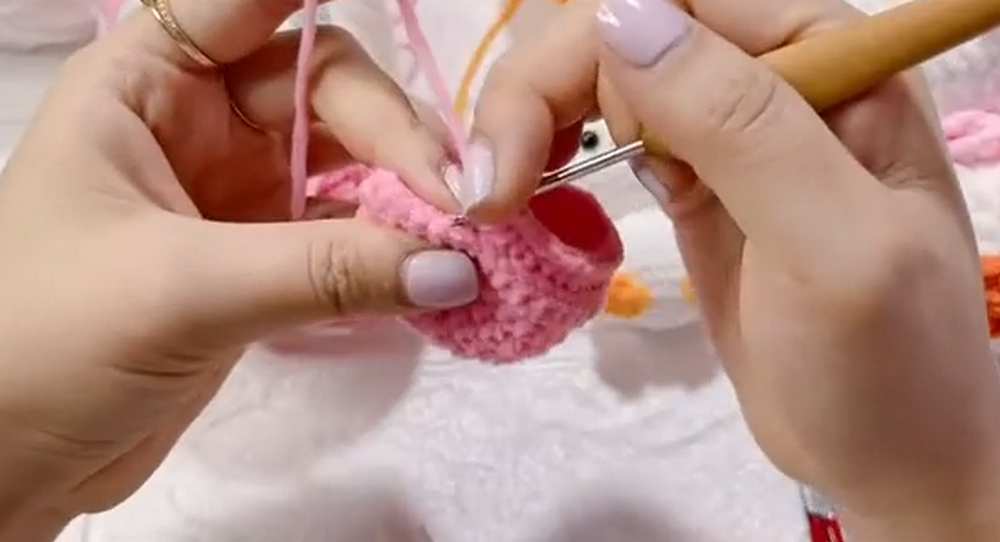
Round 6: Ch 2. Work 32 hdc around, but do not slip stitch to join at the end of this round. [32 sts]
-
Rows 7–8: Ch 2, turn your work. Crochet 32 hdc back across the row. Repeat this for Row 8 to establish the bonnet depth. [32 sts]
-
Row 9 (BLO Row): Ch 2, turn. Work 32 hdc across working in the Back Loops Only (BLO). This leaves the front loops unworked and available for the ruffled border later. Do not cut the yarn at the end of this row. [32 sts]
2. Bonnet Straps/Ties (Pink)
-
First Strap: Directly from the corner of Row 9, ch 20 to form the tie strap.
-
Tassel Ball: Ch 2 more (total 22 chains). Turn your work and create a bobble cluster of 4 half-closed dc stitches into the 3rd chain from the hook. Pull the yarn through all loops on the hook to secure the cluster, ch 2, and sl st directly back down into that same chain loop. Fasten off and hide the tail.
-
Second Strap: Attach pink yarn to the opposite front corner of Row 9. Ch 20, then repeat the same tassel ball instructions. Fasten off.
3. The Ruffled Border (White)
The lace ruffle runs along the front opening of the bonnet using the unworked loops.
-
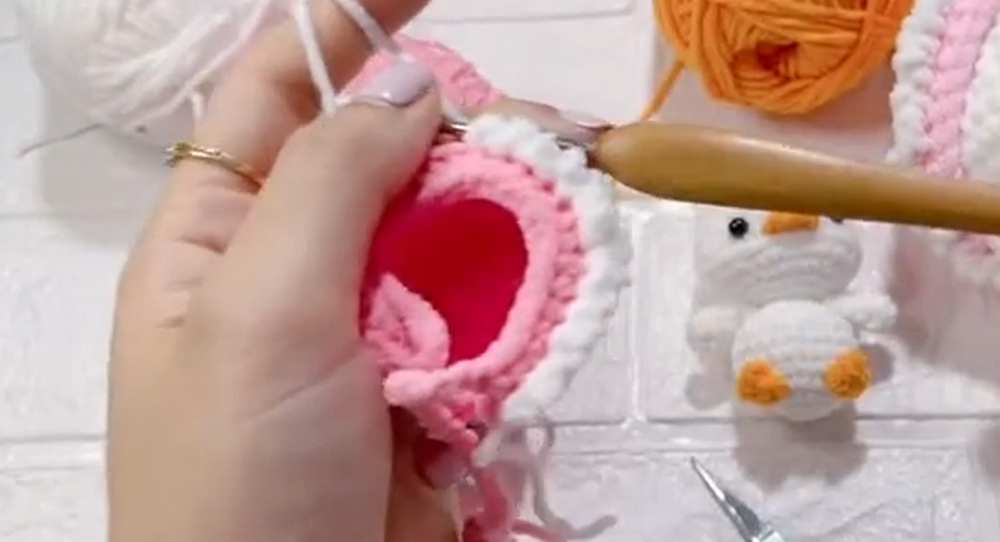
Setup: Join the White yarn into the unworked Front Loops (FLO) left over from Row 9 of the bonnet.
-
Ruffle Pattern: Ch 2, then sl st into the very next front loop.
-
Repeat: Continue the sequence of [Ch 2, sl st in next loop] completely across the face edge to create a dense, frilly border.
-
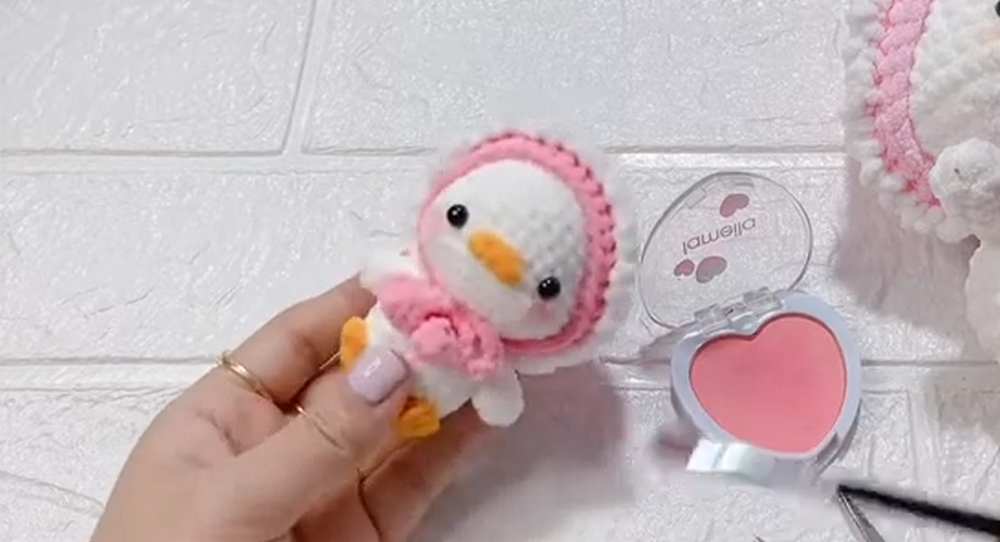
Finishing: Fasten off, weave in all loose yarn ends invisibly into the inside of the bonnet, and lightly apply blush to your duck’s cheeks to finish the look!
Learn with the Video Tutorial

About "Talha"
Hey, I’m Talha, the Crafter on Craftstive.com. I love to share guides on folding cute origami models and paper crafts, and I am always ready to inspire your next craft project with my weekly craft discussions.