
Be sure to subscribe to @to2acrochet.
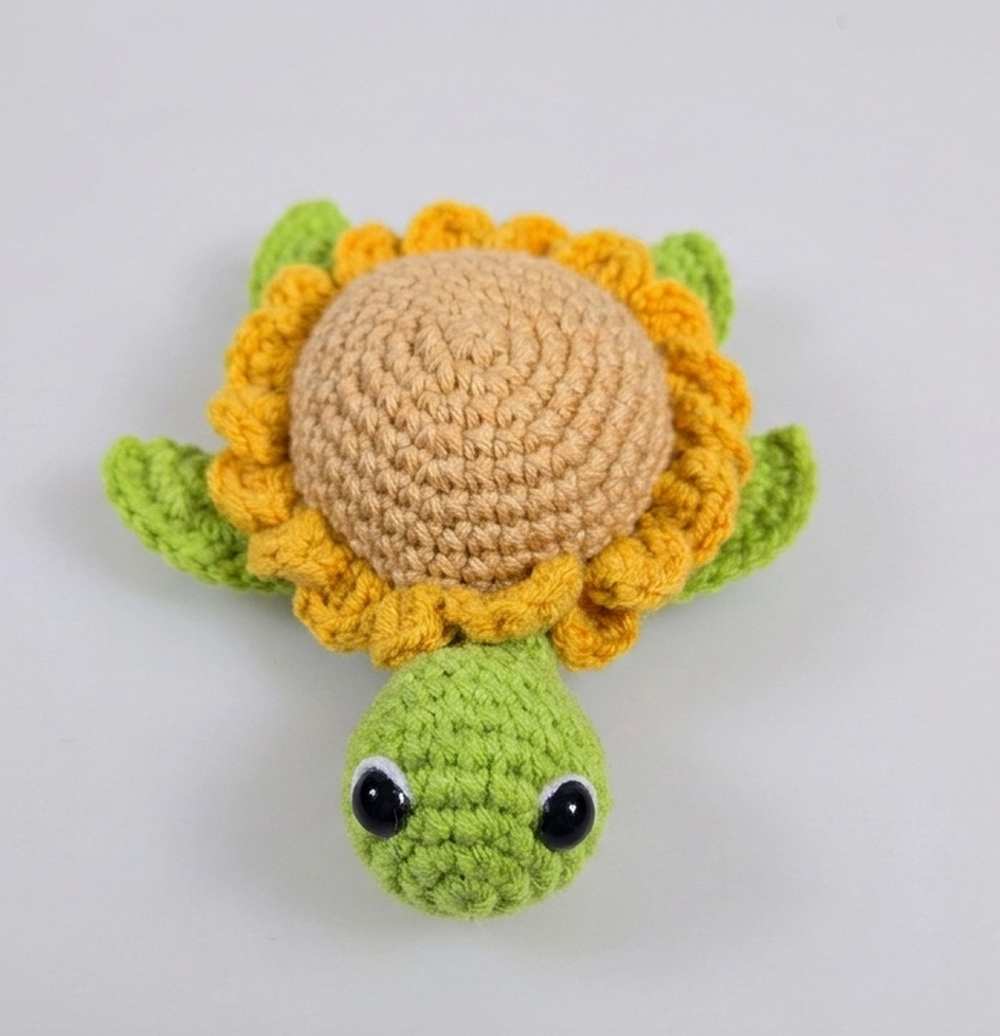
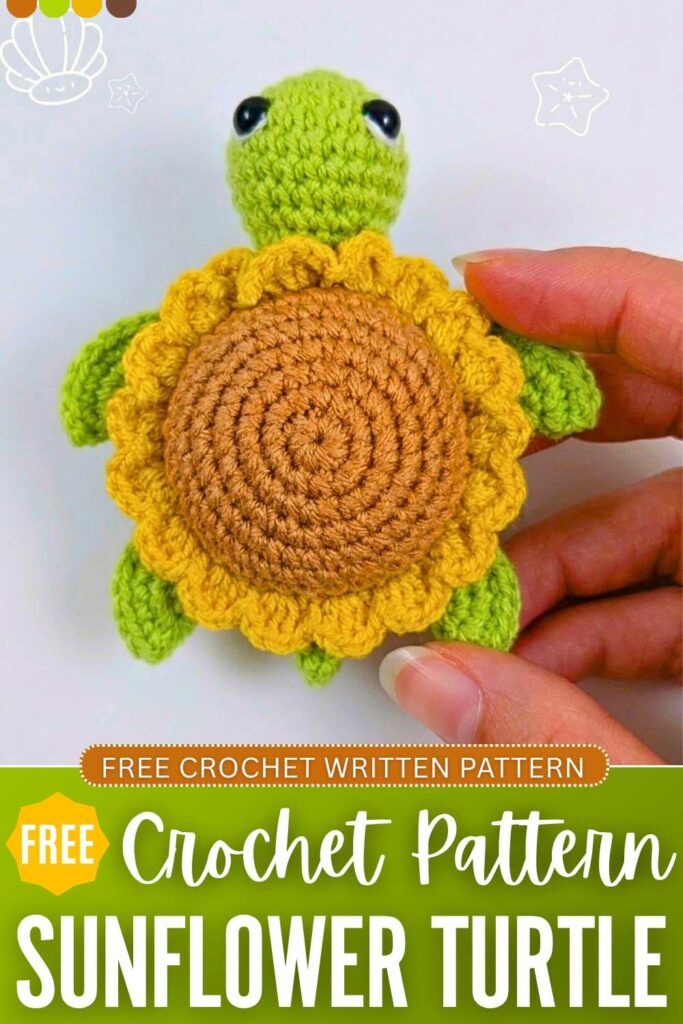
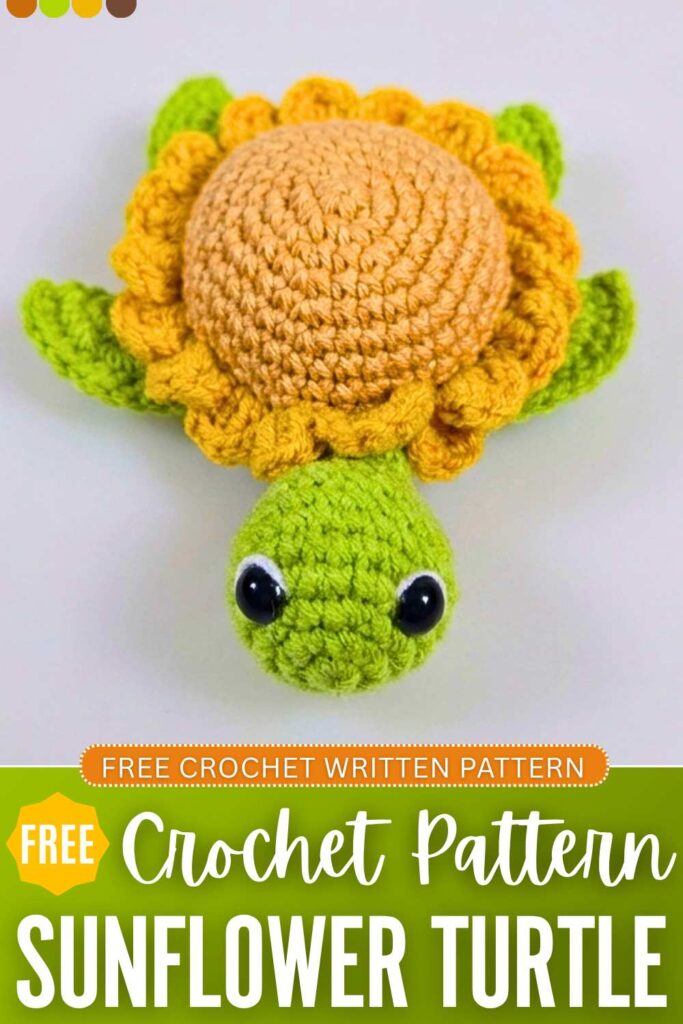
To make someone’s summer even livelier, learn how to crochet this cute little sunflower amigurumi with a FREE pattern. This is the start of a “3 seasonal amigurumi turtle” series, including this sunflower shell, daisy flower shell, and pumpkin pie shell turtle amigurumi for summer, spring, and fall or Thanksgiving, respectively. You can also crochet the last one for Pie Day.
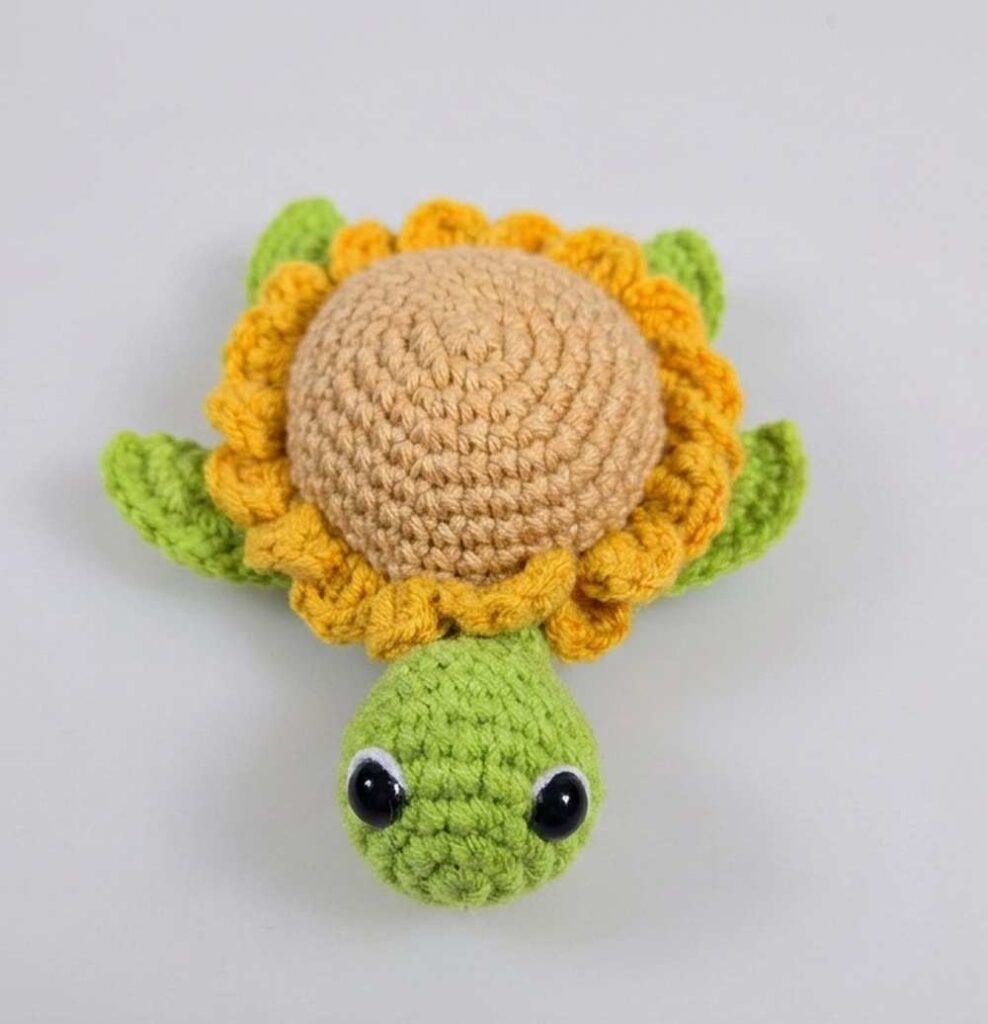
This crochet turtle has a beautiful ruffled edging that will work as the sunflower petals for us. So, it looks more towards a crochet plant; we will also crochet the body in green to mimic the stem of a sunflower. The eyes also have a white embroidery that looks oh-so cute. Now, continue reading for the full pattern to crochet this turtle amigurumi.
Crochet Sunflower Shell Turtle Keychain: Round-by-Round Pattern
Here is the complete crochet pattern for this crochet turtle amigurumi pattern. But we will crochet it in many parts. Assembly is in the end:
Abbreviations
- ch: Chain
- st: Stitch
- sts: Stitches
- sl st: Slip stitch
- sc: Single crochet
- dc: Double crochet
- inc: Increase (work 2 stitches into the same space)
- dec: Decrease (work 2 stitches together to reduce the count by one)
Materials Needed
- Yarn: Medium-weight Milk Cotton yarn in Green (belly), Orange (shell center), Yellow (petals), and Tan/Beige (head and legs)
- Eyes: Safety eyes or flat plastic eyes, with a small strand of white yarn for details
- Other Tools: 2.0mm Crochet hook, fiberfill stuffing, tapestry needle, and hot glue (optional, for positioning)
1. The Head
- Round 1: Start with a magic ring. Work 6 single crochet (sc) into the ring. Slip stitch (sl st) to the first sc to join.
[6 sts] - Round 2: Ch 1. Work 6 increases (inc) (2 sc in each stitch around). Sl st to join.
[12 sts] - Round 3: Ch 1. [1 sc, 1 inc] repeat 6 times. Sl st to join.
[18 sts] - Round 4: Ch 1. [2 sc, 1 inc] repeat 6 times. Sl st to join.
[24 sts] - Rounds 5–8: Ch 1. Work 24 sc (1 sc in each stitch around). Sl st to join at the end of each round.
[24 sts per round] - Round 9: Ch 1. [2 sc, 1 invisible decrease (dec)] repeat 6 times. Sl st to join.
[18 sts] - Begin stuffing the head firmly with fiberfill.
- Round 10: Ch 1. [1 sc, 1 dec] repeat 6 times. Sl st to join.
[12 sts] - Rounds 11–13: Ch 1. Work 12 sc (1 sc in each stitch around). Sl st to join at the end of each round.
[12 sts per round] - Top off the stuffing to ensure the neck is stable.
- Finishing the Neck:
- Sl st across 3 stitches to shift the starting position so the seam faces down.
- Ch 1, flatten the opening of the neck, and work 5 sc through both layers (front and back stitches together) to close the tube.
- Ch 1, turn, and work another row of 5 sc across. Fasten off, leaving a long tail for sewing.
Video Tutorial
2. The Flippers / Legs (Make 4)
- Round 1: Start with a magic ring. Work 6 sc into the ring. Sl st to join.
[6 sts] - Round 2: Ch 1. Work 6 inc. Sl st to join.
[12 sts] - Round 3: Ch 1. [1 sc, 1 inc] repeat 6 times. Sl st to join.
[18 sts] - Round 4: Ch 1. [2 sc, 1 inc] repeat 6 times. Sl st to join.
[24 sts] - Finishing the Flippers:
- Ch 1, fold the piece in half to make a semi-circle.
- Work 12 sc across the curved edge, inserting your hook through both layers (the front and back stitches together) to seal the flipper flat
[12 sts]. - Fasten off, leaving a long tail for assembly.
- Pro Tip: For two of the legs, use your tapestry needle to bring the yarn tail from the starting corner back through the inside to the opposite corner. This keeps all your stitches facing “right side out” when mounting them symmetrically onto the body.
3. The Top Shell (Orange)
- Round 1: Start with a magic ring. Work 6 sc into the ring. Sl st to join.
[6 sts] - Round 2: Ch 1. Work 6 inc. Sl st to join.
[12 sts] - Round 3: Ch 1. [1 sc, 1 inc] repeat 6 times. Sl st to join.
[18 sts] - Round 4: Ch 1. [2 sc, 1 inc] repeat 6 times. Sl st to join.
[24 sts] - Round 5: Ch 1. [3 sc, 1 inc] repeat 6 times. Sl st to join.
[30 sts] - Round 6: Ch 1. [4 sc, 1 inc] repeat 6 times. Sl st to join.
[36 sts] - Rounds 7–8: Ch 1. Work 36 sc (1 sc in each stitch around). Sl st to join.
[36 sts per round] - Fasten off with an invisible seamless finish using a tapestry needle.
4. The Belly Piece (Green)
- Repeat Rounds 1 through 7 of the Top Shell instructions exactly
[36 sts]. - Cut the yarn after Round 7 instead of making a 2nd even round.
5. Assembling the Shell & Petals (Yellow)
Align the Orange Shell and the Green Belly piece together, wrong sides facing inward. You will join them by crocheting the yellow flower petals through the loops of both circles simultaneously.
- Standard Petal Sequence (Back and Sides):
- Join Yellow yarn through both pieces, Ch 2.
- In the next stitch (through both layers), work 3 double crochets (dc).
- Ch 2, then sl st into the next stitch across both layers.
- Repeat this sequence to create 8 full petals joining the two shell layers together.
- Head Gap Sequence (Front Open Space):
- To leave an opening for the head, do not stitch through both layers for the next few sections.
- Work 3 petals following the exact same stitch sequence, but insert your hook only through the loops of the Orange Top Shell piece, leaving the Green belly stitches untouched underneath.
- Skip 6 unworked stitches on the Green belly piece to match the length of the opening.
- Finishing the Flower:
- Join your hook back through both layers at the 6th stitch and resume the standard petal sequence until you reach the start.
- Remember to stuff the shell firmly with fiberfill through the head opening before completing your final petals!
- Fasten off and weave in your ends inside the shell.
6. Assembly
- Attaching the Head: Slide the flat neck tab into the unjoined section at the front of the shell. Use the yarn tail to secure the bottom of the neck directly to the Green belly layer first. Then, use a small strand of orange yarn to sew the upper side of the neck to the inside of the Orange shell layer.
- Attaching the Flippers: Position the 4 flat flippers symmetrically along the bottom edge of the Green belly piece. Sew them down securely using a few sturdy stitches so they remain flexible and can move.
- Face Details: Use a tiny drop of hot glue to secure the plastic eyes onto the sides of the head. Using a tapestry needle and a thin strand of white yarn, embroider a tiny highlight line along the edge of each eye
About "Todo a Crochet"
She crochets cute little amigurumi with detailed step-by-step instructions for everything. We liked the turtle amigurumi of her so much and therefore are sharing the pattern, here.