
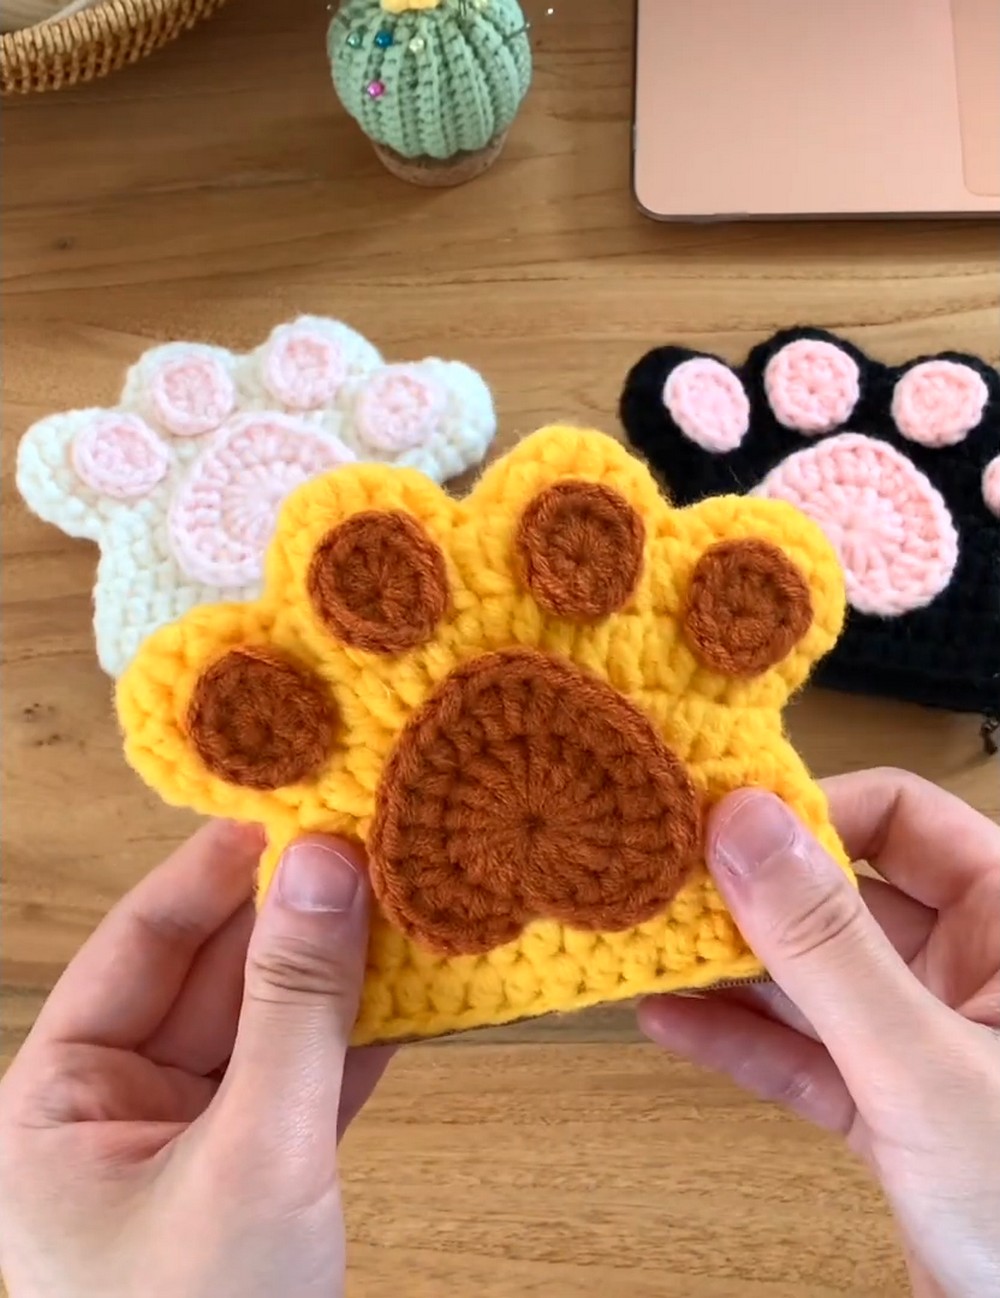
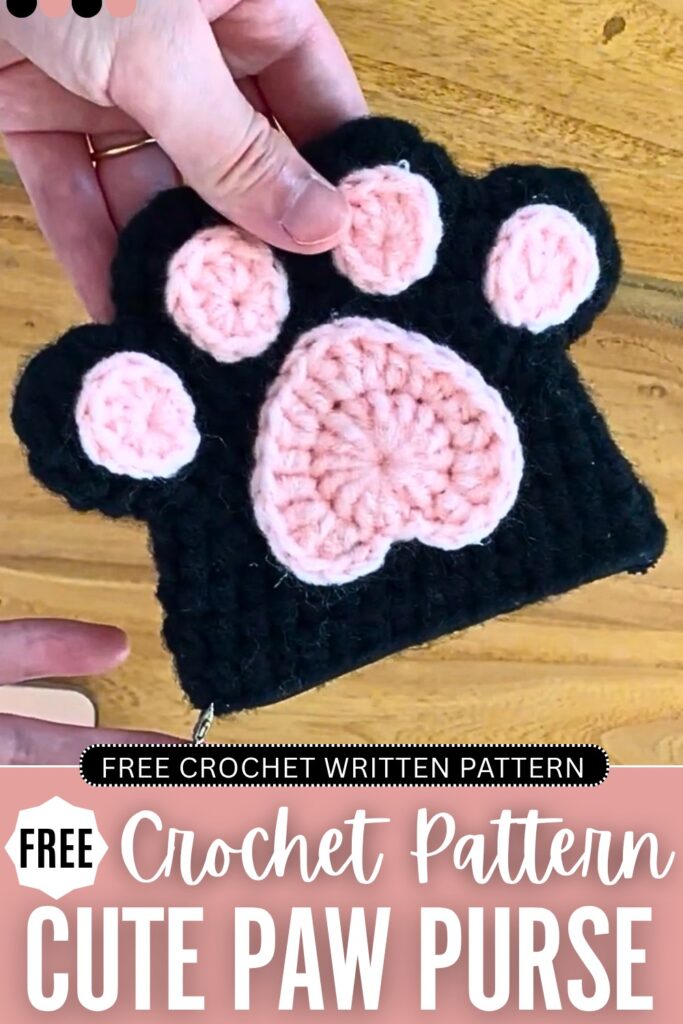
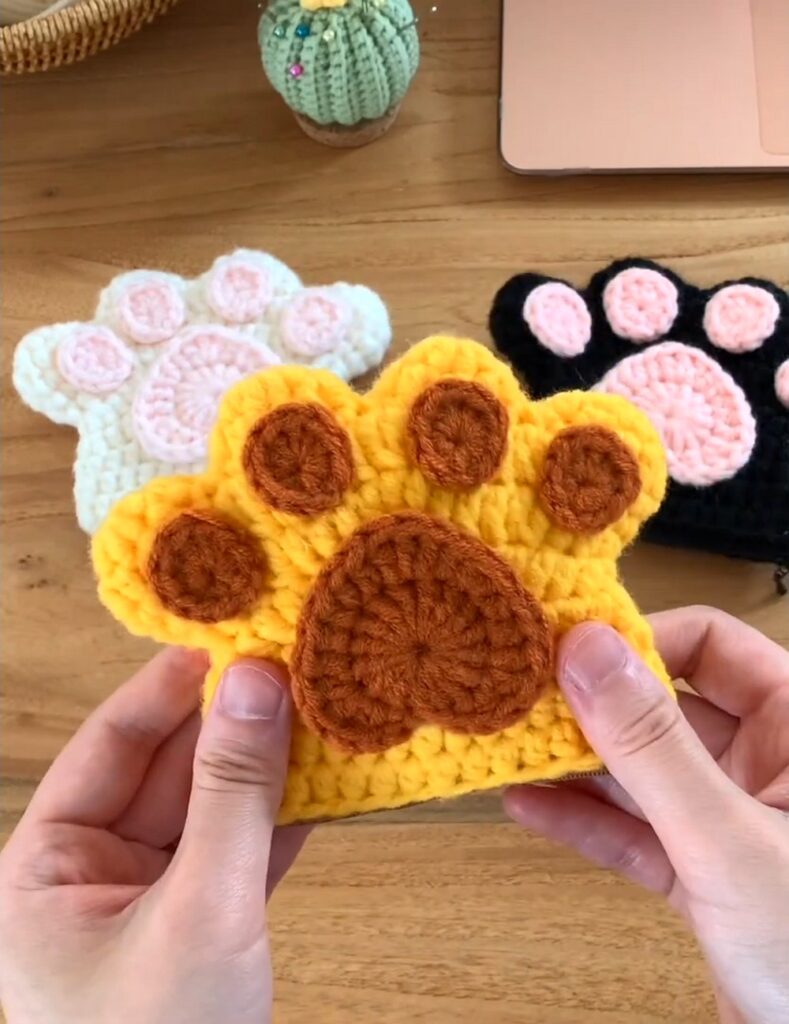
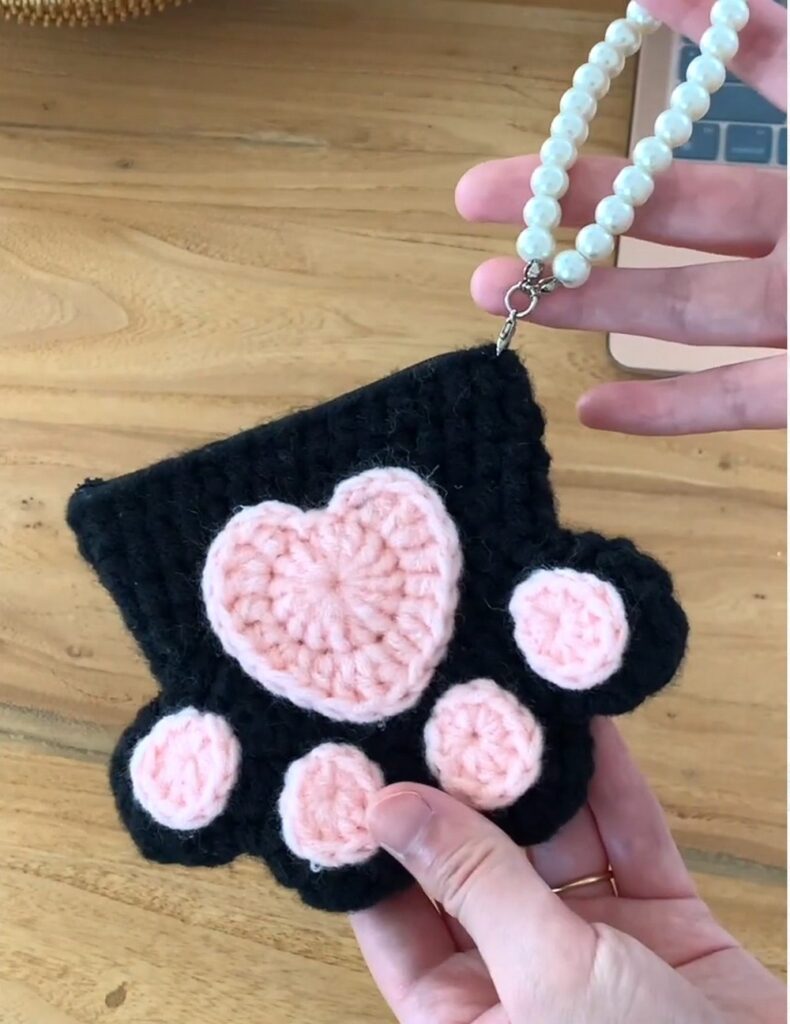
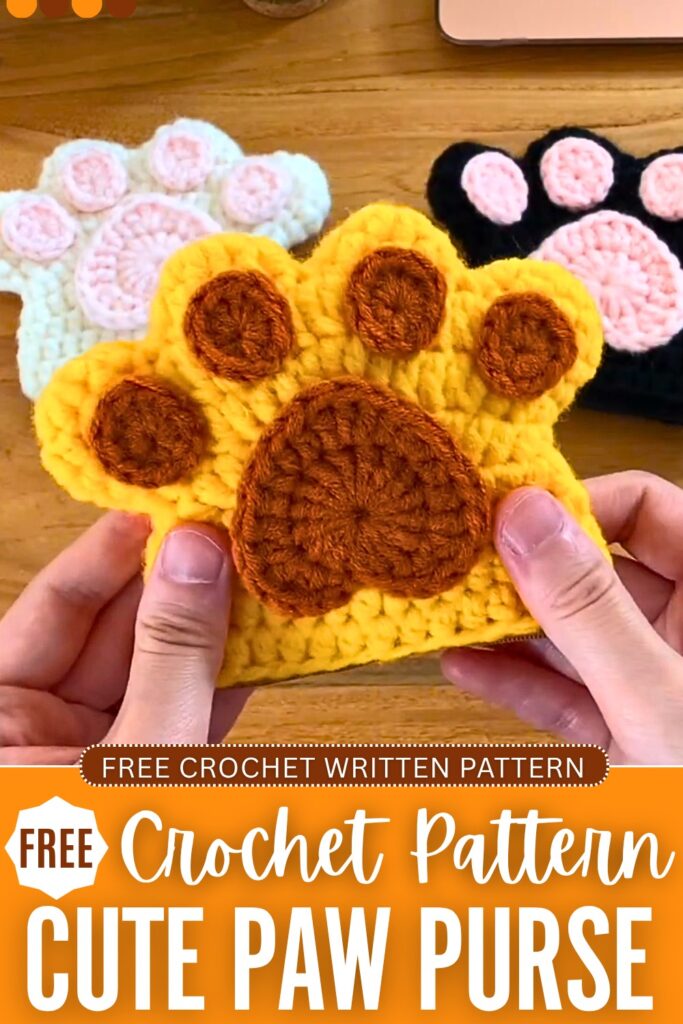
Learn how to crochet a medium-sized kawaii cat paw zipper pouch with a cute heart applique in the middle with this pattern. You can crochet black and pink, yellow and brown (lion version), or white and pink. You can also use it as a bag charm and AirPod holder otherwise. This crochet cat purse is big enough to hold credit cards and folded money leaves. We will use a small 10cm zipper in white, and it almost hides itself.
You can also use the contrasting zipper color. You can use the glue to join the paw spot pieces onto the pouch, as it will make the pouch look as neat as it does now. Crochet this for Fall, while watching your favorite animal movie, such as Zootopia and more. Now, continue reading for the full crochet paw pouch pattern.
[ez-toc]
Crochet Paw Charm & Pouch: Round-by-Round Pattern
Below is the free crochet pattern for this CUTE paw pouch and charm in all three variations, with the assembly in the end:
Materials Needed
- Yarn: 8-ply yarn (Medium/Worsted weight recommended) in your main paw color and a contrasting color for the paw pads (e.g., pink or brown).
- Hook: 3.5 mm crochet hook
- Zipper: A 10 cm (4-inch) zipper matching your main paw color
- Tools: Stitch markers, tapestry needle, scissors
- Optional: Fabric glue or hot glue (if you choose to glue the paw pads instead of sewing them)
Abbreviations (US Terms)
- MR: Magic Ring
- ch: Chain
- sc: Single Crochet
- hdc: Half Double Crochet
- dc: Double Crochet
- inc (hdc): Half Double Crochet Increase (2 hdc in the same stitch)
- inc (dc): Double Crochet Increase (2 dc in the same stitch)
- dec (sc): Single Crochet Decrease (sc 2 together)
- dec (dc): Double Crochet Decrease (dc 2 together)
- dc3tog: Double Crochet 3 together (decrease 3 dc stitches into 1)
- sl st: Slip Stitch
- st/sts: Stitch / Stitches
- […] x: Repeat instructions within the brackets the indicated number of times
Note: The ch 1 or ch 2 at the beginning of rounds does not count as a stitch unless otherwise specified.
Pattern Instructions
The Toes (Make 4)
Use your Main Paw Color.
Round 1: Make a MR, ch 1. Work 8 hdc into the ring. Pull tight to close. Join with a sl st to the first hdc. (8 sts)
Round 2: ch 1. (1 hdc, inc hdc) x 4. Join with a sl st. (12 sts)
Fasten off and pull the yarn tail through for the first 3 toes. For the 4th toe, DO NOT fasten off.
Joining the Toes and Crocheting the Body
Use your Main Paw Color.
Round 3 (Joining Round):
- Toe 4 (the one still on your hook): ch 1, sc in the next 6 sts.
- Toe 3: Insert your hook into the sl st join of Toe 3. sc in the next 6 sts.
- Toe 2: Insert your hook into the sl st join of Toe 2. sc in the next 12 sts. Note: Before completing the 12th sc, insert your hook into the 6th st of Toe 3 and pull a loop through all loops on your hook. This “anchors” the gap between the toes to prevent holes.
- Toe 3: Continue on Toe 3. sc in the remaining 6 sts. (Anchor the last st to the 6th st of the previous toe as described above).
- Toe 4: Continue on Toe 4. sc in the remaining 6 sts.
- Join with a sl st to the very first sc of the round. (You should now have all 4 toes joined in a line. Total stitch count for Round 3: 48 sts).
Round 4 (Decreasing):
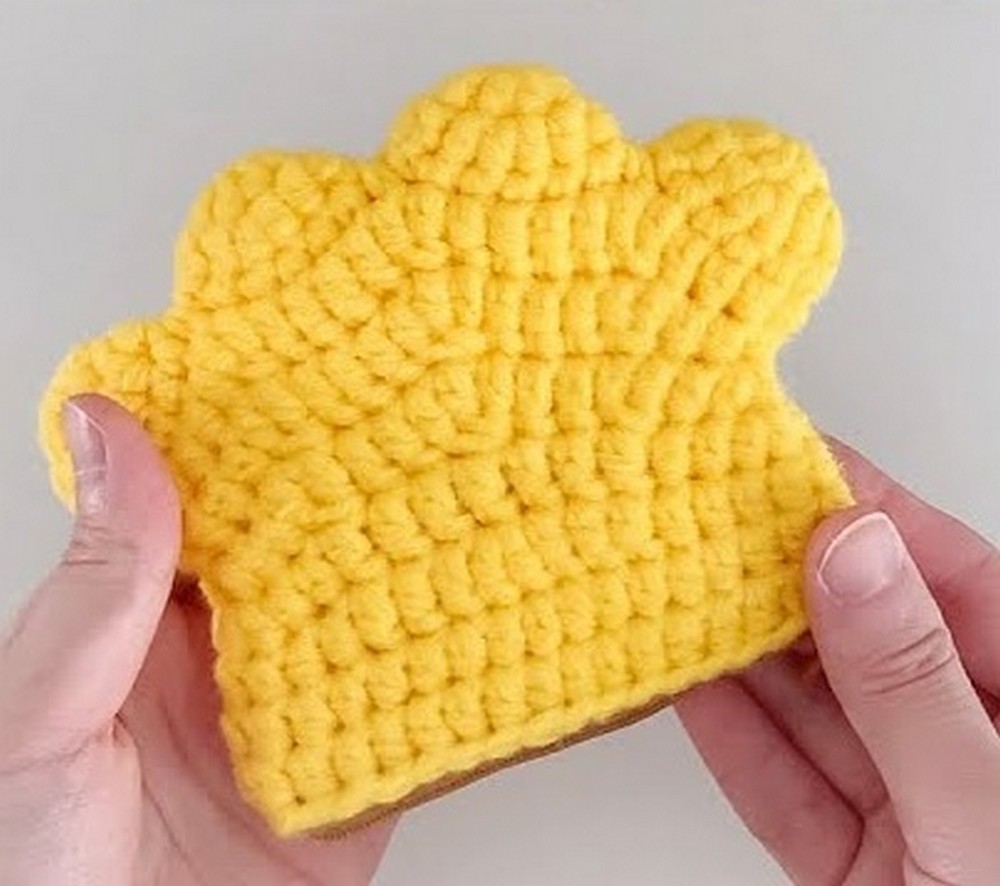
- First Half: ch 1. dec(sc), 3 hdc, dec(dc), 4 dc, dec(dc), 4 dc, 3 hdc, dec(sc).
- Second Half: Repeat the “First Half” sequence.
- Join with a sl st to the first st. (38 sts)
Round 5:
- First Half: ch 1. 3 hdc, dec(dc), 3 dc, dc3tog, 3 dc, dec(dc), 3 hdc.
- Second Half: Repeat the “First Half” sequence.
- Join with a sl st to the first st. (30 sts)
Round 6:
- First Half: ch 1. inc(hdc), 1 hdc, dec(dc), 2 dc, dc3tog, 2 dc, dec(dc), 1 hdc, inc(hdc).
- Second Half: Repeat the “First Half” sequence.
- Join with a sl st to the first st. (26 sts)
Round 7:
- First Half: ch 1. inc(hdc), 2 hdc, 7 dc, 2 hdc, inc(hdc).
- Second Half: Repeat the “First Half” sequence.
- Join with a sl st to the first st. (30 sts)
Round 8:
- First Half: ch 1. 4 hdc, 3 dc, inc(dc), 3 dc, 4 hdc.
- Second Half: Repeat the “First Half” sequence.
- Join with a sl st to the first st. (32 sts)
Rounds 9 – 10 (2 Rounds):
- ch 1. Work 1 hdc in each st around.
- Join with a sl st. (32 sts)
Fasten off, leaving a very long tail (this will be used to sew the zipper).
Attaching the Zipper
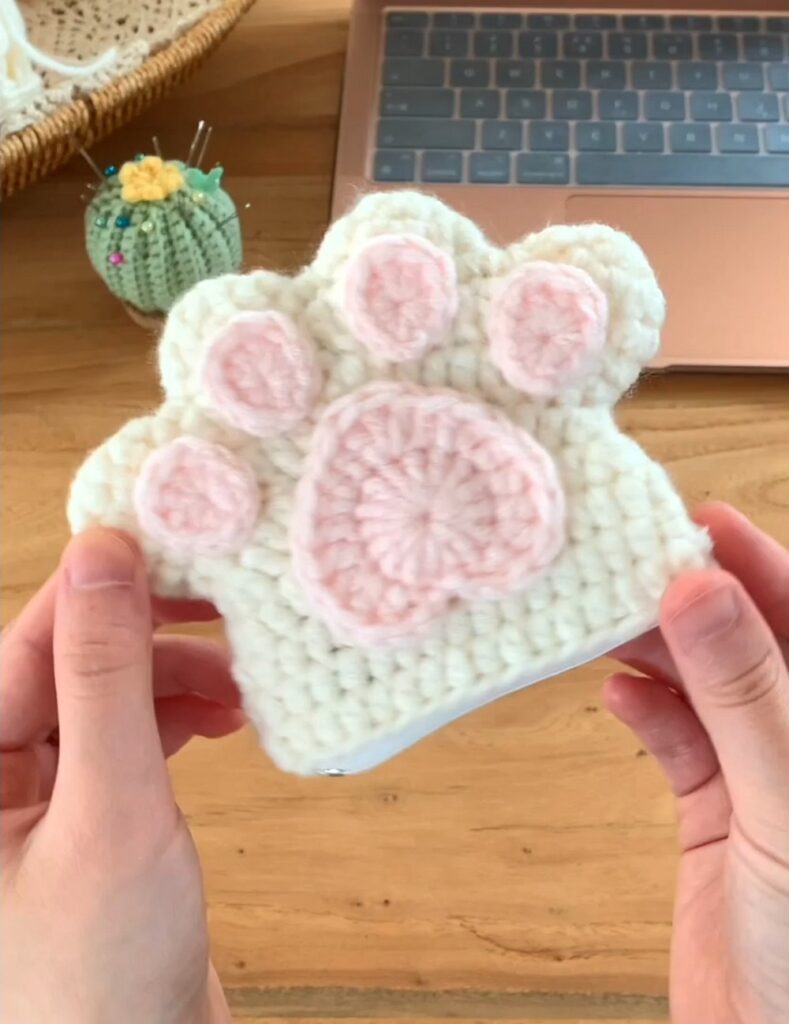
- Identify stitch 1 and stitch 18 on the final round. These represent the side edges of the purse opening.
- Turn the purse inside out.
- Take your 10 cm zipper and open it. Place it face down inside the purse opening.
- Separate the long yarn tail you left into two thinner strands (to make sewing easier and less bulky).
- Thread one strand onto your tapestry needle. Sew one side of the zipper tape to the edge of the purse opening, working from the side edge (st 1 or 18) towards the center.
- Use the second strand to sew the other side of the zipper tape.
- Secure the ends with strong knots on the inside and weave them in. Turn the purse right side out.
The Paw Pads
Use your Contrasting Color (e.g., Pink).
Small Toe Pads (Make 4):
- Make a MR, ch 1.
- Work: 3 sc, 4 dc, 3 sc into the ring.
- Pull tight to close. Join with a sl st to the first sc.
- Fasten off, leaving a tail for sewing, and weave in the center tail.
Large Central Pad (Make 1):
Round 1: Make a MR, ch 1. Work 15 dc into the ring. Join with a sl st to the first dc.
Round 2 (Shaping the pad):
- ch 2.
- Start in the next st (st 2): 1 dc
- st 3: inc(dc)
- st 4: 1 dc
- st 5: 1 hdc
- st 6: inc(hdc)
- st 7: 1 hdc
- st 8: 3 dc in the same st
- st 9: 1 hdc
- st 10: inc(hdc)
- st 11: 1 hdc
- st 12: 1 dc
- st 13: inc(dc)
- st 14: 1 dc
- ch 2, and sl st into the final st (st 15) to finish.
- Fasten off, leaving a long tail for sewing. Weave in the center tail.
Final Assembly
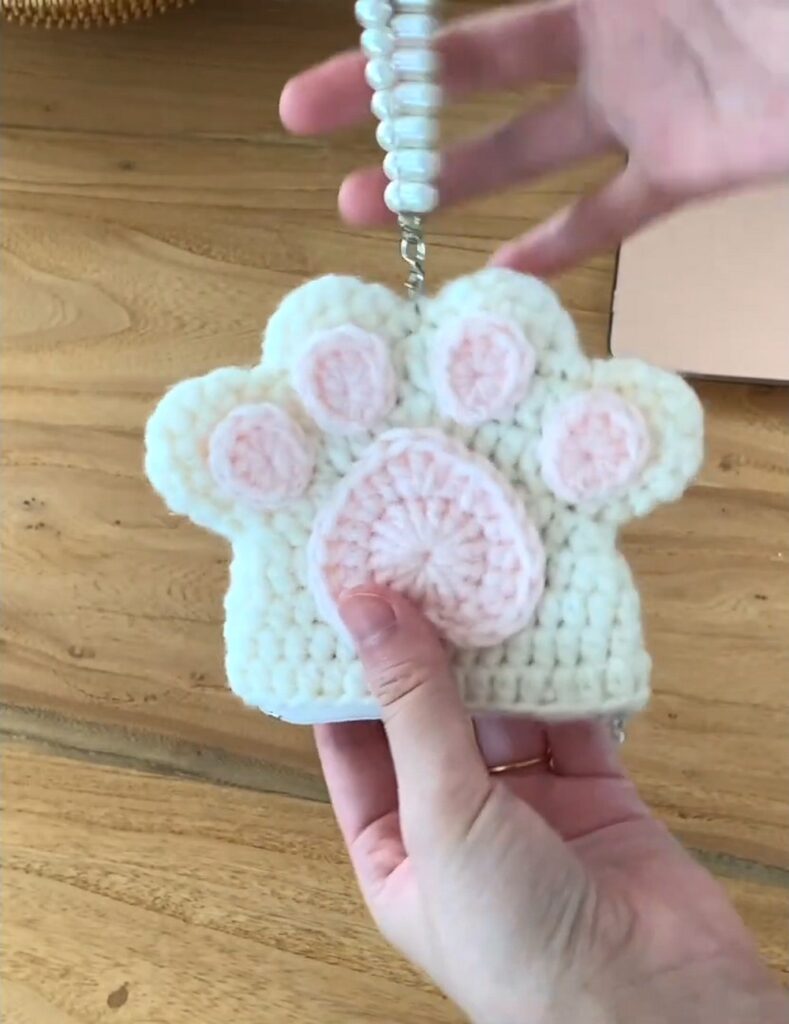
Arrange the 4 small toe pads onto the 4 toes of the purse. Arrange the large pad in the center of the paw body below the toes. You can either use a tapestry needle and the yarn tails to sew them securely into place or use fabric glue to adhere them.
Learn with the Video Tutorial
Save for Later

About "Talha"
Hey, I’m Talha, the Crafter on Craftstive.com. I love to share guides on folding cute origami models and paper crafts, and I am always ready to inspire your next craft project with my weekly craft discussions.