
Subscribe to Đi mô rứa! The video tutorial & instructions are below!
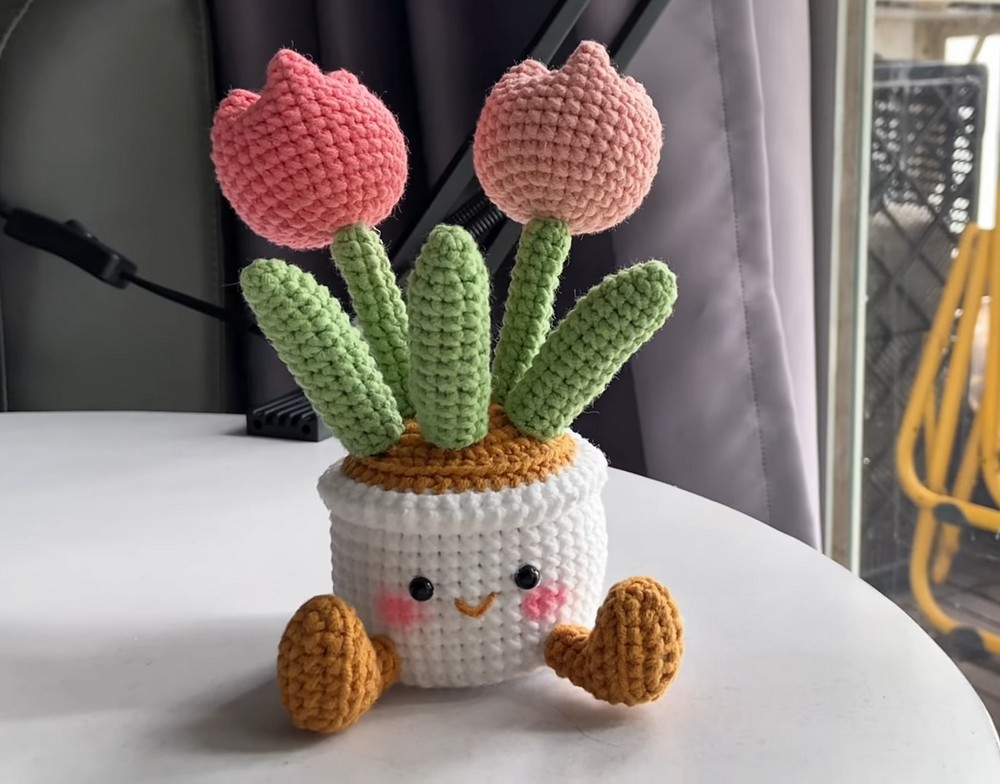
While I have already shared one of the crochet tulip pot table decoration patterns, nothing beats the charm of a crochet Jellycat tulip pot. And luckily, it will be easier to crochet than the first one! We will crochet the same blushing and smiling Amuseables Buddy pot and the traditional crochet tulips with the stuffed leaves. So, learn how to crochet a Toadtsool Tulip pot with this pattern for absolute beginners.
You can crochet it as a Valentine’s Day present, a spring room decoration, or just as a table buddy. Luckily, we are going to use the traditional methods to crochet the tulip and the pot with the soil. You will definitely love following this crochet pattern, so continue reading till the end.
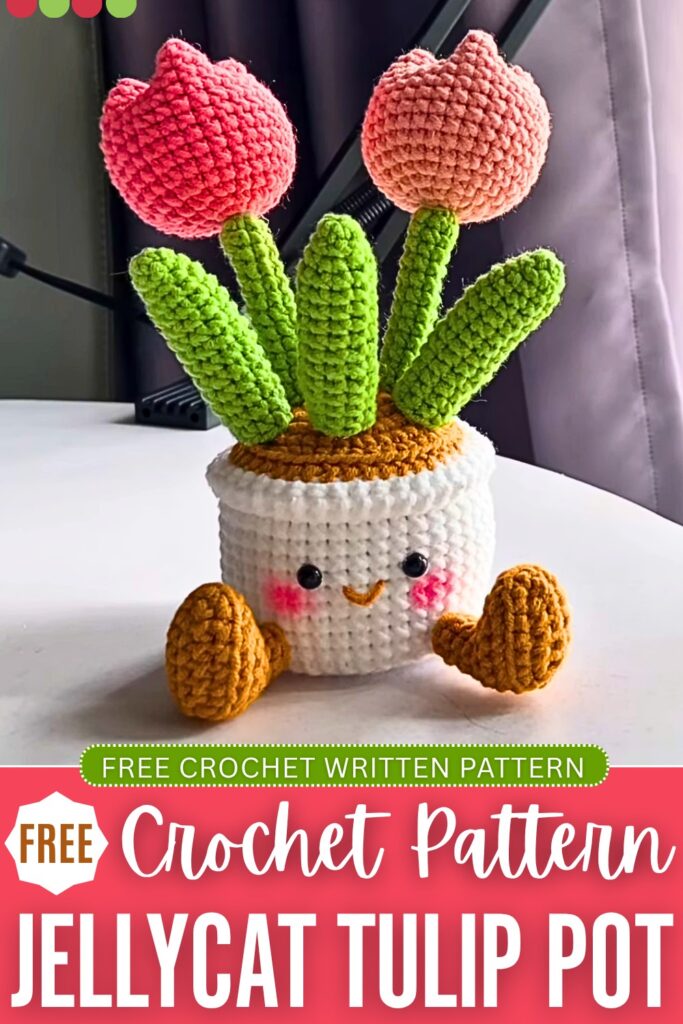
Crochet Jellycat-Inspired Tulip Pot Plushie: Round-by-Round Pattern
Below is the free crochet pattern you need to crochet this CUTE tulip flower pot, with the assembly in the end:
Materials Needed
- Yarn: 125g of Milk Cotton Yarn (Size 3/DK weight is recommended). You will need colors for the pot (e.g., beige/brown), the dirt (dark brown), the tulips (e.g., pink/yellow), the stems/leaves (green), and a tiny bit of black for the mouth.
- Hook: 2.5 mm crochet hook
- Stuffing: Fiberfill/toy stuffing
- Eyes: Safety eyes or small black beads (approx. 6mm or 8mm)
- Wire: Floral wire or craft wire for the stems and leaves
- Tools: Tapestry needle, stitch markers, scissors, hot glue gun (for attaching the eyes and parts)
- Details: Pink blush and a small makeup brush for the cheeks
Abbreviations (US Terms)
- MR: Magic Ring
- ch: chain
- sc: single crochet
- inc: increase (work 2 single crochets into the same stitch)
- dec: decrease (single crochet 2 stitches together)
- sl st: slip stitch
- st/sts: stitch / stitches
- BLO: Back Loops Only
- FLO: Front Loops Only
- (…) x: Repeat the instructions within the parentheses the indicated number of times
- […] : The total number of stitches you should have at the end of the round
Video Guide:
Note: This pattern is worked in joined rounds. At the end of every round, you will slip stitch (sl st) into the very first stitch to join, and chain 1 (ch 1) to start the next round. The ch 1 does not count as a stitch.
1. The Pot (Use Beige/Brown Yarn)
- Round 1: Make a MR, ch 1, 6 sc into the ring, sl st to join. [6]
- Round 2: ch 1, 6 inc, sl st. [12]
- Round 3: ch 1, (1 sc, 1 inc) repeat 6 times, sl st. [18]
- Round 4: ch 1, (1 sc, 1 inc, 1 sc) repeat 6 times, sl st. [24]
- Round 5: ch 1, (3 sc, 1 inc) repeat 6 times, sl st. [30]
- Round 6: ch 1, (2 sc, 1 inc, 2 sc) repeat 6 times, sl st. [36]
- Round 7: ch 1, (5 sc, 1 inc) repeat 6 times, sl st. [42]
- Round 8 (BLO): ch 1. Working in the Back Loops Only, 1 sc in each st around, sl st. [42] (This creates the flat bottom edge of the pot)
- Rounds 9 – 19 (11 rounds): ch 1, 1 sc in each st around, sl st. [42]
- Round 20 (FLO): ch 1. Working in the Front Loops Only, 1 sc in each st around, sl st. [42] (This creates the folded rim of the pot)
- Round 21: ch 1, 1 sc in each st around, sl st. [42]
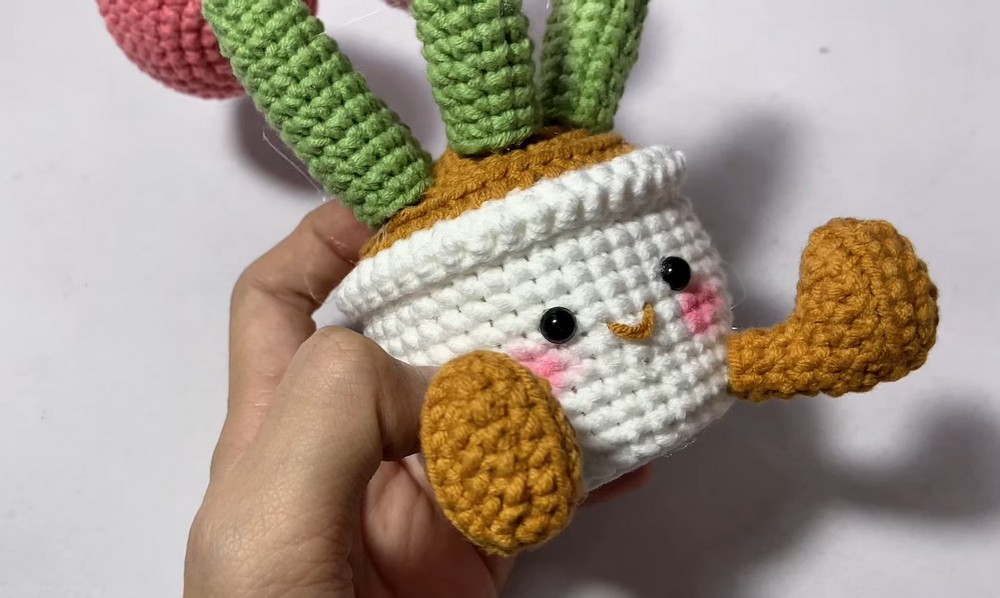
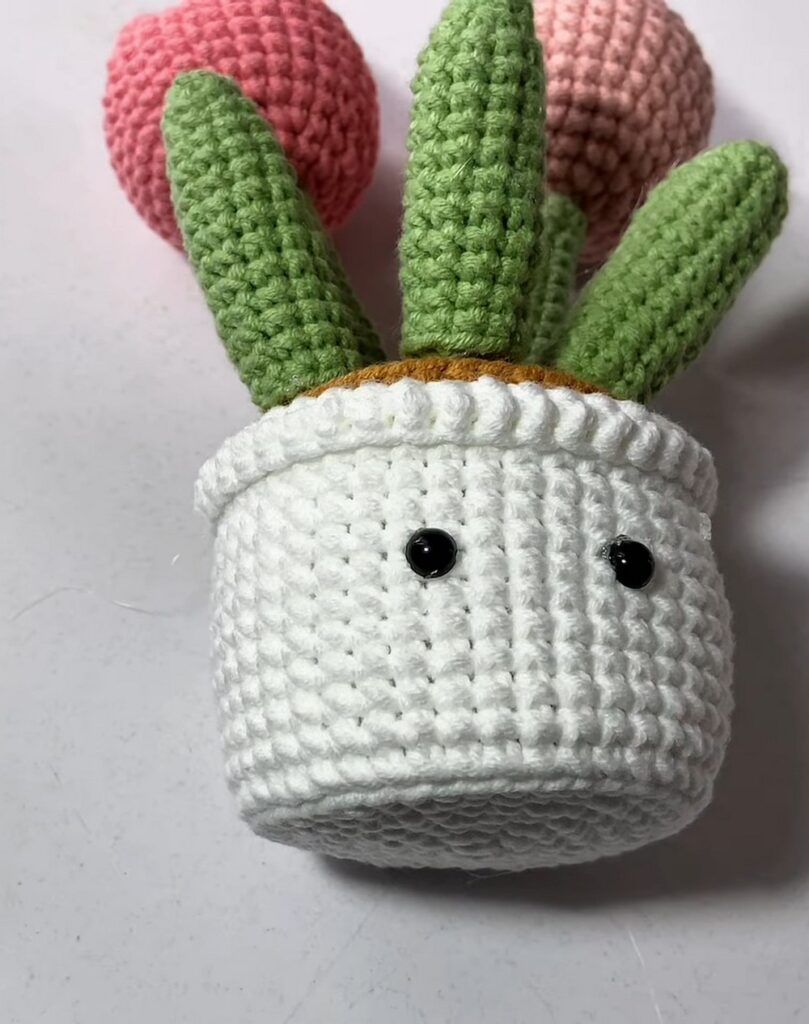
Finish: Fasten off and weave in the end. Fold the top edge (Rounds 20 and 21) down over the outside of the pot to create the rim.
2. The Dirt (Use Dark Brown Yarn)
- Round 1: Make a MR, ch 1, 6 sc into the ring, sl st to join. [6]
- Round 2: ch 1, 6 inc, sl st. [12]
- Round 3: ch 1, (1 sc, 1 inc) repeat 6 times, sl st. [18]
- Round 4: ch 1, (1 sc, 1 inc, 1 sc) repeat 6 times, sl st. [24]
- Round 5: ch 1, (3 sc, 1 inc) repeat 6 times, sl st. [30]
- Round 6: ch 1, (2 sc, 1 inc, 2 sc) repeat 6 times, sl st. [36]
- Round 7: ch 1, (5 sc, 1 inc) repeat 6 times, sl st. [42]
Finish: Fasten off, leaving a very long tail for sewing.
Attaching the Dirt to the Pot:
- Stuff the pot firmly with fiberfill.
- Place the dirt circle on top of the stuffed pot.
- Use the long tail from the dirt piece to sew it to the back loops left unworked from Round 20 of the pot. Ensure it is securely attached all the way around.
3. The Legs (Make 2, Use Pot Color)
- Round 1: ch 6. Starting in the 2nd chain from the hook: 1 inc, 3 sc, 3 sc in the final chain. Rotate your work to crochet down the opposite side of the foundation chain: 4 sc. sl st to the first st to join. [12]
- Round 2: ch 1, 2 inc, 3 sc, 3 inc, 3 sc, 1 inc, sl st. [18]
- Round 3 (BLO): ch 1. Working in the Back Loops Only, 1 sc in each st around, sl st. [18]
- Round 4: ch 1, 6 sc, 4 dec, 4 sc, sl st. [14]
- Round 5: ch 1, 4 sc, 4 dec, 2 sc, sl st. [10] Stuff the foot section now before the opening gets too small.
- Round 6: ch 1, 2 sc, 3 dec, 2 sc, sl st. [7]
- Rounds 7 – 8 (2 rounds): ch 1, 1 sc in each st around, sl st. [7]
Finish: Fasten off and weave in the end. The legs will be glued on later, so you do not need a long tail.
4. The Tulip Flowers (Make 2, Use Pink/Yellow Yarn)
- Round 1: Make a MR, ch 1, 6 sc into the ring, sl st to join. [6]
- Round 2: ch 1, 6 inc, sl st. [12]
- Round 3: ch 1, (1 sc, 1 inc) repeat 6 times, sl st. [18]
- Round 4: ch 1, (1 sc, 1 inc, 1 sc) repeat 6 times, sl st. [24]
- Round 5: ch 1, (3 sc, 1 inc) repeat 6 times, sl st. [30]
- Rounds 6 – 14 (9 rounds): ch 1, 1 sc in each st around, sl st. [30]
Finish: Fasten off, leaving a long tail for closing the flower.
Closing the Flower:
- Stuff the tulip bulb firmly.
- Thread the long tail onto a tapestry needle.
- Fold the top opening flat. Insert your needle through the center of the opposite side and pull tight to close the opening in half.
- Then, pinch the remaining two open sides together in the center and sew them closed, creating an “X” or cross shape at the top of the flower.
5. The Stems (Make 2, Use Green Yarn)
- Round 1: Make a MR, ch 1, 6 sc into the ring, sl st to join. [6]
- Rounds 2 – 13 (12 rounds): ch 1, 1 sc in each st around, sl st. [6] (Note: You can make the stems longer or shorter by adding or removing rounds).
Finish: Fasten off and weave in the ends. Cut a piece of wire slightly longer than the stem, fold the sharp ends over, and insert it into the stem to make it poseable.
6. The Leaves (Make 3, Use Green Yarn)
- Round 1: Make a MR, ch 1, 6 sc into the ring, sl st to join. [6]
- Round 2: ch 1, 1 sc in each st around, sl st. [6]
- Round 3: ch 1, (1 sc, 1 inc) repeat 3 times, sl st. [9]
- Rounds 4 – 14 (11 rounds): ch 1, 1 sc in each st around, sl st. [9] (Note: Lightly stuff the leaves as you go, or insert a piece of wire to make them poseable).
Finish: Fasten off and weave in the ends.
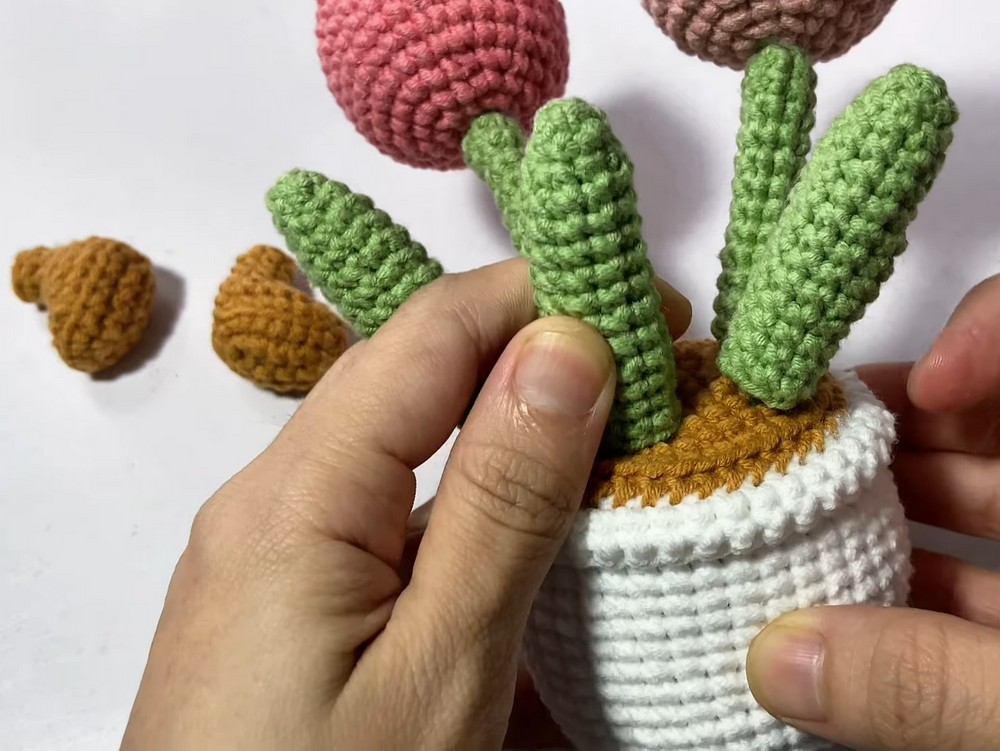
7. Assembly Instructions
- Attach the Flowers to the Stems: Use hot glue or sew the bottom of the tulip flowers to the top of the stems.
- Plant the Tulips: Insert the bottom of the wire stems into the dirt section of the pot. Secure them in place (you can use a dab of hot glue if needed).
- Attach the Leaves: Insert a piece of wire into each leaf (if you haven’t already). Poke the base of the leaves into the dirt around the stems and secure them.
- Attach the Legs: Position the two legs on the bottom front edge of the pot so it looks like it is sitting. Secure them with hot glue.
- Add the Face:
- Glue the eyes onto the front of the pot, roughly between Rounds 13 and 14.
- Use a small piece of black yarn to embroider a little smile between the eyes.
- Add a dab of pink blush to the cheeks just below the eyes.
Learn with the Video Tutorial

About "Talha"
Hey, I’m Talha, the Crafter on Craftstive.com. I love to share guides on folding cute origami models and paper crafts, and I am always ready to inspire your next craft project with my weekly craft discussions.