
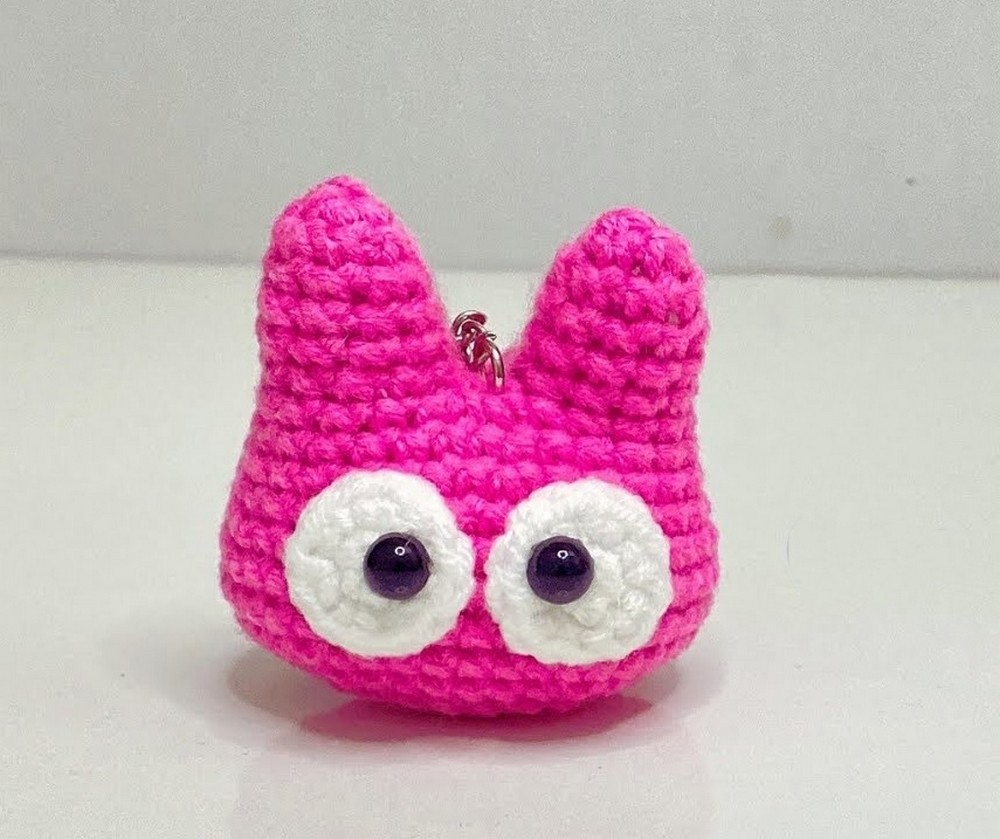
Follow this quick pattern to crochet a kawaii cat face amigurumi inspired by Jiji – the Cat. With the googly crochet eyes and just a no-sew face with no embroidered mouth, it looks simply adorable. While you would expect the Jiji to be in the black, the pink version is definitely a hit, and to me, it looks even CUTER. You can easily crochet this amigurumi within 30 minutes, and even crochet a plushie version of one.
Will work it from the top down to the bottom and stuff before sewing. In the end, you can also attach a keyring or crochet a small chain loop to use it as a bag charm. I have also started the “animal face” plushie series, and you can consider it a part of that series. Now, continue reading for the full crochet pattern to crochet the Jiji bag charm.
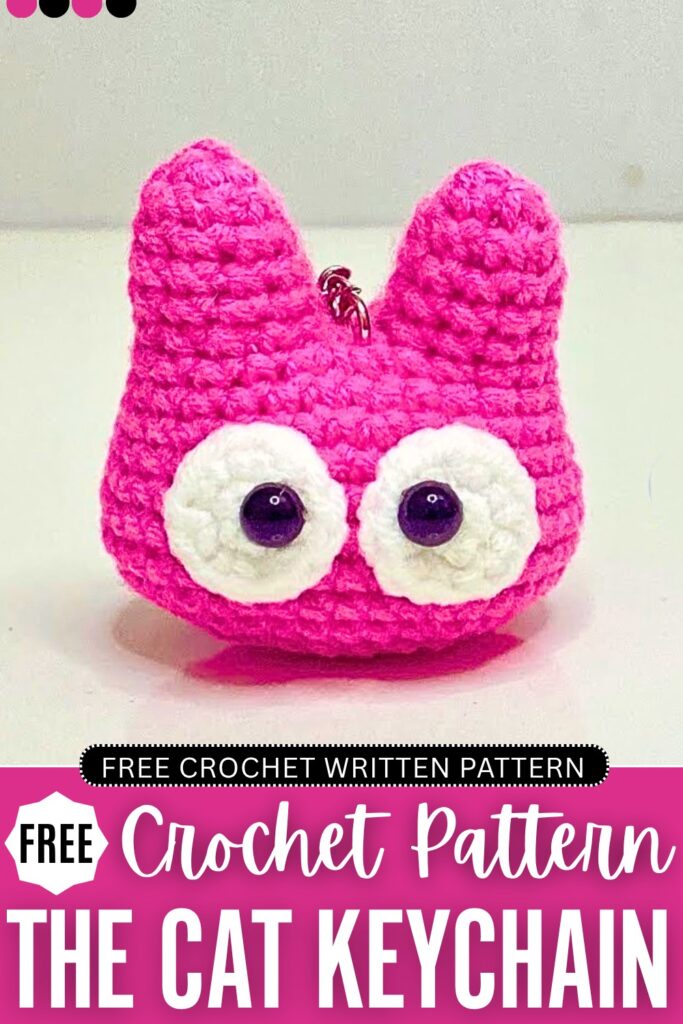
Crochet Jiji Pink Cat Keychain: Round-by-Round Pattern
Below is the free crochet pattern you need to crochet this CUTE cat amigurumi with a no-sew construction, with the assembly in the end:
Materials
- Yarn: 4-ply combed cotton yarn or similar sport/DK weight yarn in Pink (Main color for head and ears) and White (For the eye patches).
- Crochet Hook: 2.5 mm size.
- Safety Eyes: 1 pair of small black plastic round-back safety eyes (approx. 5-6mm).
- Stuffing: Fiberfill/polyester toy stuffing.
- Tools: Tapestry needle, scissors, stitch marker (or scrap yarn), hot glue gun and glue sticks, and a keychain ring assembly with pliers.
Abbreviations
- MR: Magic Ring
- ch: Chain stitch
- sc: Single crochet
- inc: Increase (2 single crochet stitches worked into the same stitch)
- dec: Invisible decrease (combining 2 stitches into 1 using the front loops only)
- sl st: Slip stitch
- st(s): Stitch(es)
- [ ] x…: Repeat the sequence inside the brackets the specified number of times
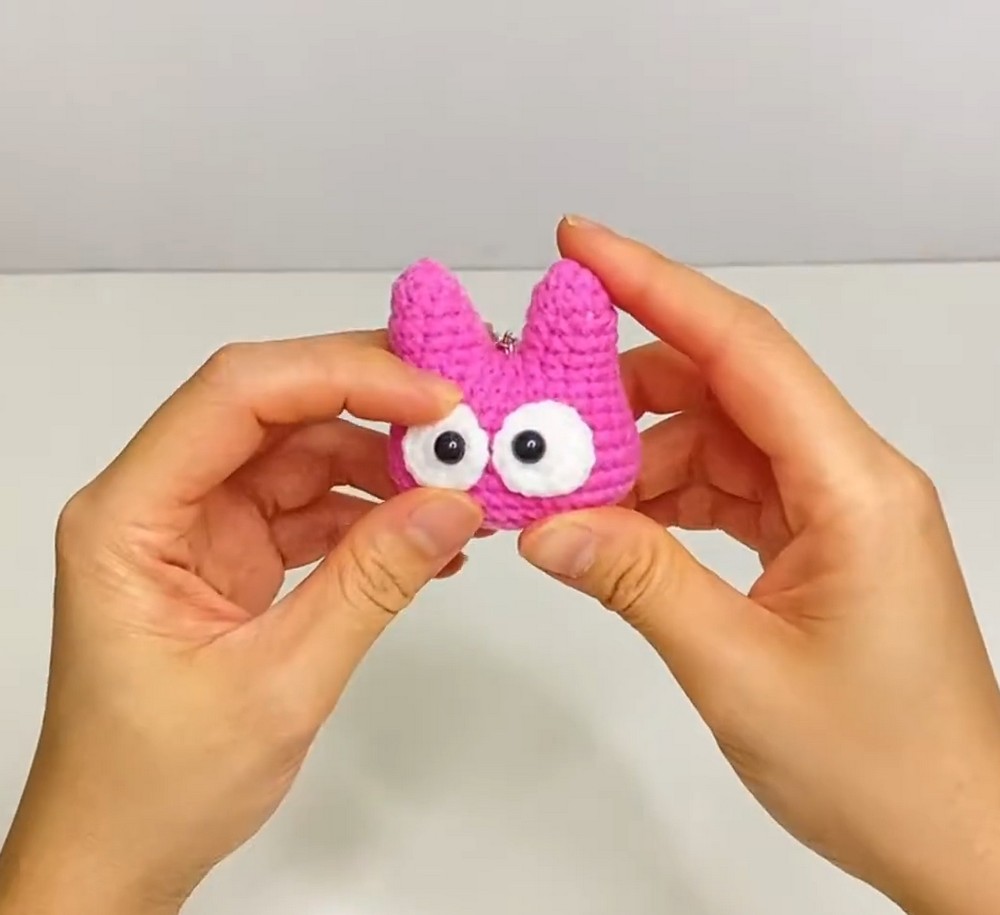
Crochet Pattern Instructions
Ears (Make 2)
- Use Pink yarn. Work in continuous spiral rounds without joining. Use a stitch marker or a contrasting piece of scrap yarn to mark the first stitch of each round.
- Round 1: Work 6 sc into a MR. (6 sts)
- Round 2: [2 sc, 1 inc] x 2. (8 sts)
- Note: As you finish Round 2, the piece will naturally curl. Pop it right side out so the smooth side faces outward before starting the next round.
- Round 3: Work 1 sc in each of the 8 stitches around. (8 sts)
- Round 4: [3 sc, 1 inc] x 2. (10 sts)
- Round 5: Work 1 sc in each of the 10 stitches around. (10 sts)
- For the First Ear: Fasten off with a sl st into the next stitch, chain 1, and cut the yarn. Pull the tail through.
- For the Second Ear: Do not cut the yarn. Keep the loop on your hook to connect the ears together and continue straight into the head.
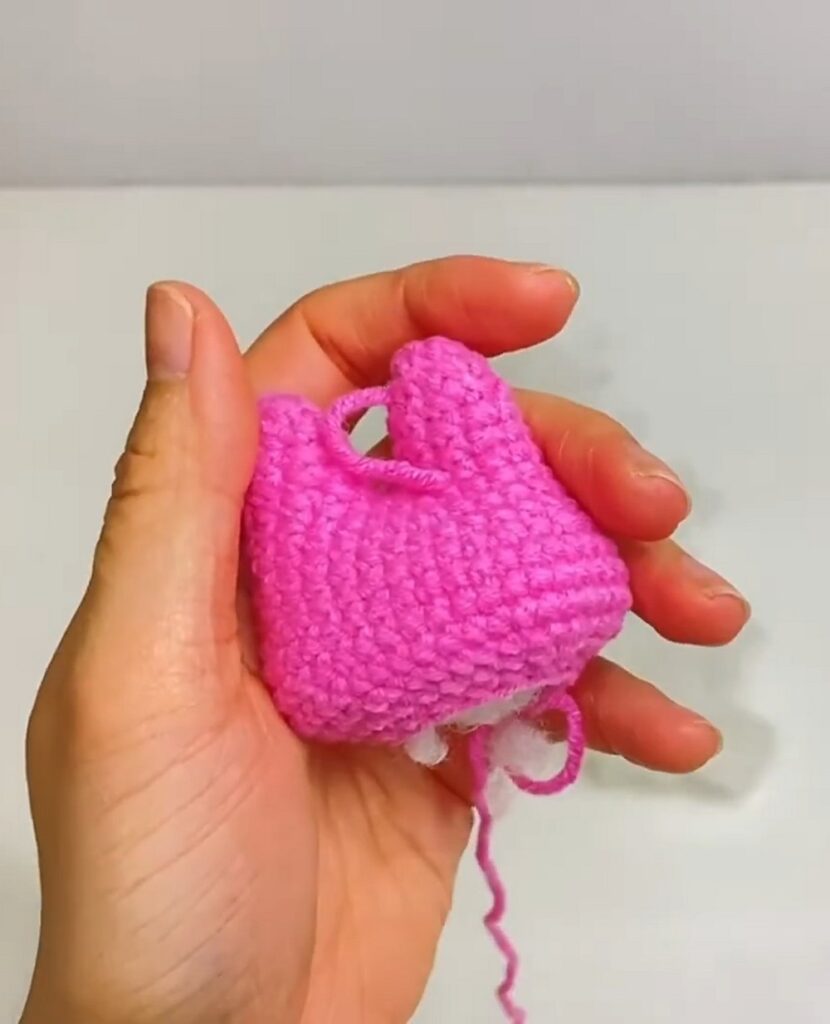
Head
- Continued with Pink yarn from the second ear.
- Round 6 (Joining Round): ch 2 from the loop of the second ear. Insert your hook into the final fastening-off stitch of the first ear and work 10 sc around the entire perimeter of the first ear. Next, work 1 sc into each of the 2 loops along one side of the connecting chain bridge. Continue onto the second ear and work 10 sc around its perimeter. Finally, work 1 sc into each of the 2 loops along the opposite side of the connecting chain bridge. (24 sts total around the combined base)
- Round 7: [5 sc, 1 inc] x 4. (28 sts)
- Round 8: Work 1 sc in each of the 28 stitches around. (28 sts)
- Round 9: [6 sc, 1 inc] x 4. (32 sts)
- Round 10: Work 1 sc in each of the 32 stitches around. (32 sts)
- Round 11: 2 sc, [1 sc, 1 inc] x 4, 7 sc, [1 inc, 1 sc] x 4, 7 sc. (40 sts)
- Round 12 – Round 14: Work 1 sc in each of the 40 stitches around for three consecutive rounds. (40 sts per round)
- Assembly Break: Pause crocheting before starting the decreases. Firmly pack fiberfill stuffing into both ear cavities using your fingers or the back of a crochet hook to make them solid.
- Round 15: 2 sc, [1 sc, 1 dec] x 4, 7 sc, [1 dec, 1 sc] x 4, 7 sc. (32 sts)
- Round 16: [2 sc, 1 dec] x 8. (24 sts)
- Round 17: [1 sc, 1 dec] x 8. (16 sts)
- Final Stuffing: Pause here to stuff the main body of the head firmly with fiberfill. Shape it nicely from the sides to maintain the wide cat face structure before closing the opening.
- Round 18: Work 8 dec consecutively around. (8 sts)
- Finishing the Head Base: Cut the yarn leaving a short tail. Pull the loop completely through. Thread the tail onto a tapestry needle. Weave the needle through the front loop only of all 8 remaining stitches. Pull the yarn tail firmly to cinch the hole closed like a drawstring. Insert the needle directly through the center of the cinched closure, push it out any side of the head, pull taut, cut close to the surface, and hide the end inside the head.
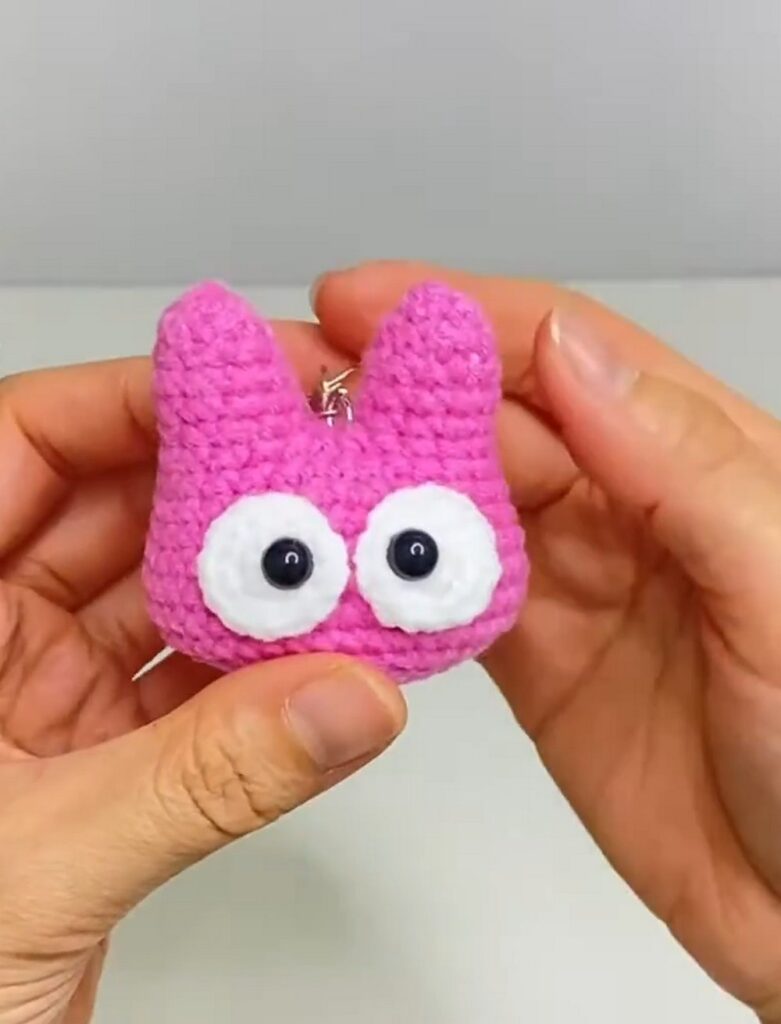
Eye Patches (Make 2)
- Use White yarn.
- Round 1: Work 6 sc into a MR. Do not work in a spiral; join with a sl st to the first sc. ch 1. (6 sts)
- Round 2: Work 1 inc in each of the 6 stitches around. (12 sts)
- Finishing the Eyes: Cut the yarn and pull the loop through. Thread the yarn tail onto a tapestry needle to form a seamless needle join. Skip the first stitch of the round and insert the needle from front to back through both loops of the second stitch. Bring the needle back and insert it down through the center of the top loops of the very last stitch worked. Pull to adjust the tension until it mimics a regular crochet stitch. Secure the thread at the back, trim, and replicate for the second eye patch.
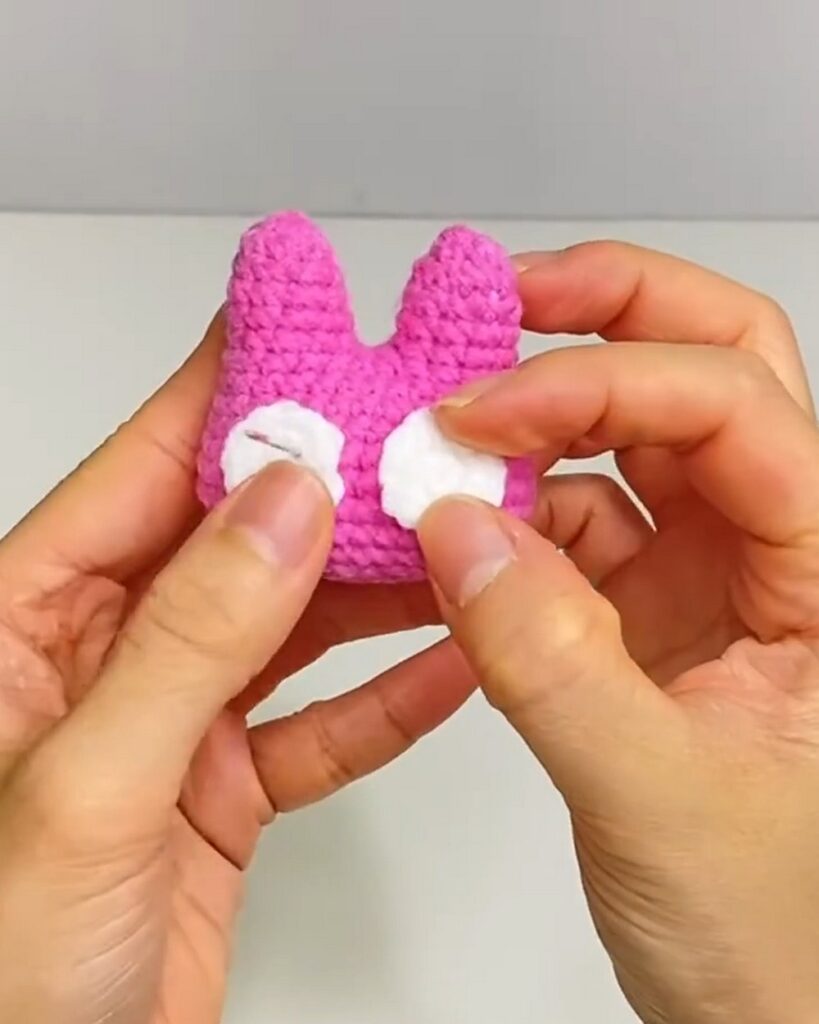
Final Assembly and Details
- Positioning the White Patches: Place the two white circular patches symmetrically on the lower front half of the pink head, roughly centered beneath each ear between Rounds 11 and 14. Secure them firmly into place using hot glue.
- Attaching the Eyes: Apply a small drop of hot glue to the back of the black safety eyes. Press them firmly into the centers of the white eye patches.
- Keychain Hardware: Find the absolute top center point of the head between the two ears. Open the small jump ring of your keychain assembly, hook it securely through the top stitches of the head, and use pliers to squeeze the ring tightly shut.
Learn with the Video Tutorial