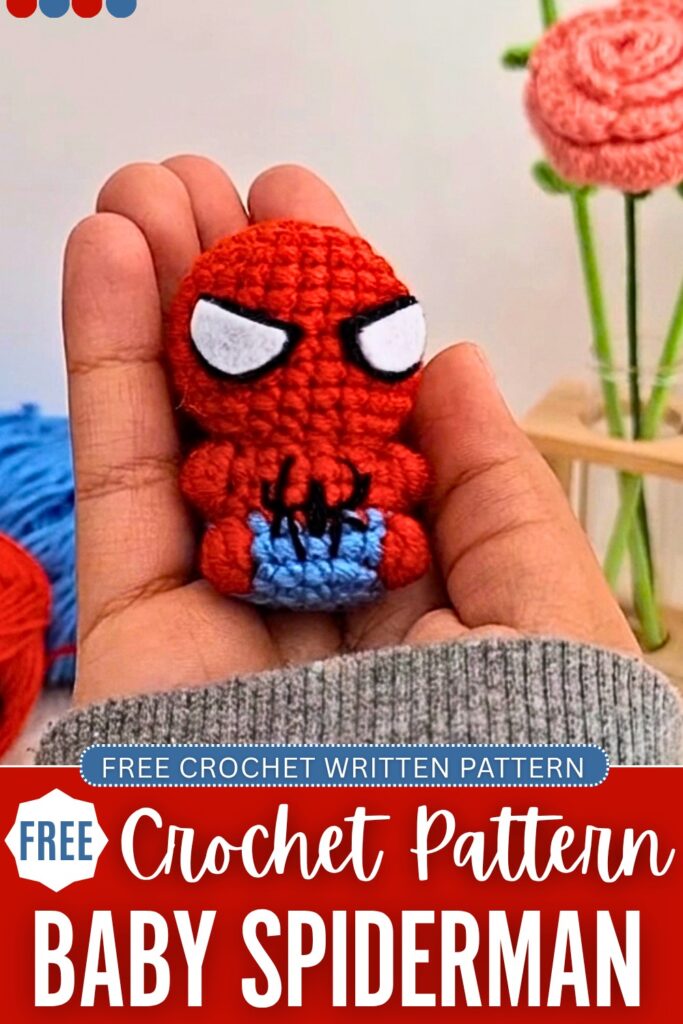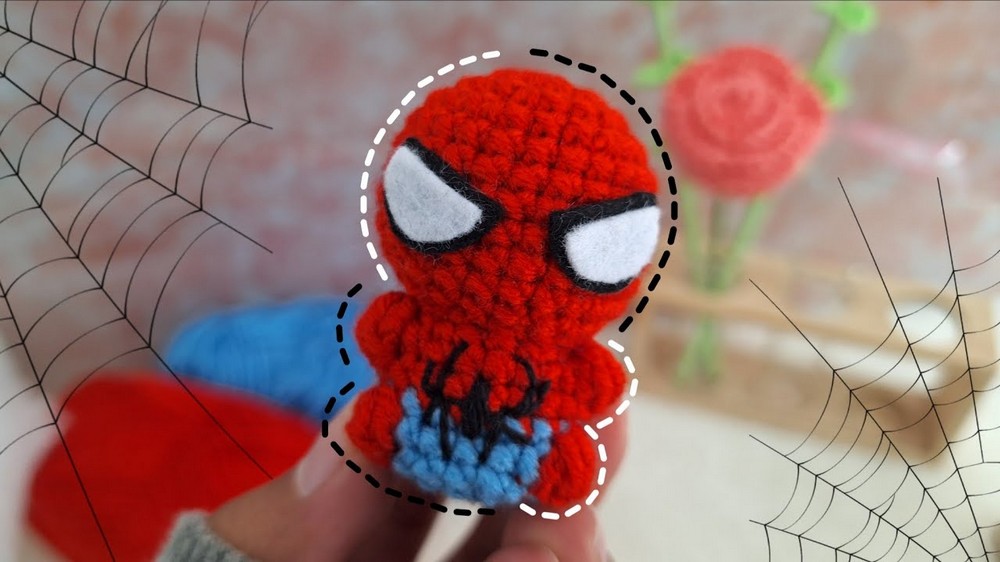
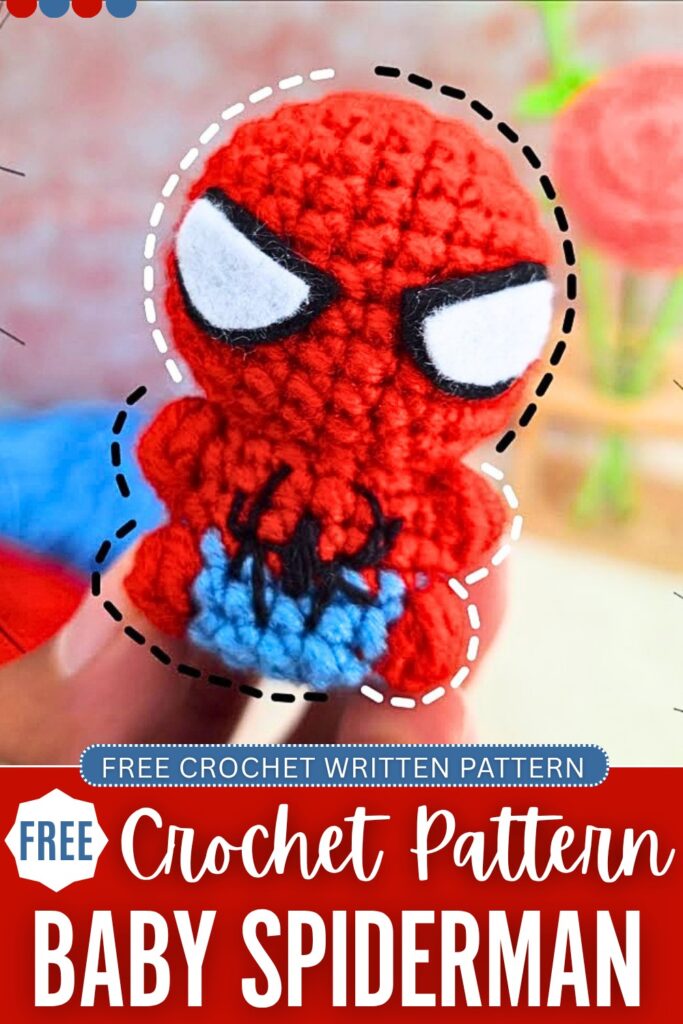
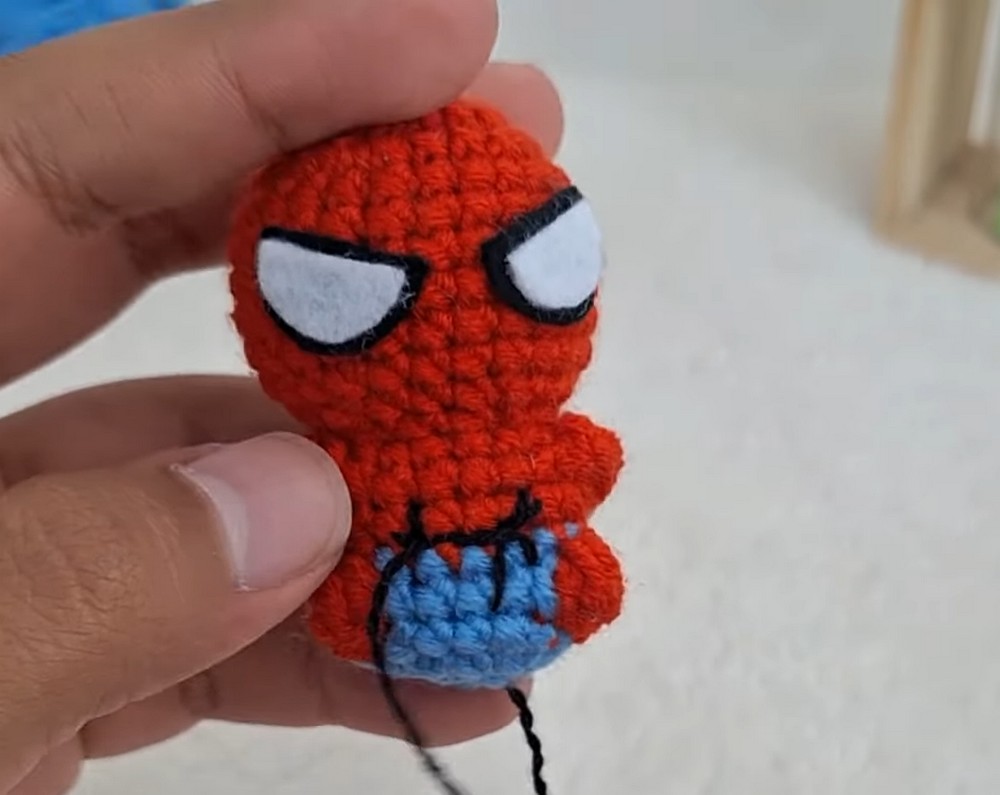
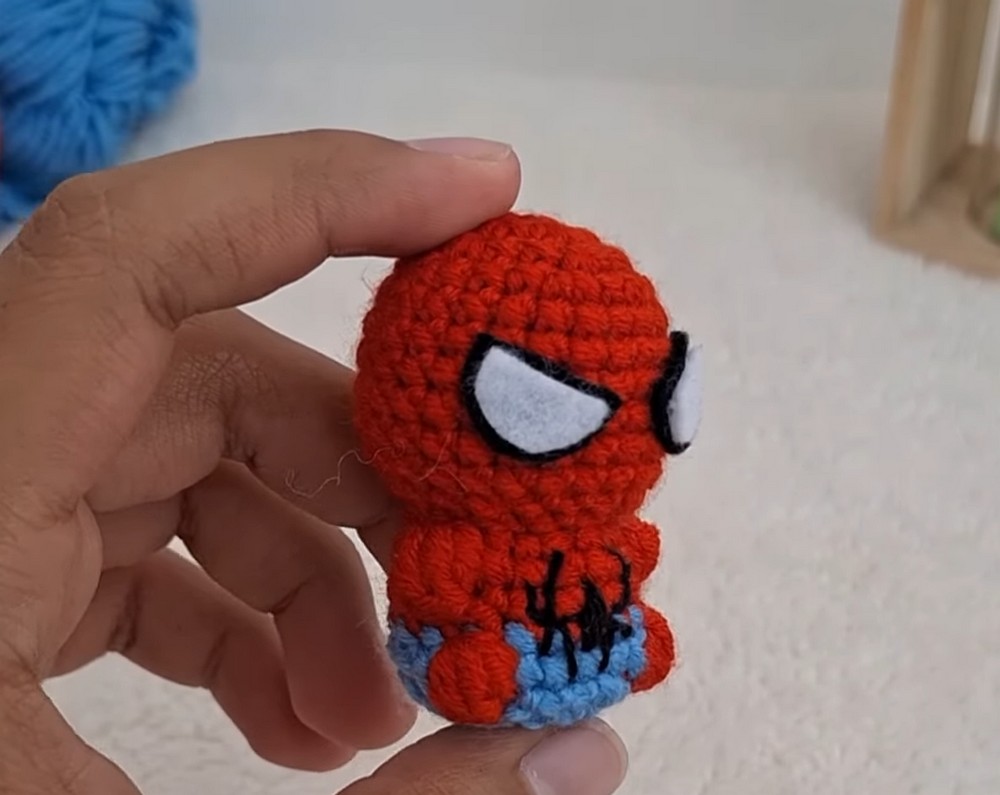
Today, let’s crochet this CUTE and miniature baby Spiderman amigurumi buddy with a FREE pattern. It is a no-sew Spiderman Amigurumi finished with beautiful felt eyes and Spider embroidery to complete the costume. It is so small, thanks to the bobble stitch legs and arms, that your middle finger will look longer when you place it over your palm.
Use it as a bag charm, desk buddy, Superhero pocket pet, or hang it from the bottom to make the cool Spidy pose. I have already shared the tutorials to crochet other cartoon characters, such as Baby Yoda and Patrick Star, too.
Crochet it for the upcoming part of the Spider-Man series, for Halloween, or just because. You make it even cuter, softer, and huggable by crocheting it using the super bulky plush yarn. We will crochet it using the amigurumi yarn. Now, continue reading for the full Spider-Man amigurumi pattern.
Super Easy Crochet Spiderman Amigurumi Pattern
Below is the free crochet pattern you need to crochet this CUTE Spidy amigurumi for the Superhero toy fans:
Materials Required:
- Yarn in Red and Blue (Amigurumi, DK, or Worsted weight)
- Crochet hook (2.5 mm was used in the tutorial)
- Scissors
- Tapestry needle
- Black embroidery thread or thin black yarn (for the chest detail)
- Small scraps of white and black felt
- Hot glue gun (or craft fabric glue)
- Fiberfill / Toy stuffing
Stitch Abbreviations (US Terms):
- MR: Magic Ring
- sc: Single crochet
- inc: Increase (place 2 single crochets in the same stitch)
- dec: Decrease (join 2 stitches into 1 to reduce stitch count)
- FLO: Front Loops Only
- sl st: Slip stitch
- st / sts: Stitch / stitches
- bo (Bobble Stitch for Arms/Legs): 4-dc bobble. To make it: Yarn over, insert hook into the stitch, pull up a loop, yarn over and pull through 2 loops (2 loops on hook). Repeat this 3 more times in the exact same stitch until you have 5 loops on your hook. Yarn over and pull through all 5 loops at once to close the bobble.
Head (Starting with Red Yarn):
- Round 1: Make 6 sc in a Magic Ring. (6 sts)
- Round 2: Make 6 inc. (12 sts)
- Round 3: [1 sc, 1 inc] repeat this sequence 6 times. (18 sts)
- Round 4: [1 sc, 1 inc, 1 sc] repeat this sequence 6 times. (24 sts)
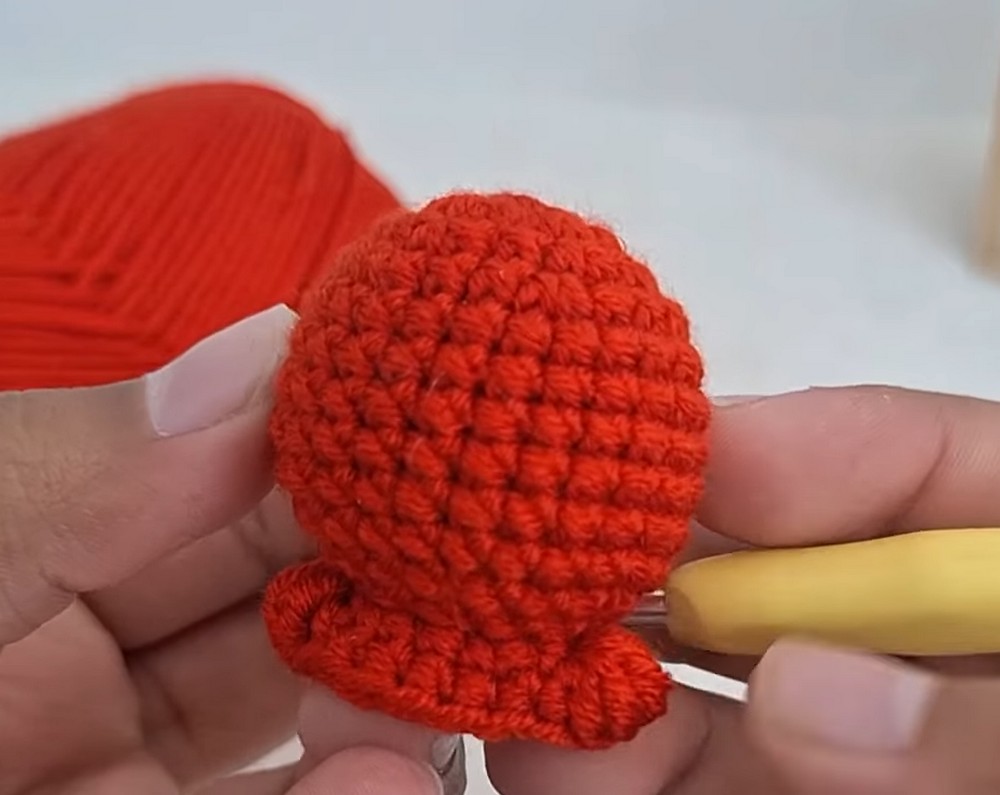
- Rounds 5 to 10: Make 1 sc in each st around for 6 continuous rounds. (24 sts per round)
- Round 11: [1 sc, 1 dec, 1 sc] repeat this sequence 6 times. (18 sts)
- Round 12: [1 sc, 1 dec] repeat this sequence 6 times. (12 sts)
- Stuffing: Firmly stuff the head with fiberfill at this stage before the opening gets too small.
Body (Continuing as a one-piece from the Head):
- Round 13: Working in FLO (Front Loops Only), [1 sc, 1 inc] repeat this sequence 6 times. (18 sts)
- Round 14: Make 5 sc, 1 bo (this creates the first arm), 7 sc, 1 bo (this creates the second arm), 4 sc. (18 sts)
- Round 15: Make 1 sc in each st around. (18 sts)
- Round 16: Change to Blue yarn. Make 1 sc in each st around. (18 sts)
- Color Note: Do not cut the red yarn yet. Leave it attached inside as you will need it for the legs in the next round.
- Round 17: With Blue yarn, make 6 sc. Switch to Red yarn and make 1 bo (first leg). Use the Blue yarn to pull through and close the red bobble stitch, then make 5 sc in Blue. Switch to Red yarn and make 1 bo (second leg). Use the Blue yarn to pull through and close the red bobble stitch, then make 5 sc in Blue. (18 sts)
- Securing Yarn: Tie a small knot inside the body using the starting and ending tails of your red yarn, cut the red yarn, and hide the tails inside the body.
- Round 18: With Blue yarn, make 1 sc in each st around. (18 sts)
- Round 19: [1 sc, 1 dec] repeat this sequence 6 times. (12 sts)
- Stuffing: Firmly stuff the body with fiberfill.
- Round 20: Make 6 dec. (6 sts)
- Finishing: Make a sl st in the next stitch, cut the blue yarn leaving a short tail. Thread the tail onto your tapestry needle and weave it through the front loops of the remaining 6 stitches, pull tight to close the hole, and hide the end inside the plushie.
Face and Details:
- Cutting the Eyes: Cut two half-circle shapes from your white felt. Cut two slightly larger half-circle shapes from your black felt.
- Assembling the Eyes: Glue the white felt pieces directly on top of the black felt pieces so the black acts as a thick outline or border.
- Placing the Eyes: Using your hot glue gun, carefully attach the assembled eyes onto the front of the red head.
- Embroidering the Spider: Thread your tapestry needle with black embroidery thread. Carefully embroider a small spider emblem directly onto the center chest area of the blue body.
Final Polish:
- Double-check that all yarn tails are completely tucked away. Your low-sew Baby Spider-Man amigurumi is fully finished!
Save for Later!