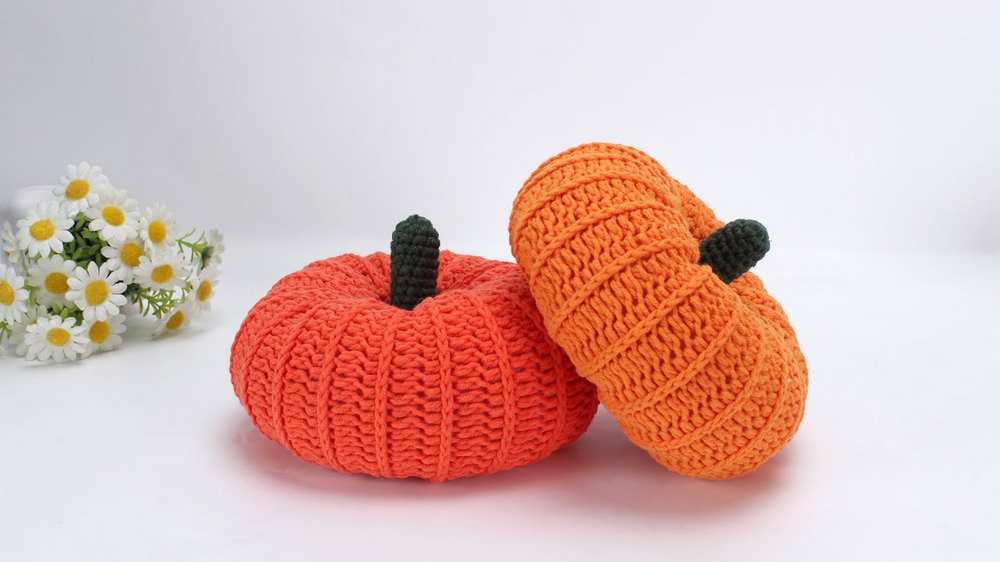
Learn how to crochet a giant pumpkin amigurumi decoration for fall, Thanksgiving, and Halloween with this FREE pattern. This version of the crochet pumpkin requires a smaller amount of sewing than most of the traditional crochet pumpkins. And that’s the same idea: “how to crochet a pumpkin out of a ribbed rectangle.” Prepare this crochet pumpkin before it’s too late in any shade of orange.
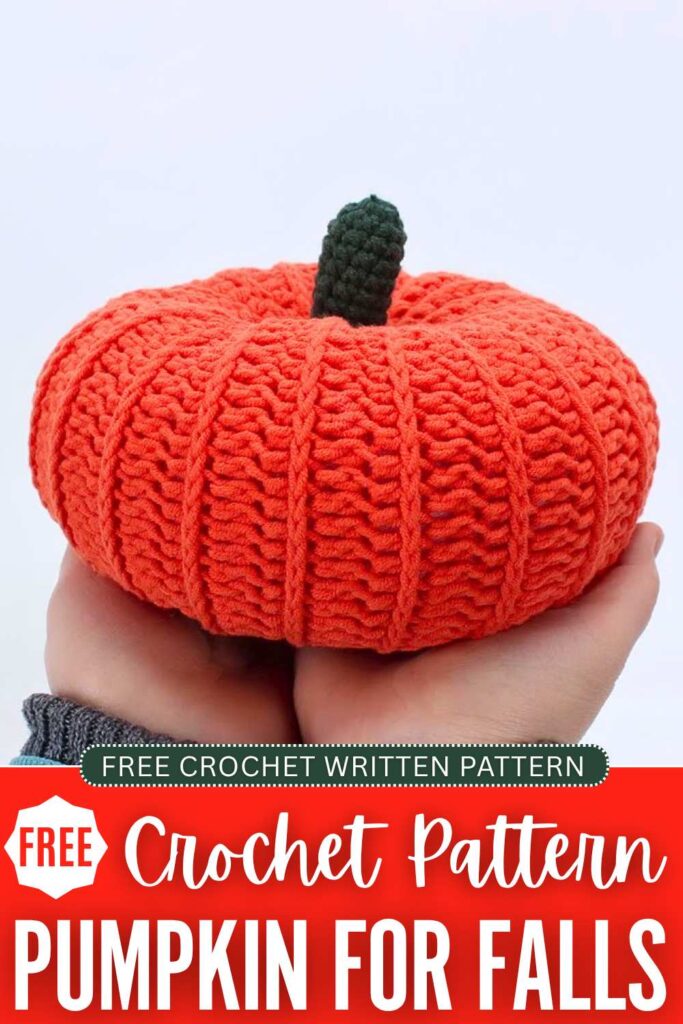
You can also customize it to crochet a yellow pumpkin or a smaller one. Soon, I will continue the fall amigurumi series and add many more crochet amigurumi pumpkin ideas, including the many small pumpkins. Now, continue reading for the full crochet pattern.
Crochet Fall Pumpkin Amigurumi Decor: Written Instructions
This crochet harvest pumpkin is a stunning, realistic piece perfect for autumn markets, home decor, or as a cozy amigurumi plushie. The construction uses an ingenious “attached ribbing” technique: you begin by creating a flat circular base, then seamlessly crochet ribbed rows outward and back, slip-stitching to the base as you go.
This method creates naturally deep, continuous ridges without requiring excessive sewing, leaving only a single side seam and the top to close. Once stuffed and sculpted, a simple, sturdy stem is attached to the top, making this an ideal low-sew make.
- Materials Needed:
- 5-ply milk cotton yarn in your main pumpkin color (e.g., Orange, Teal, or Pink for a branded aesthetic) and a contrasting color for the stem (e.g., Brown or Green).
- 3.0 mm crochet hook.
- Fiberfill / PP cotton stuffing.
- Tapestry or yarn needle for sewing and sculpting.
- Stitch markers to keep track of rounds.
- Scissors.
- Abbreviations (Standard US Terms):
- MR: Magic Ring
- ch: Chain
- sc: Single Crochet (UK equivalent: double crochet / dc)
- hdc: Half Double Crochet (UK equivalent: half treble / htr)
- sl st: Slip Stitch
- inc: Increase (2 sc in the same stitch)
- dec: Decrease / sc2tog (crochet 2 stitches together)
- FLO: Front Loop Only (working only in the loop closest to you to push the top “V” outward, creating the ridge texture)
- st(s): Stitch(es)
Part 1: The Pumpkin Base Circle
- Begin with your main pumpkin color yarn.
- Round 1: Create a Magic Ring, ch 1. Work 14 sc into the magic ring. Pull the tail tight to close the circle. Sl st into the first sc to join. (14 sts)
- Round 2: Ch 1. Work 3 sc into the very first stitch. Continue working 3 sc into every stitch around the circle. Sl st into the first sc to join. (42 sts)
Part 2: The Ribbed Pumpkin Body
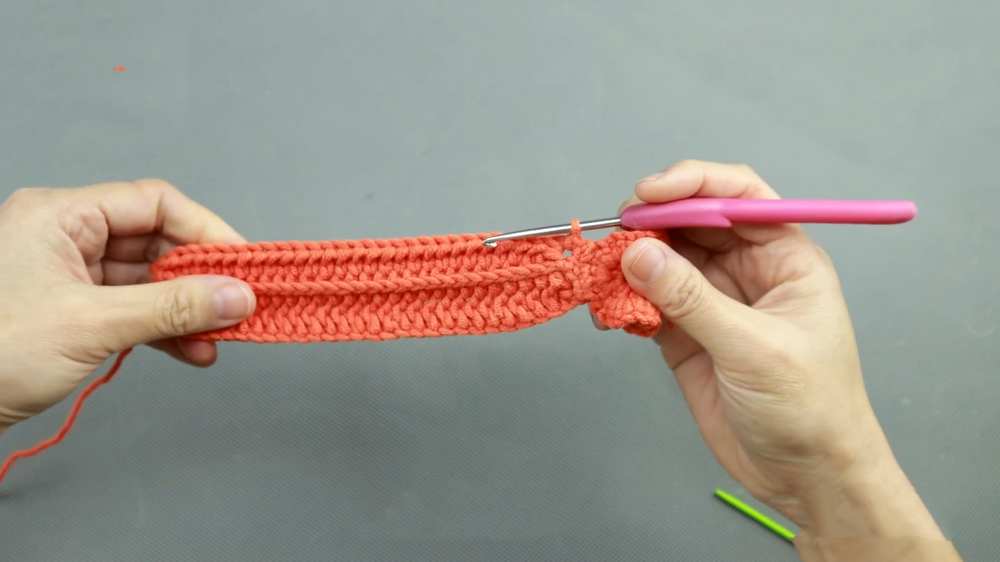
- Row 1: From the joined circle, ch 31. Turn and work back down the chain starting in the 2nd chain from the hook. Crochet 1 sc, followed by 28 hdc, and 1 sc in the very last chain. To anchor this row to the base, sl st into the next 2 stitches of the 42-stitch base circle. (30 sts on the panel)
- Row 2: Turn your work (do not chain). Skip the 2 slip stitches you just made on the base. Working back up the panel: Crochet 1 sc in both loops, then 28 hdc in the FLO, and finally 1 sc in both loops of the last stitch. (30 sts)
- Row 3: Ch 1, turn your work. Working back down the panel toward the base: Crochet 1 sc in both loops, 28 hdc in the FLO, and 1 sc in both loops of the last stitch. Anchor to the base by slip stitching into the next 2 stitches of the base circle. (30 sts)
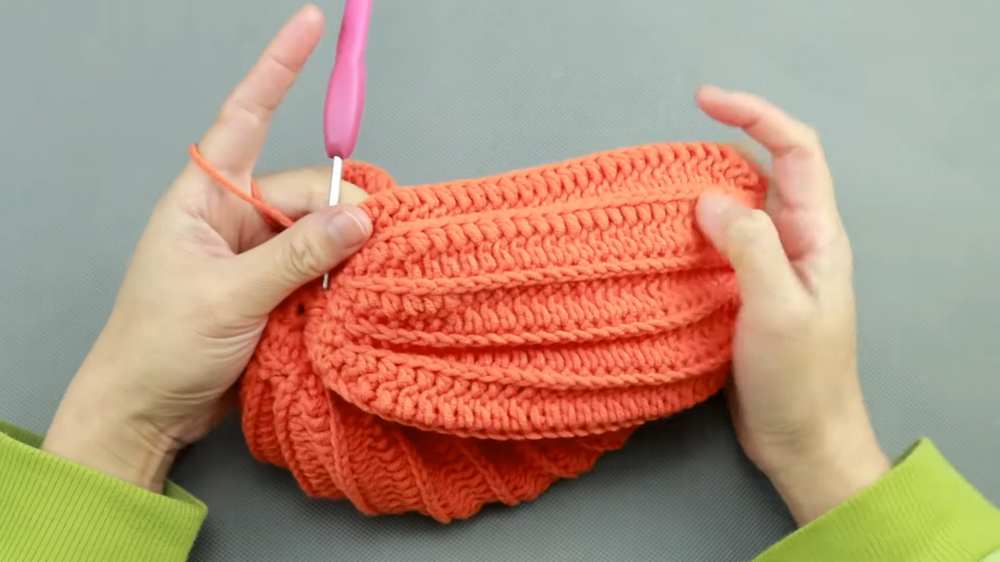
- Rows 4 – 42: Continue repeating the process of Row 2 and Row 3 all the way around the base circle. You will create 1 row going up and 1 row going down for every 2 stitches on the base.
- Once you reach the final stitch of the base circle, slip stitch into it, and place your final slip stitch into the very first stitch of the base to fully connect the round.
- Crochet one final row going back up the panel (1 sc, 28 hdc FLO, 1 sc). Fasten off, leaving a very long tail for seaming.
Part 3: Seaming and Top Closure
- Fold the pumpkin so the first row and the final row meet.
- Using your tapestry needle, whip stitch the two edges together, matching stitch to stitch to maintain the ribbed pattern.
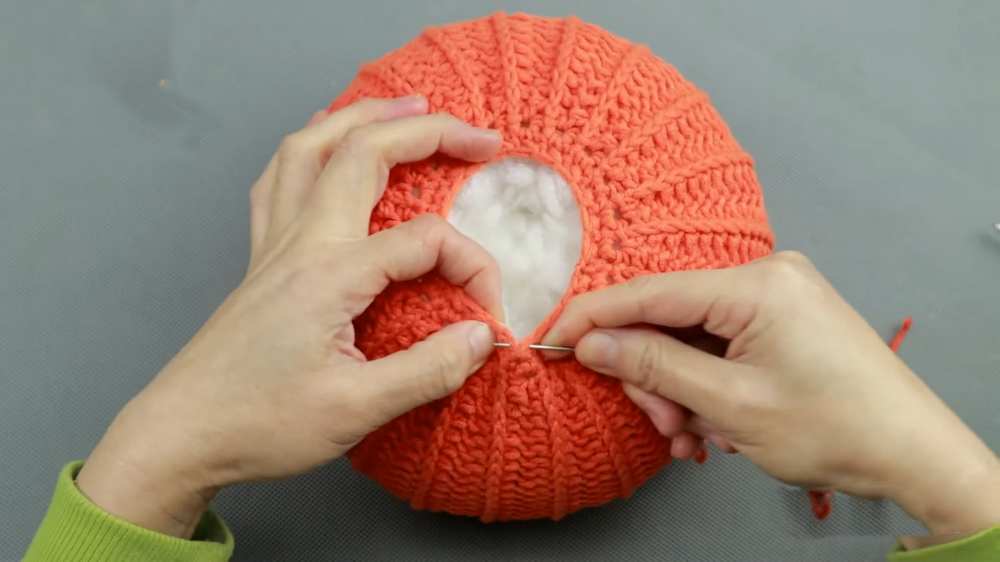
- Once the side is seamed, you will have an open hole at the top. Reattach your yarn to any stitch along this top edge.
- Top Edge Round 1: Ch 1. Crochet 1 sc evenly into the end of every row around the top opening. You should have approximately 42 sc. Sl st to join.
- Top Edge Round 2: Ch 1. Work 1 dec continuously around the entire opening to reduce the hole size by half (approximately 21 sts). Sl st to join. Fasten off, leaving another long tail.
- Firmly stuff the pumpkin body with fiberfill until plump and shaped.
- Thread your yarn needle with the long tail and weave it through the front loops of the remaining top stitches. Pull tightly to cinch the top hole completely closed.
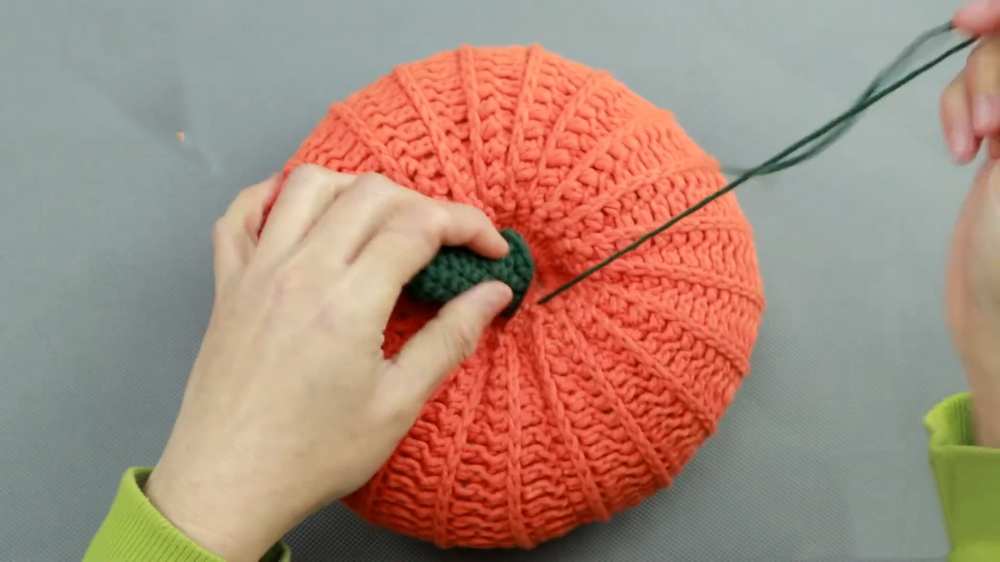
- Needle Sculpting: To give the pumpkin its classic squat shape, insert your needle directly down through the cinched top center and out through the bottom center (the original magic ring). Pull the yarn tightly to indent the center. Send the needle back up to the top and repeat this vertical anchoring 2 to 3 times until the desired dimple is achieved. Knot and hide the yarn tail inside.
Part 4: The Pumpkin Stem
- Switch to your contrast color yarn. This piece is worked in continuous rounds (a spiral). Do not slip stitch or chain 1 at the end of the rounds.
- Round 1: Magic ring, ch 1, 10 sc in the MR. Pull tight. (10 sts)
- Rounds 2 – 10: 1 sc in each stitch around for 9 rounds. (10 sts)
- Round 11: (1 sc, 1 inc) repeat the sequence 5 times. (15 sts)
- Slip stitch into the next stitch to finish off the spiral smoothly. Fasten off and leave a long tail for sewing.
- Add a small amount of stuffing into the stem to help it hold its shape.
- Pin the stem over the top dimple of the pumpkin.
- Using your needle, whip stitch the stem securely onto the pumpkin body. Fasten off and weave the final end into the plushie.