
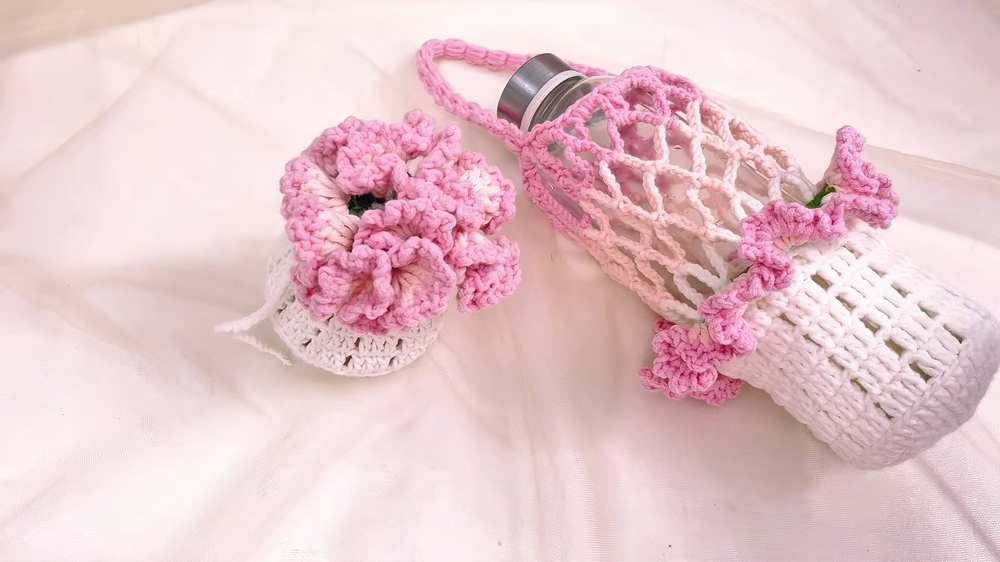
Finally, let’s crochet a reversible water bottle holder as I promised! Introducing the crochet 2-in-1 carnation flower mesh water bottle holder that you can crochet with a FREE pattern.
Unlike the bag charm water bottle holder, it can be turned into a LOVELY wedding bouquet drawstring bag, and that looks so ELEGANT. You can crochet it for a tumbler or a mineral water bottle, and even a juice cup.
Crochet 2-in-1 Flower Water Bottle Holder Pattern
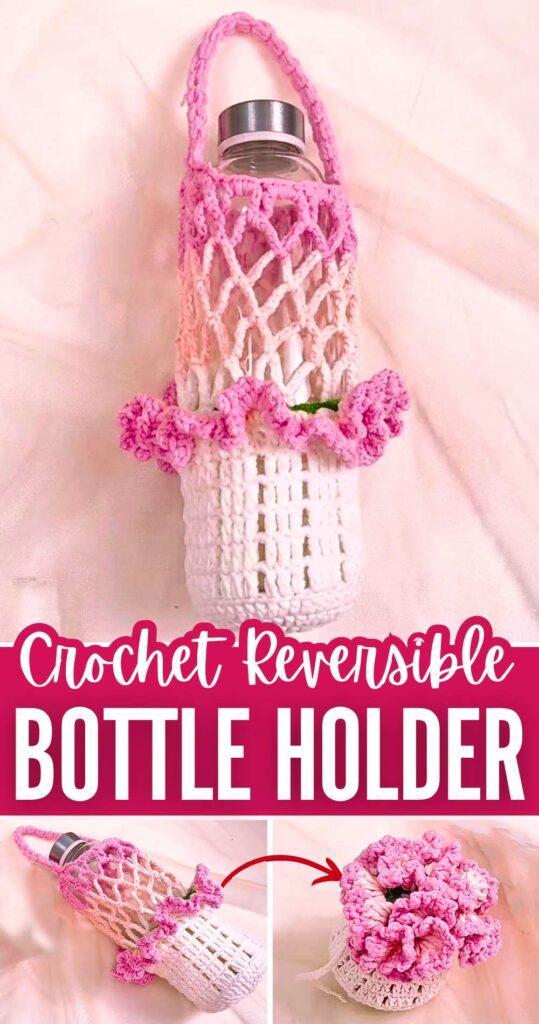
There is also a beautiful gradient colorwork on the mesh part of this crochet holder. You can also cinch the top so it can secure whatever the diameter of the rim is. The bottom is solid, which makes the drawstring bag solid, too. So, with all that said, let’s get started with the crochet pattern.
Crochet Flower Bouquet Water Bottle Holder: Written Instructions
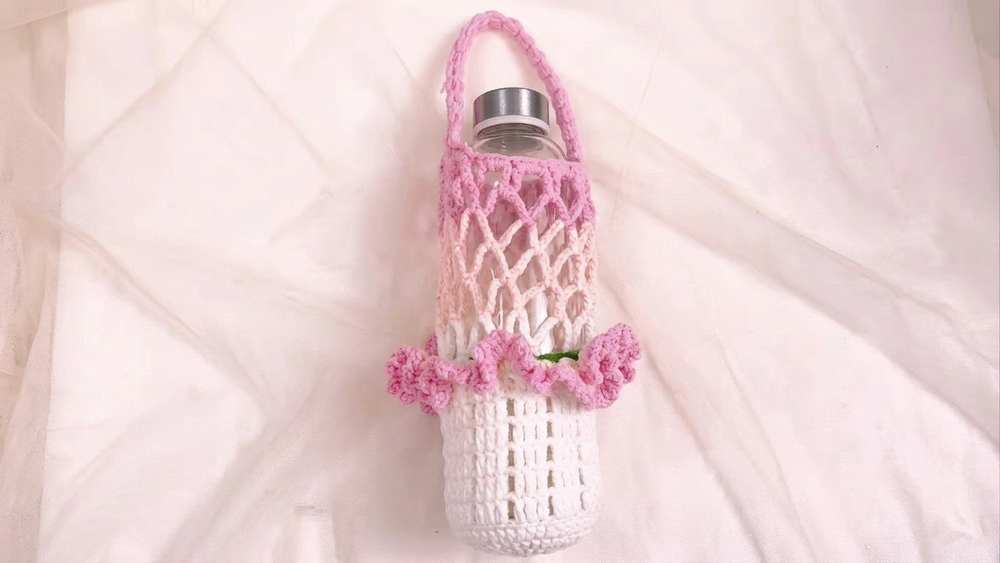
This crochet water bottle holder combines functionality with an elegant, floral-inspired aesthetic. The design features a sturdy, solid circular base that transitions into a beautifully structured lower body.
The middle section utilizes an airy, color-blocked mesh netting that stretches to accommodate various bottle sizes securely.
The highlight of this project is the mouth of the bag, which is finished with a stunning, multi-layered carnation ruffle and a textured strap made of clustered stitches. It is a perfect spring or summer accessory for carrying your drinks in style.
Materials
- 125g Milk Cotton Yarn in 5 colors: Cream/White (base and lower mesh), Peach/Skin Pink (middle mesh), Light Pink (upper mesh, top edge, strap, and petal base), Dark Pink (ruffle edge), and Green (leaf/stem V-stitches).
- 2.5 mm crochet hook (Size 4/0).
- Scissors.
- Tapestry or yarn needle for weaving in ends.
Abbreviations (US Terms)
- MR: Magic Ring
- ch: chain
- sc: single crochet
- dc: double crochet
- tr: treble crochet (yarn over twice)
- sl st: slip stitch
- inc: increase (2 stitches in the same stitch)
- BLO: Back Loop Only
- ch-sp: chain space
Pattern Instructions: The Base
- Begin with Cream/White yarn.
- Round 1: Create a Magic Ring. Ch 2 (does not count as a stitch). Work 12 dc into the MR. Pull the tail tight to close the ring. Join with a sl st to the first dc. (12 dc)
- Round 2: Ch 2. Work an inc (2 dc) in every stitch around. Join with a sl st to the first dc. (24 dc)
- Round 3: Ch 2. Work 1 dc in the next stitch, inc in the next stitch. Repeat around. Join with a sl st. (36 dc)
- Round 4: Ch 2. Work 1 dc in the next 2 stitches, inc in the next stitch. Repeat around. Join with a sl st. (48 dc)
Pattern Instructions: The Lower Body
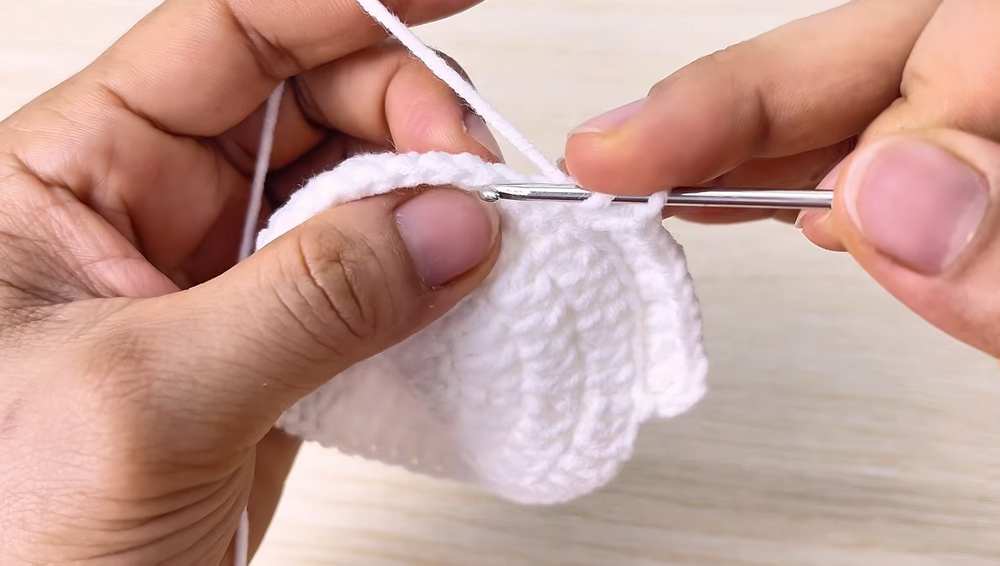
- Round 5: Ch 3 (counts as first dc). Working in the BLO for this round only: dc in the next 2 stitches. Ch 1, skip 1 stitch, work 1 dc in each of the next 3 stitches. Repeat around. End with a ch 1, skip the last stitch, and join with a sl st to the top of the beginning ch-3. (You will have 12 clusters of 3 dc.)
More
- Rounds 6 – 10: Ch 3. Working in both loops normally: dc in the next 2 stitches. Ch 1, skip the ch-sp, work 1 dc in each of the next 3 dc. Repeat around. End with a ch 1 and sl st to the top of the beginning ch-3. Repeat until you have 6 total rounds of 3-dc clusters.
- Round 11: Ch 1. Work 1 sc in every dc and 1 sc in every ch-1 space around. Join with a sl st to the first sc. Fasten off the Cream/White yarn. (48 sc)
Pattern Instructions: The Mesh Netting
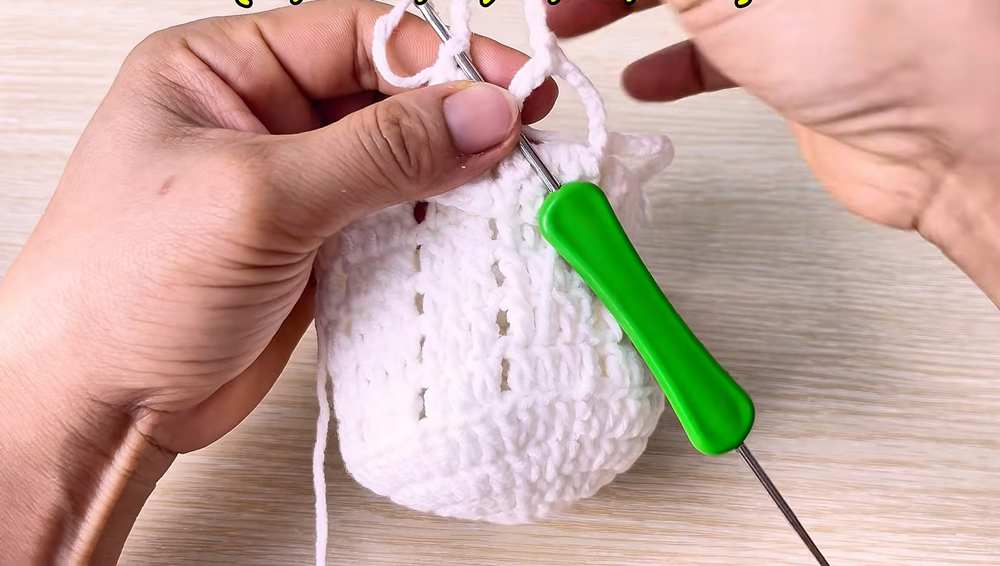
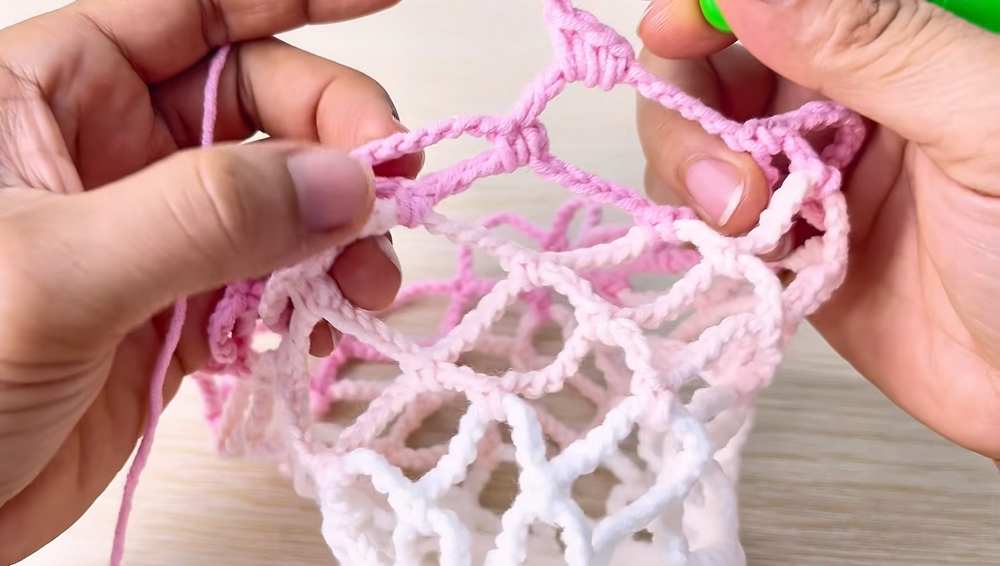
- Round 1 (Cream/White): Join Cream/White yarn to the front loop of Round 11 directly aligned above one of the skipped spaces. Ch 10, skip the 3-dc cluster section, and work 1 sc into the stitch aligned with the next gap. Repeat 11 times. For the 12th and final loop: ch 5, then work 1 tr into the base of the very first stitch. This creates the final V-shape and positions your hook at the top center of the loop for the next round. (12 mesh loops)
- Round 2 (Cream/White): Ch 10, work 1 sc into the peak of the next mesh loop. Repeat 11 times. For the 12th loop: ch 5, tr into the tr of the previous round. Fasten off Cream/White yarn.
- Rounds 3 – 5 (Peach/Skin Pink): Join the Peach yarn at the top of the 12th loop. Ch 10, work 1 sc into the next loop. Repeat around. For the 12th loop: ch 5, tr into the base to join. Repeat this process for a total of 3 rounds. Fasten off the Peach yarn.
- Rounds 6 – 7 (Light Pink): Join the Light Pink yarn at the top of the 12th loop. Ch 10, work 1 sc into the next loop. Repeat around. For the 12th loop: ch 5, tr into the base to join. Repeat for a total of 2 rounds. Do not fasten off after the 7th round.
Pattern Instructions: Top Edging
- Round 1: Continuing with Light Pink, work 3 loose sc directly into the first mesh loop space, ch 1. Work 3 loose sc into the next mesh loop space, ch 1. Repeat around all 12 mesh loops. Join with a sl st to the first sc.
Pattern Instructions: The Strap
- Row 1: From your joined position on the top edge, ch 3. Work 3 incomplete dc into the same stitch, then yarn over and pull through all loops on the hook to create a puffy cluster stitch.
- Row 2: Ch 3. Work another 3-dc cluster into the top of the cluster you just made.
- Continue building the strap by repeating Row 2 until the strap measures approximately 25 cm (or your desired length).
- Fold the bag flat to determine the exact opposite side of the top edging.
- Anchor the end of the strap to the opposite side by slip-stitching or single-crocheting tightly across 2 to 3 stitches on the edging to secure it. Fasten off and weave in the ends securely.
Pattern Instructions: The Carnation Ruffle
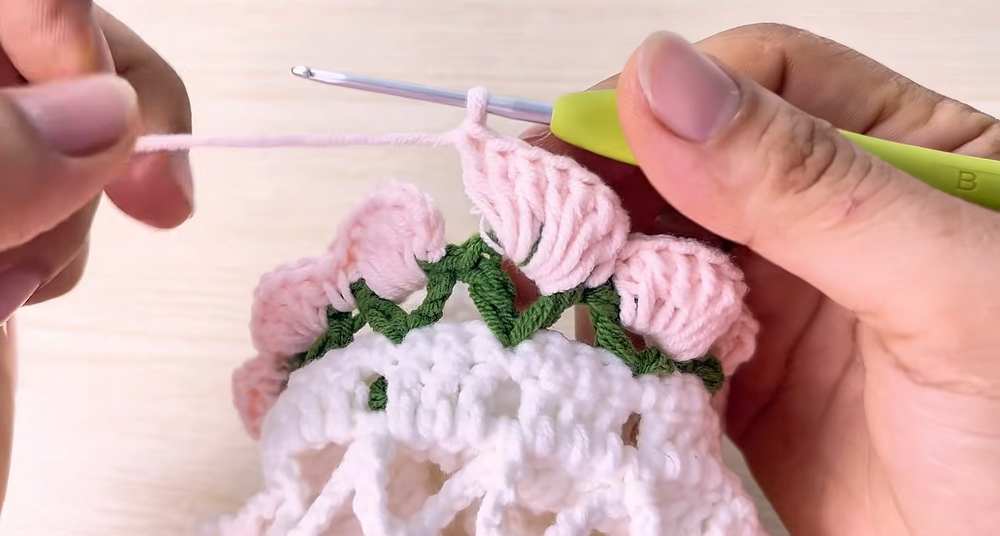
Round 1 (Green): Join Green yarn to any ch-1 space (between the 3-sc groups) on the Top Edging. Ch 6 (counts as 1 dc + ch 3). Work 1 dc into the same space to create a V-stitch. In the next ch-1 space, work (1 dc, ch 3, 1 dc). Repeat around all 12 spaces. Join with a sl st to the 3rd chain of the starting ch-6. Fasten off the Green yarn.
Round 2 (Light Pink): Join Light Pink yarn into the ch-3 space of any Green V-stitch. Ch 3 (counts as your first dc), work 6 dc into the same space (7 dc total for the petal).
Work 1 sc into the gap between the current V-stitch and the next V-stitch. Work 7 dc into the next V-stitch ch-3 space, work 1 sc into the gap between V-stitches. Repeat around. Join with a sl st to the top of the beginning ch-3. Fasten off the Light Pink yarn.
Round 3 (Dark Pink): Join Dark Pink yarn to the first dc of any petal. Ch 1, sc in the same stitch. Ch 3, insert your hook deeply down into the base of the next stitch (working a deep sc) and complete the sc.
Repeat (ch 3, deep sc) across every dc of the petals and into the sc between the petals all the way around.
Anchoring the single crochets deeply pushes the fabric outward, naturally forming the textured ruffle. Join with a sl st to the first sc. Fasten off and weave in all loose ends to finish the project.
Learn with the Video Tutorial