
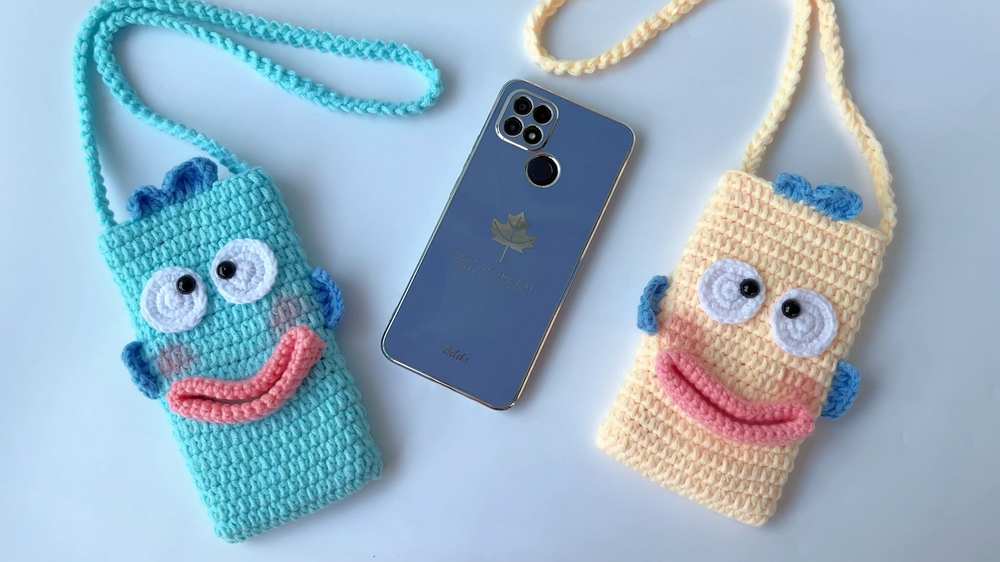
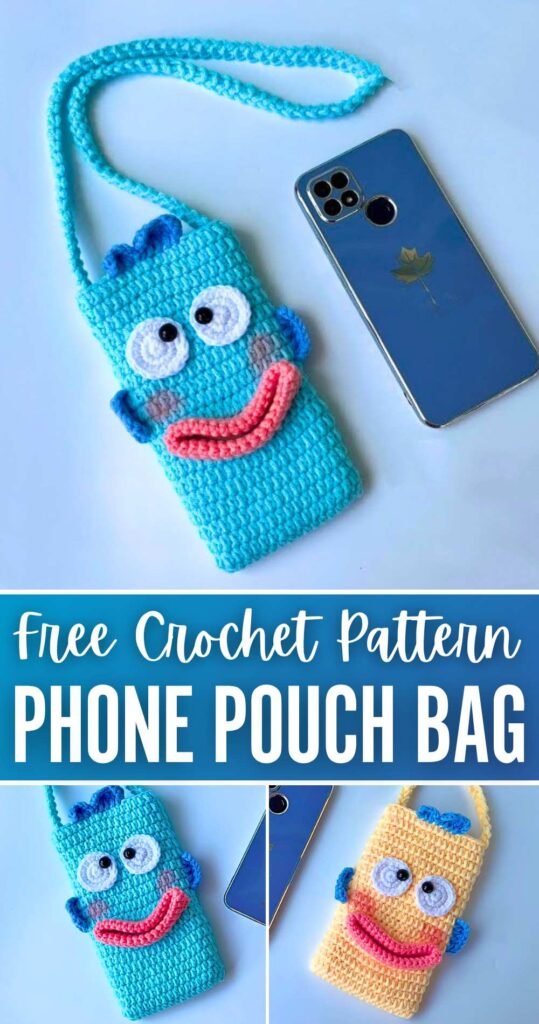
Looking for a mood-lifter crochet pouch with a little bit of quirk? Learn how to crochet this funny Hangyodon face smartphone pouch with this FREE written pattern for summer. You can either crochet the blue or the cream version of this mobile phone pouch following the same pattern.
Has the same wobbly eyes, big quirky lips, and also blush on the cheeks. This also has a Romanian cord sling handle so you can wear it as a crossbody bag.
The base pouch pattern is much easier, and with the double crochet, it works up fast. You can also theme it up with other Sanrio crochet characters such as Keropi and Hello Kitty. Now, continue reading for the full Hangyodon smartphone pouch.
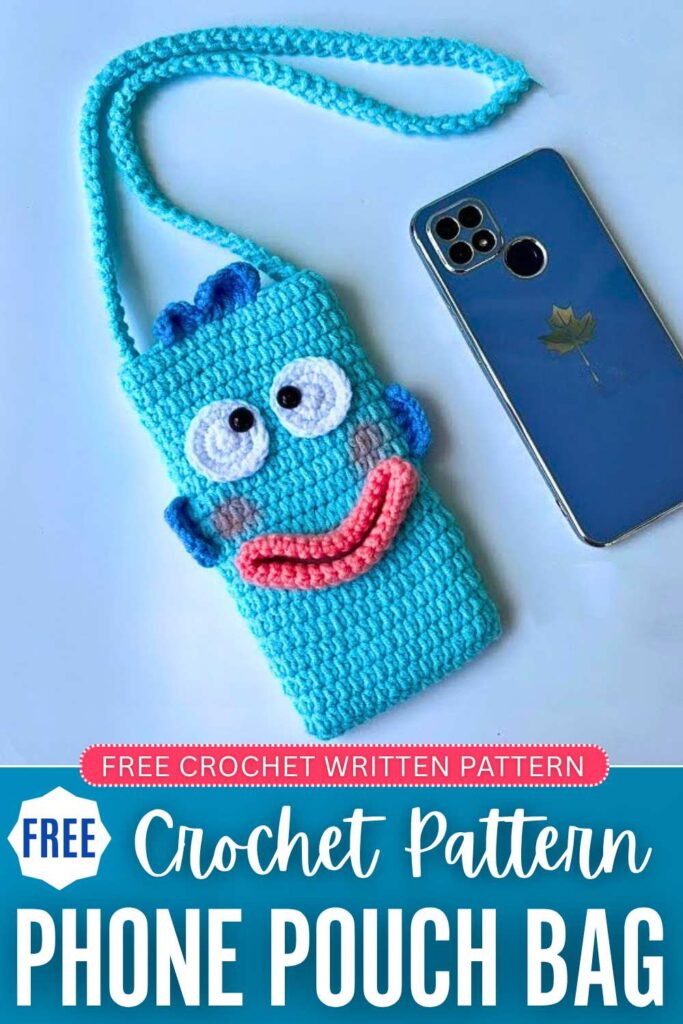
Free Crochet Hangyodon Bag Pattern: Written Instructions
This super cute “Hangyodon Phone Bag” is a great project for learning how to crochet using a few different simple stitches, making it perfect for holding and protecting your phone.
Here are the detailed steps for this crochet phone bag project:
Materials Needed:
- Yarn: 50g Milk cotton yarn in 4 different colors (Seafoam/Mint Green, Light Pink, Blue, and White).
- Crochet Hook: 2.5 mm
- Button: One 1.5 cm wooden button
- Eyes: Two 10 mm – 12 mm black safety eyes (or beads)
- Blush: A small amount of real makeup blush and a makeup brush
- Tools: Tapestry needle, scissors, and a tape measure
Abbreviations:
- ch: chain
- sc: single crochet
- hdc: half double crochet
- dc: double crochet
- tr: treble crochet
- sl st: slip stitch
- st(s): stitch(es)
- MR: Magic Ring
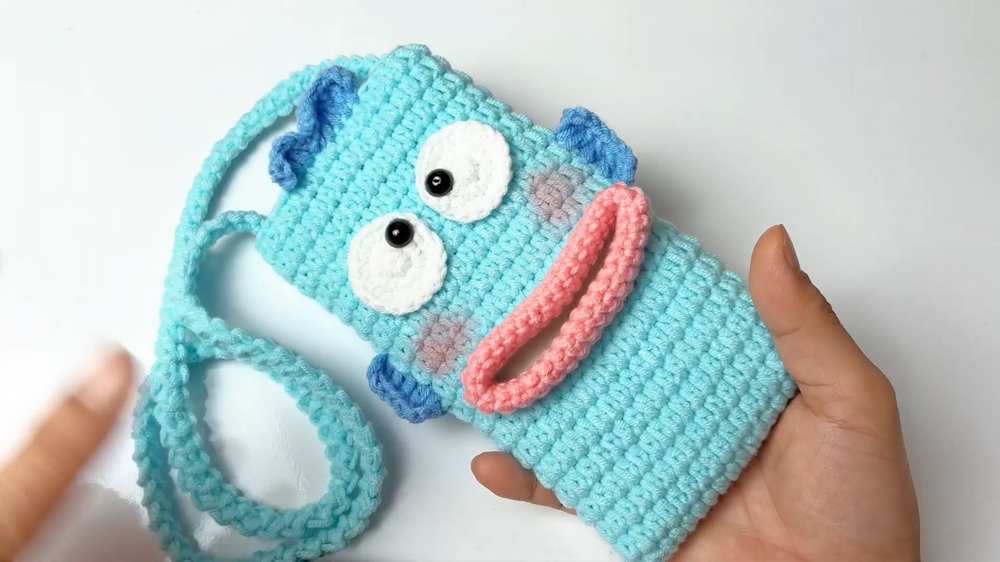
Step-by-Step Pattern:
Body of the Bag (Seafoam Green Yarn):
Round 1:
- Start by making a slip knot and chaining 19.
- Skip the first 2 chs (the 2 skipped chs do not count as a st). In the 3rd ch from the hook, work 2 hdc.
- Work 1 hdc in each of the next 15 chs.
- In the very last ch, work 4 hdc. (This turns the work so you can crochet down the opposite side of the foundation chain).
- Working down the opposite side of the chain, work 1 hdc in each of the next 15 chs. Make sure to crochet over your starting yarn tail to hide it.
- In the final ch (the same ch where you put your first 2 hdc), work 2 more hdc.
- Join with a sl st to the first hdc of the round. (Total: 38 sts)
- Note: Flip the piece so the right side is facing outwards.
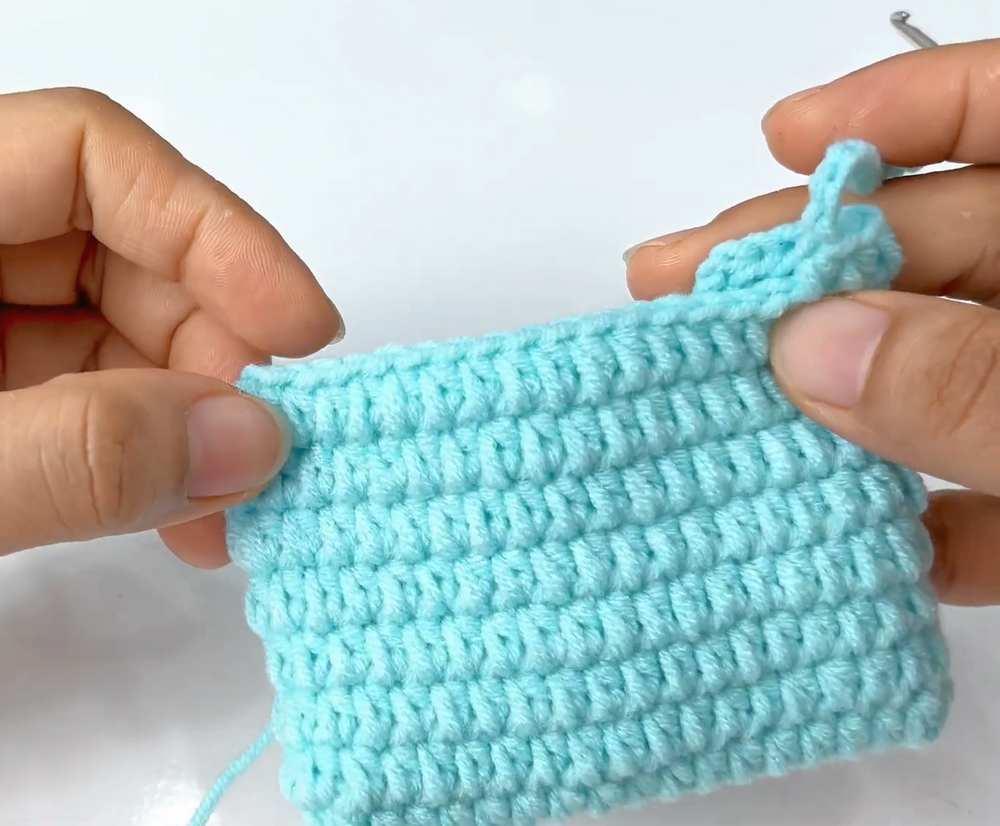
Round 2 to Round 7:
- Ch 2 (does not count as a st).
- Work 1 hdc in each st around.
- Join with a sl st to the first hdc. (Total: 38 sts per round)
Round 8 (Creating the Mouth Opening):
- Ch 2. Work 1 hdc in each of the next 7 sts.
- Ch 15. Skip the next 15 sts on the bag.
- Work 1 hdc in each of the remaining 16 sts.
- Join with a sl st to the first hdc. (Total: 38 sts, including the 15 chs)
Round 9:
- Ch 2. Work 1 hdc in each of the first 7 sts.
- When you reach the ch-15 space, work 1 hdc into the back loop only of each of the 15 chs. (The front loops are left unworked so we can attach the pink lips later).
- Work 1 hdc into each of the remaining 16 sts.
- Join with a sl st to the first hdc. (Total: 38 sts)
Rounds 10 to 20:
- Ch 2. Work 1 hdc in each st around.
- Join with a sl st to the first hdc. (Total: 38 sts per round)
- Note: By Round 20, the bag should measure approximately 17 cm in length and 9.5 cm in width. Check that your phone fits well inside. If it needs to be longer, you can add more rounds here.
- Fasten off and leave a long tail (about 20 cm) for sewing the button loop later.
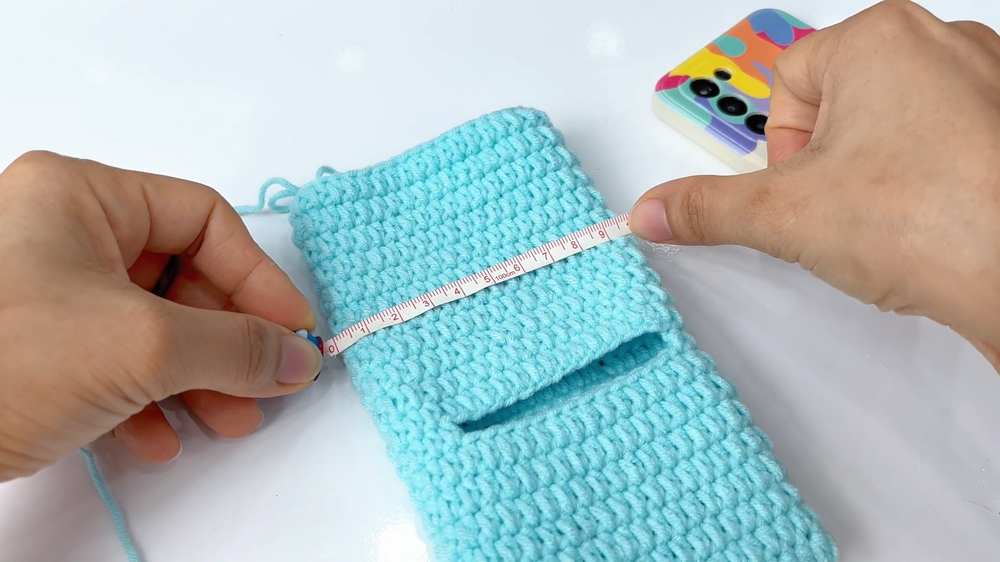
Bag Strap (Seafoam Green Yarn):
- Leave a long starting tail for sewing. Make a slip knot.
- Ch 3.
- Work 1 sc in the 1st ch made.
- Rotate the piece slightly towards you. Look for the two loops that stick out on the side. Insert your hook under both of those loops, yarn over, and complete a sc.
- Keep repeating this process: Rotate the piece, find the two side loops, insert your hook under both loops, and work 1 sc. Make sure to work loosely so the loops are easy to find.
- Continue until the strap is roughly 100 cm long.
- Ch 1, fasten off, and leave another long tail for sewing.
The Lips (Pink Yarn):
- Go back to the mouth opening on the bag body. Attach the pink yarn to any st around the opening.
- Round 1: Ch 1. Work 1 sc in each st around the opening. When you reach the corners of the mouth, work 2 sc in each corner to help it curve. You should have 15 sc across the top, 15 sc across the bottom, and 2 sc in each of the 2 corners. Join with a sl st to the first sc. (Total: 34 sts)
- Rounds 2 to 5: Ch 1. Work 1 sc in each st around. Join with a sl st to the first sc. (Total: 34 sts per round)
- Fasten off and weave in the ends.
- Fold the pink lip section in half inward so it forms a thick, rolled lip shape around the opening.
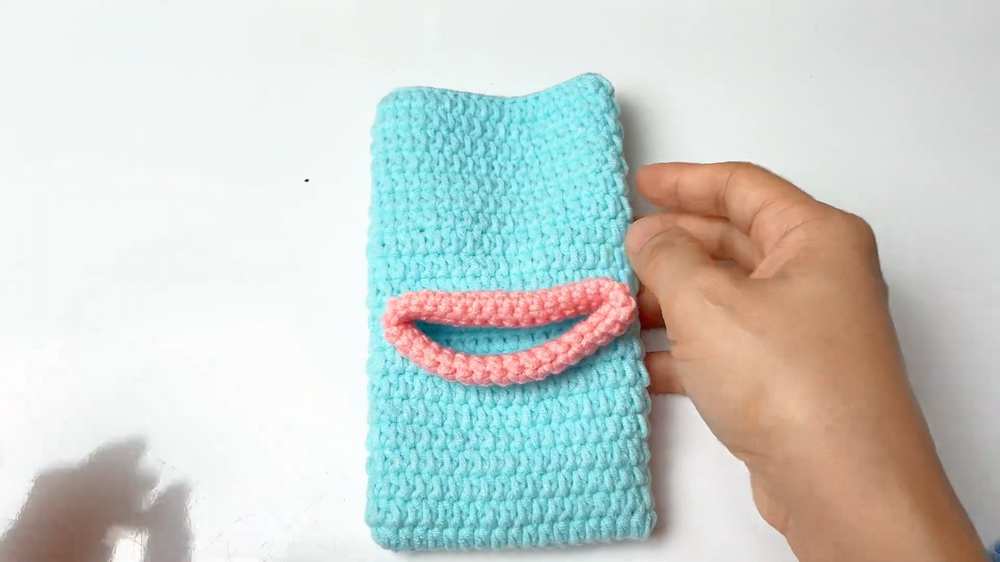
The Eyes (Make 2 – White Yarn):
- Round 1: Make a MR. Ch 1, work 6 sc into the MR. Pull tight to close. Join with a sl st to the first sc. (Total: 6 sts)
- Round 2: Ch 1. Work 2 sc in each st around. Join with a sl st. (Total: 12 sts)
- Round 3: Ch 1. 1 sc in next st, 2 sc in next st. Repeat from * to * around. Join with a sl st. (Total: 18 sts)
- Fasten off, leaving a long tail. Pull the tail down through the stitch to the back of the eye.
- Glue the black safety eyes into the center of the white circles.
- Using a hot glue gun, glue the eyes onto the bag above the mouth, spacing them closely together.
Button Loop:
- Locate the center top of the back of the bag (between the eyes on the back panel).
- Attach the seafoam green yarn to the inside loop of the stitch.
- Ch 10.
- Sl st into the same stitch to form a loop.
- Fasten off and weave in ends.
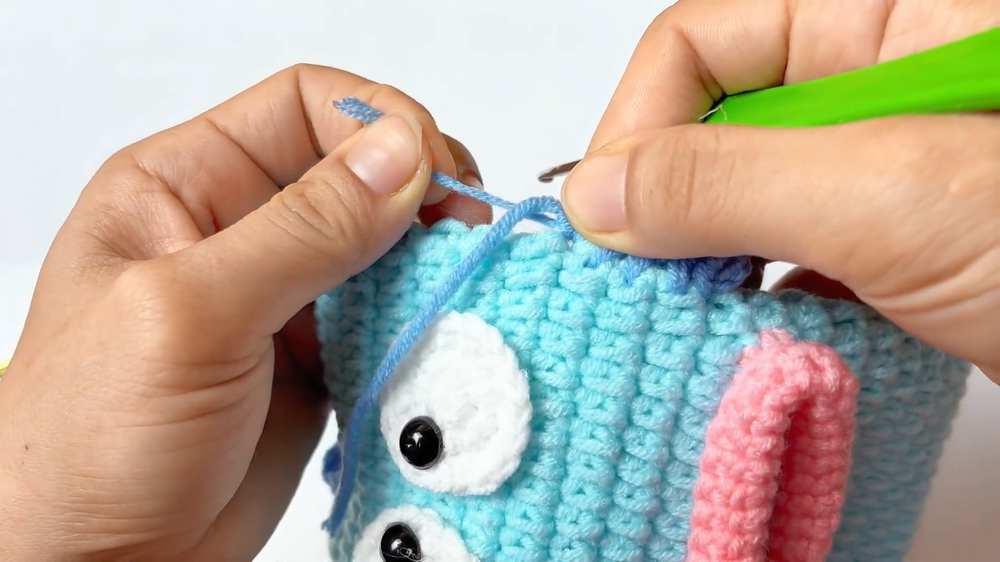
Top Fin (Blue Yarn):
- Flatten the bag. Count 6 sts inward from the left edge of the top opening. Attach the blue yarn to the 7th st.
- Ch 3.
- Work 5 tr (treble crochets) into the next 5 sts across the top edge.
- Note: For the 5th tr, you will insert your hook into the same stitch where the button loop is attached.
- Ch 3, sl st back into the same st as the last tr.
- To make the smaller part of the fin: Ch 2, work 3 dc into the next 3 sts, ch 2, sl st back into the same st as the last dc.
- Fasten off. Pull the tail through to the back and use a needle to secure and hide it inside the fin. Pull tightly so the fin curves slightly.
Side Fins (Make 2 – Blue Yarn):
- Flatten the bag and locate the middle of the side edge.
- Attach the blue yarn to the side of the stitches.
- Ch 3. Work 5 dc evenly spaced along the side edge.
- Ch 3, sl st into the same space as the last dc.
- Fasten off. Pull the tail through and secure it tightly on the inside so the fin curls inward.
- Repeat for the fin on the opposite side.
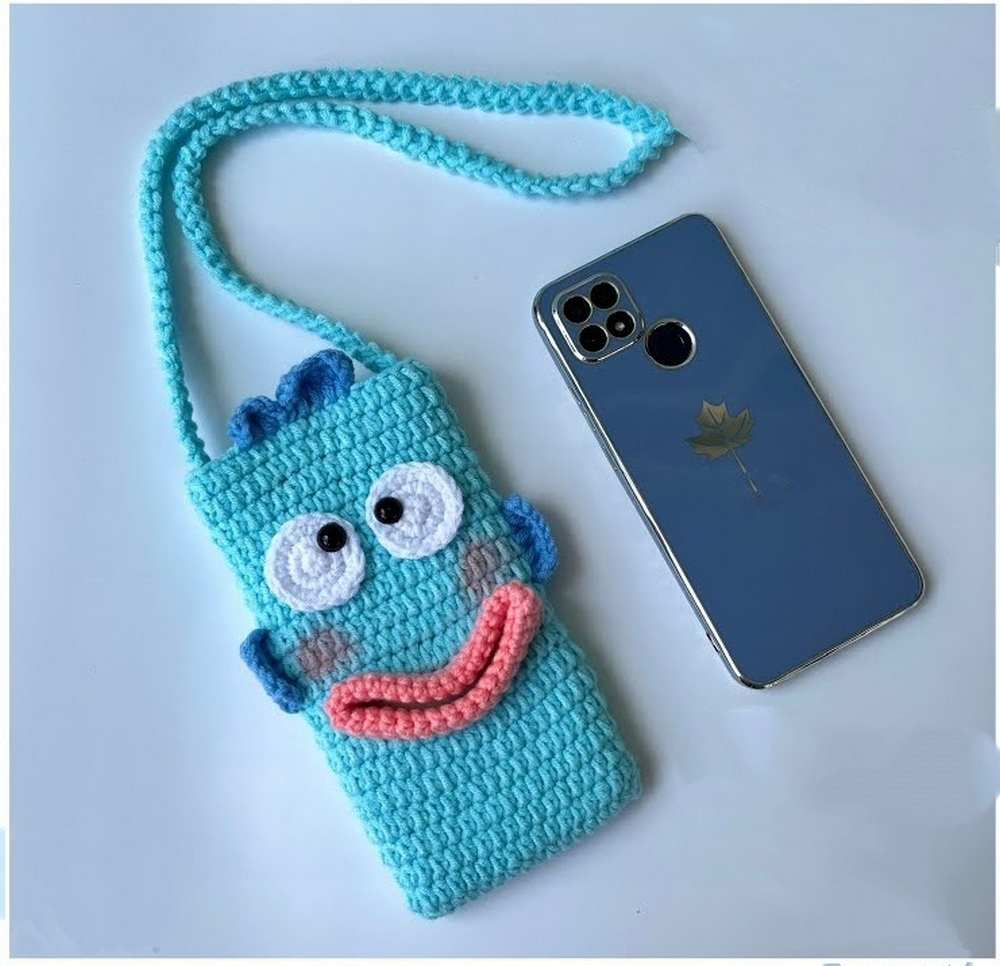
Final Assembly & Details:
- Blush: Using a makeup brush, apply a small amount of pink blush to the bag just below and slightly outside of the eyes to create rosy cheeks.
- Attach Strap: Take the bag strap and use the long yarn tails to sew each end securely to the inside top corners of the bag. Sew down through at least two rows of hdc stitches to make sure the strap is strongly attached and won’t stretch out the bag.
- Attach Button: Sew the wooden button to the front top center of the bag, aligning it with the button loop on the back.
Learn with the Video Tutorial