
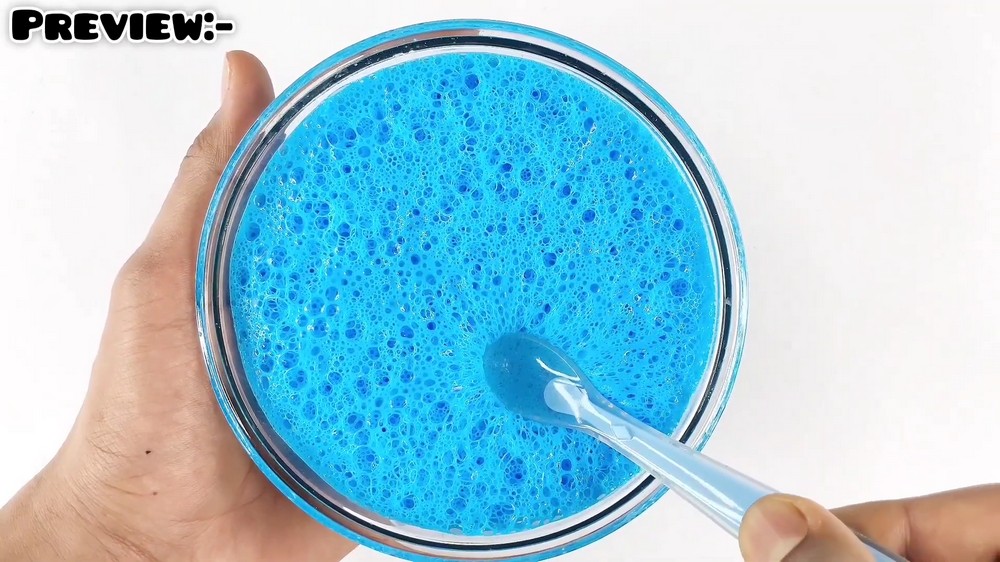
Learn how to make a homemade SUPER fully, crunchy & bubbly slime out of water, white glue, borax & two magic materials with this easy slime recipe. You can also make it with the homemade activator instead of borax, which I will teach you before the bubbly slime instructions.
The idea is to use the soap for trapping the air to make the bubbles, and shaving foam to make it super fluffy and soft. These two materials have not been used before in the slime recipes, including even the dairy ice cream slime I have taught you already.
Note that this slime recipe is not last-minute, as you will have to keep it for at least 3 days for bubbles to start appearing. If you need a quick, 10-minute recipe, you can check the water slime recipe.
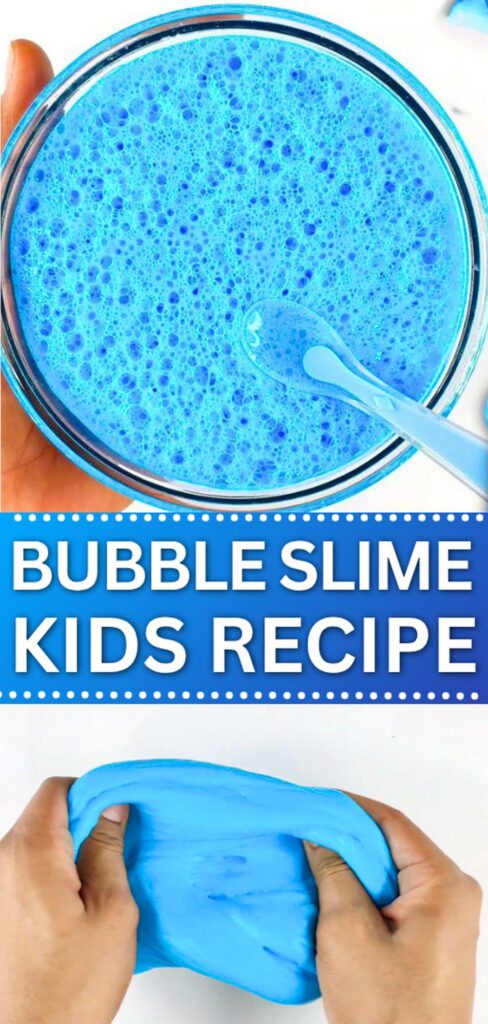
Slime Type: Homemade Slime with borax as activator, water to adjust consistency, and white glue as the base of the slime.
Time: 3 days + 10 minutes (Making + Resting)
Edibility: Not edible
Materials Used
- Two 105 g White Glue
- 60 ml Water – You can take up to 100 ml if you want it more fluffy
- Liquid Soap
- Coloring (Optional): Liquid dye, acrylic paint, or food coloring
- Shaving Foam
- Borax Liquid.
- Airtight Container
Homemade Activator
- 1 cup Warm Water
- 1 small detergent spoon of Boric Acid
- 2 small detergent spoons of Baking Soda
DIY Bubble Slime: Recipe (with White Glue)
Learn how to make bubble slime following this recipe for beginners:
Step 1: Measuring the Glue
Begin by pouring exactly half of the white glue tubes into a clean mixing bowl. White glue gives a strong, opaque base that holds its shape well once activated.
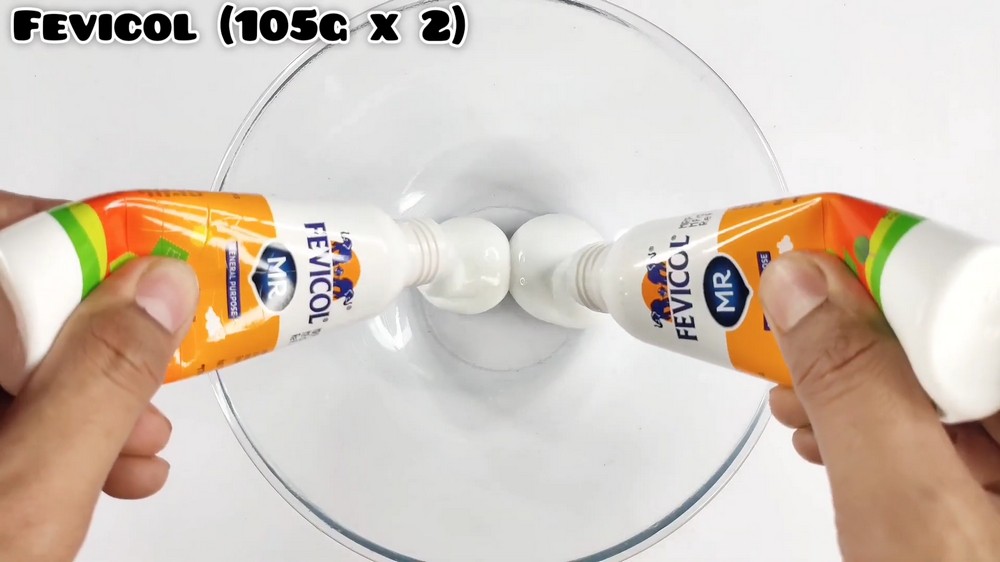
Step 2: Thinning with Water
Add 60 ml of water to the bowl with the glue. Adding water is important for bubble slimes because it loosens the structure, allowing air pockets to travel to the surface later.
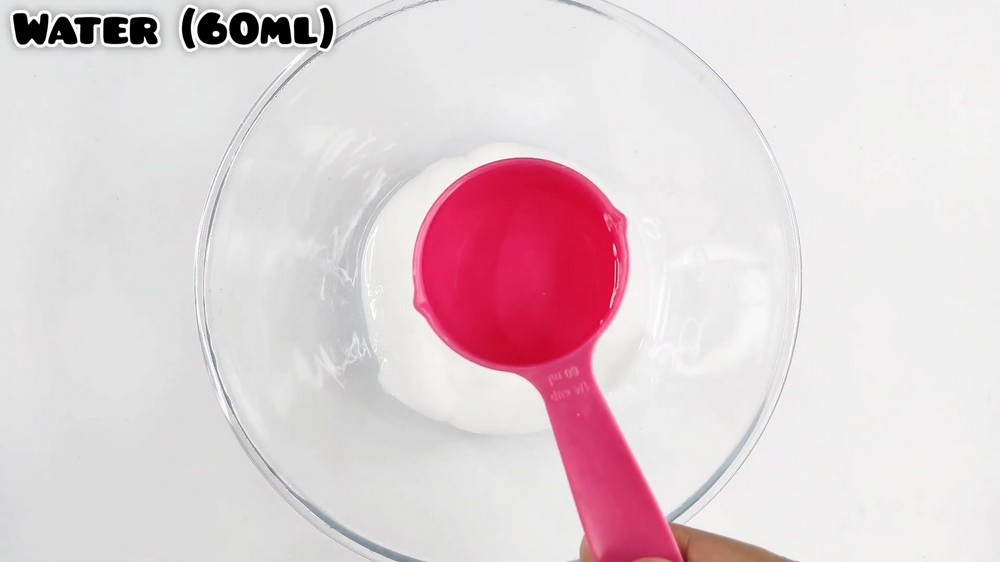
Step 3: Thorough Mixing
Mix mix mix! Use a spatula or spoon to stir the water and glue together until they are completely combined into a smooth, milky liquid with no separation.
Step 4: Adding Liquid Soap
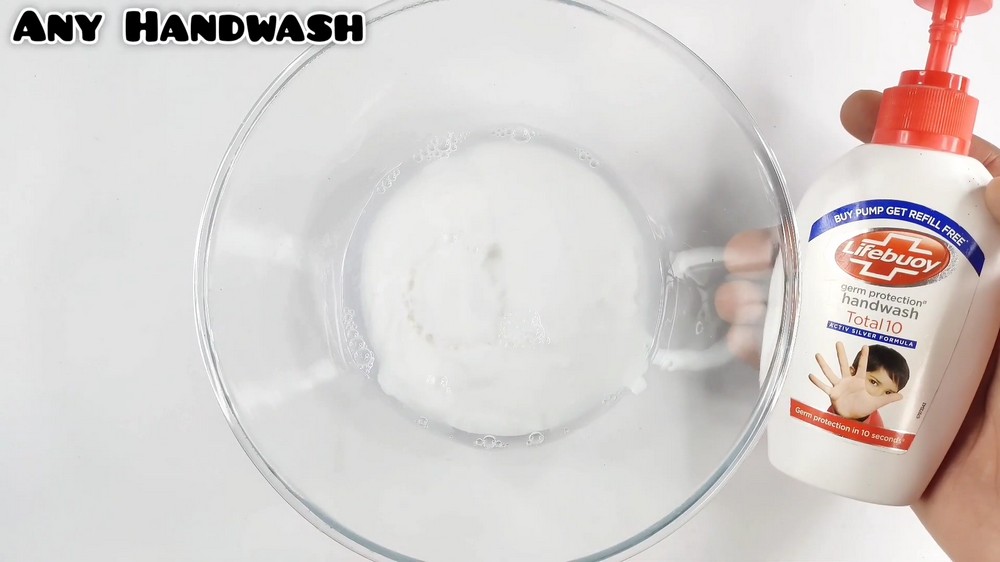
Add a few pumps of liquid soap into the mixture. The soap increases the mixture’s ability to hold air and makes better “pops” and crunches in the final product.
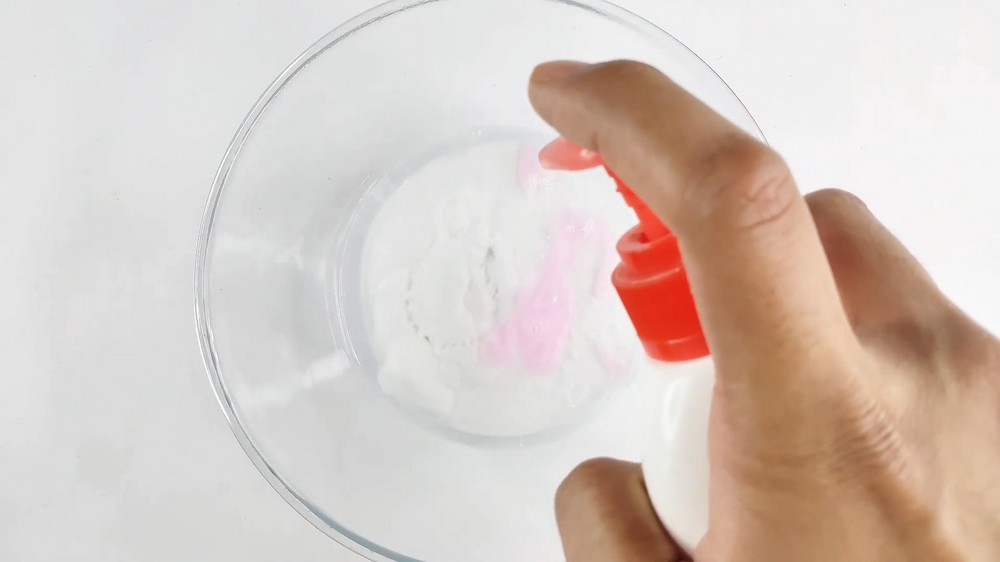
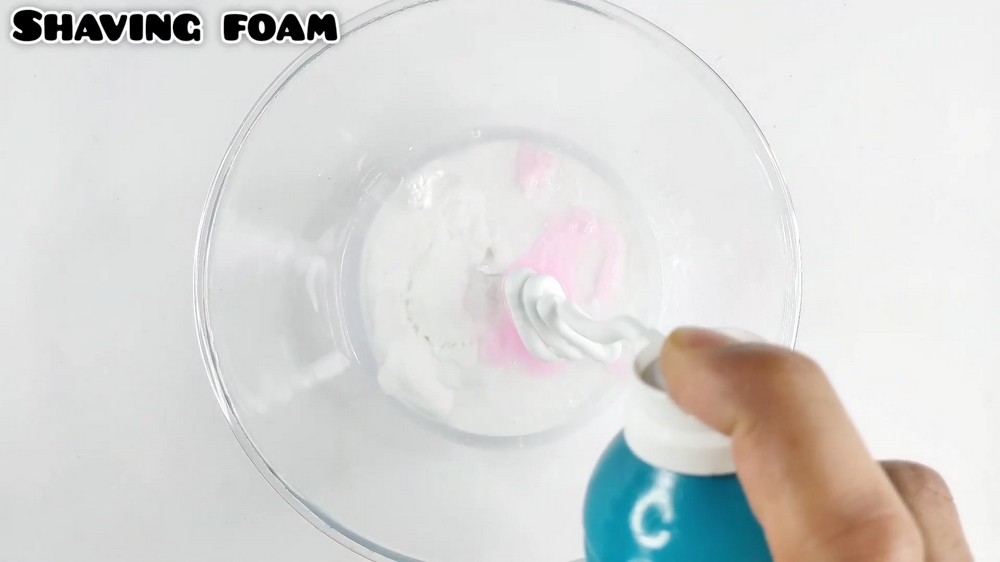
Step 5: Shaving Foam
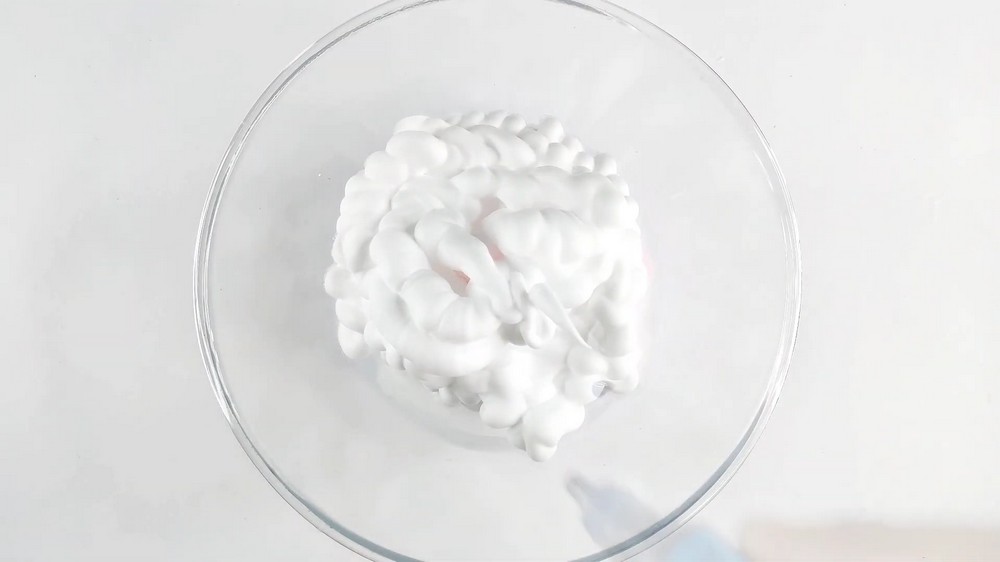
Spray a generous amount of shaving foam into the bowl. Stir the shaving foam into your colored mixture gently until it looks like a thick, fluffy cloud.
Step 6: Adding Optional Coloring
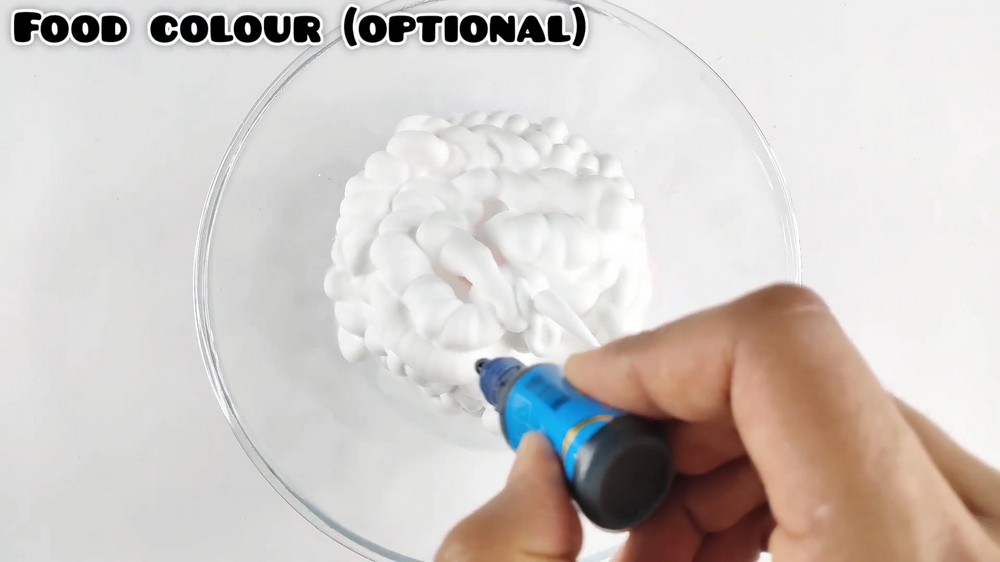
If you want colored slime, now is the time to add coloring. Squeeze a few drops of your chosen color (for example, blue) and stir until the color is mixed with the liquid.
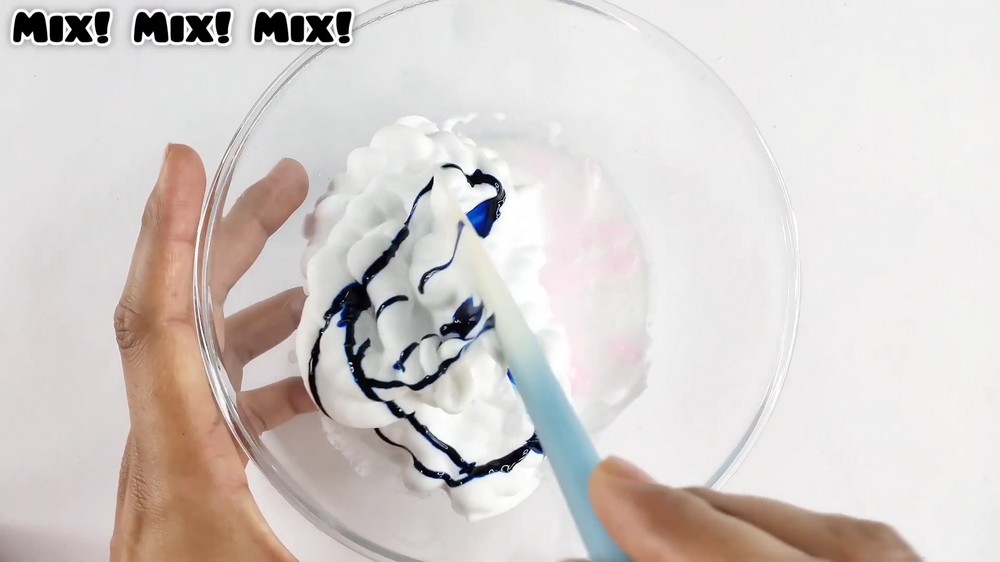
Step 7: Activating the Slime
Begin adding your borax liquid activator. Add it slowly, a little bit at a time, while continuously stirring. You will notice the fluffy mixture starting to clump together and pull away from the sides of the bowl.
Step 8: Kneading the Fluffy Base
Once the slime is too thick to stir, go in with your hands. Knead the mixture thoroughly by pulling, folding, and squeezing it until it is no longer sticky. At this stage, you will have a perfect, soft, fluffy slime.
Step 9: The Resting Period
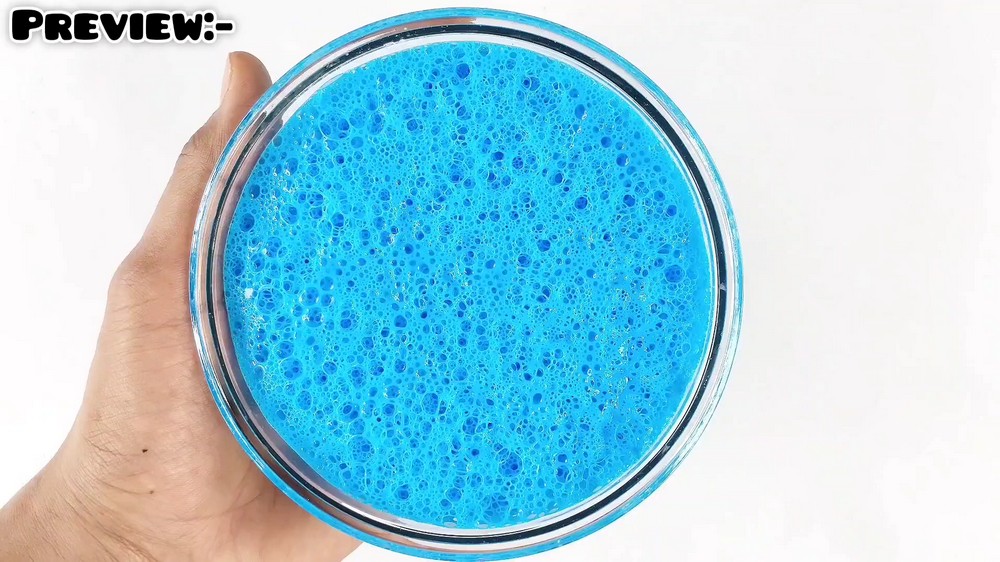
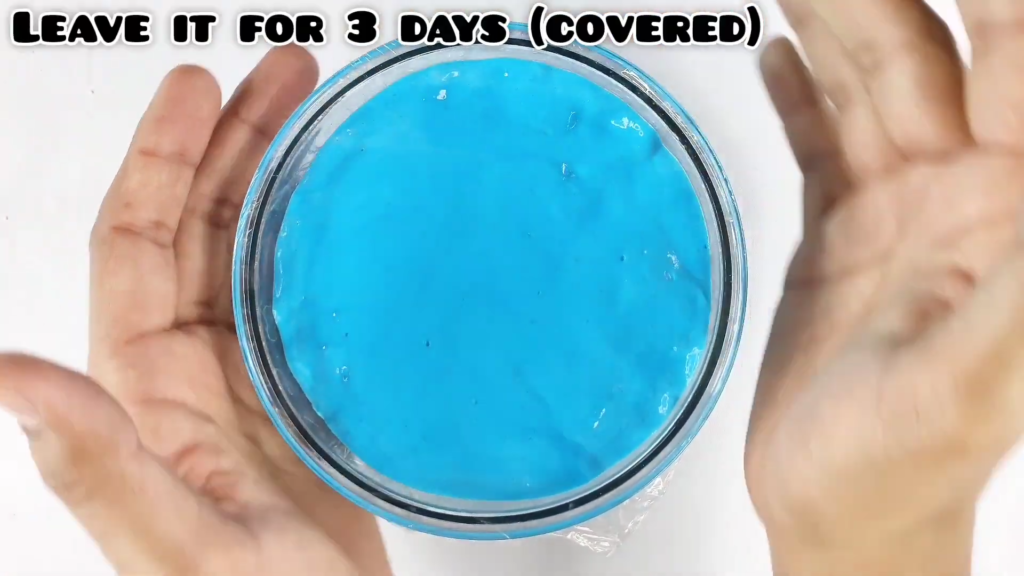
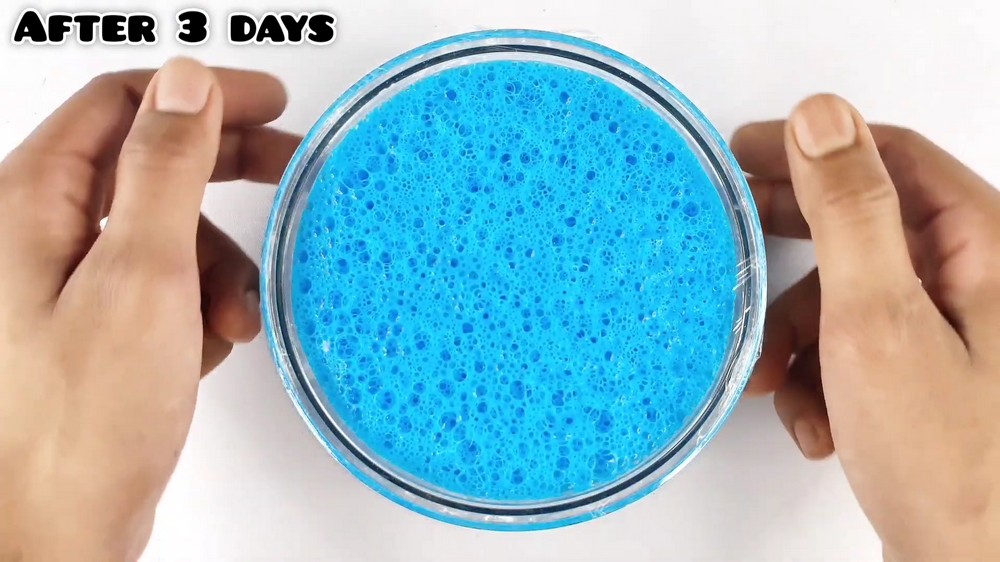
Place your fluffy slime into a plastic container and seal it tightly with a lid or, better yet, a transparent sheet. You must store it for 2 – 3 days! During this time, the shaving foam breaks down slightly, and the trapped air rises to the top, forming a thick layer of bubbles.
Step 10: The Crunchy Bubble Slime Reveal
After the waiting period, open the container. The top will be covered in an airy, bubbly crust. Press your fingers into the surface to pop the air pockets and enjoy your finished crunchy bubble slime!
And that’s it! This way, you can make a fluffy and stretchy slime out of home-available materials only (leave the borax)!
Was this Tutorial Helpful? Tell us in the Comments.
Your feedback is a great way for us to improve the tutorials. Did you find the tutorial helpful? Be sure to subscribe to the creator’s channel!