
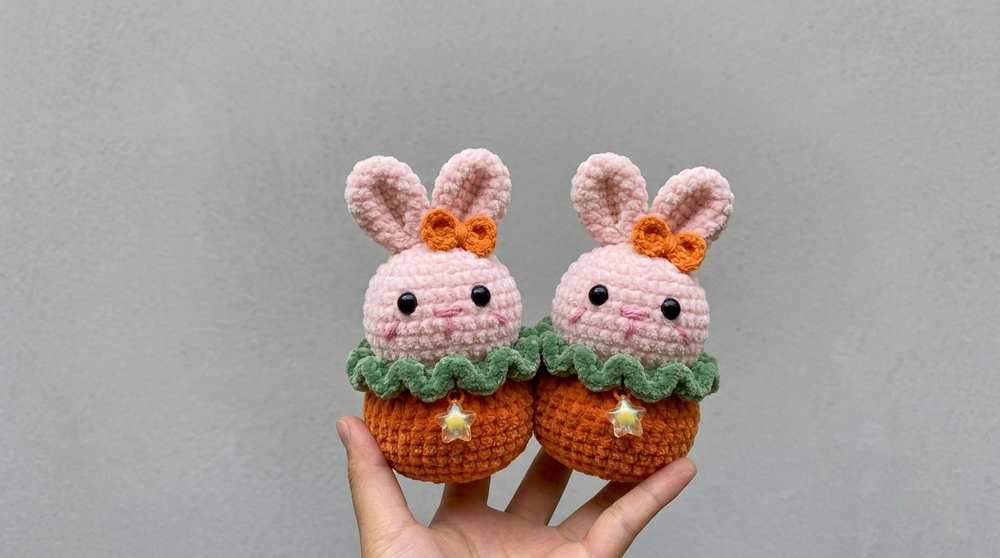
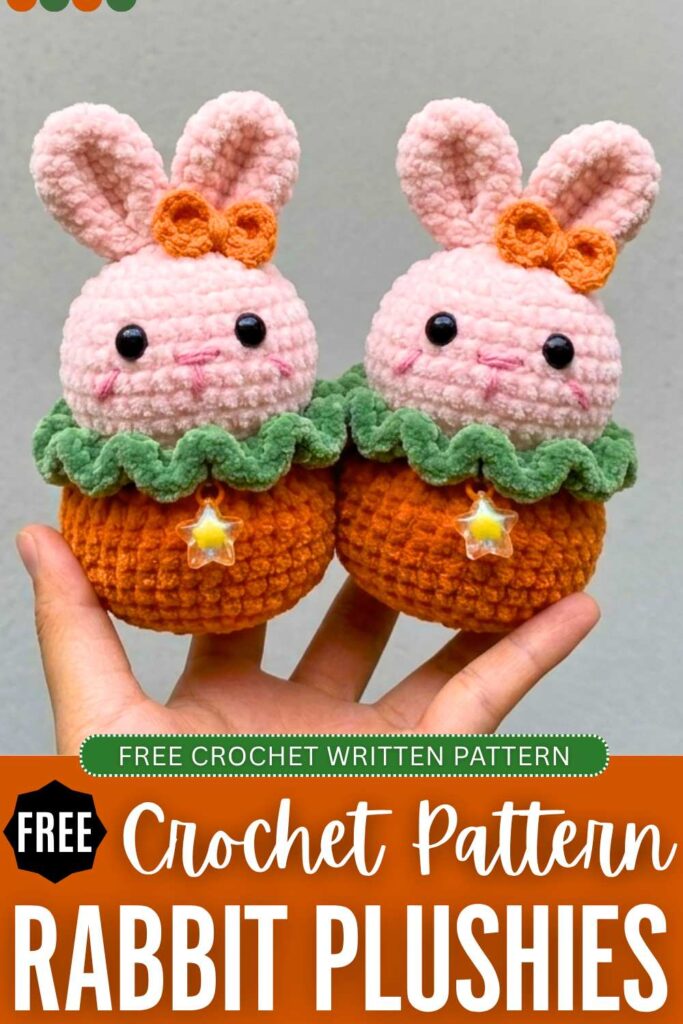
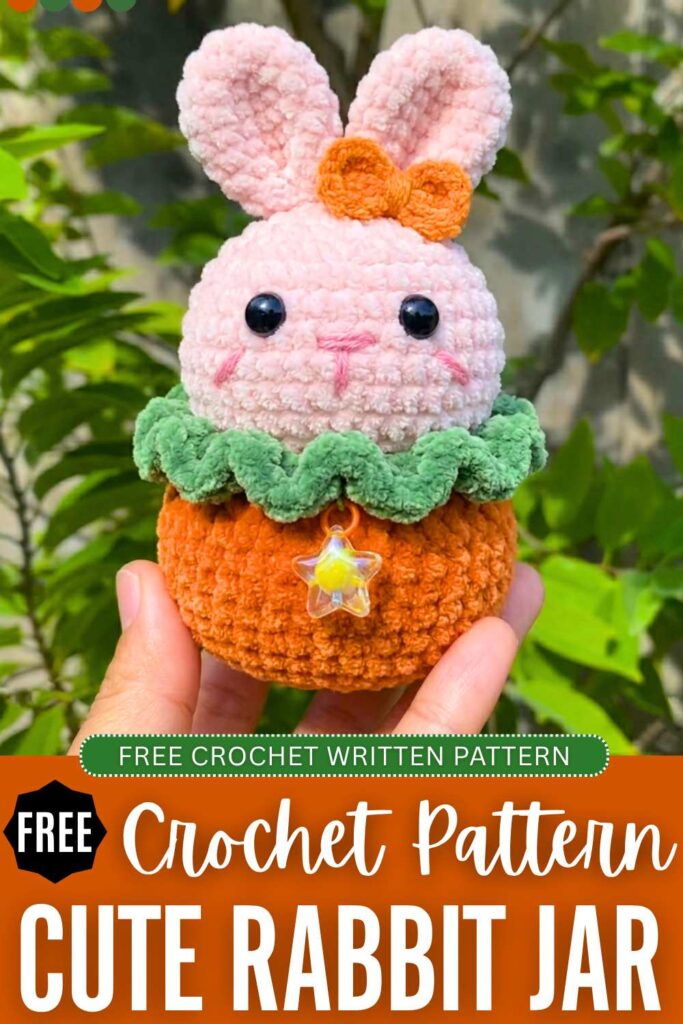
As I promised, here is a free pattern to crochet the bunny plush in a ruffled basket to brighten up your table with its ultimate cuteness. The base face and the basket pattern to crochet this version are the same as the bear in a basket plush. The only difference is that it is much cuter and we have a different pattern to crochet its ears.
This Valentine’s Day and baby shower present idea has the same crochet bear sprout on its head and a plastic nose. You can also use the basket as a jewelry holder, trinket, and a keychain holder.
Otherwise, just put the stuffed face of this crochet bunny plush in the basket and always be happy when it is near you. As mentioned earlier, you can also customize this bunny pattern for other crochet fruits, such as the crochet strawberry whale and orange pig plushie. It also has oval eyes instead. Now, continue reading for the full crochet pattern.
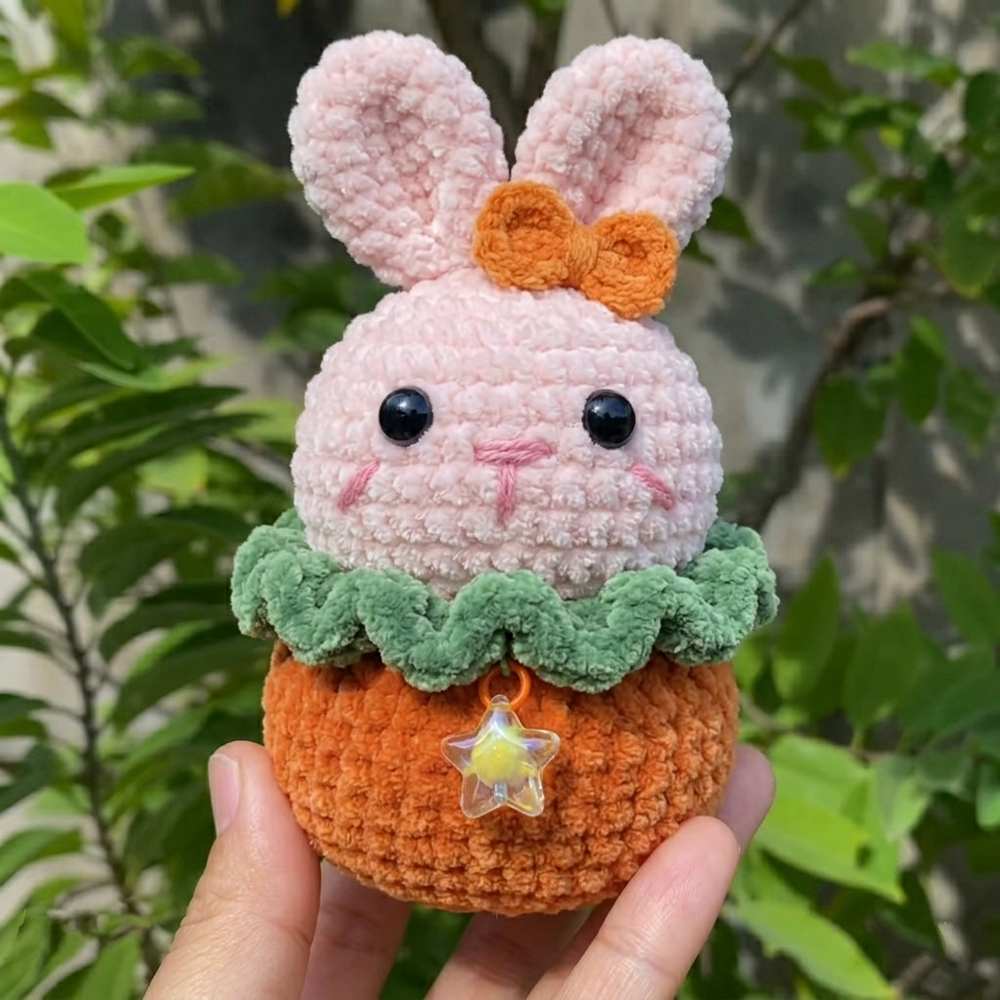
Note: the version we are crocheting below is the bunny in a carrot box plushie with a small bow addition, too.
Leaf Sprout Bunny in a Ruffle Basket
This version swaps out the round bear ears for long, adorable bunny ears. Keep the basket color wine red or customize it as a crochet carrot basket.
Materials Needed
- Yarn: 2mm cotton/acrylic blend yarn or plush yarn
- Colors: White/Cream (Head), White/Cream (Bunny Ears), Wine Red (Basket), Green (Leaf Sprout)
- Crochet Hook: 2.5 mm
- Eyes: 6mm round safety eyes (or flat-backed plastic eyes)
- Nose: 5mm x 7mm oval safety nose (or embroidered pink nose)
- Stuffing: Fiberfill / Toy stuffing
- Tools & Notions: Stitch markers, pins, tapestry needle, scissors, star polymer pendant/charm with jump ring.
Abbreviations (US Terms)
- MR: Magic Ring
- sc: Single crochet
- inc: Increase (2 sc in the same stitch)
- dec: Decrease (sc 2 stitches together)
- hdc: Half double crochet
- dc: Double crochet
- ch: Chain
- slst: Slip stitch
- FLO: Front Loop Only
- 6 / 8: Repeat instructions inside parentheses the indicated number of times
Crochet Pattern Instructions
1. The Head (White/Cream Yarn)
- R1: MR, 6 sc (6)
- R2: 6 inc (12)
- R3: (1 sc, inc) * 6 (18)
- R4: (1 sc, inc, 1 sc) * 6 (24)
- R5: (3 sc, inc) * 6 (30)
- R6: (2 sc, inc, 2 sc) * 6 (36)
- R7 – R9: 36 sc (36) (3 rounds total)
- R10: 10 sc, 5 inc, 6 sc, 5 inc, 10 sc (46)
- R11 – R13: 46 sc (46) (3 rounds total)
- R14: 10 sc, 5 dec, 6 sc, 5 dec, 10 sc (36)
- R15: (2 sc, dec, 2 sc) * 6 (30)
- R16: (3 sc, dec) * 6 (24)
- R17: (1 sc, dec, 1 sc) * 6 (18)
- R18: (1 sc, dec) * 6 (12)
- Stuff the head firmly with fiberfill before closing.
- R19: 6 dec (6)
- Fasten off, weave through the remaining front loops, pull tight to close, and hide the yarn tail.
2. Bunny Ears (White/Cream Yarn – Make 2)
- R1: MR, 6 sc (6)
- R2: 6 inc (12)
- R3: (1 sc, inc) * 6 (18)
- R4 – R6: 18 sc (18) (3 rounds total)
- R7: (1 sc, dec) * 6 (12)
- R8 – R9: 12 sc (12) (2 rounds total)
- Fasten off, leaving a long tail for sewing. Flatten the ears (do not stuff).
3. Leaf Sprout (Green Yarn)
- R1: Into a Magic Ring, crochet the following sequence twice:
- (ch 4, skip the first ch from the hook, 1 slst, 1 sc, 1 hdc, 1 slst into the MR) * 2
- Pull the magic ring tight to close the leaf base. Fasten off, leaving a tail for sewing.
4. The Removable Ruffle Basket (Wine Red Yarn)
- R1: MR, 8 sc (8)
- R2: 8 inc (16)
- R3: (1 sc, inc) * 8 (24)
- R4: (1 sc, inc, 1 sc) * 8 (32)
- R5: (3 sc, inc) * 8 (40)
- R6: (2 sc, inc, 2 sc) * 8 (48)
- R7 – R13: 48 sc (48) (7 rounds total)
- R14: (2 sc, dec, 2 sc) * 8 (40)
- R15: (3 sc, dec) * 8 (32)
- R16 (Ruffle Rim): Working in FLO: 3 dc in every single stitch around (96 dc total).
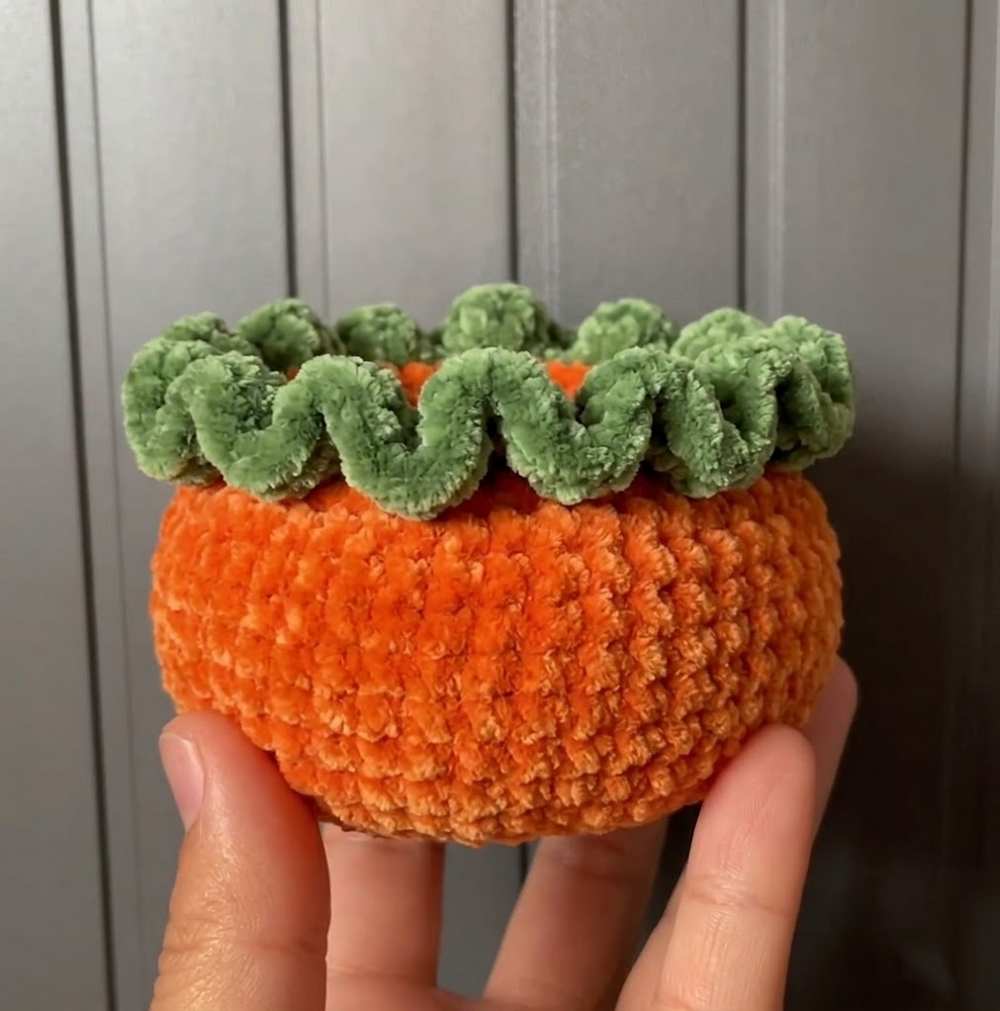
- Fasten off and weave in all loose ends. Fold the ruffled rim downward.
- Placing the Eyes: Position the 6mm round eyes between R7 and R10, placing them just above the chubby cheek curves.
- Placing the Nose: Position the 5mm x 7mm nose (or embroider a small “Y” shaped pink mouth) between R9 and R10, centered between the eyes.
- Attaching the Bunny Ears: Sew the long bunny ears to the top of the head. You can position them closely together near the top center (around R3 to R5) so they stand tall.
- Attaching the Leaf: Sew the green leaf sprout right in the center between the two bunny ears.
- Finishing Touches: Add a touch of pink blush beneath the eyes for that extra cute anime look. Attach your star charm to the front of the ruffle basket, pop your bunny inside, and your desk buddy is complete!

About "Talha"
Hey, I’m Talha, the Crafter on Craftstive.com. I love to share guides on folding cute origami models and paper crafts, and I am always ready to inspire your next craft project with my weekly craft discussions.