
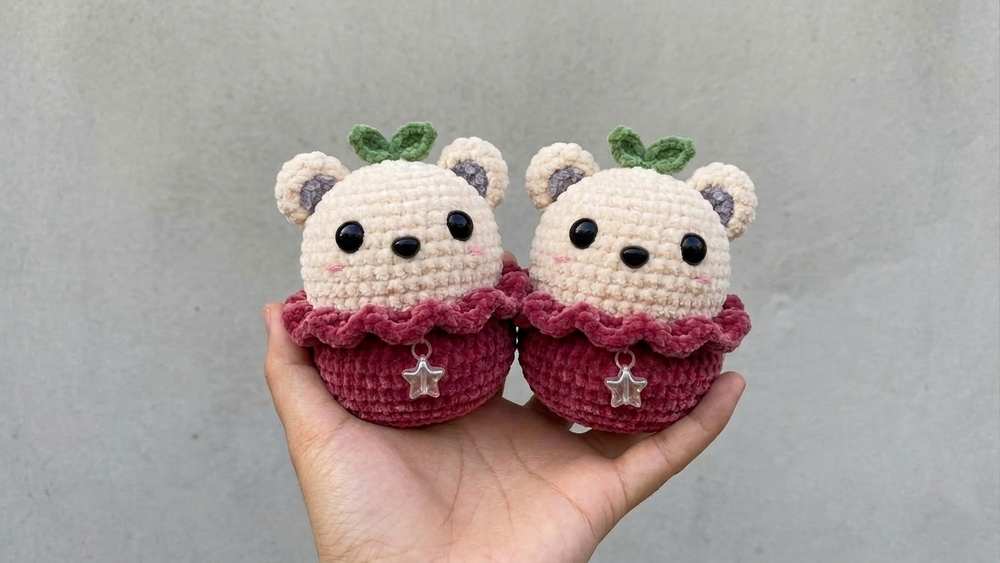
Looking for the CUTEST summer desk buddy for your crochet table? Learn how to crochet this leaf sprout crochet panda bear in a ruffle bucket plush for both kids and adults. The basket is removable, so you can also use it as a jewelry trinket, small crochet skein, and stitch marker holder. You can also hang a small star polymer pendant from the basket as a charm.
With the wine red and light brown combo, this is the BEST crochet desk buddy. I will soon also provide a pattern for crocheting the bunny version of this crochet plushie.
You can also change the color to turn it into a grizzly face or polar bear face in a basket plush. We shall use a plastic nose and oval eyes to crochet it. You can also customize it for other crochet fruits, such as the crochet strawberry plush. Now, continue reading for the full pattern.
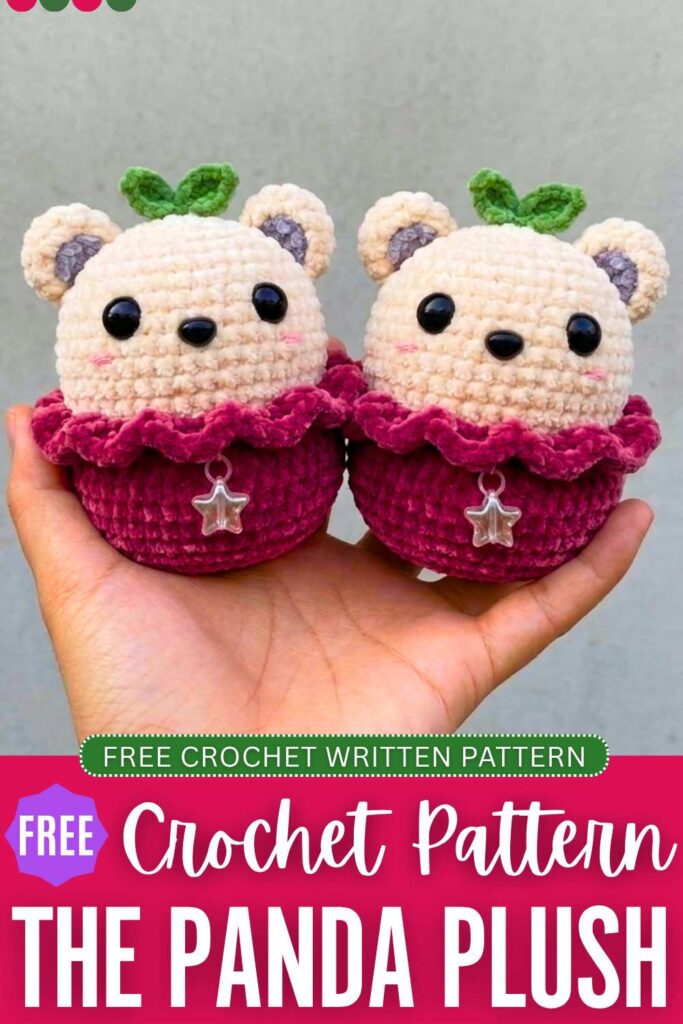
Looking for a cute desk buddy plush like this?
Crochet Panda in Basket Plushie: Round-by-Round Pattern
Below is the pattern to crochet this panda in a basket plushie with the assembly in the end:
Materials Needed
- Yarn: 2mm cotton/acrylic blend yarn
- Colors: Cream/Light Pink (Head), Grey (Bear Ears), Wine Red (Basket), Green (Leaf Sprout)
- Crochet Hook: 2.5 mm
- Eyes: 6mm x 8mm oval safety eyes (or flat-backed plastic eyes)
- Nose: 5mm x 7mm oval safety nose
- Stuffing: Fiberfill / Toy stuffing
- Tools & Notions: Stitch markers, pins, tapestry needle, scissors, glue (if using flat-back eyes), small star pendant/charm with jump ring.
Abbreviations (US Terms)
- MR: Magic Ring
- sc: Single crochet
- inc: Increase (2 sc in the same stitch)
- dec: Decrease (sc 2 stitches together)
- hdc: Half double crochet
- dc: Double crochet
- ch: Chain
- slst: Slip stitch
- FLO: Front Loop Only
- X / sc: Regular single crochet stitch
- *6: Repeat the instructions inside the parentheses 6 times
Crochet Pattern Instructions
1. The Head (Cream/Light Pink Yarn)
The head shape has special adjustments on R10 and R14 to create cute, chubby cheeks.
- R1: MR, 6 sc (6)
- R2: 6 inc (12)
- R3: (1 sc, inc) * 6 (18)
- R4: (1 sc, inc, 1 sc) * 6 (24)
- R5: (3 sc, inc) * 6 (30)
- R6: (2 sc, inc, 2 sc) * 6 (36)
- R7 – R9: 36 sc (36) (3 rounds total)
- R10: 10 sc, 5 inc, 6 sc, 5 inc, 10 sc (46)
- R11 – R13: 46 sc (46) (3 rounds total)
- R14: 10 sc, 5 dec, 6 sc, 5 dec, 10 sc (36)
- R15: (2 sc, dec, 2 sc) * 6 (30) — Note: standard translation adjustment from shorthand (2sc, dec, 2dec)
- R16: (3 sc, dec) * 6 (24)
- R17: (1 sc, dec, 1 sc) * 6 (18)
- R18: (1 sc, dec) * 6 (12)
- Stuff the head firmly with fiberfill before closing.
- R19: 6 dec (6)
- Fasten off, weave the tail through the remaining 6 front loops, pull tight to close, and hide the yarn tail.
2. Bear Ears (Grey Yarn – Make 2)
- R1: MR, 6 sc (6)
- R2: 6 inc (12)
- R3: (3 sc, inc) * 3 (15)
- R4: 15 sc (15)
- Fasten off, leaving a long tail for sewing. Do not stuff.
3. Leaf Sprout (Green Yarn)
- R1: Into a Magic Ring, crochet the following sequence twice:
- (ch 4, skip the first ch from the hook, 1 slst, 1 sc, 1 hdc, 1 slst into the MR) * 2
- Pull the magic ring tight to form two little leaves sprouting from the center. Fasten off, leaving a tail for sewing.
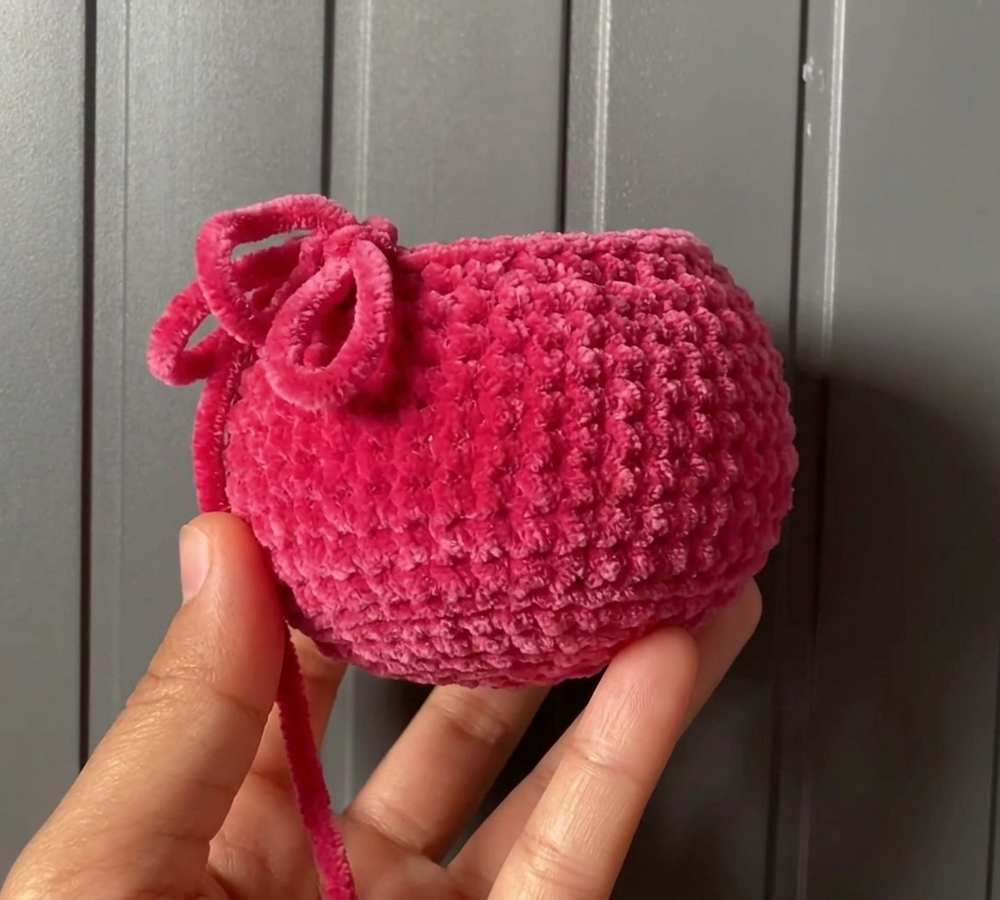
4. The Removable Ruffle Basket (Wine Red Yarn)
- R1: MR, 8 sc (8)
- R2: 8 inc (16)
- R3: (1 sc, inc) * 8 (24)
- R4: (1 sc, inc, 1 sc) * 8 (32)
- R5: (3 sc, inc) * 8 (40)
- R6: (2 sc, inc, 2 sc) * 8 (48)
- R7 – R13: 48 sc (48) (7 rounds total)
- R14: (2 sc, dec, 2 sc) * 8 (40)
- R15: (3 sc, dec) * 8 (32)
- R16 (Ruffle Rim): Working in FLO (Front Loops Only): 3 dc in every single stitch around (96 dc total).
- Fasten off and weave in all loose ends. Fold the ruffled rim slightly downward.
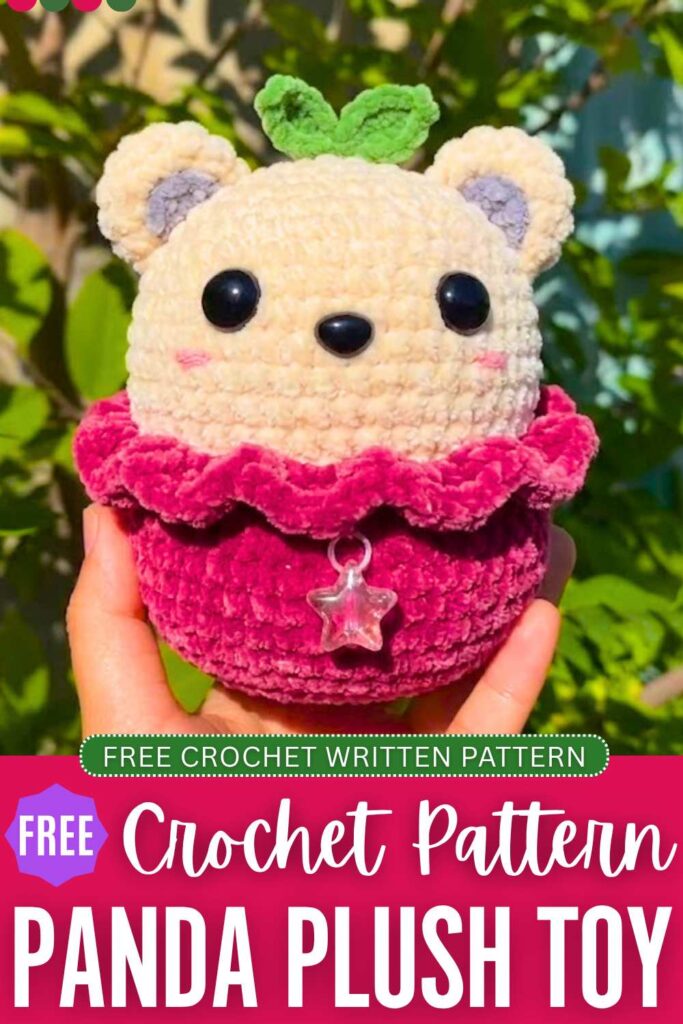
Assembly & Details
Pro-Tip: Use sewing pins to temporarily position all facial features before gluing or sewing them permanently to ensure perfect symmetry!
- Placing the Eyes: Position the 6mm x 8mm oval eyes between R7 and R10. They should sit right above the chubby cheek increases created in R10.
- Placing the Nose: Position the 5mm x 7mm oval nose between R9 and R10, perfectly centered between the two eyes.
- Attaching the Ears: Flatten the grey ears and sew them to the top sides of the head between R3 and R8.
- Attaching the Leaf: Sew the green leaf sprout directly to the center top (R1-R2) of the head.
- Cheek Blush (Optional): Use a tiny bit of pink yarn or real cosmetic blush right below the outer corners of the eyes to give your panda rosy cheeks.
- The Charm: Use a jump ring to attach your star polymer pendant to the front center of the wine red basket, just below the ruffled rim.
- Final Setup: Slip your finished panda head inside the basket. Your new summer desk companion is ready!

About "Talha"
Hey, I’m Talha, the Crafter on Craftstive.com. I love to share guides on folding cute origami models and paper crafts, and I am always ready to inspire your next craft project with my weekly craft discussions.