
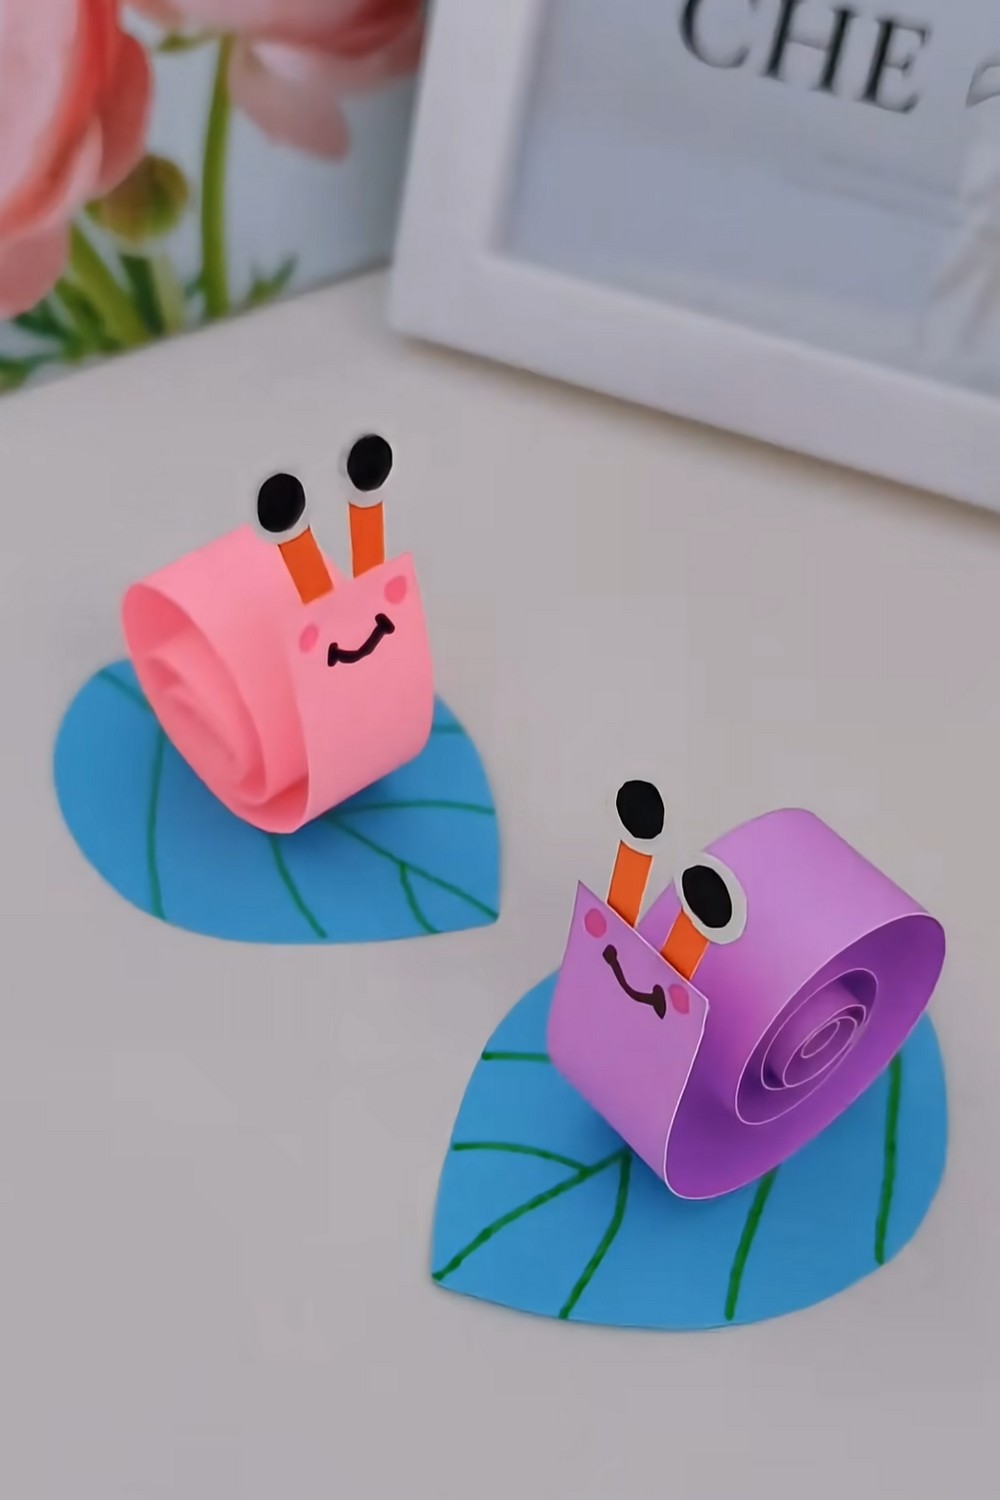
These instructions will show you how to make a googly-eyed smiling snail on a leaf paper craft in just 9 steps. This is a simple, 2-minute hands-on summer activity for kids to decorate their study or craft table. Luckily, it just needs a few paper strips, a basic leaf cutout, and a small circle for the eyes.
You can draw the smile in a way you like, and also add the blush. I like how you can also make it with any color of paper. So, it will provide you with a perfect chance to use the scrap construction paper in your bin. Make at least a pair of these snails and place them on your table.
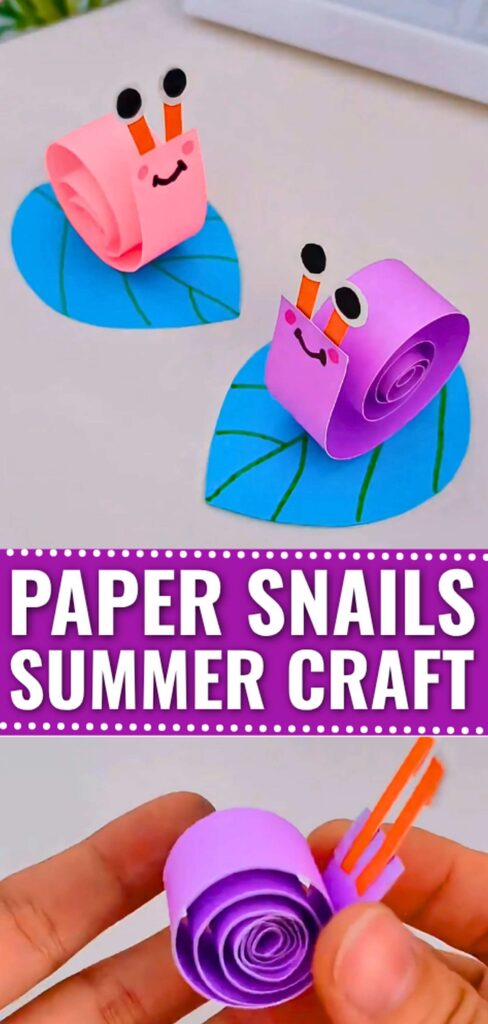
Model Type: Paper strip rolling craft with basic cutouts to give the character. A press toy.
Level: None
Recommended Paper: Use the Tant paper as it is stronger and thicker and holds its shape well when spiralled.
Materials Used
- Purple paper strip: About 1.5 inches wide, 15 inches long.
- Orange paper scraps: Two small, thin strips for the tentacles.
- White and black paper: For the eyes (or ready-made googly eyes).
- Pink marker: To draw rosy cheeks.
- Black marker: To draw the mouth.
- Glue or double-sided tape.
Paper Snail Toy Craft: Step-by-Step Instructions
To make this cute paper snail, all we need is a simple rolling and decorating. I will guide you step-by-step below:
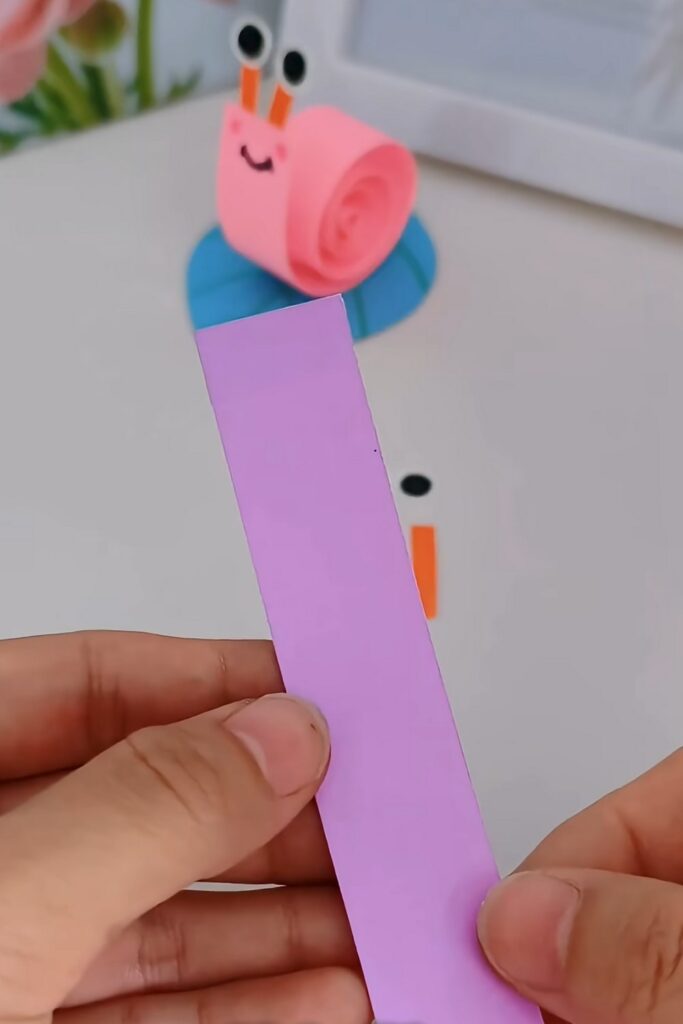
Step 1: Prepare the Snail Body
Start with a long, flat strip of purple paper. This single strip will be used as the head and the spiral shell.
Step 2: Attach the Eyes and Tentacles
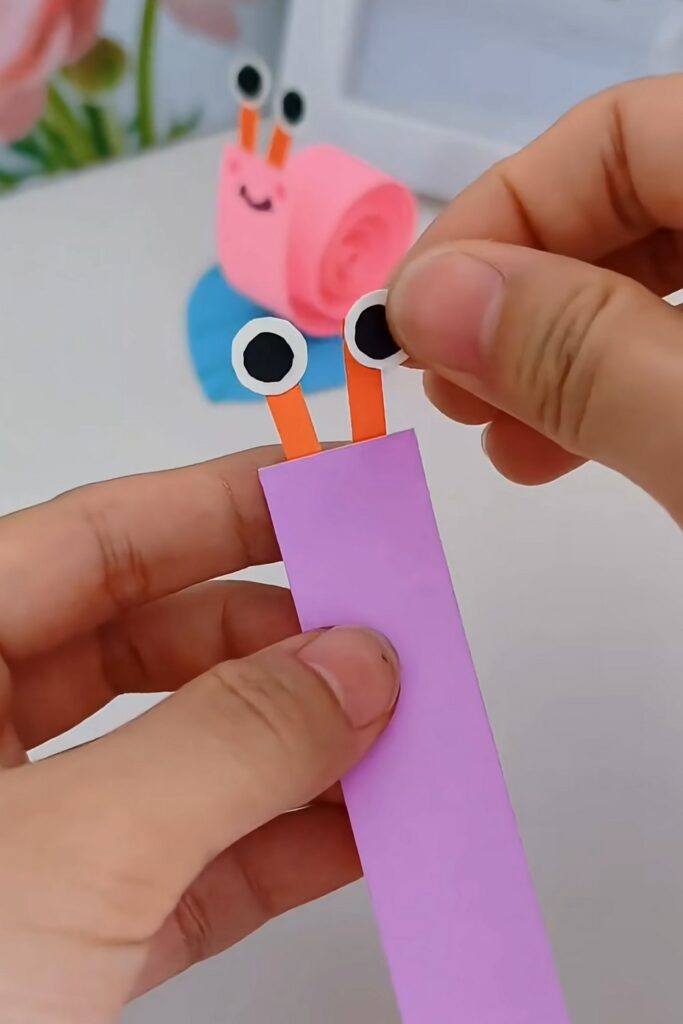
Glue the two thin orange strips in orange to the very top edge of the purple strip.
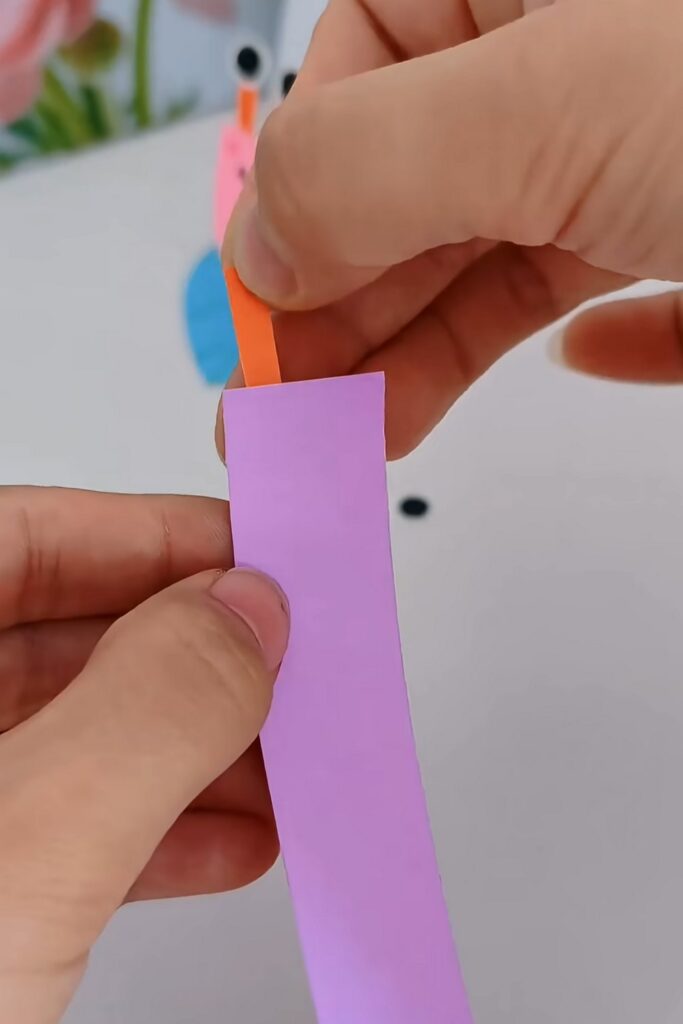
Then, place the round white and black eyes onto the tips of those orange strips. This gives the snail its face before we start rolling.
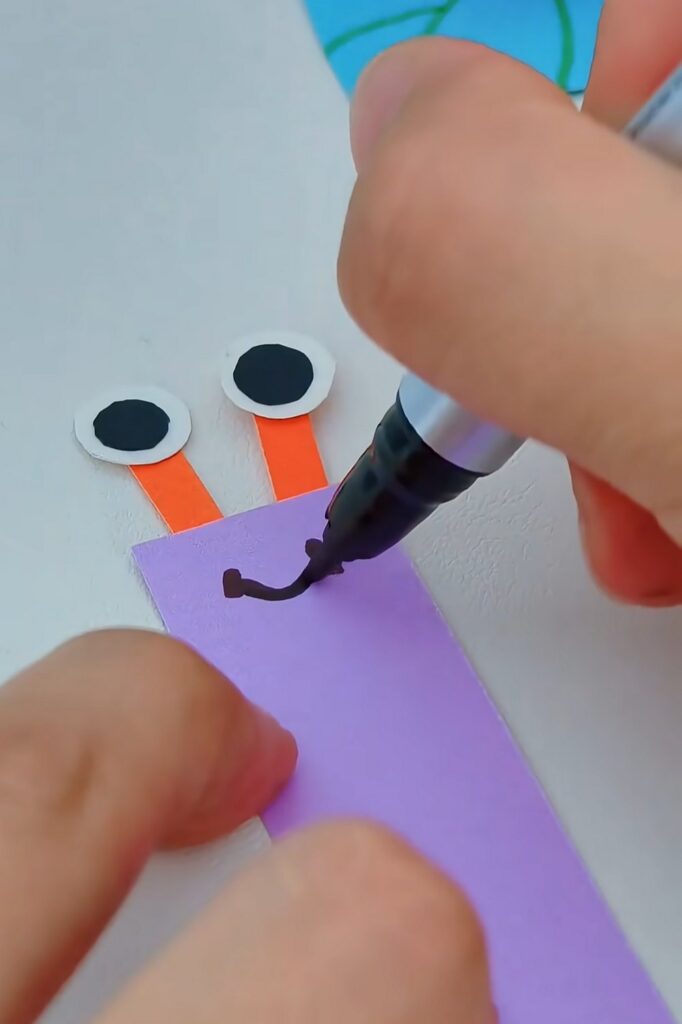
Step 3: Draw the Smile
Using a black marker, draw a simple smile just below the tentacles or eyestalks to give your snail a happy expression.
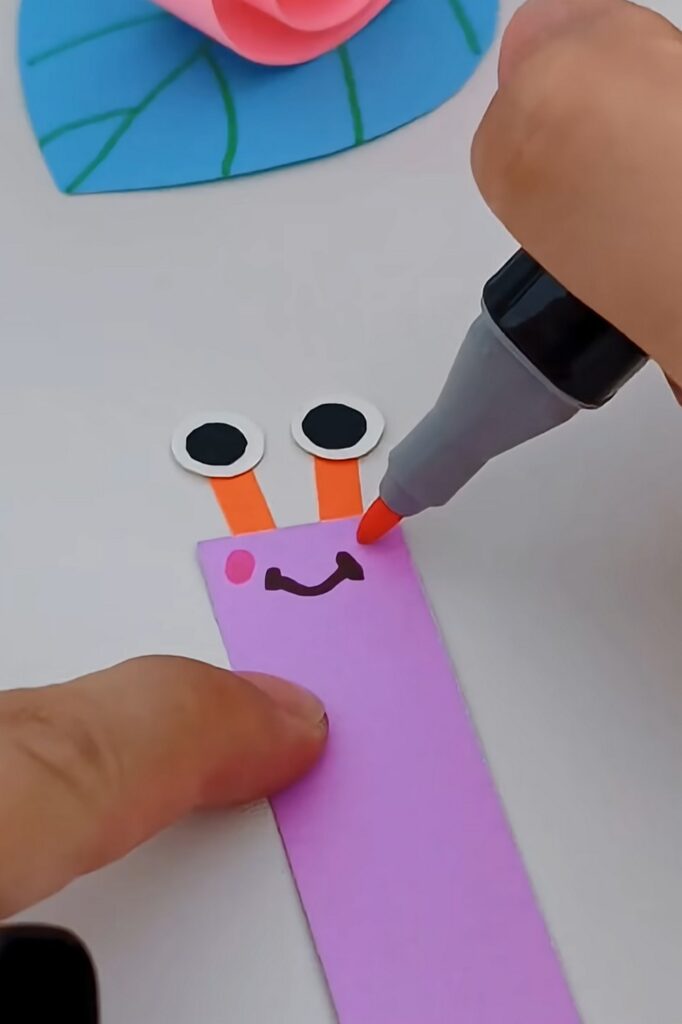
Step 4: Add Blush Cheeks
Use a pink marker to add two small dots or ovals on either side of the smile. This adds a “kawaii” or cuteness to the face.
Step 5: Start the Roll
Flip the strip over or move to the bottom end (opposite the face). Start folding or rolling a very small section of the paper inward. This is the start of the shell.
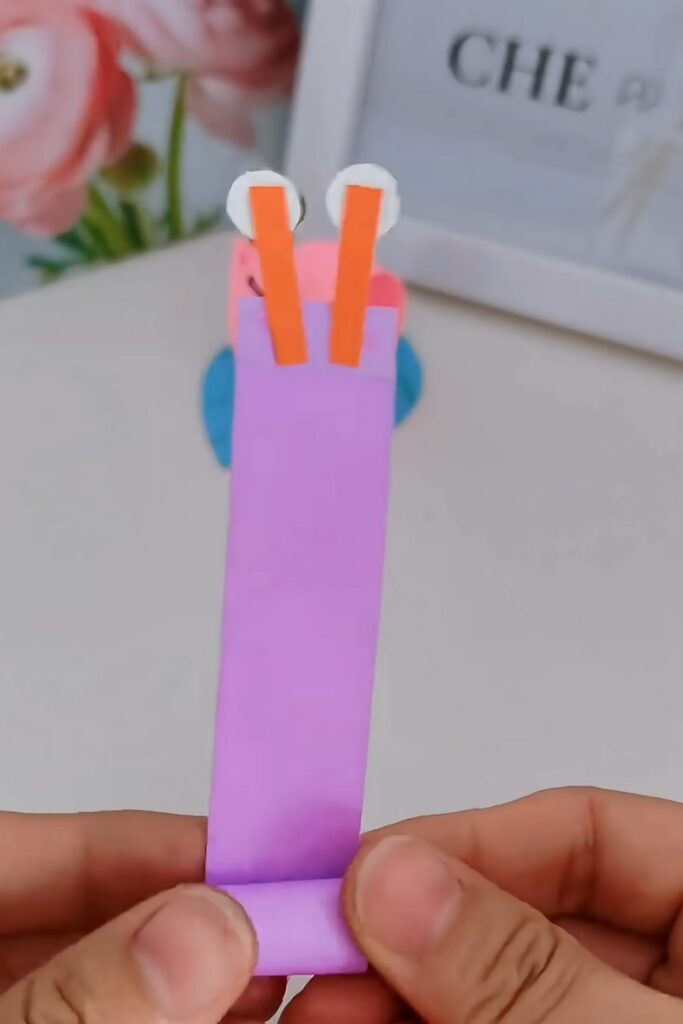
Step 6: Roll the Shell Upwards
Continue rolling the paper strip toward the face. Keep the roll tight enough to hold its shape but loose enough to show the beautiful spiral.
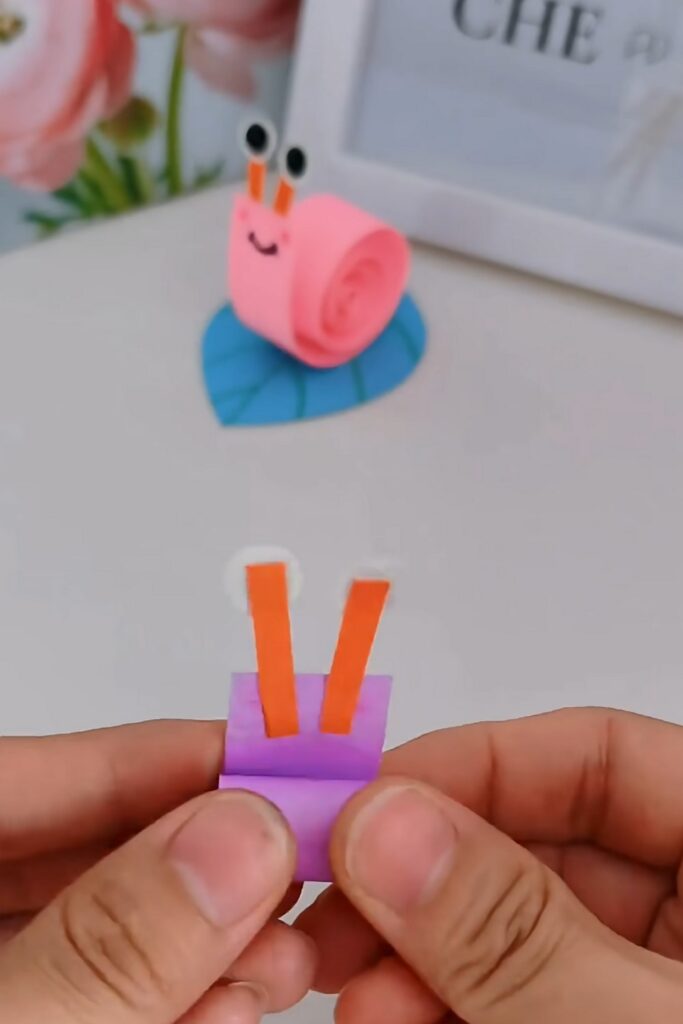
Step 7: Form the Spiral
As you roll, the paper will naturally form a coil. Stop rolling when you have about an inch or two of flat paper left before reaching the face. Be sure that you are using the recommended paper so the spiral stays.
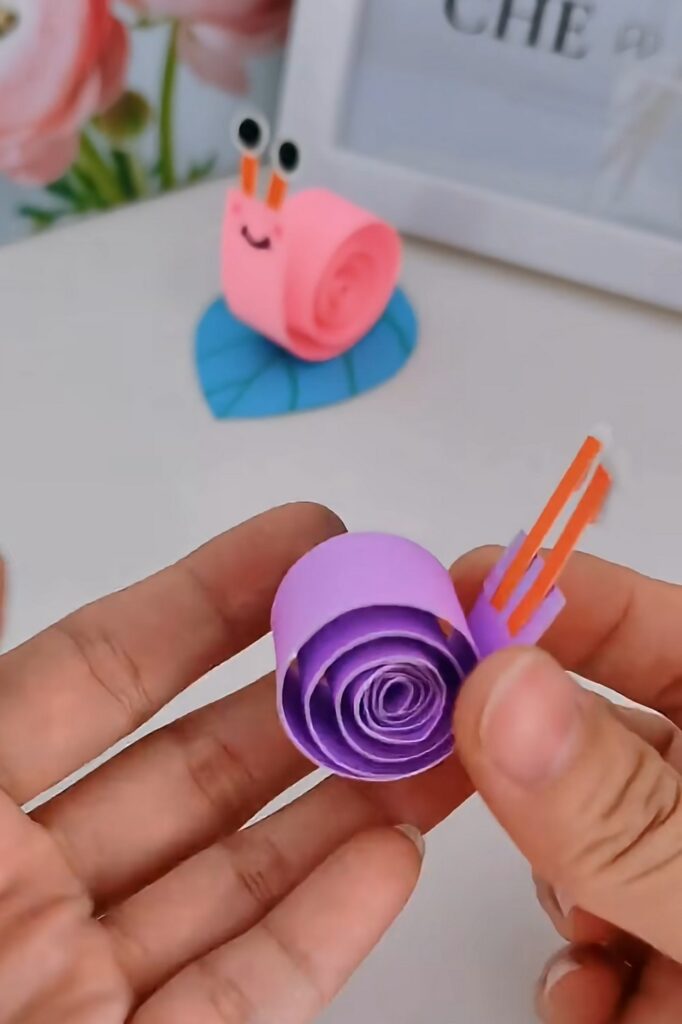
Step 8: Secure the Shell
To make sure the shell doesn’t unroll, you can add a tiny drop of glue to the last layer of the spiral to hold it against the flat part of the strip.
Feels Difficult?
Making the Leaf Shape
- Fold a square piece of green paper in half.
- Cut a large curve starting from the folded edge, swinging out wide, and coming back to a point at the top of the folded edge (like a half-heart or a half-oval).
- Unfold it to make a symmetrical leaf.
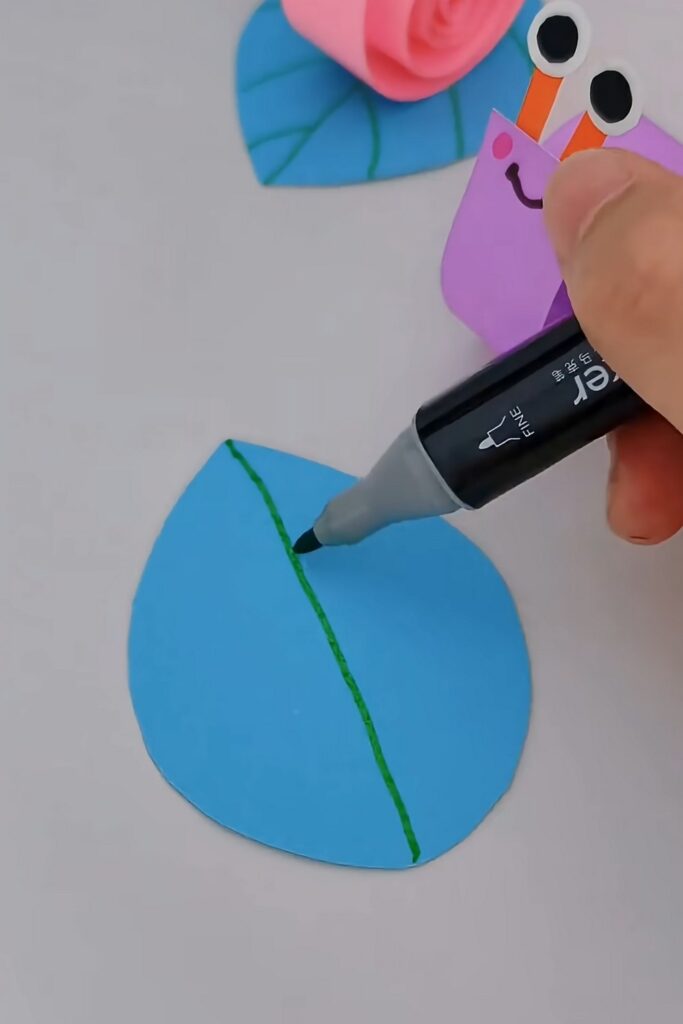
Adding the Veins
Draw the veins. Most leaves have a midrib (the main line down the center) and lateral veins (the lines branching off to the sides). Then place your snail over.
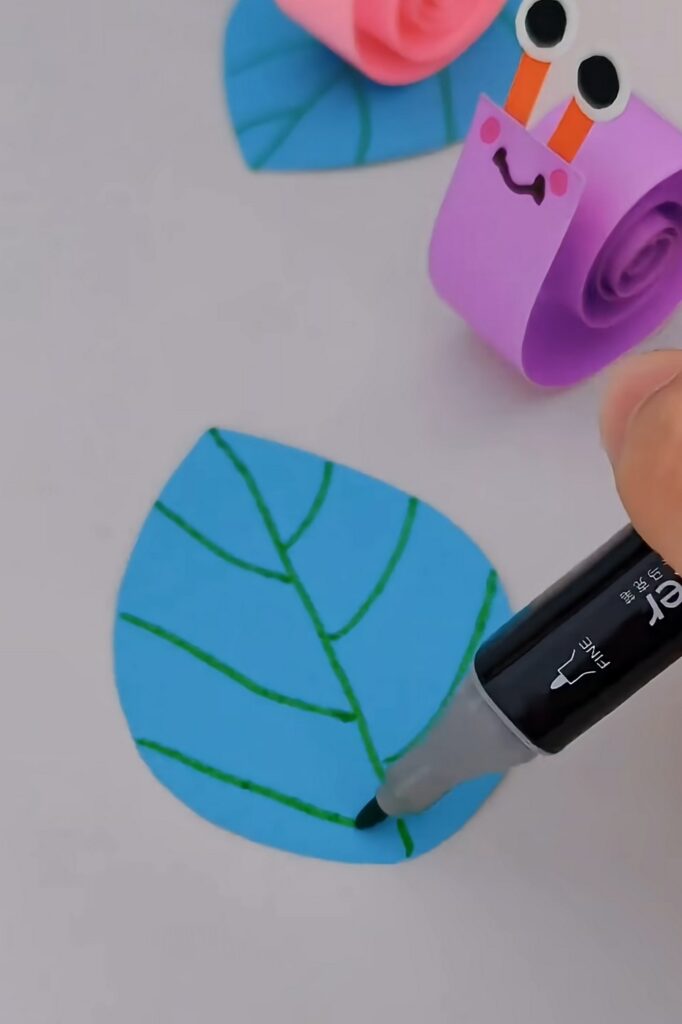
And that’s it! This way, you can make a funny snail that kids will love!
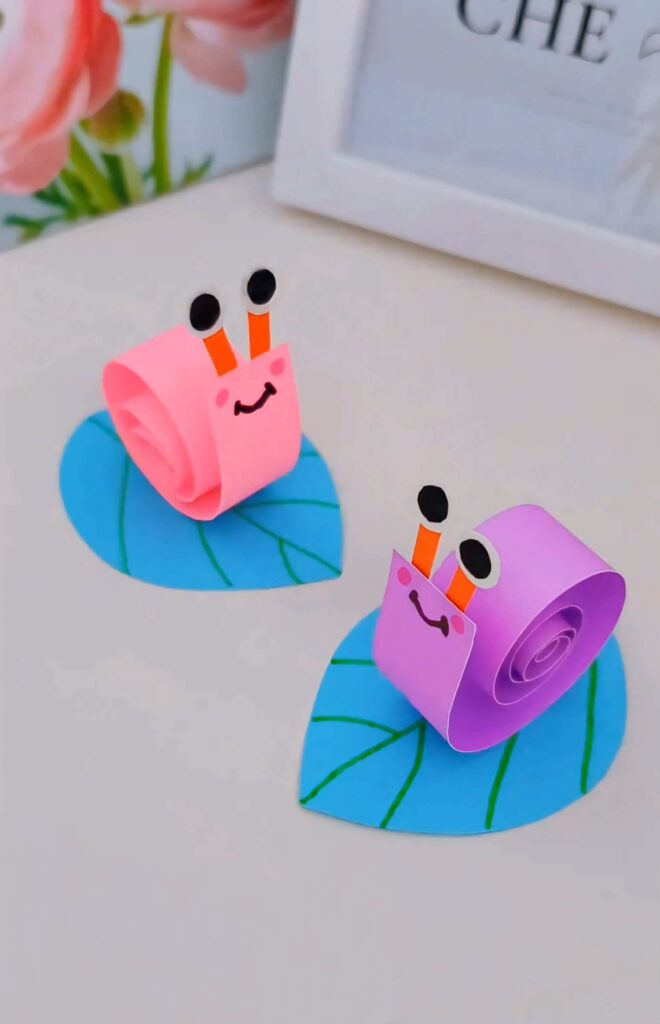
Was this Tutorial Helpful? Tell us in the Comments.
Your feedback is a great way for us to improve the tutorials. Did you find the tutorial helpful? Be sure to subscribe to the creator’s channel!
About "MAKE DIY via YouTube"
She is running one of the most special corner of paper crafts that are all quick and easier and require no skill!

About "Talha"
Hey, I’m Talha, the Crafter on Craftstive.com. I love to share guides on folding cute origami models and paper crafts, and I am always ready to inspire your next craft project with my weekly craft discussions.