
Subscribe to ShemarkCrafts!
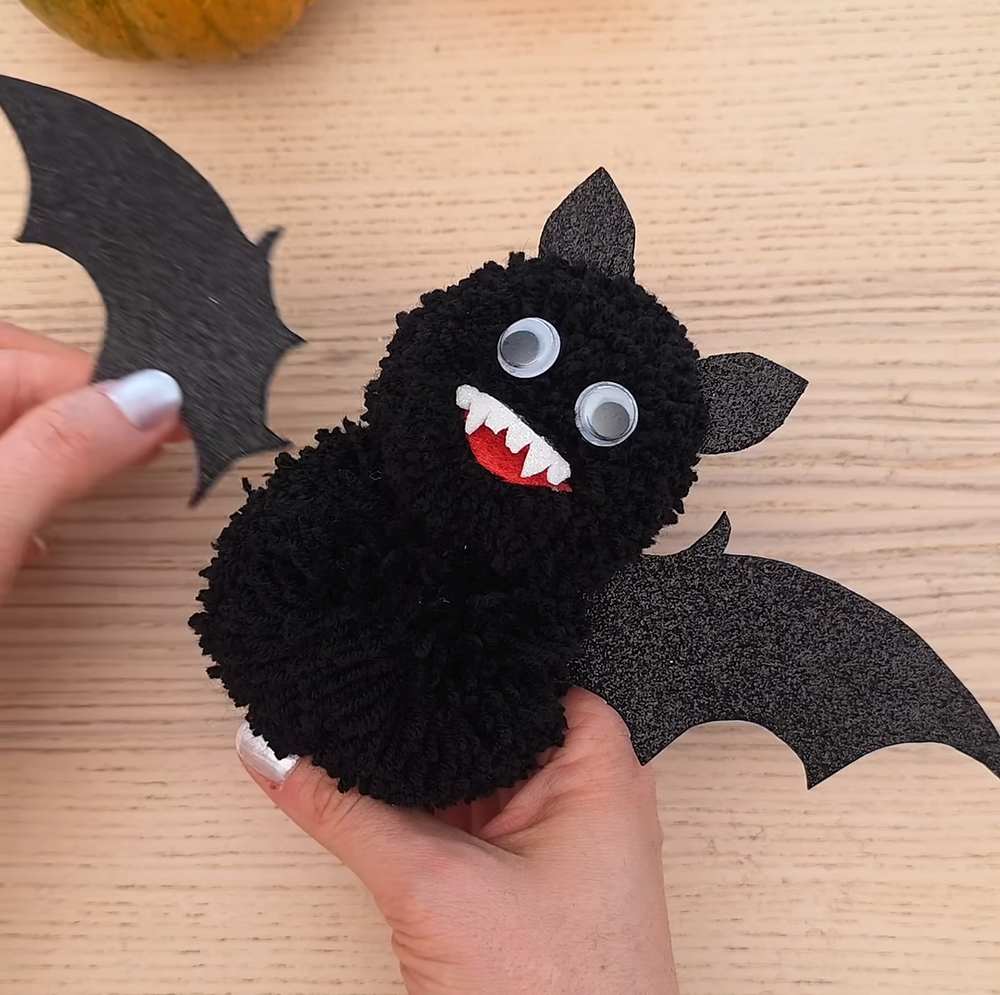
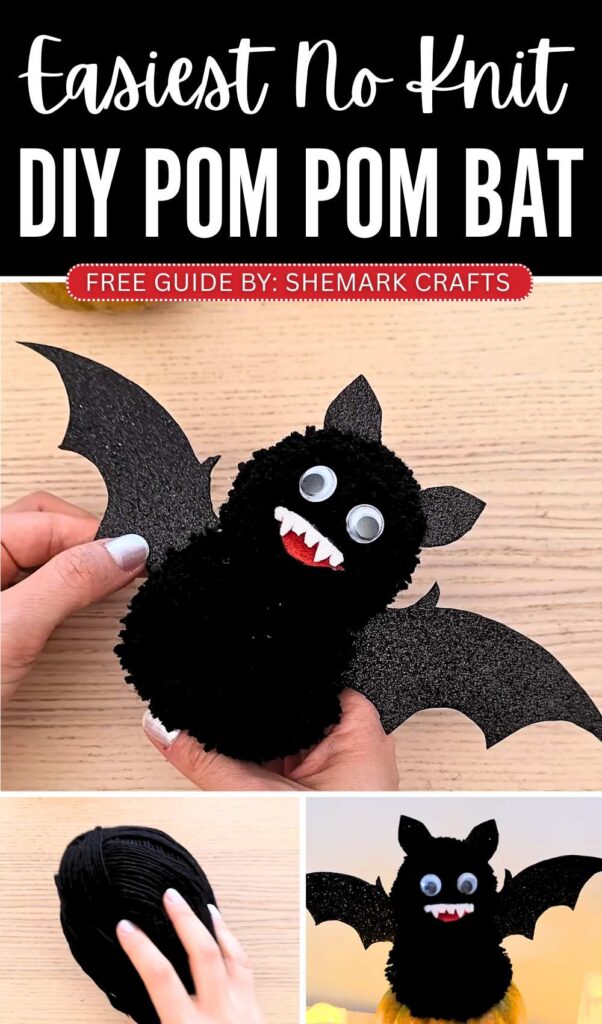
Learn how to DIY a spooky flying & googly-eyed Halloween bat plushie out of yarn pom poms and some felt that you can place over a pumpkin with this step-by-step tutorial. It has the felt cutout ears, wings, and the spooky smiling mouth.
It will make an irresistible Halloween decoration (you can even hang it upside down in your Halloween garland) and a Halloween buddy gift for the kids.
You can prepare this bat plushie using just the sphere pom poms in less than 15 minutes. So, be sure to prepare this last-minute Halloween toy this year in purple, black, or red with the same craft wobbly eyes. It is cuter than the DIY bat plushie we learned to make last time!
Tutorial to DIY A Spooky Cute Bat Plushie for Halloween
This DIY project shows you how to make a cute bat for Halloween. You use black yarn to make two soft balls. These balls are called pom-poms. You make one big ball for the body and one small ball for the head. You glue the small ball on top of the big ball.
Then, you cut wings and ears from black paper. You cut a red mouth and white teeth from felt. You glue the eyes, ears, and mouth on the head. You glue the wings on the back. It is a very fun and easy craft.
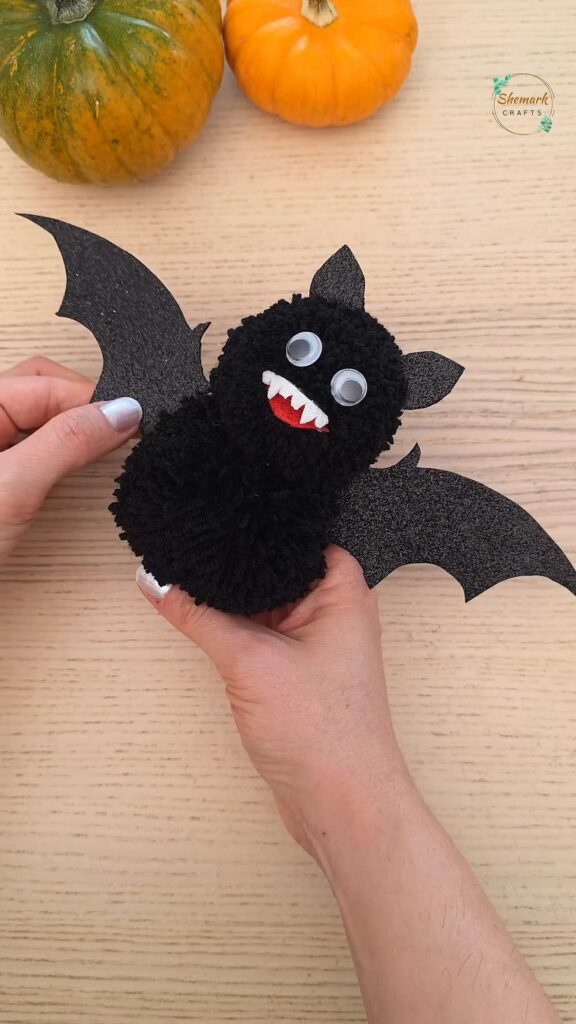
DIY Pom-Pom and Felt Bat Plushie Guide
Follow these simple steps to create your own soft Halloween bat!
What You Need:
-
Black yarn
-
A piece of cardboard (about 4-5 inches wide)
-
Scissors
-
Hot glue gun
-
Black glitter paper (or black felt)
-
Red and white felt
-
Googly eyes
Instructions:
Step 1: Make the Pom-Poms
-
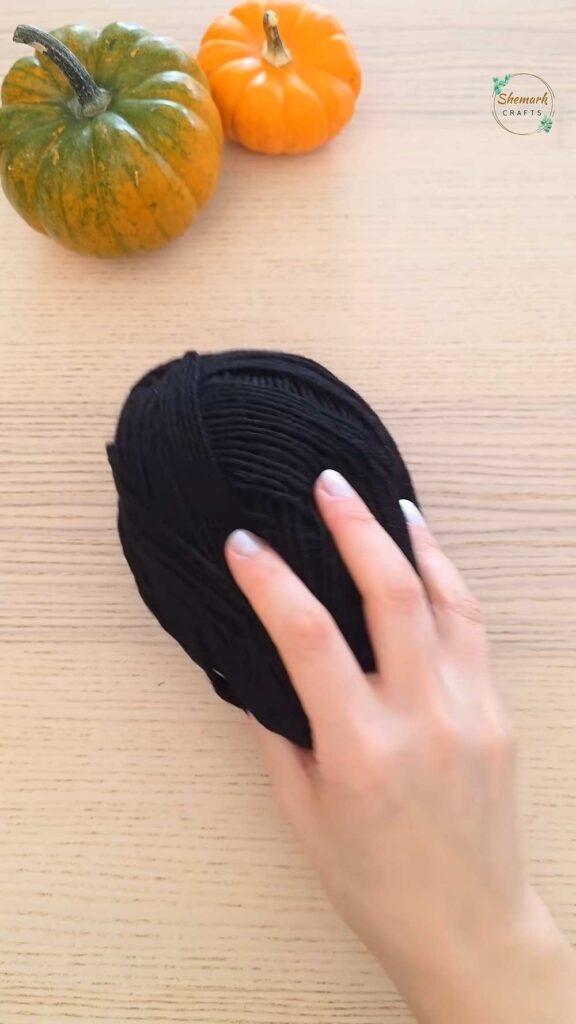
Take your black yarn and wrap it around the cardboard piece many times until it is thick.
-
Carefully slide the yarn off the cardboard.
-
Take a separate short piece of yarn and tie it very tightly around the middle of the yarn bundle.
-
Use your scissors to cut all the loops on both ends.
-
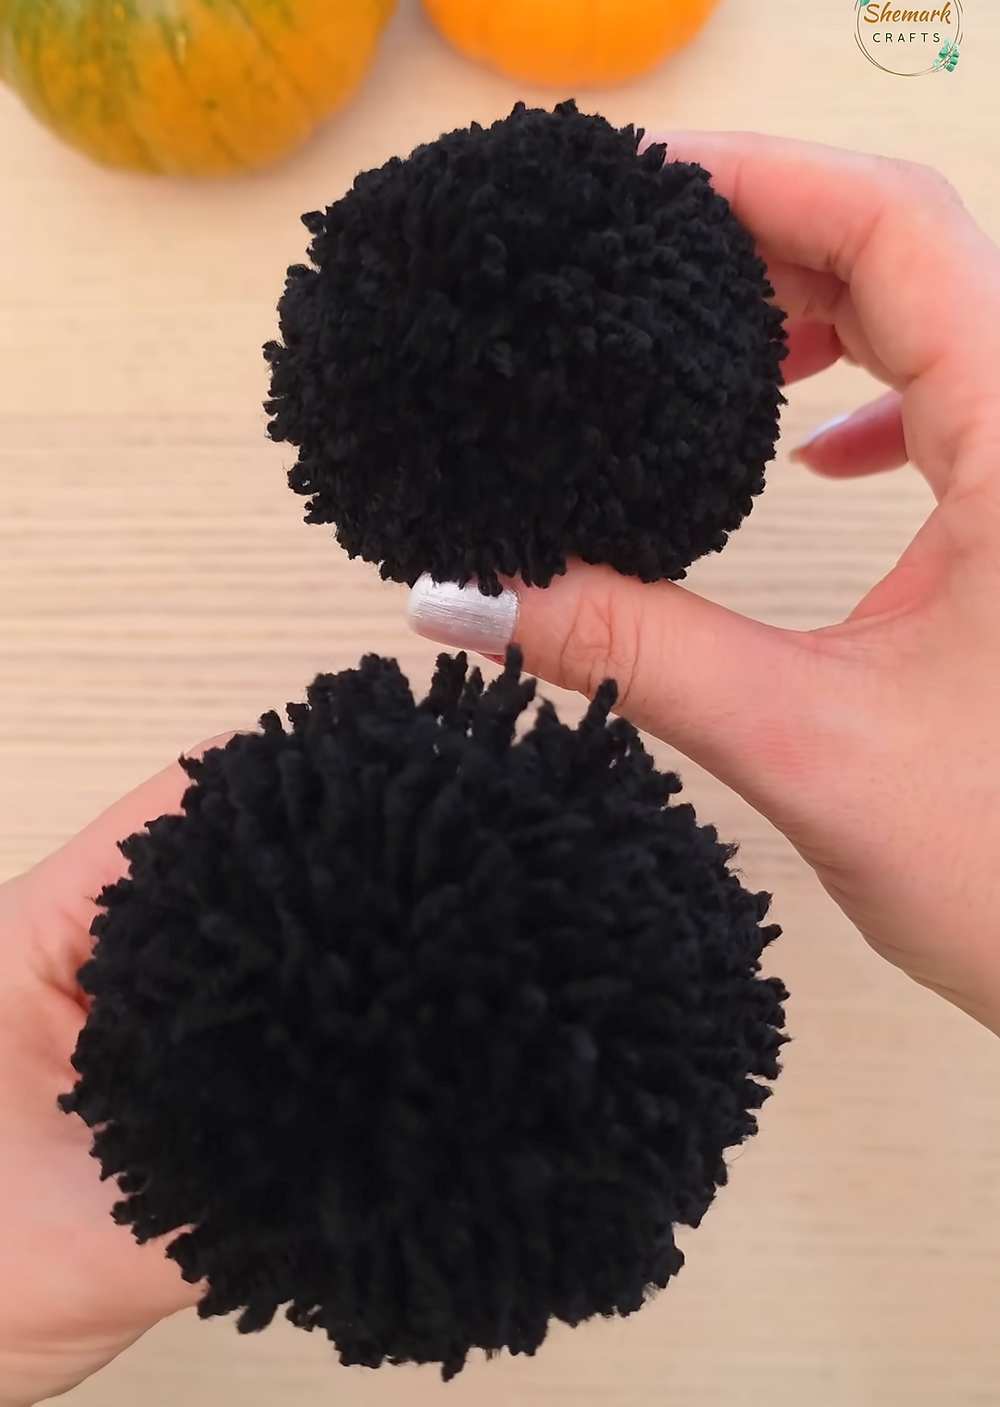
Trim the yarn with your scissors until it looks like a neat, round ball.
-
Repeat these steps again, but make this second pom-pom a little bit smaller.
Video Tutorial!
Step 2: Prepare the Bat Parts
-
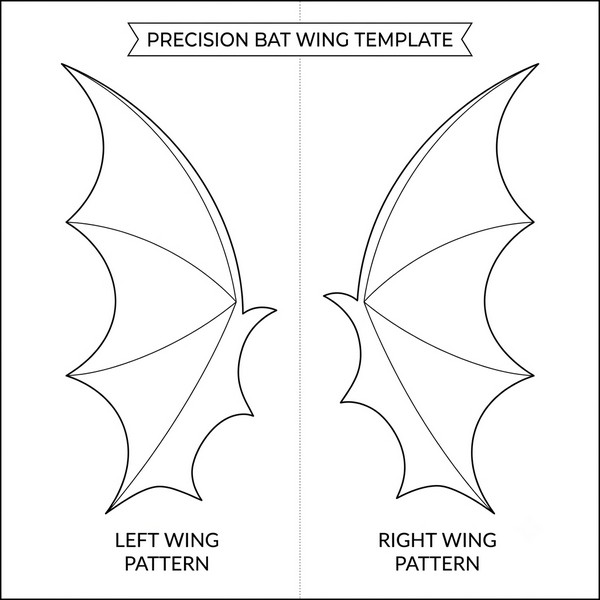
Draw two bat wings on the back of your black glitter paper and cut them out.
-
Cut two small triangles from the black paper for the ears.
-
Cut a small red pointy oval for the mouth.
-
Cut a small white shape with two pointy fangs for the teeth.
Step 3: Build the Bat’s Body
-
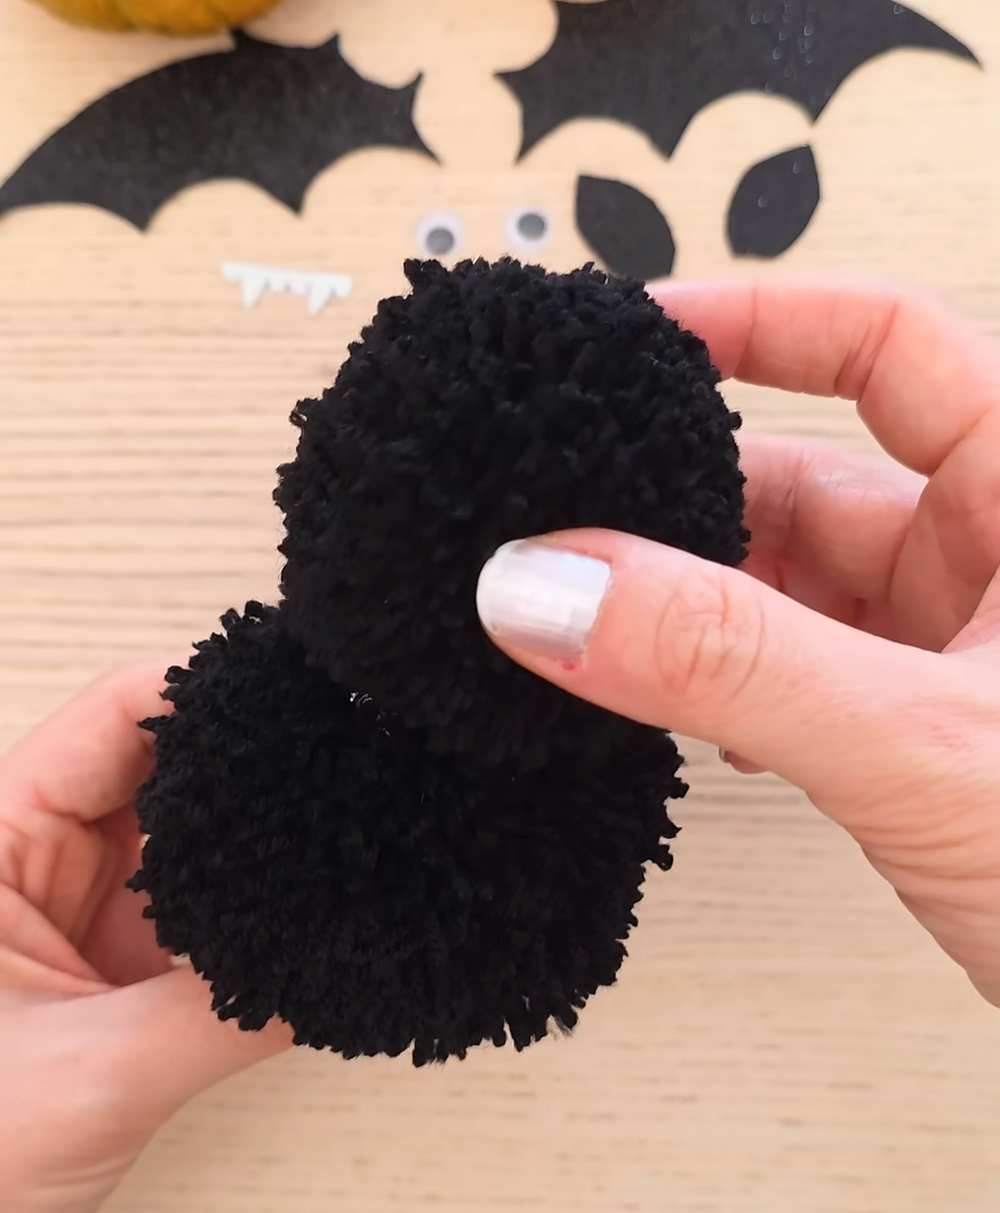
Put a big drop of hot glue on top of the larger pom-pom (first with the needle, move the strands out of the way so you can attach them base to base).
-
Press the smaller pom-pom on top and hold it until the glue dries. This is the head and body.
Step 4: Decorate the Face
-
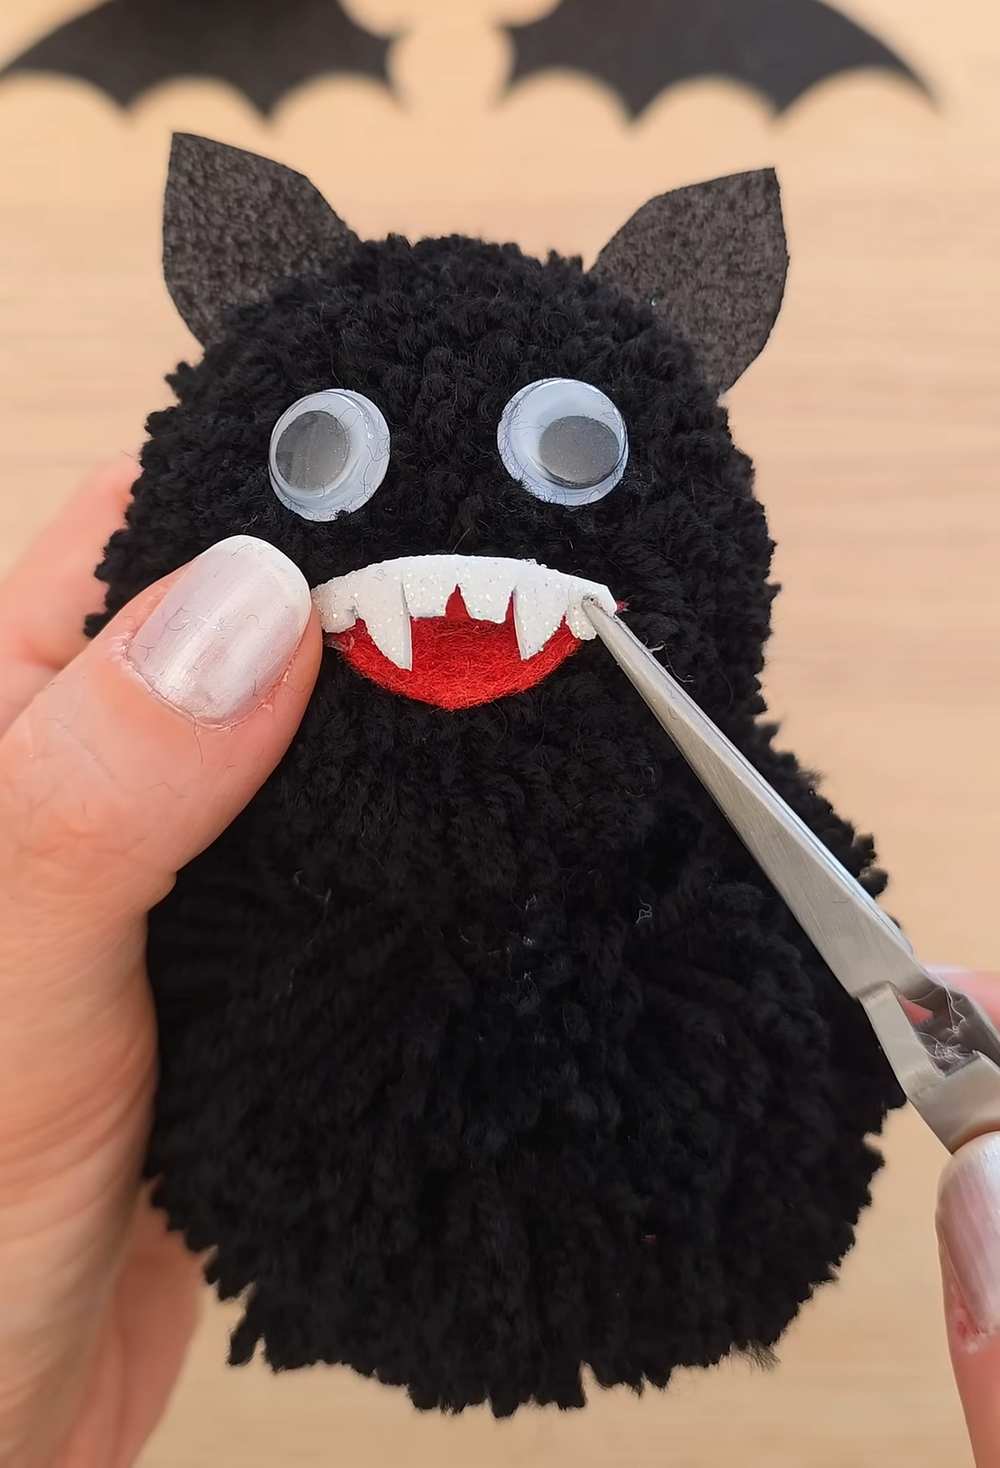
Glue the two small black triangles (ears) to the top of the head. Be sure to bring the stands sideways so you can insert the eyes on the base.
-
Glue the googly eyes to the front of the head.
-
Glue the red mouth and the white fangs below the eyes.
Step 5: Add the Wings
-
Put glue on the inner edge of each wing.
-
Press the wings onto the sides or back of the larger pom-pom (the body).
Your bat is finished! You can set it on a small pumpkin or hang it up as a decoration.
About "Shemcrafts"
She is an incredible pom, pipe cleaner and yarn craft!