
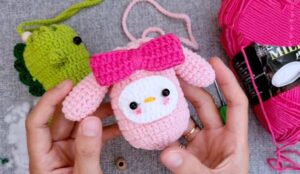
As I promised, here is the FREE crochet baby dinosaur sling pouch pattern that makes a CUTE pouch for holding coins and AirPods. We will relearn the base pouch pattern that you can customize for any other animal or character. To make it look like a chubby baby dinosaur, we will crochet the stuffed tail and surface-stitch the spikes, and crochet the arms.
This dinosaur pouch has the same long sling handle, the slideable wooden button closure, and the drawstring functionality. I have also provided the tutorial for crocheting the My Melody version in case you missed crocheting it. Now, continue reading for the full pattern to crochet this oh-so-cute dinosaur project.
Crochet Dino Pouch & Sling Bag Pattern: Written Instructions
This project is a small crochet pouch bag. People call it a garlic pouch. You can use it to hold small items. You will make a main bag. Then, you will make small parts to decorate it.
You can make a bunny bag. You can also make a dinosaur bag. The pattern is easy to follow. You will use simple stitches. You will use a wooden bead to close the bag. You will crochet a long strap to wear the bag.
Materials Needed
- Yarn: Milk cotton yarn, about 1.75 millimeters to 2.0 millimeters thick.
- Crochet Hook: Size 2.5 millimeters hook.
- Scissors: To cut the yarn.
- Tapestry Needle: To sew the parts together.
- Beads: Small black beads for the eyes.
- Stuffing: A small amount of fiberfill stuffing to fill the parts.
- Wooden Bead: One wooden bead with a large hole to close the bag.
Stitch Abbreviations
- CH: Chain stitch.
- SC: Single Crochet stitch.
- HDC: Half Double Crochet stitch.
- DC: Double Crochet stitch.
- SL ST: Slip Stitch.
- INC: Increase (work two stitches into one stitch space).
Main Pouch Pattern
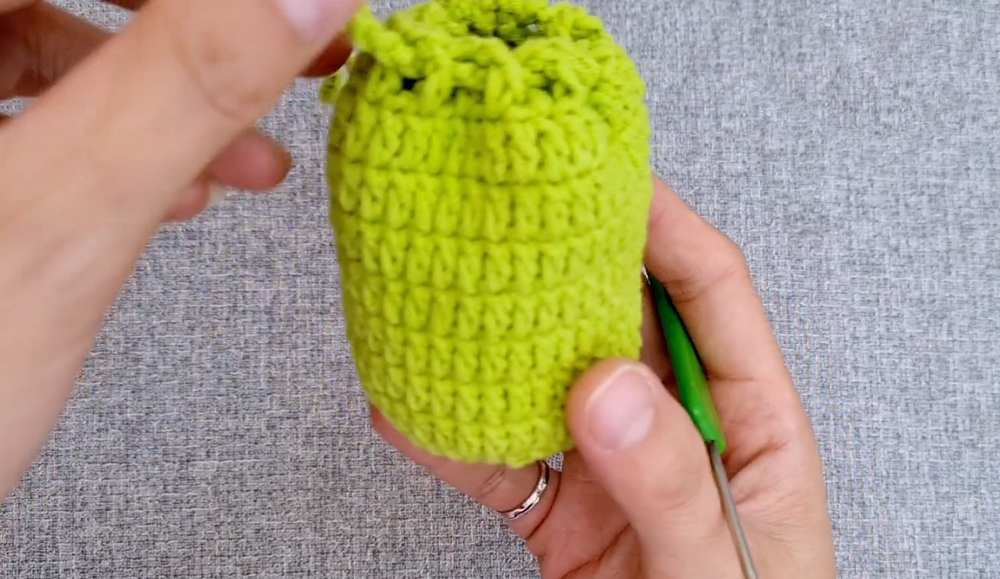
Row 1: Make a magic ring. Chain 2. Work 12 DC stitches into the ring. Pull the ring closed. SL ST to the first DC to close the round. You now have 12 stitches.
Row 2: Chain 2. Work 2 DC stitches into each stitch around. SL ST to close the round. You now have 24 stitches.
Row 3: Chain 2. Work 1 DC in the first stitch. Work 2 DC in the next stitch. Repeat this pattern around. SL ST to close the round. You now have 36 stitches.
Rows 4 to 10: Chain 2. Work 1 DC in each stitch around. Do not increase. SL ST to close the round. You will make 7 rows just like this to build the height of the bag.
Row 11 (Eyelet Row): Chain 4. This counts as one DC and one chain. Skip one stitch. Work 1 DC in the next stitch. Chain 1. Skip one stitch. Work 1 DC in the next stitch. Repeat this around. SL ST into the third chain of the starting chain 4.
Strap and Drawstring: SL ST into the first eyelet space. Chain 160 to make a long strap. Weave the hook and strap in and out of the eyelet spaces around the bag. Pull the yarn through the spaces. Fasten off the yarn. Sew the end to the starting point to make a closed loop.
Dinosaur Decorations
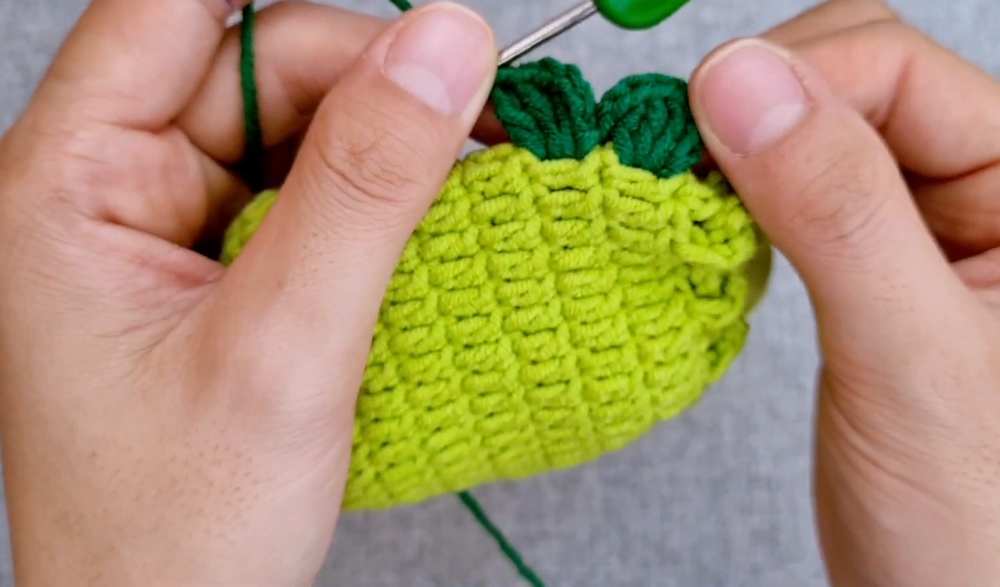
Dinosaur Spikes – Step 1: Fold the bag flat. Find a straight line of stitches down the back. Attach green yarn to a stitch post.
Dinosaur Spikes – Step 2: Chain 3. Work 3 DC around that same stitch post.
Dinosaur Spikes – Step 3: Chain 2. SL ST into the stitch post exactly below the first one.
Dinosaur Spikes – Step 4: Chain 3. Work 3 DC in that same stitch post. Repeat steps 3 and 4 down the back of the bag to make a row of spikes.
Dinosaur Tail – Row 1: Make a magic ring. Work 6 SC into the ring. SL ST to close the round.
Dinosaur Tail – Row 2: Work 1 SC in the first 2 stitches. Work 3 SC in the next stitch. Work 1 SC in the last 3 stitches. SL ST to close the round.
Dinosaur Tail – Row 3: Work 1 SC in each stitch until you reach the middle stitch of the 3-SC group from the last row. Work 3 SC in that middle stitch. Work 1 SC in the remaining stitches. SL ST to close the round. Repeat this row until the tail is long enough. Fasten off the yarn. Stuff the tail. Sew it to the bottom back of the bag.
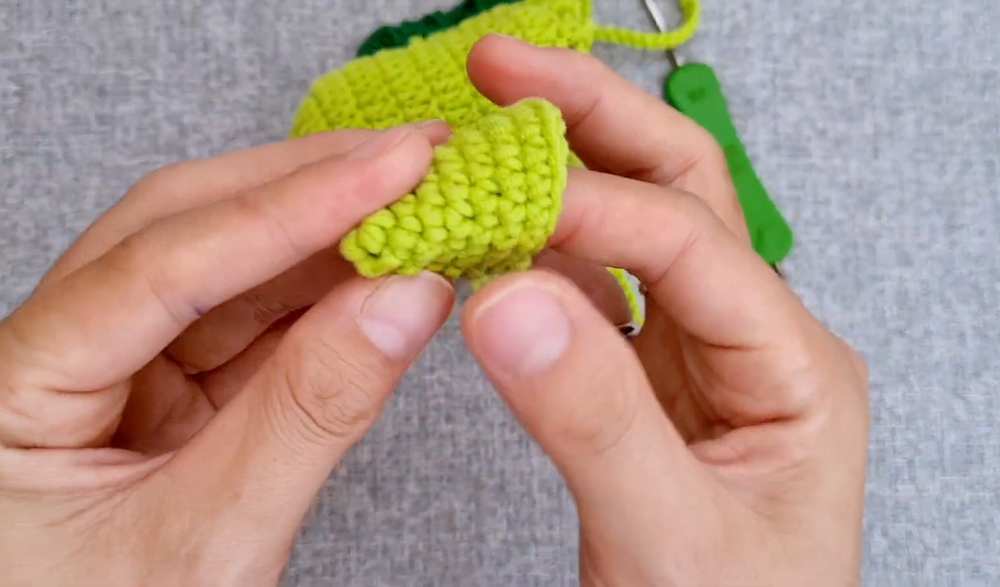
Dinosaur Legs – Step 1: Chain 6. Make two legs.
Dinosaur Legs – Step 2: SL ST in the first chain from the hook. Work 1 SC in the next chain. Work 1 HDC in the next chain. Work 1 DC in each of the last 3 chains.
Dinosaur Legs – Step 3: Chain 2. SL ST in the very last chain space. Fasten off the yarn. Leave a tail. Sew the legs to the front of the bag.
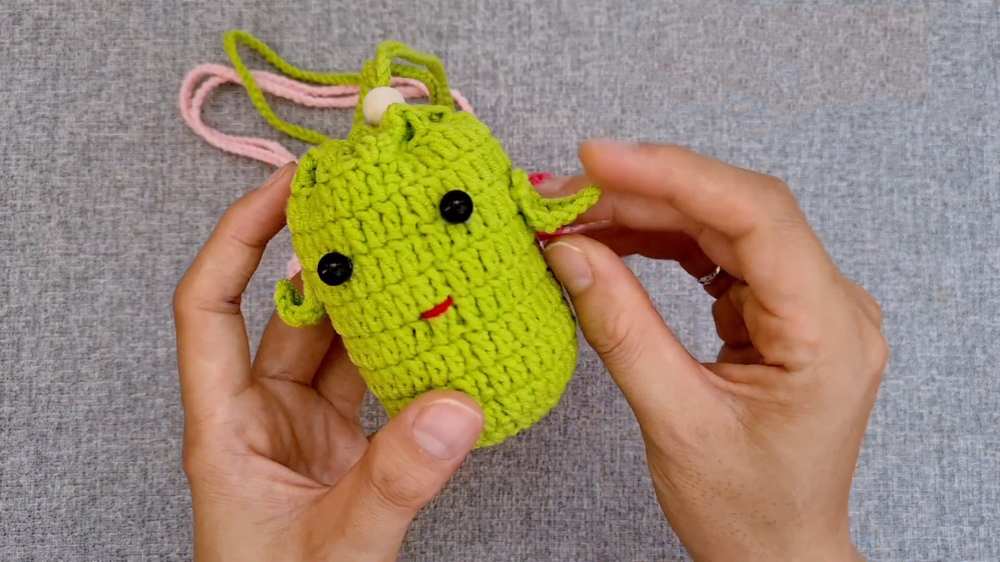
Assembly Instructions
- Step 1: Sew all the decoration parts to the main bag.
- Step 2: Glue or sew the bead eyes and mouth to the face.
- Step 3: Thread the wooden bead onto the loop of the strap.
- Step 4: Slide the wooden bead up and down to open and close the bag.
Learn with the Video Tutorial