Subscribe to @a_studenwhodoeasyhandcrafts
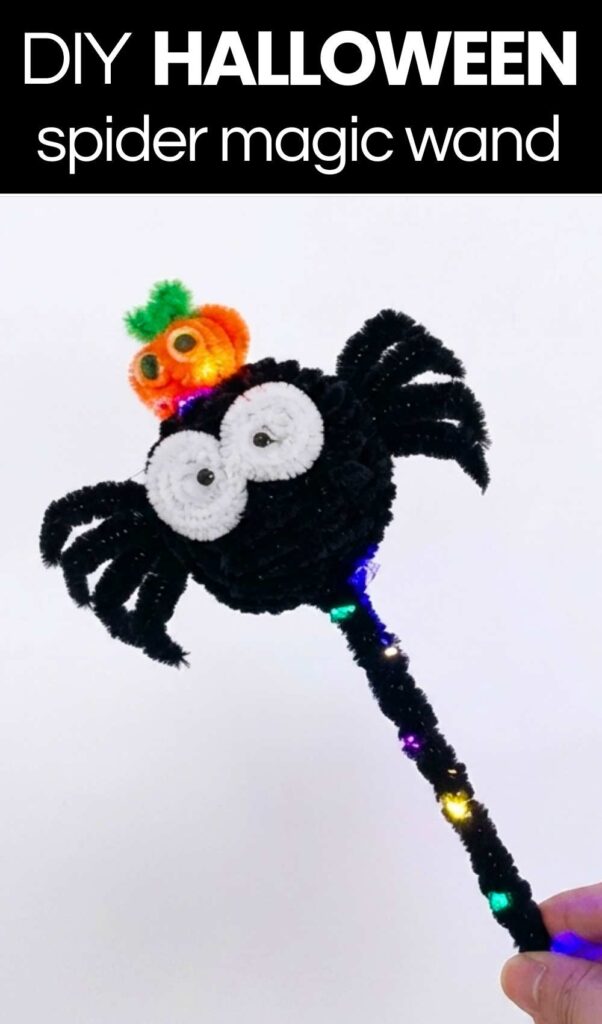
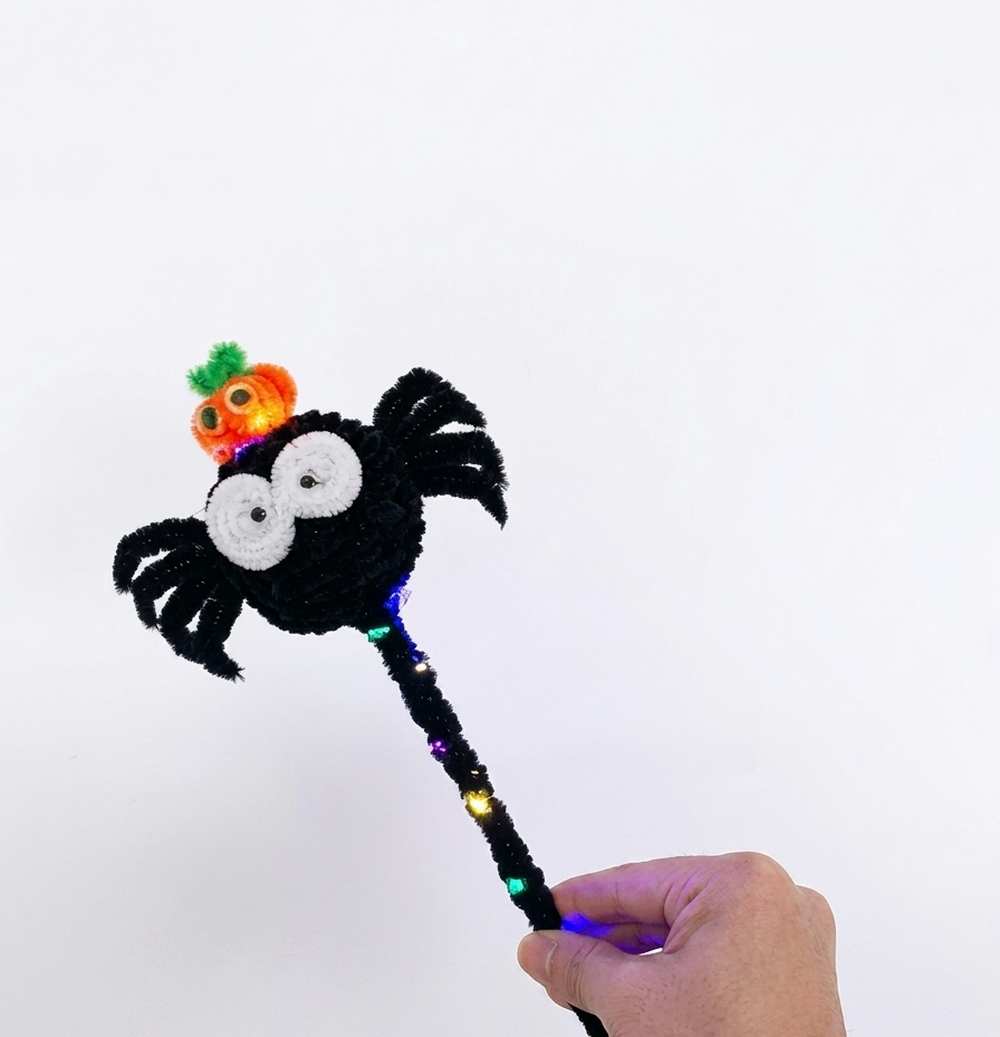
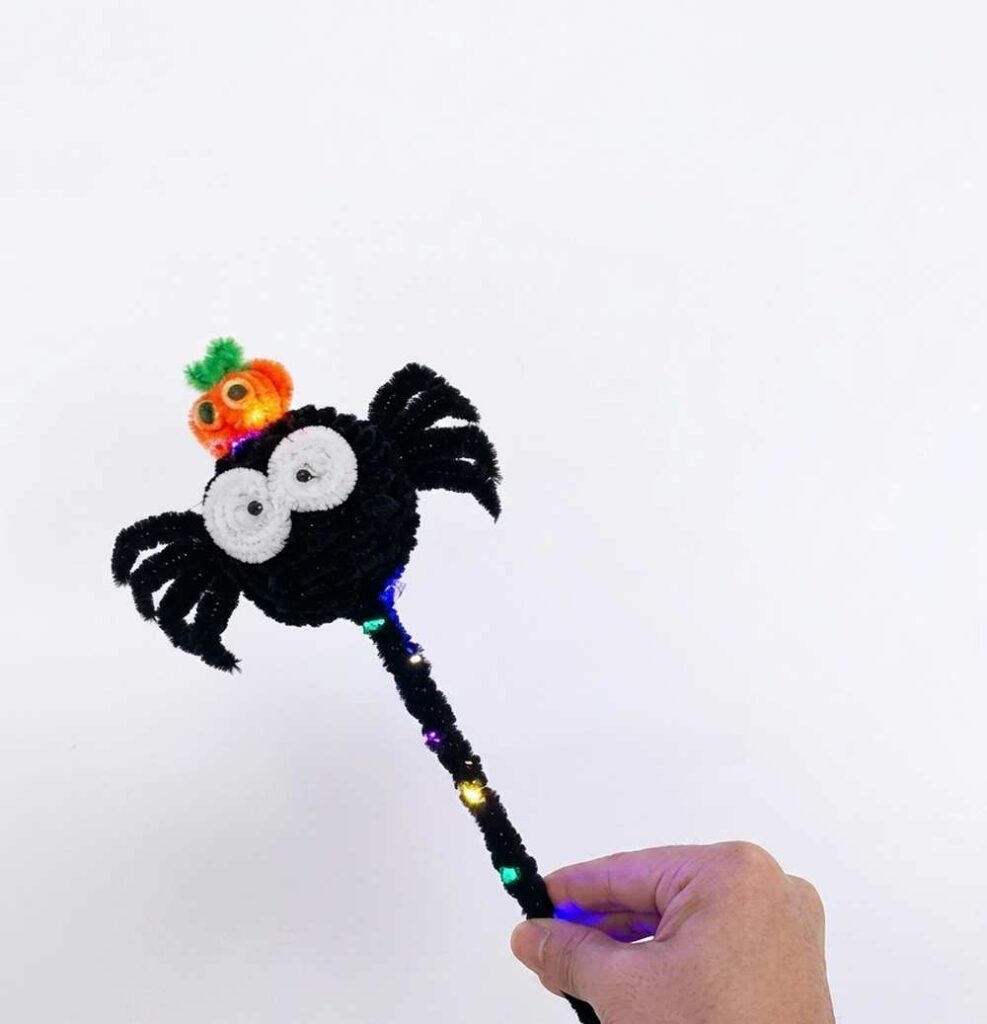
For this Halloween’s cosplay or to make trick-or-treating even more special for kids, learn how to make this kawaii spider pipe cleaner magic wand. This is a fairy-light-decorated glow-in-the-dark Halloween night magic wand topped with a kawaii pipe-cleaner spider! You can make your magic wand in minutes. The spider is also carrying a small pipe cleaner pumpkin on its head, which even holds a small LED light!
DIY Halloween’s CUTE Pipe Cleaner Magic Wand

So, kids can find their way holding this trick-or-treating magic wand and gather as much candy as they want in a CUTE basket like this Halloween jack-o’-lantern pumpkin.
You can cleverly hide the fairy lights’ battery in the spider. Or you can just stuff it to make it even plumpier and softer. I recommend making this Halloween magic wand as an accessory for a spooky costume. Now, continue reading to learn more about this magic wand project and learn how to DIY one with both written and video guides!

DIY Illuminated Pipe Cleaner Magic Wand for Kids
Let’s make an illuminated Halloween magic wand topped with a pipe cleaner spider and a mini pumpkin- a fantastic and spooky DIY project. You will glue two flower poles or chopsticks together to make a strong wand handle, then wrap it with a black pipe cleaner. Cover a foam ball with black pipe cleaners to make a fluffy spider body.
Cut and wrap black pipe cleaners to create eight thick legs, bend them into shape, and glue them around the body. Twist a white pipe cleaner into two small circles for the eyes and add black beads or small black pieces for the pupils.
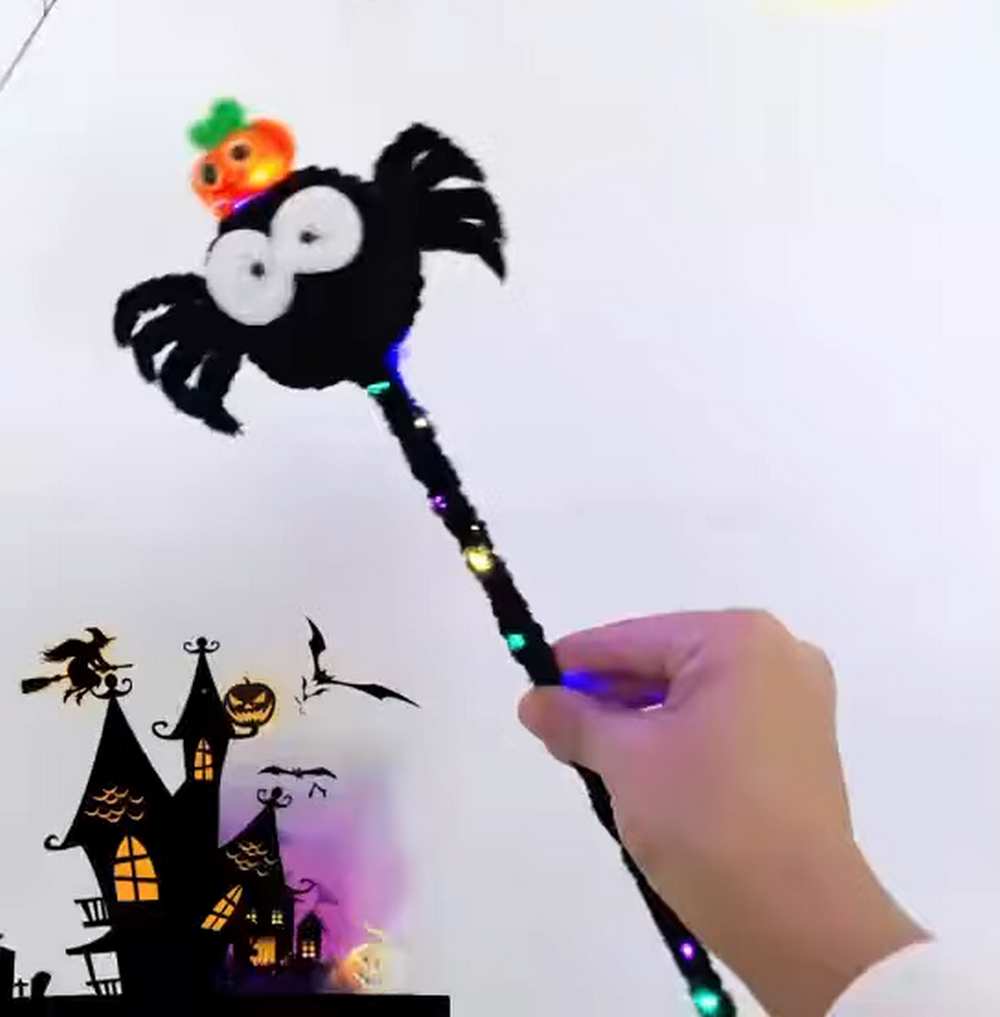
Make a mini pumpkin by rolling an orange pipe cleaner into a coil and shaping it with a green pipe cleaner for the stem and leaf. Glue the pumpkin onto the spider, attach the spider to the wand, and wrap LED fairy lights around the handle for a glowing finish.
Materials Needed
Before starting, gather the following crafting supplies:
-
Pipe Cleaners (Chenille Stems):
-
Black: Multiple (for wrapping the handle, making the spider body, and legs)
-
White: 1 piece (for the spider’s eyes)
-
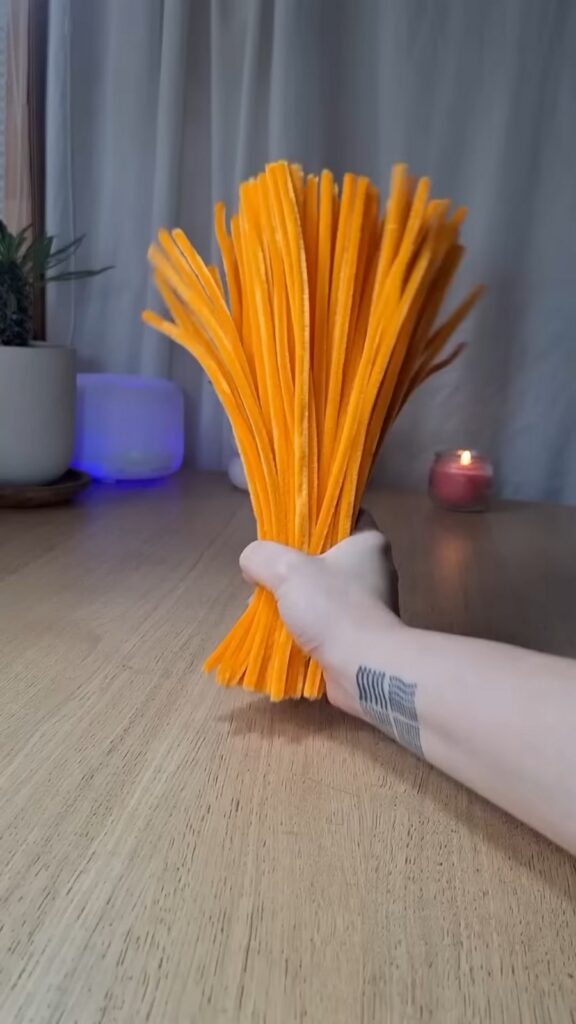
Orange: 1 piece (for the mini pumpkin)
-
Green: 1 piece (for the pumpkin’s stem and leaf)
-
-
Other Craft Supplies:
-
Two flower poles or disposable wooden chopsticks (for the wand handle)
-
Sponge ball / foam ball (for the base of the spider body)
-
Tiny black beads or googly eyes (for the pupils)
-
Hot Glue Gun and glue sticks
-
Small Cylinder Object (like a marker or thick pen to wrap around)
-
Small LED fairy light strip (to illuminate the wand)
-
Step-by-Step Guide
-
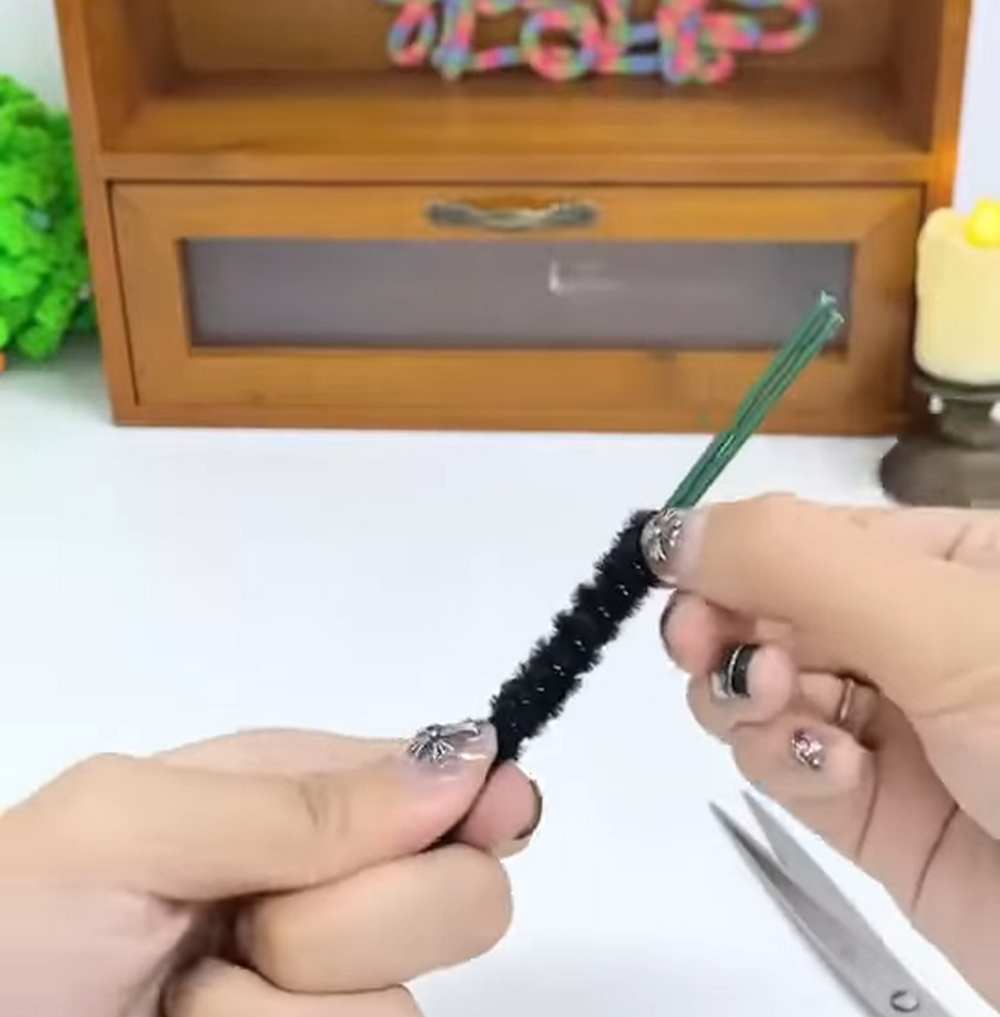
Take two flower poles (or wooden chopsticks) and stick them together using hot melt glue to make a thicker, sturdier handle.
-
Take a black pipe cleaner and wrap it tightly around the handle from the bottom up.
-
Leave a small section at the very top exposed (this is where the spider head will attach later).
Finding Difficult? Here is the tutorial!
-
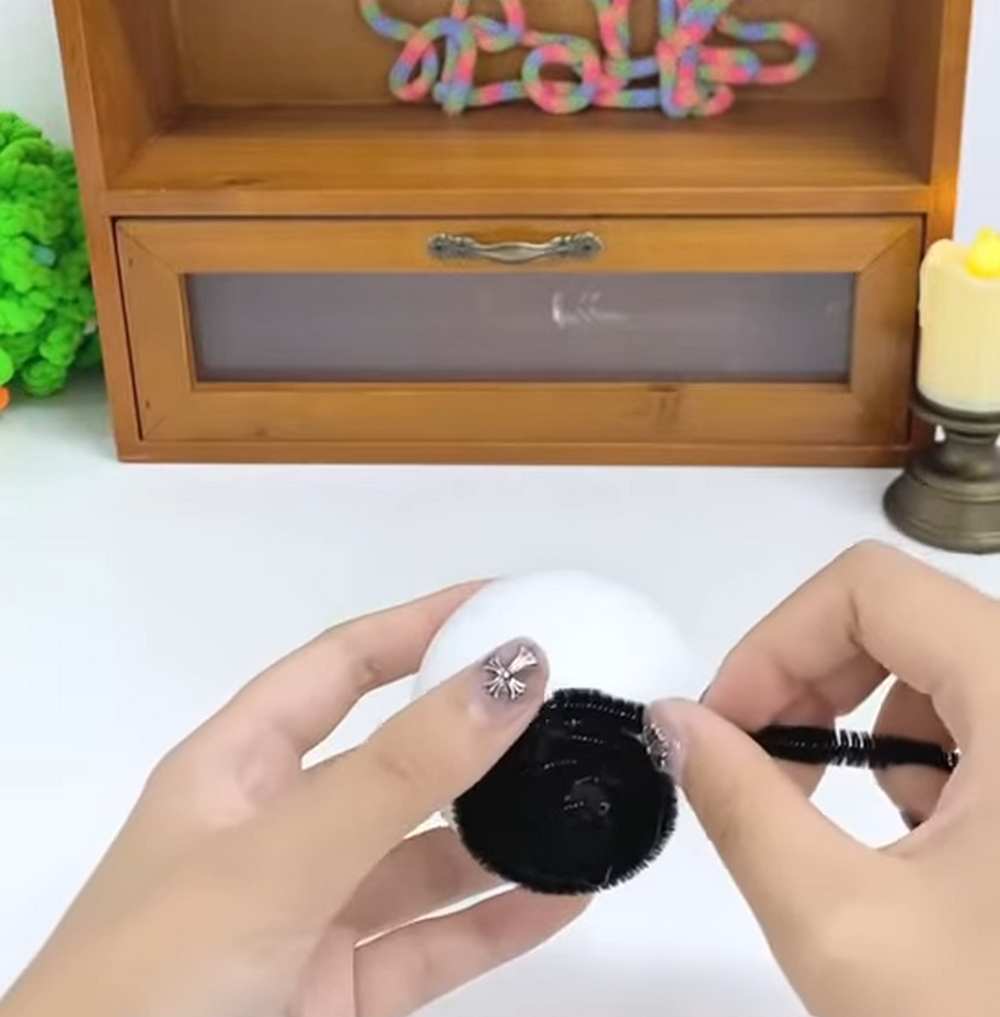
Take a black pipe cleaner and spiral it into a flat circle.
-
Use hot glue to attach this spiral to your sponge ball.
-
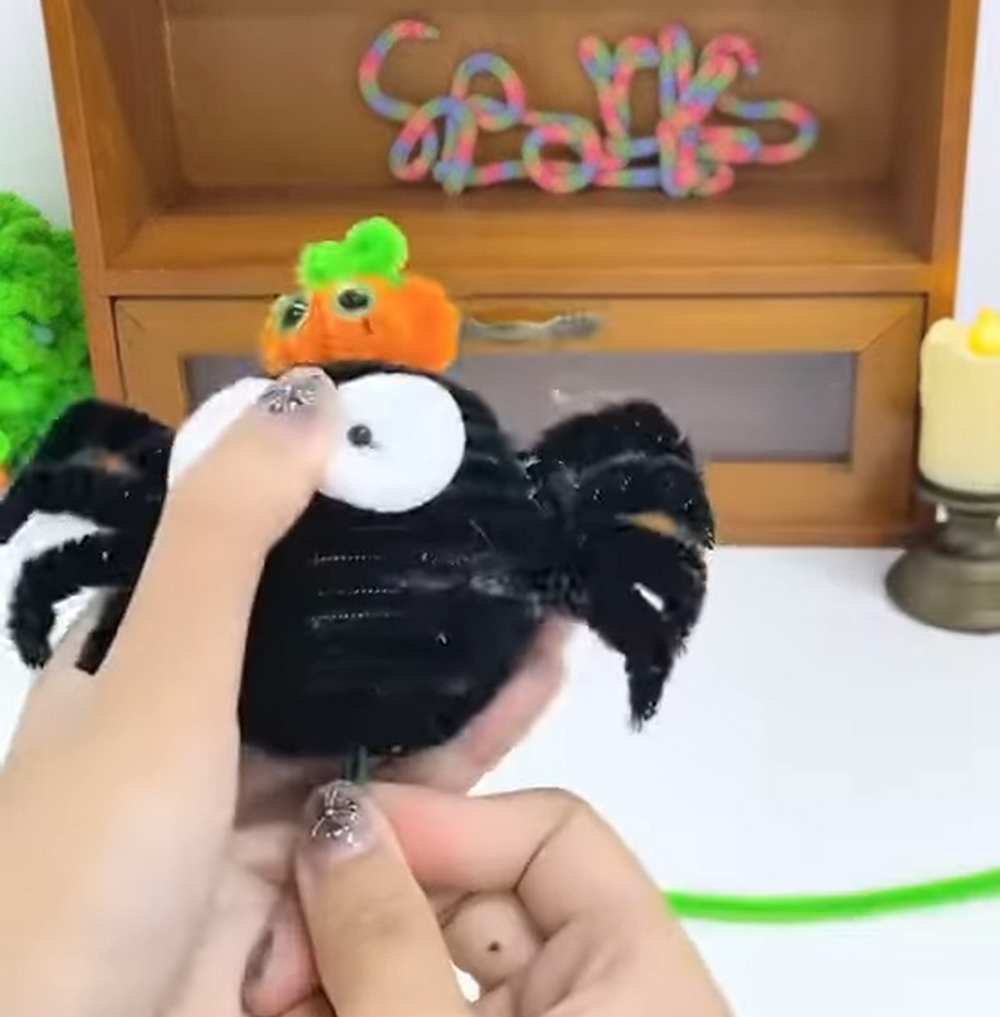
Continue wrapping and gluing black pipe cleaners around the sponge ball until it is completely covered and fuzzy.
-
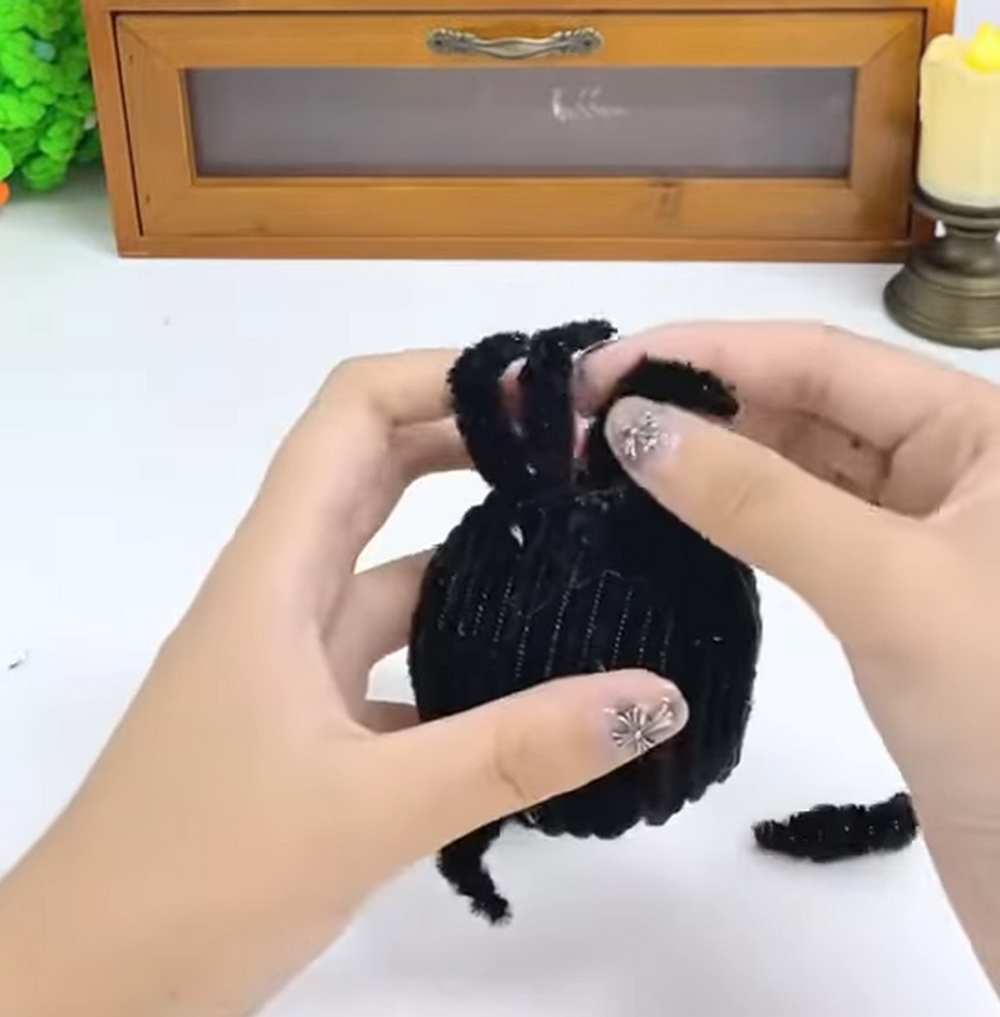
Take a black pipe cleaner and cut it into segments (a few centimeters long).
-
To make the legs thicker, take a longer piece of black pipe cleaner and tightly wrap it around the shorter segment.
-
Bend the wrapped piece at an angle to create a jointed spider leg.
-
Repeat this process until you have eight identical spider legs.
-
Hot glue all eight legs to the sides of the covered sponge ball.
-
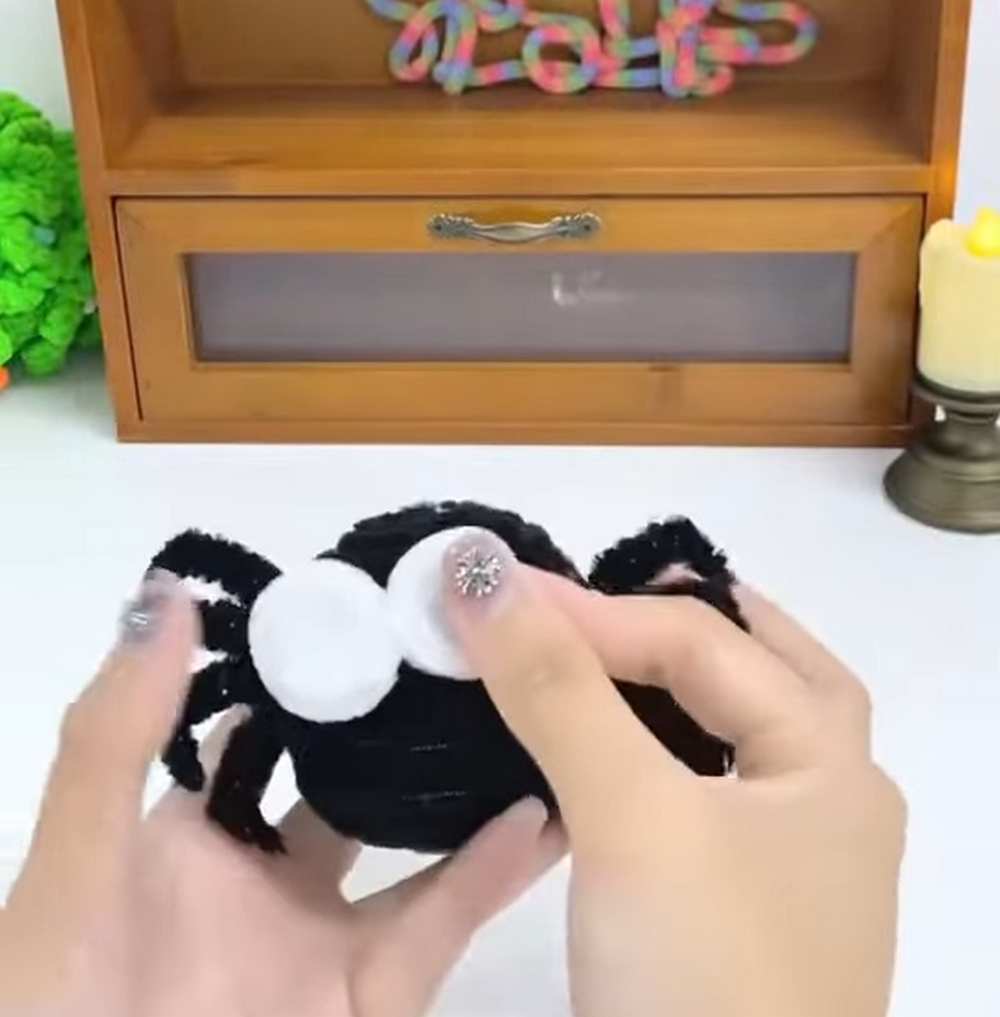
Take a white pipe cleaner and twist it into two small, flat spirals to serve as the whites of the eyes.
-
Glue these white spirals onto the front of the spider’s head.
-
Glue tiny black beads or bits of black pipe cleaner into the center of the white spirals for the pupils.
-
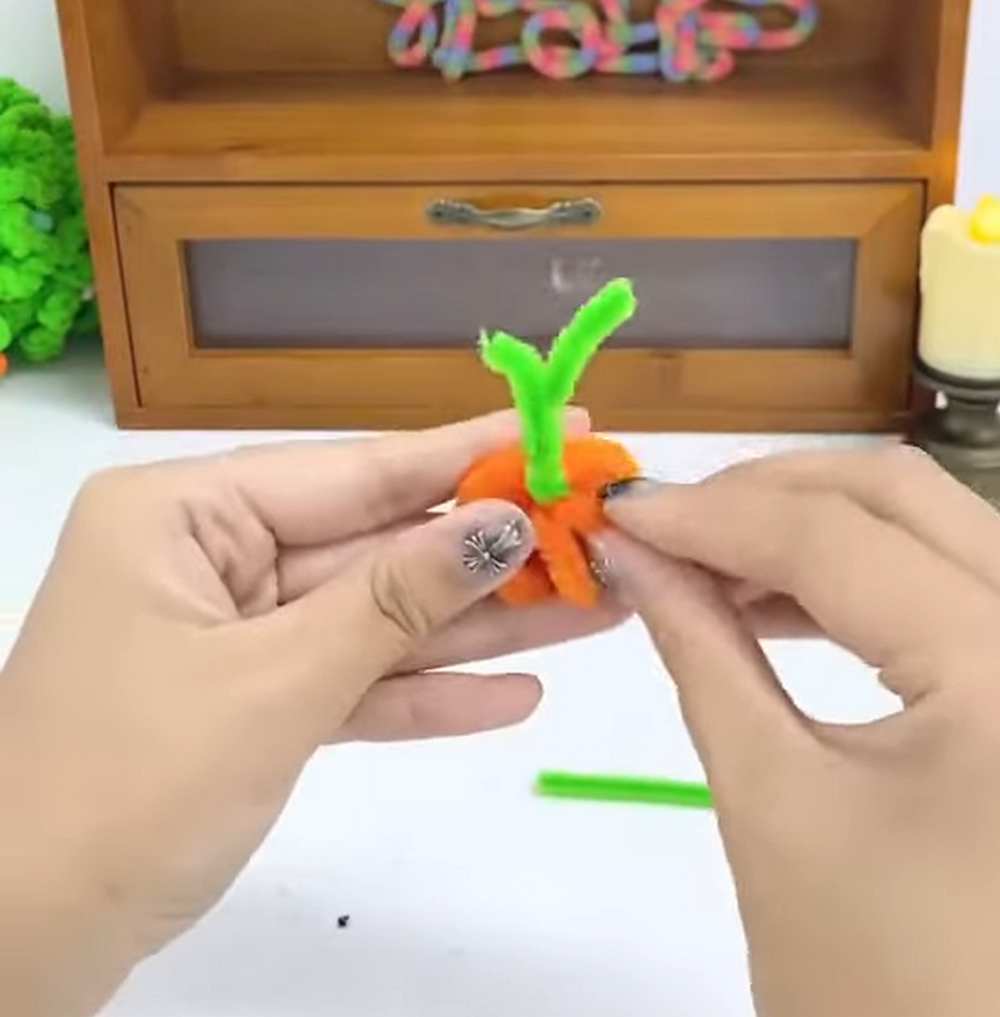
Wrap an orange pipe cleaner tightly around a cylindrical object (like a marker) to form a coil, then slide it off.
-
Thread a green pipe cleaner through the center of the orange coil, loop it over, and pull it tight to shape the orange coil into a round pumpkin.
-
Twist the remaining ends of the green pipe cleaner into a small loop or point to look like a leaf and stem.
-
Add tiny eyes to the mini pumpkin if desired.
-
Glue the mini pumpkin onto the back or top of the spider body.
-
Apply hot glue to the exposed top of your wand handle and firmly push the spider head onto it.
-
Take your LED fairy light strip and wrap it around the wand handle, threading it up through the spider legs. Turn it on to see your magic wand glow!
Save For Later: