
Show support for CraftBe9!
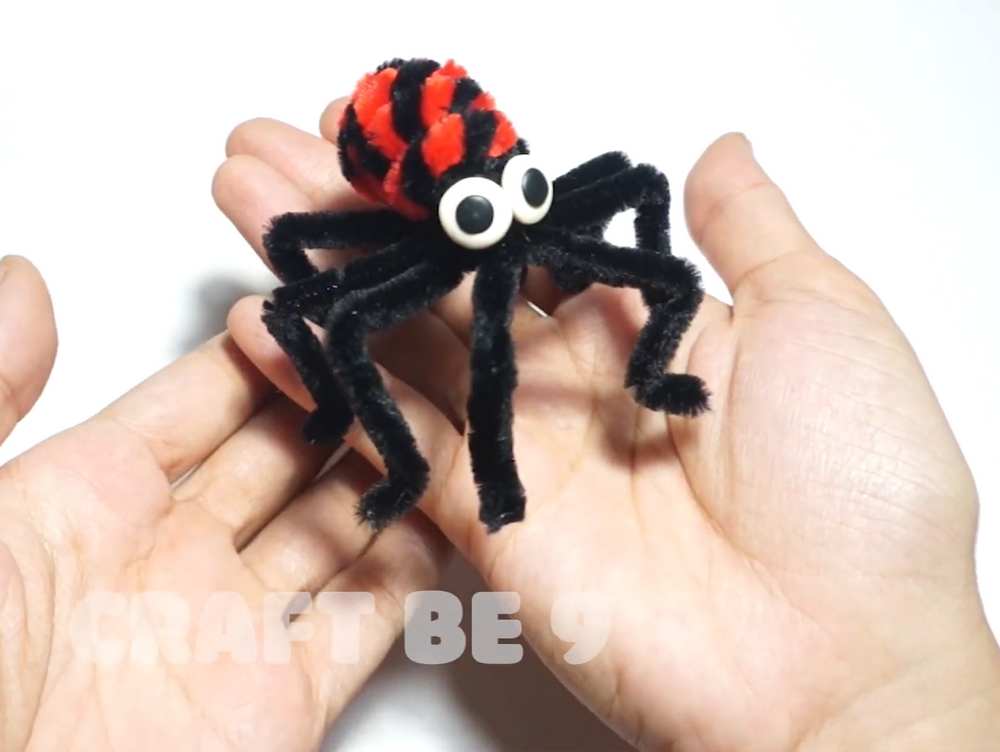
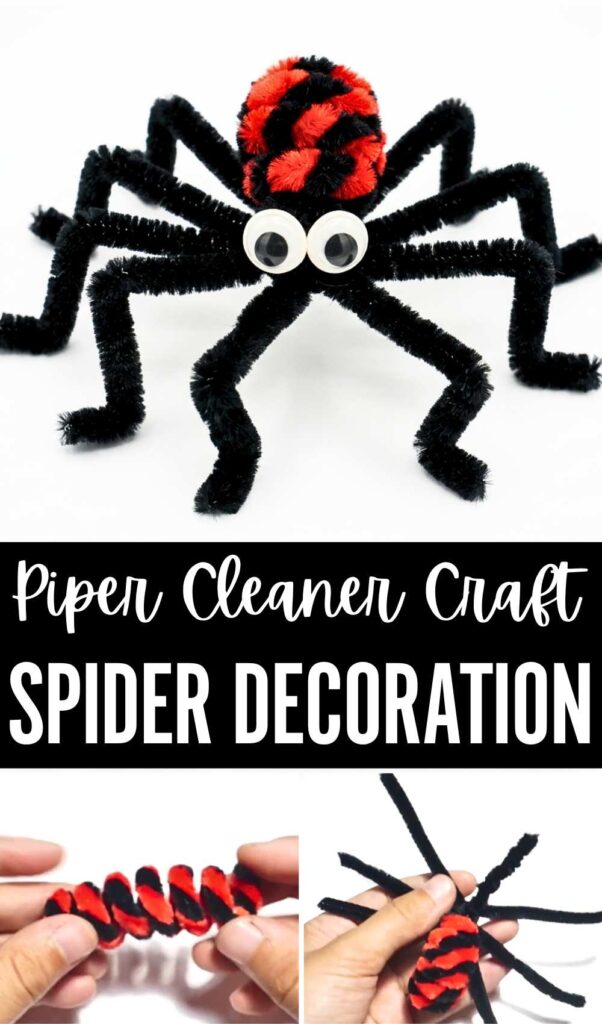
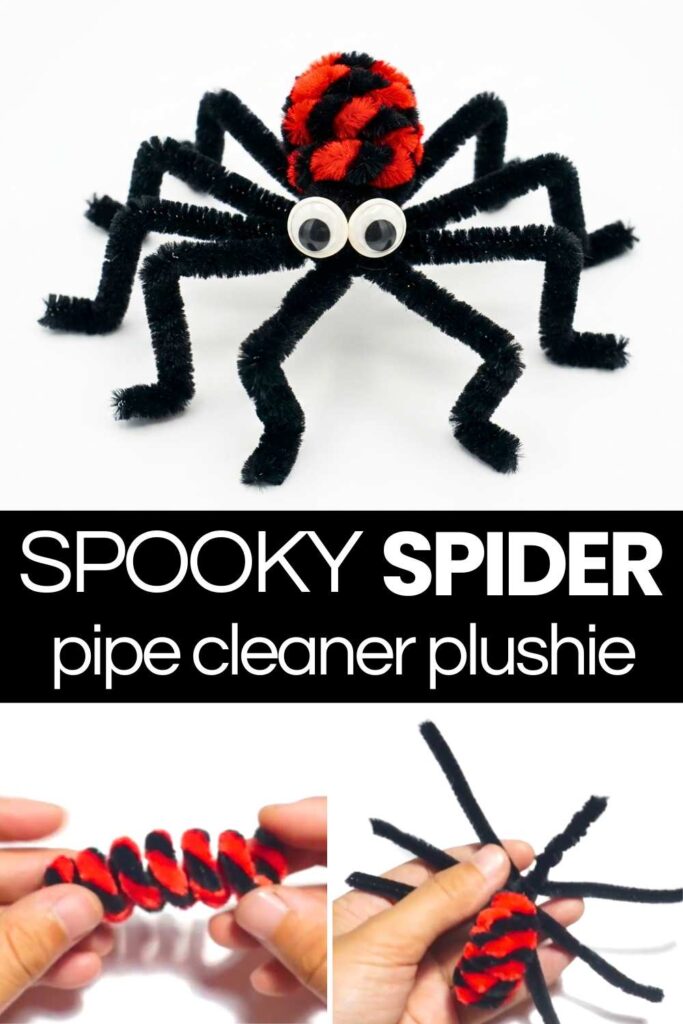
This Halloween, learn how to craft this 5-minute googly-eyed pipe cleaner spider following a step-by-step tutorial + a written guide. This is a leggy spider crafted in the ladybug color combo (red and black) by twisting two pipe cleaners as one! Making this CUTE spider would be even easier than the Halloween black SPOOKY spider. Craft one for adding to a pipe cleaner spiderweb decoration, attaching to a trick-or-treating bag, or to craft a Halloween magic wand.
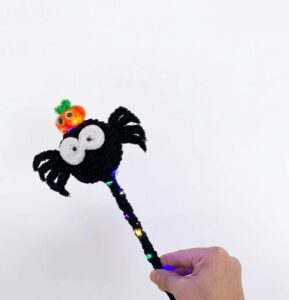
If you are looking for an even cuter spider plushie made of chenille stems, you can also craft the one we topped the glowing magic wand with. You can also make it your craft buddy, as it looks so cute with the plastic googly eyes.
You can also pair this DIY spider with the black spooky spider plush. Only 4 + 2 pipe cleaners are needed for making this googly-eyed spider toy for kids. It is an irresistible stress-toy and can be crafted within 7 minutes. Now, continue reading to learn more about this wobbly eyes project for Halloween. You can also make an orange and white version.
Pattern to Make a Ladybug Spider Plushie
Creating a pipe cleaner spider is a fun and simple Halloween-themed craft. The following guide explains making a chenille stem bicolor spider with articulated legs, craft googly eyes, and more. Learning in a nutshell:
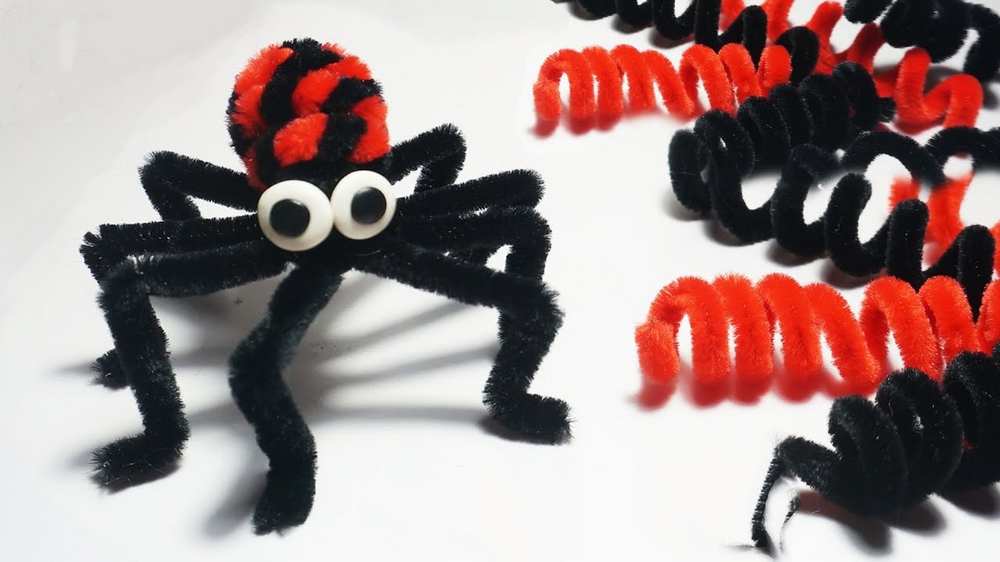
Materials Needed
-
Pipe Cleaners: At least 6 black and 1 red (Standard 12-inch length).
-
Marker or Pen: To use as a coiling form.
-
Scissors: For trimming.
-
Googly Eyes: Small size.
-
Glue: To attach the eyes.
Instructions
1. Create the Striped Abdomen
-
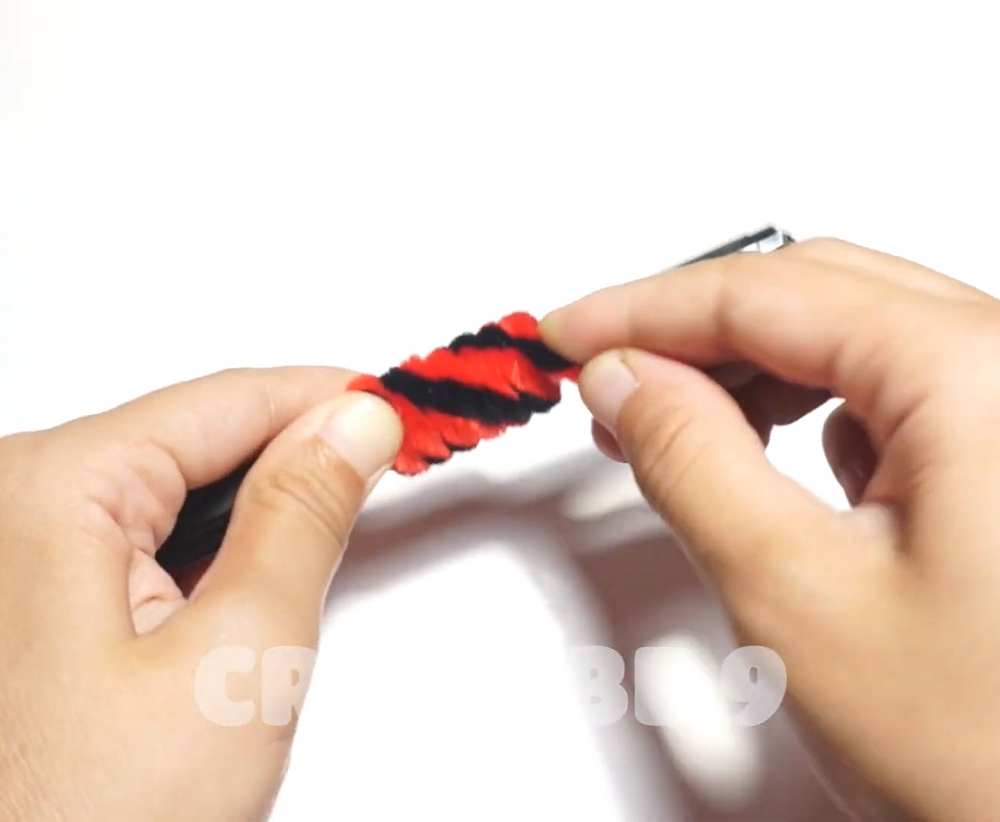
Take one red pipe cleaner and one black pipe cleaner.
-
Twist the ends together to secure them, then continue twisting the two strands around each other until they form a single, bicolor rope.
Beginner?
-
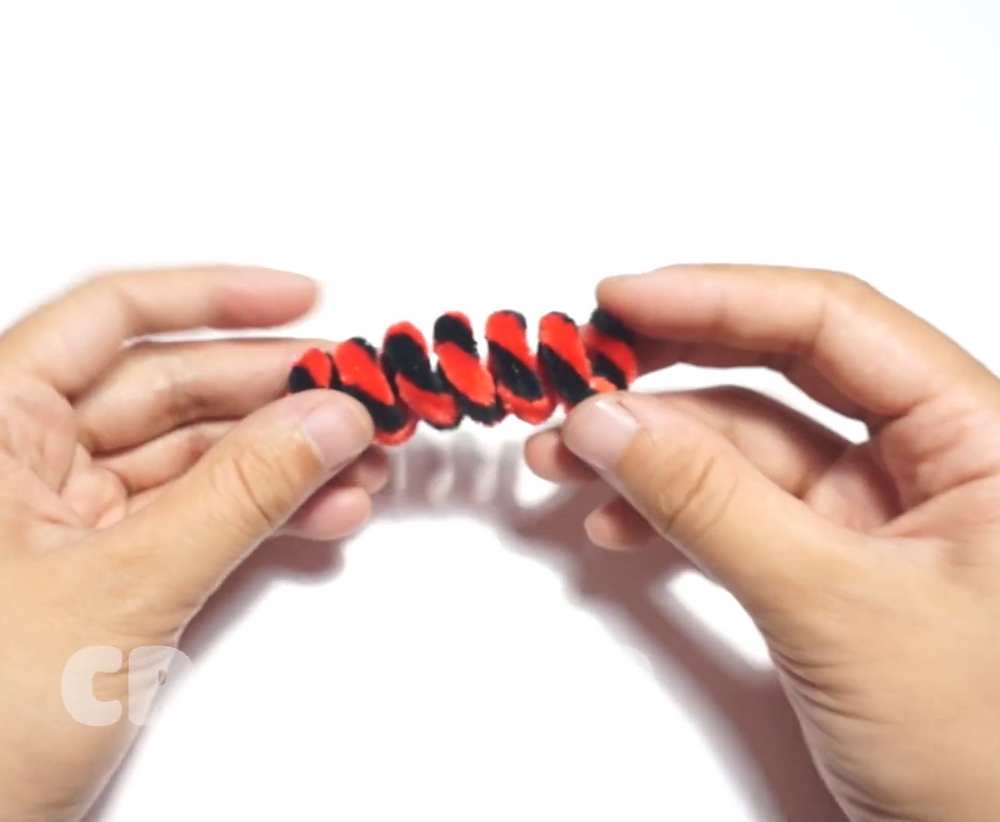
Hold a marker or pen horizontally. Wrap the bicolor pipe cleaner tightly around the marker to create a striped, coiled cylinder about 1.5 to 2 inches long.
-
Slide the coil off the marker. This will be the spider’s abdomen.
2. Secure the Internal Frame
-
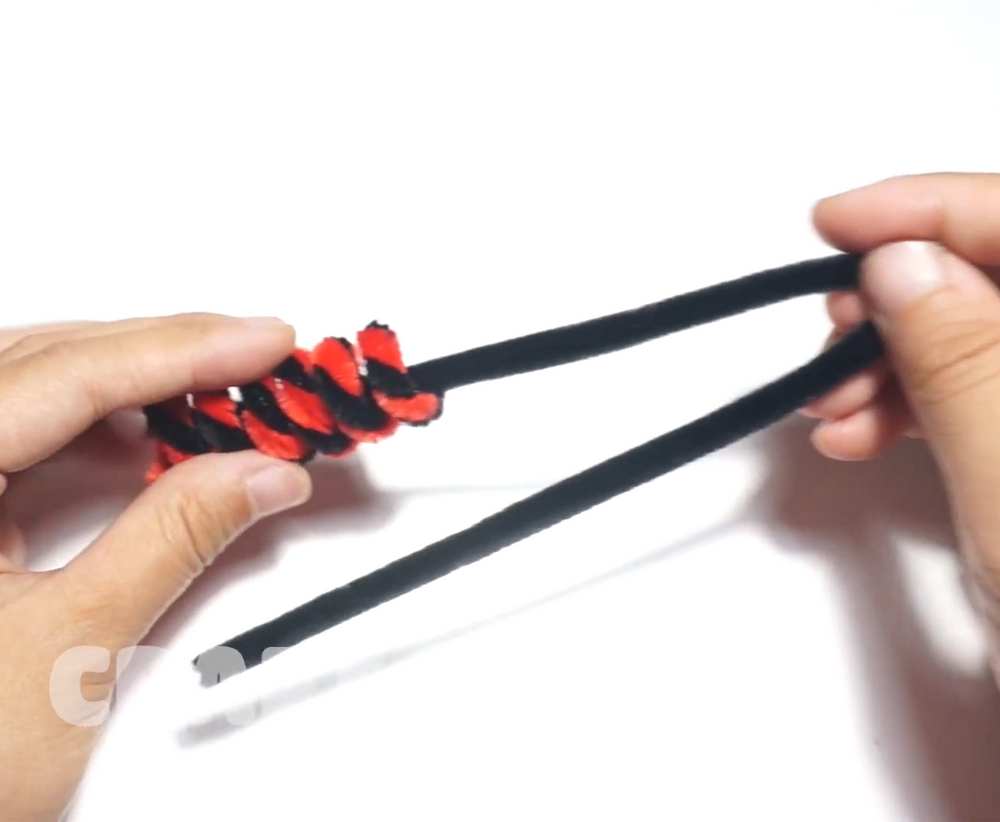
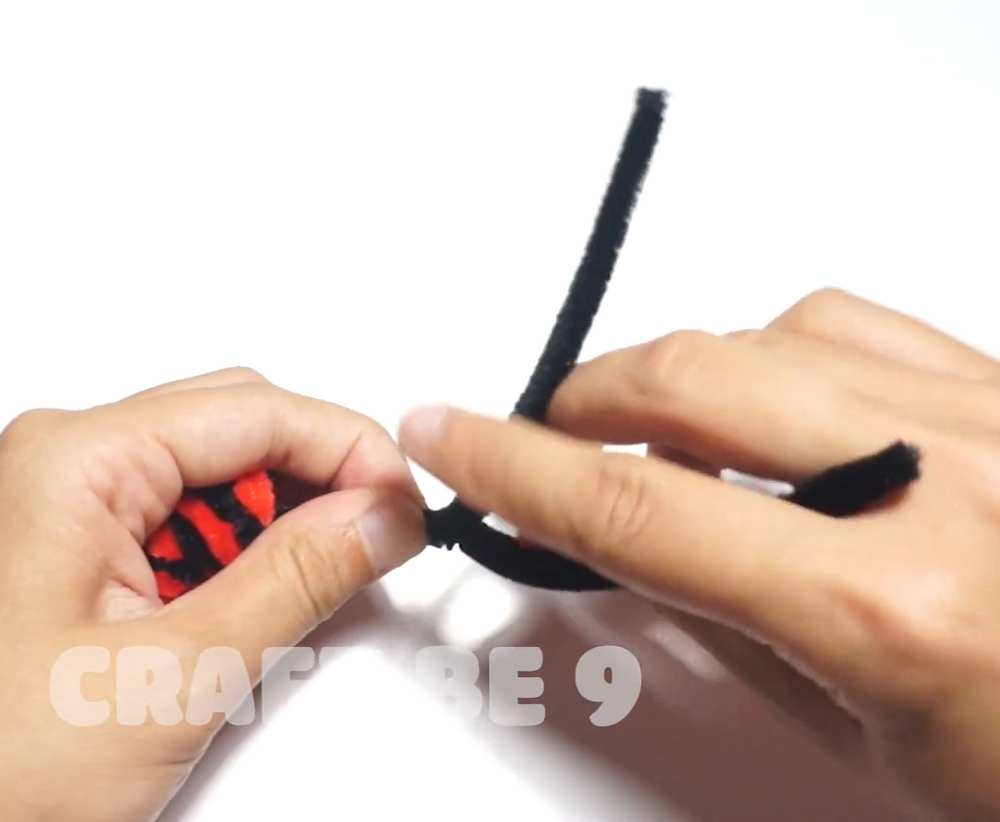
Take a new black pipe cleaner and thread it through the center of your coiled abdomen.
-
At one end of the coil, bend the protruding pipe cleaner over the edge and twist it around the coil’s last loop to lock the abdomen in place.
-
Leave the other end of the pipe cleaner long – this “spine” is where you will attach the legs.
3. Prepare the Legs
-
Take four black pipe cleaners and stack them together.
-
Fold the bundle in half and use your scissors to cut at the fold. You should now have eight identical black segments.
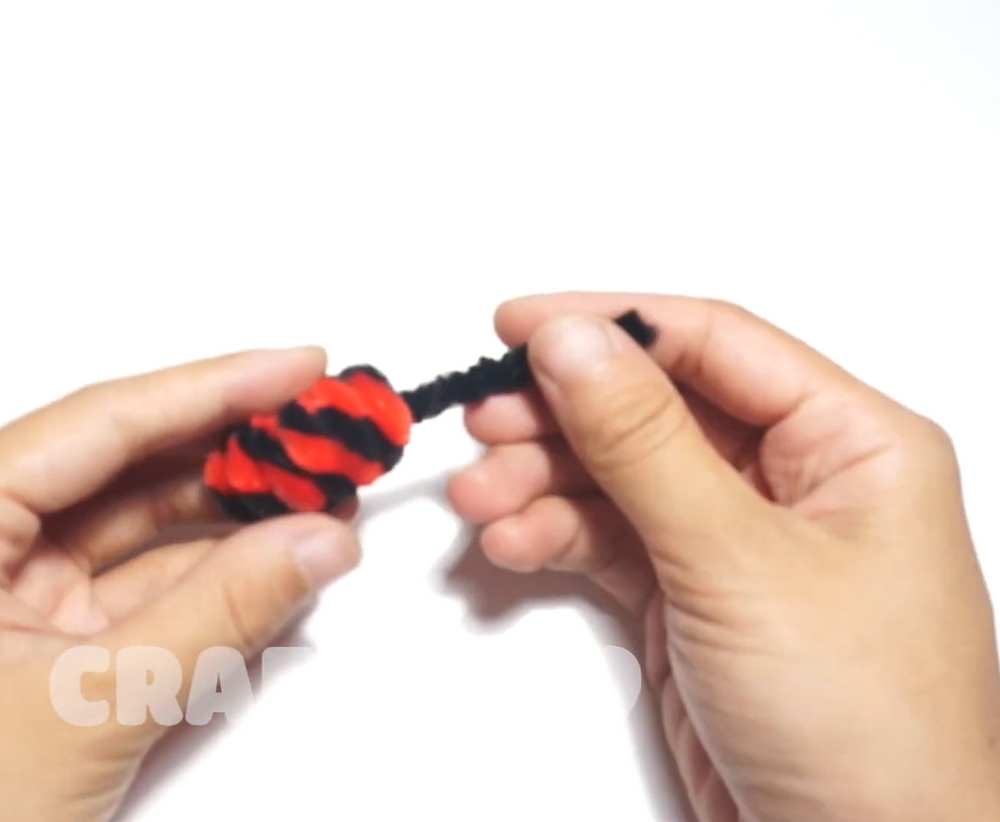
- Fold each of these eight segments in half individually to find the midpoint. These will be your spider’s legs.
4. Attach the Legs
-
Take your abdomen with the protruding “spine.”
-
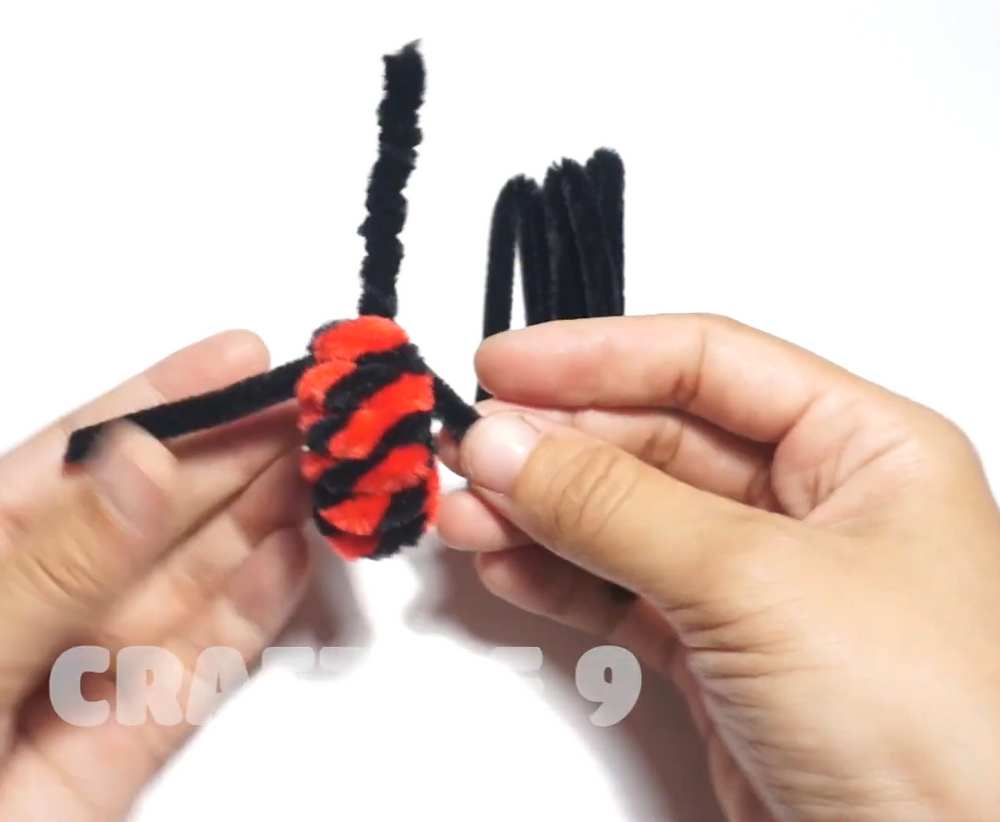
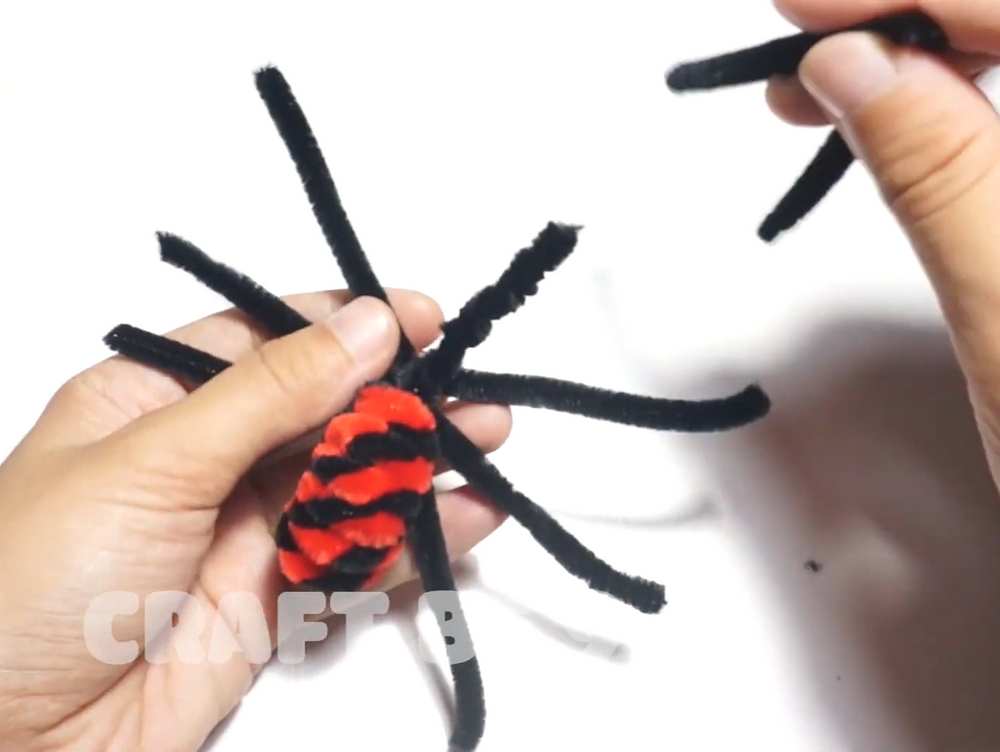
One by one, place the midpoint of each leg against the spine near the base of the abdomen.
-
Twist the leg piece once or twice around the spine to secure it firmly.
-
Repeat this for all eight legs, spacing them closely together to form the spider’s “head” area. Trim any remaining excess from the spine after the last leg is attached.
5. Shape and Detail
-
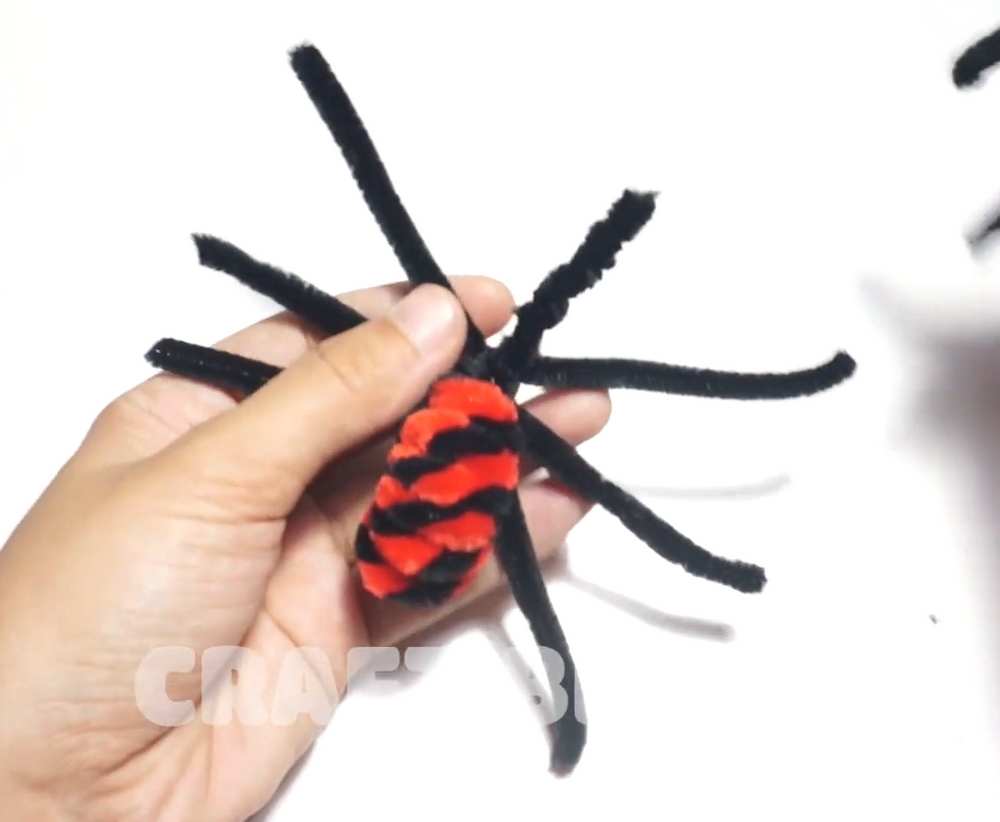
Fan out the legs on both sides (four on each side).
-
To make the spider look realistic, create a “joint” in each leg by bending it downward about halfway along its length.
-
Finish by gluing two googly eyes onto the front-most part of the black pipe cleaner cluster, just ahead of the legs.
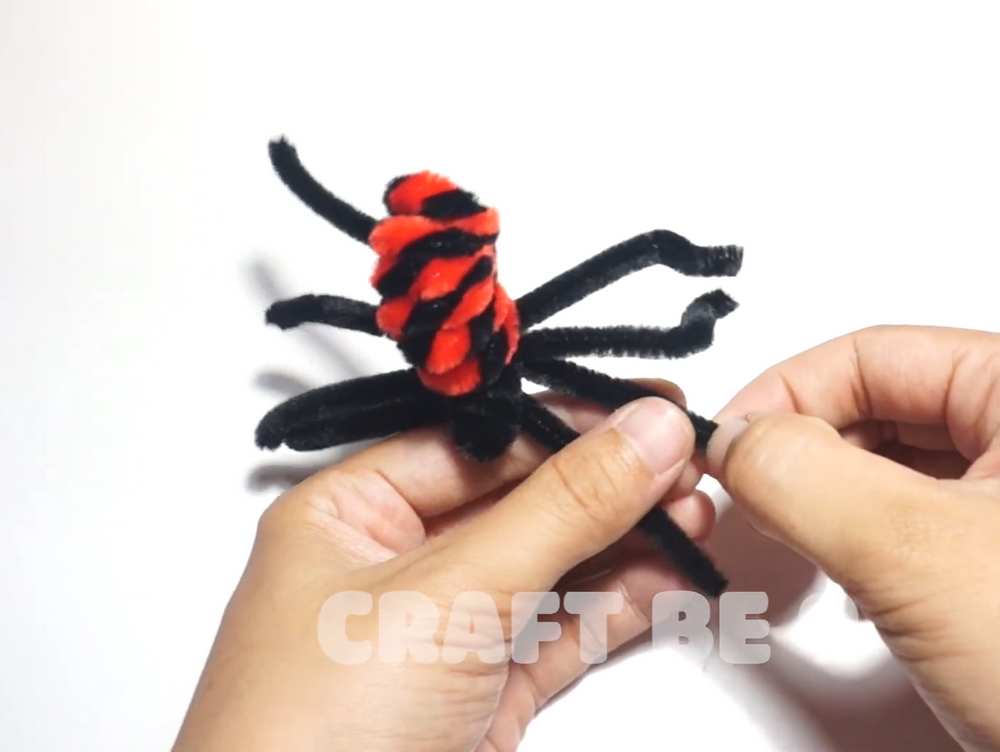
Your pipe cleaner spider is now complete and ready to crawl across your Halloween decorations!
Social Media!
About "Craftbee 9"
She makes incredible fabric, recycle and pipe cleaner crafts.