
Show support for DIY dreams!
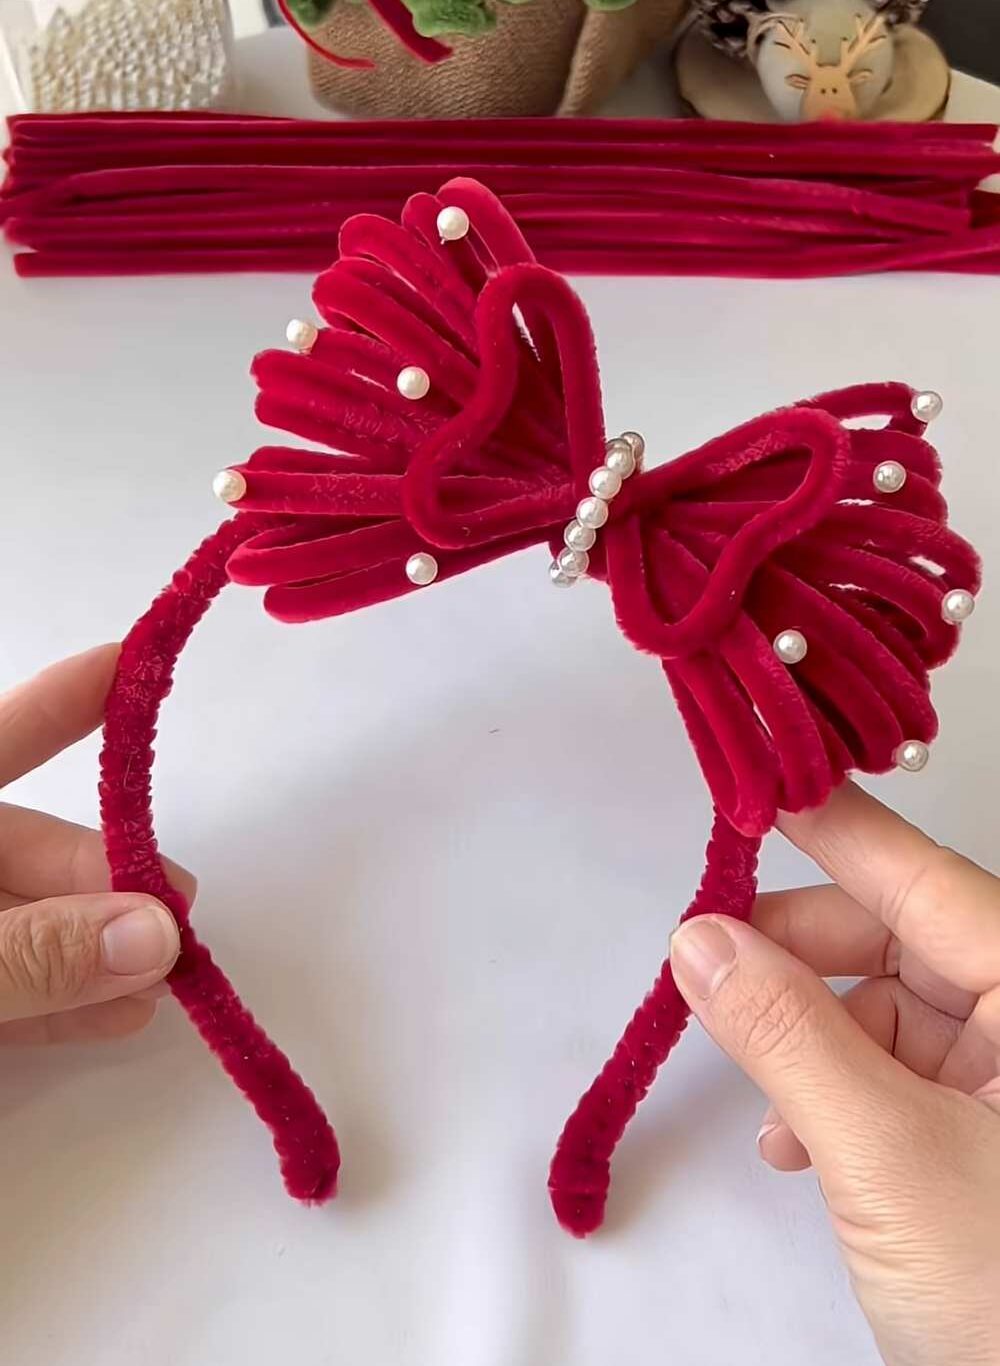
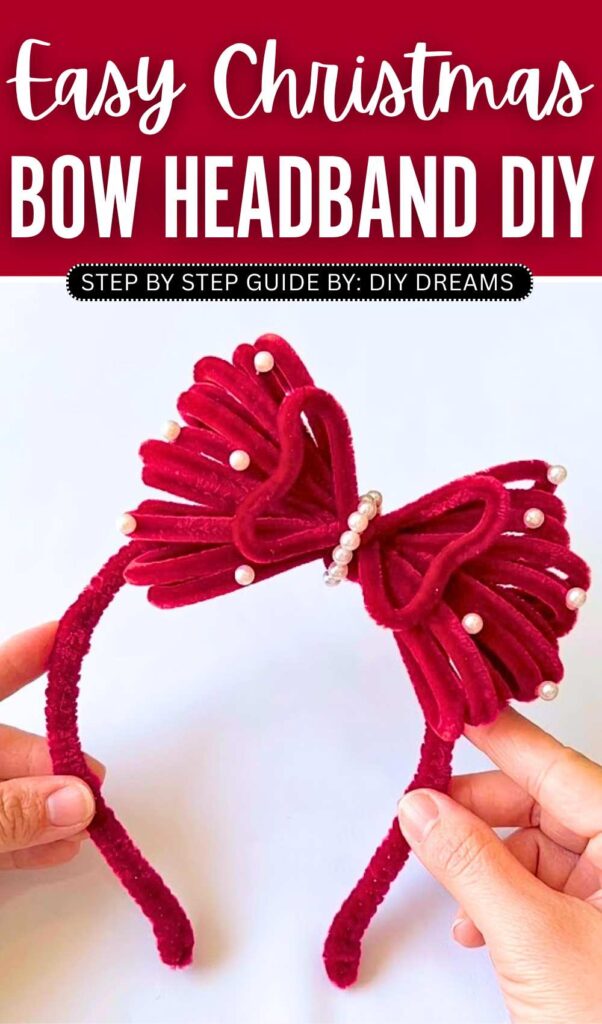
Looking for an absolutely lovely Christmas accessory for girls you can make with pipe cleaners? Learn how to DIY this beaded red bow headband out of just pipe cleaners, glue, and pearl beads. Follow this step-by-step tutorial + written guide to make that oversized chenille stem bow (we are using a store-bought fuzzy velvet hairband for the headband part). It looks so APPEALING, and guess what, it is easier than you are imagining.
You can easily make this red Christmas bow accessory in less than 10 minutes using only 12-14 pipe cleaners. The middle of this pipe cleaner bow also features a ring of pearls, and the sides are also adorned with pearl beads.
You can also make this Christmas bow headband in any other Christmas color, such as green, white, and even pink (if you like the cottage aesthetic). You can also make this DIY bow for your Christmas presents, as this project is not limited to making just a DIY headband. Now, continue reading to learn more about this DIY pipe cleaner bow and headband project for all skill levels.
![DIY Gift Decoration Paper Bow [with FREE PRINTABLE TEMPLATE]
Reference Images: MAKE DIY via YouTube
Author: Talha](https://craftshive.com/wp-content/uploads/2026/04/paper-bow-2-194x300.jpg)
Tutorial to DIY Christmas Bow Tie for Cosplay
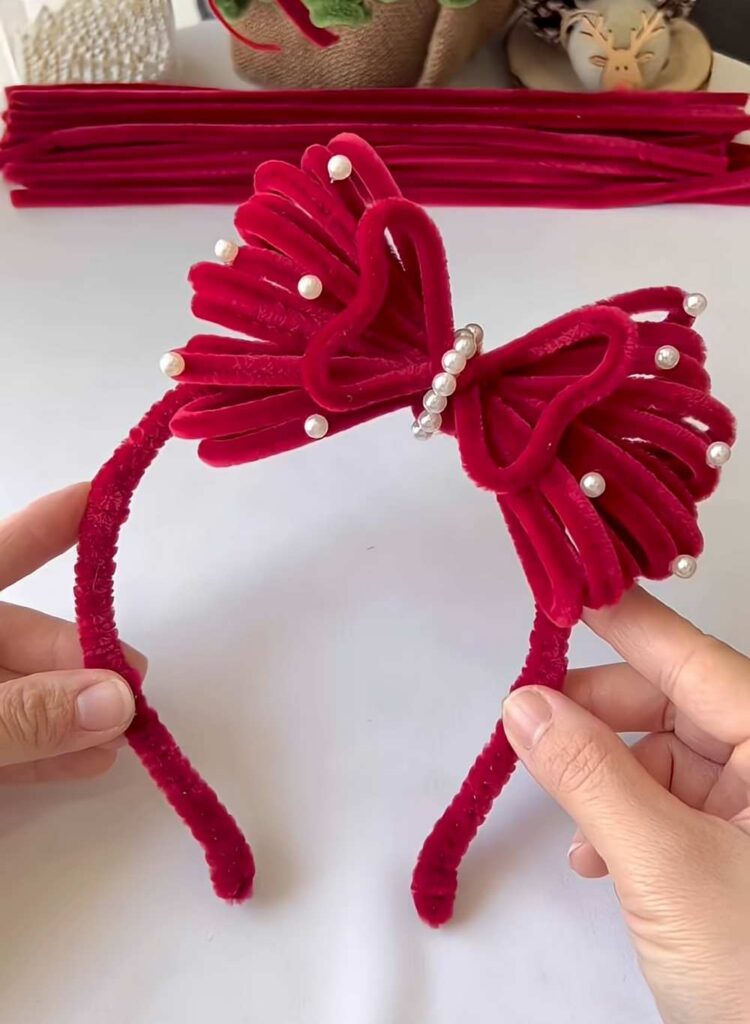
This project is a red bow headband made from pipe cleaners. Pipe cleaners are fuzzy wires that you can bend. To make this, you take many red pipe cleaners and bend them into loops. You tie them in the middle to make a bow. You use a glue gun to stick small white pearls on the red bow. Then, you take a plain headband and wrap a red pipe cleaner around it. After that, you glue the big bow onto the headband. It looks very pretty and is good for a party. It is easy to make at home.
Feels Difficult?
Materials Needed
-
Pipe Cleaners: 10–12 long, red fuzzy pipe cleaners (velvet texture looks best).
-
Headband: A thin plastic or metal headband base.
-
Pearls: Small white faux pearls.
-
Hot Glue Gun & Glue Sticks.
-
Metal Ring or Wire: To secure the center of the bow.
-
Tweezers: To help place the small pearls.
Step-by-Step Instructions
Step 1: Prepare the Bow Loops
Take 8-9 red pipe cleaners. Line them up so they are even. Bend the whole group into a large circle and overlap the ends. Use a short piece of wire to pinch the middle of the circle tightly. This creates the basic “wings” of the bow.
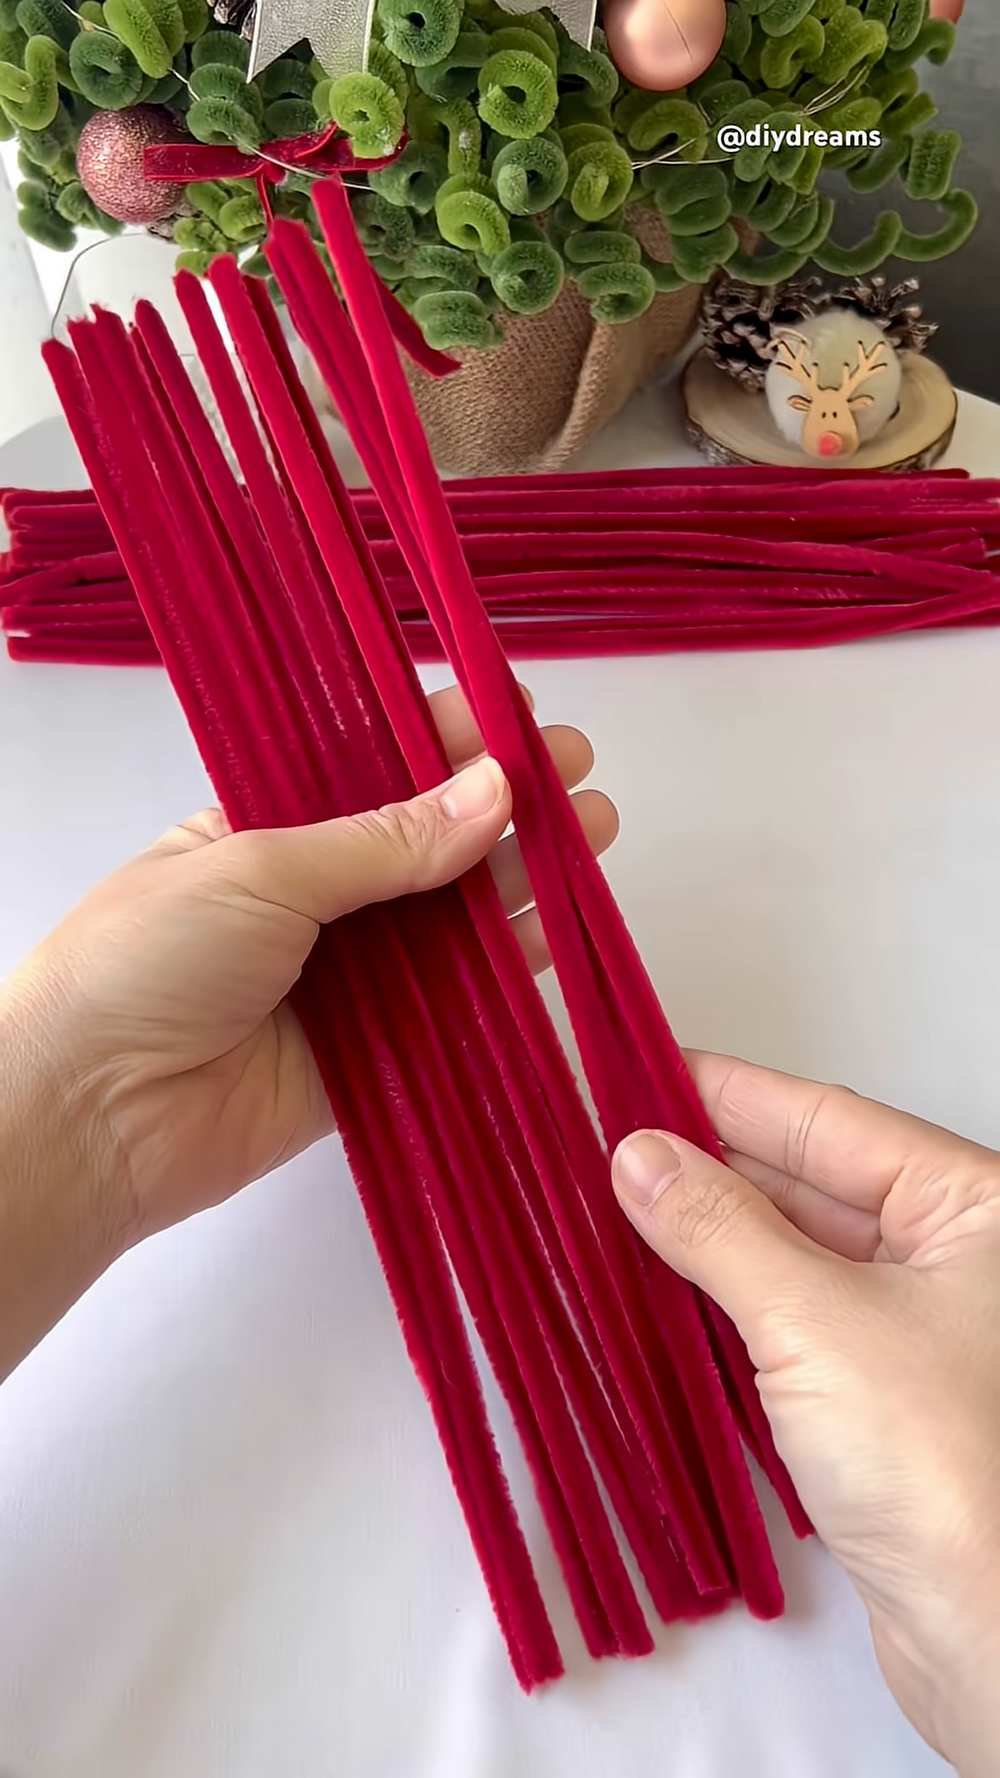
Step 2: Bending
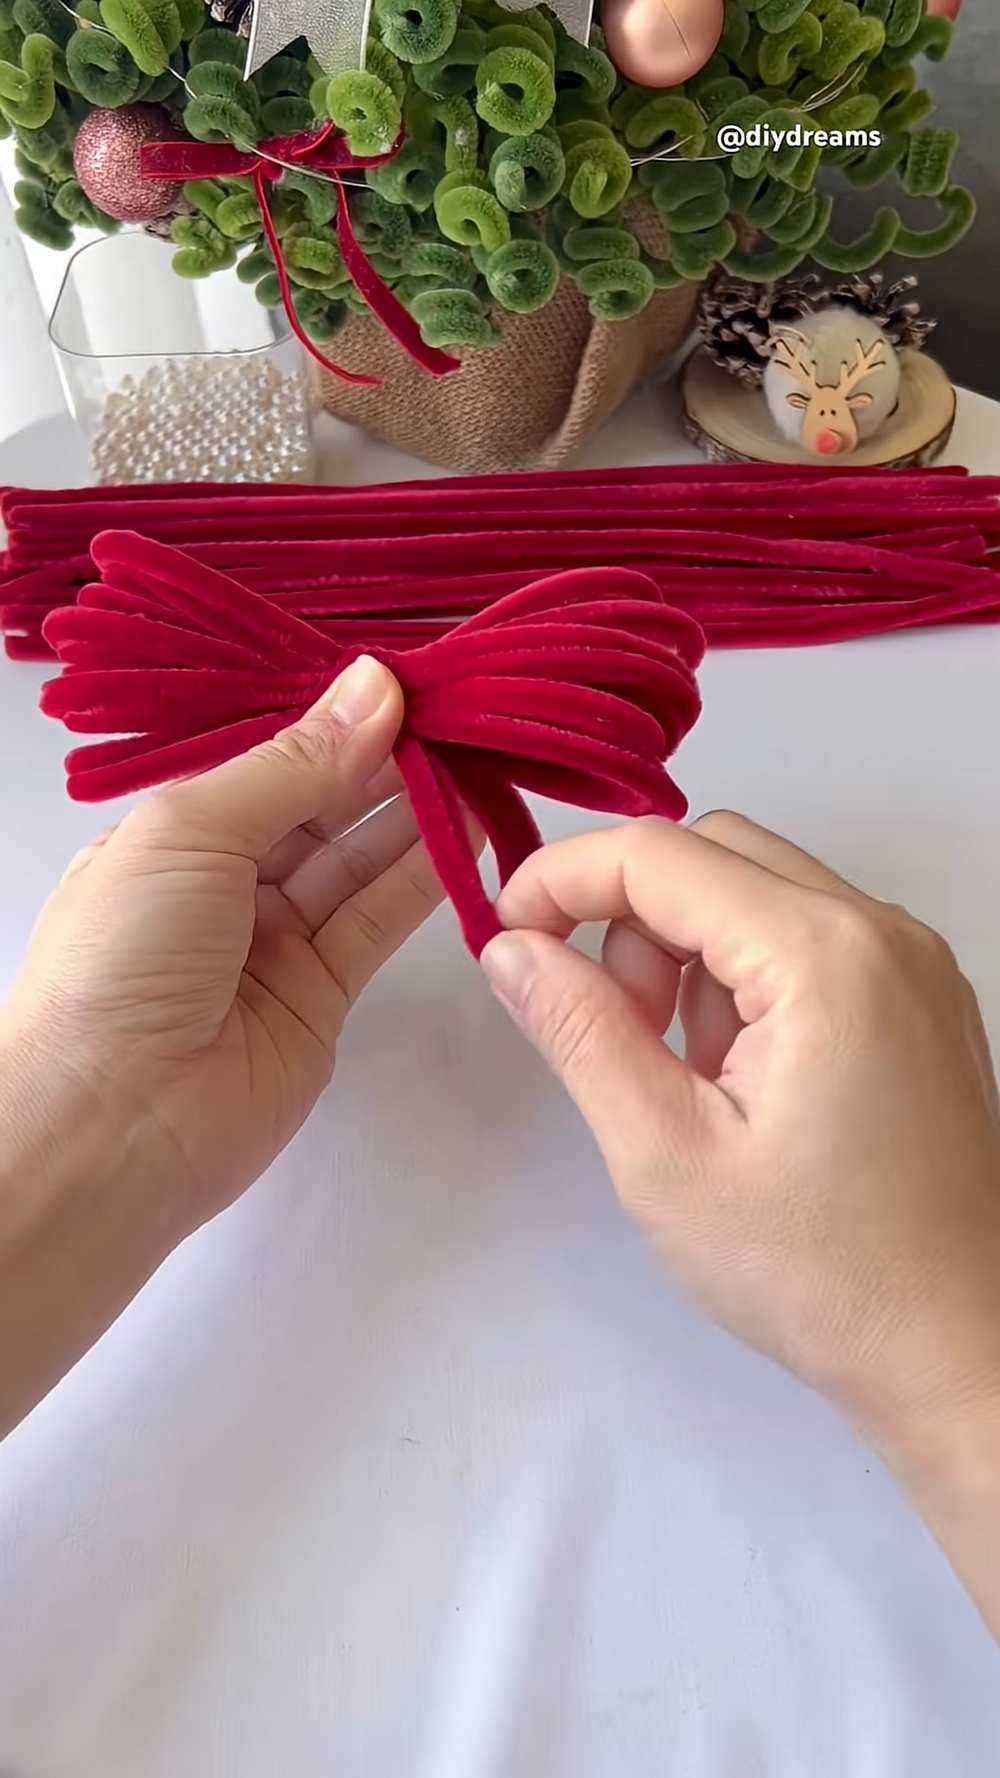
Bring all the pipe cleaner strands closer to each other and then press from the middle and press them tight. Then take a piece of another pipe cleaner and wrap it around the middle tightly so you have to faned sides on either side.
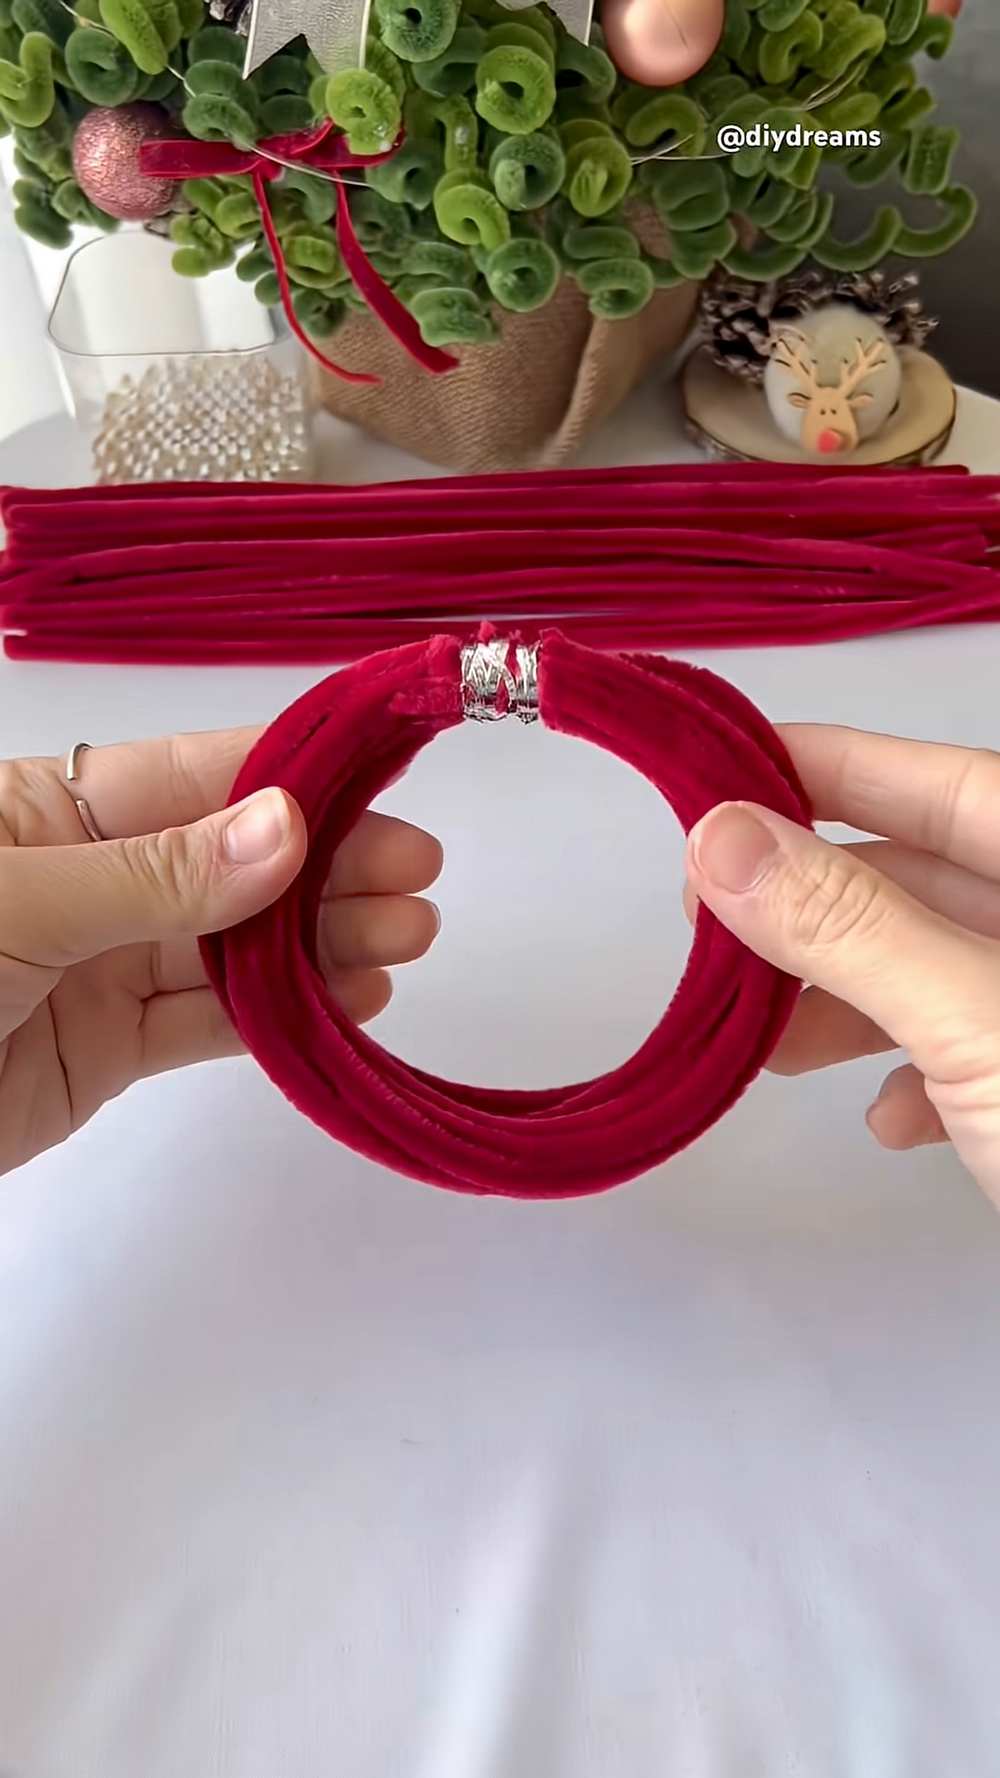
Twist from the bottom to close it tight. Now, also fan out the side ribbons by pulling each pipe cleaner strand apart.
Step 3: Create the Center Detail
Take one more red pipe cleaner and fold it into a smaller “figure-8” shape (two small loops). To make a figure-8, you must make 1 loop, secure it, and then make another loop. Apply a dab of hot glue to the center of your large bow and press this smaller piece on top. This hides the center wire and makes the bow look professional. You will also want to pinch the loop from the vertical middle horiztonallt to make that beautiful look.
Step 4: Prepare the Headband
Take your plain headband base. Apply a small amount of glue to one end. Press a red pipe cleaner onto it and begin wrapping it tightly around the entire headband until the base is completely covered in red fuzz. Secure the other end with glue.
Step 5: Attach the Bow
Decide where you want the bow to sit (usually slightly to one side). Apply a generous amount of hot glue to the headband at that spot. Press the center of the red bow onto the glue and hold it firmly until the glue cools and hardens.
Step 6: Decorate with Pearls
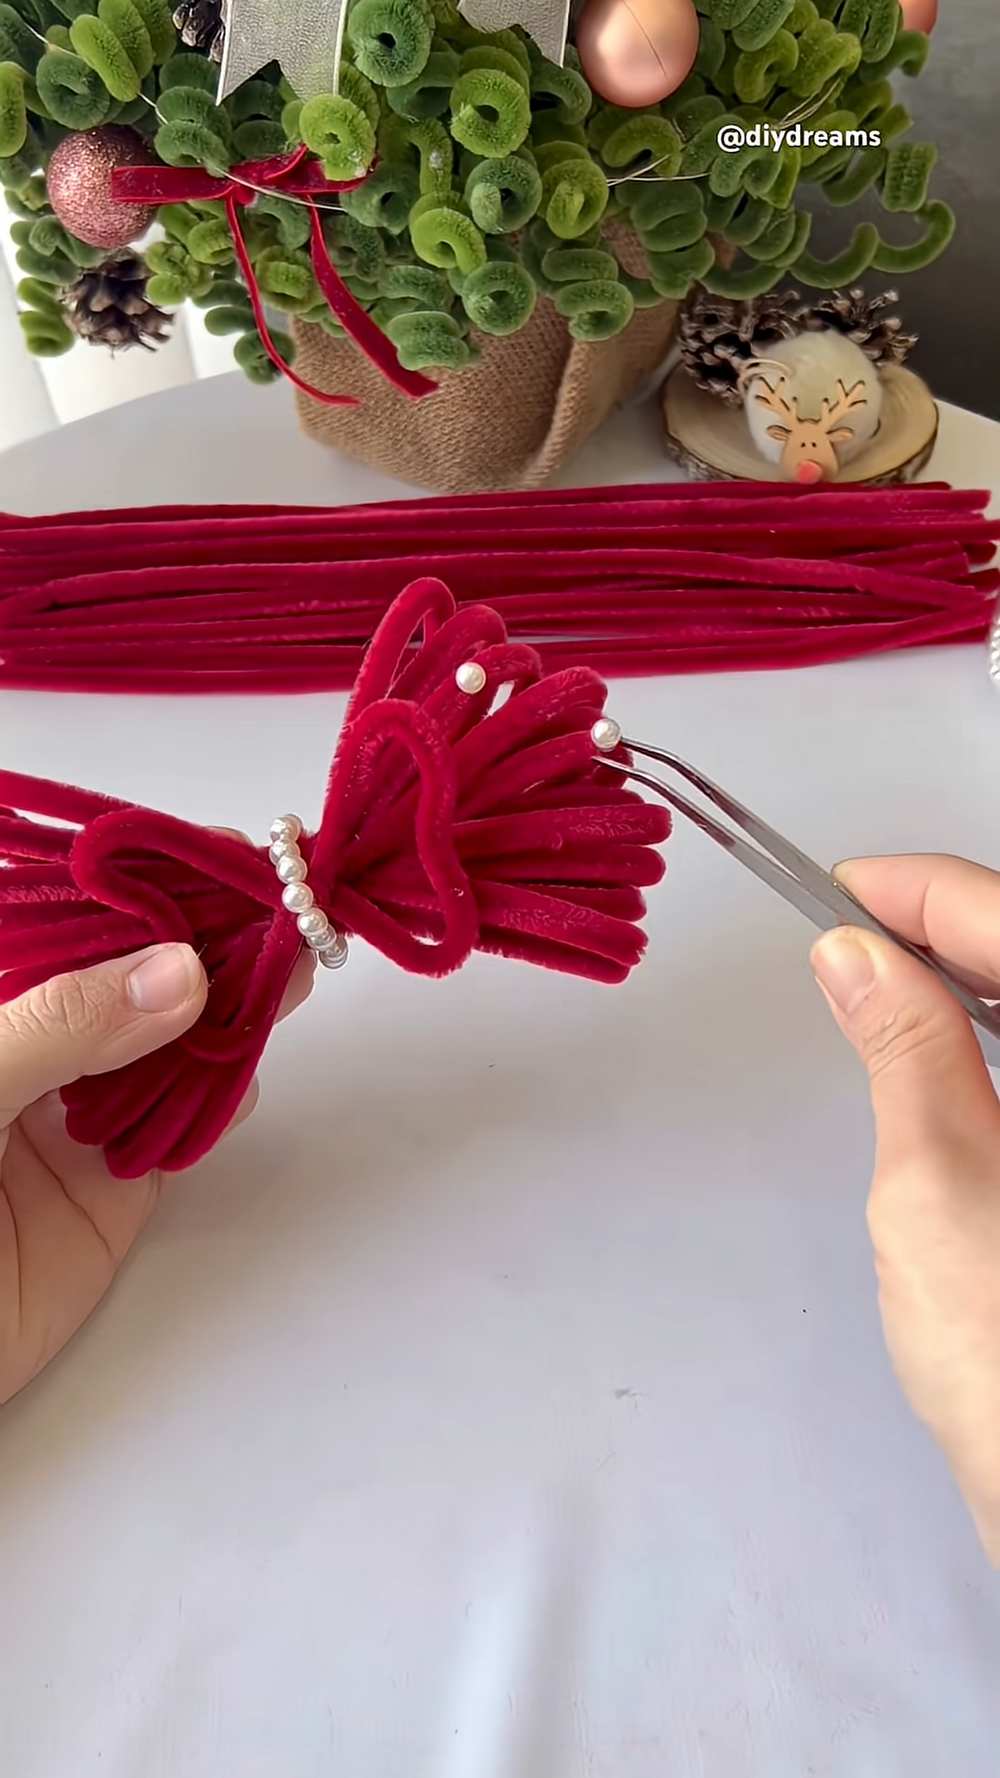
Using your tweezers, pick up a small white pearl. Apply a tiny dot of glue to the tips or the center of the bow loops. Carefully place the pearls onto the glue. You can add a row of pearls down the middle of the bow and a few on the “petals” of the bow to make it sparkle.
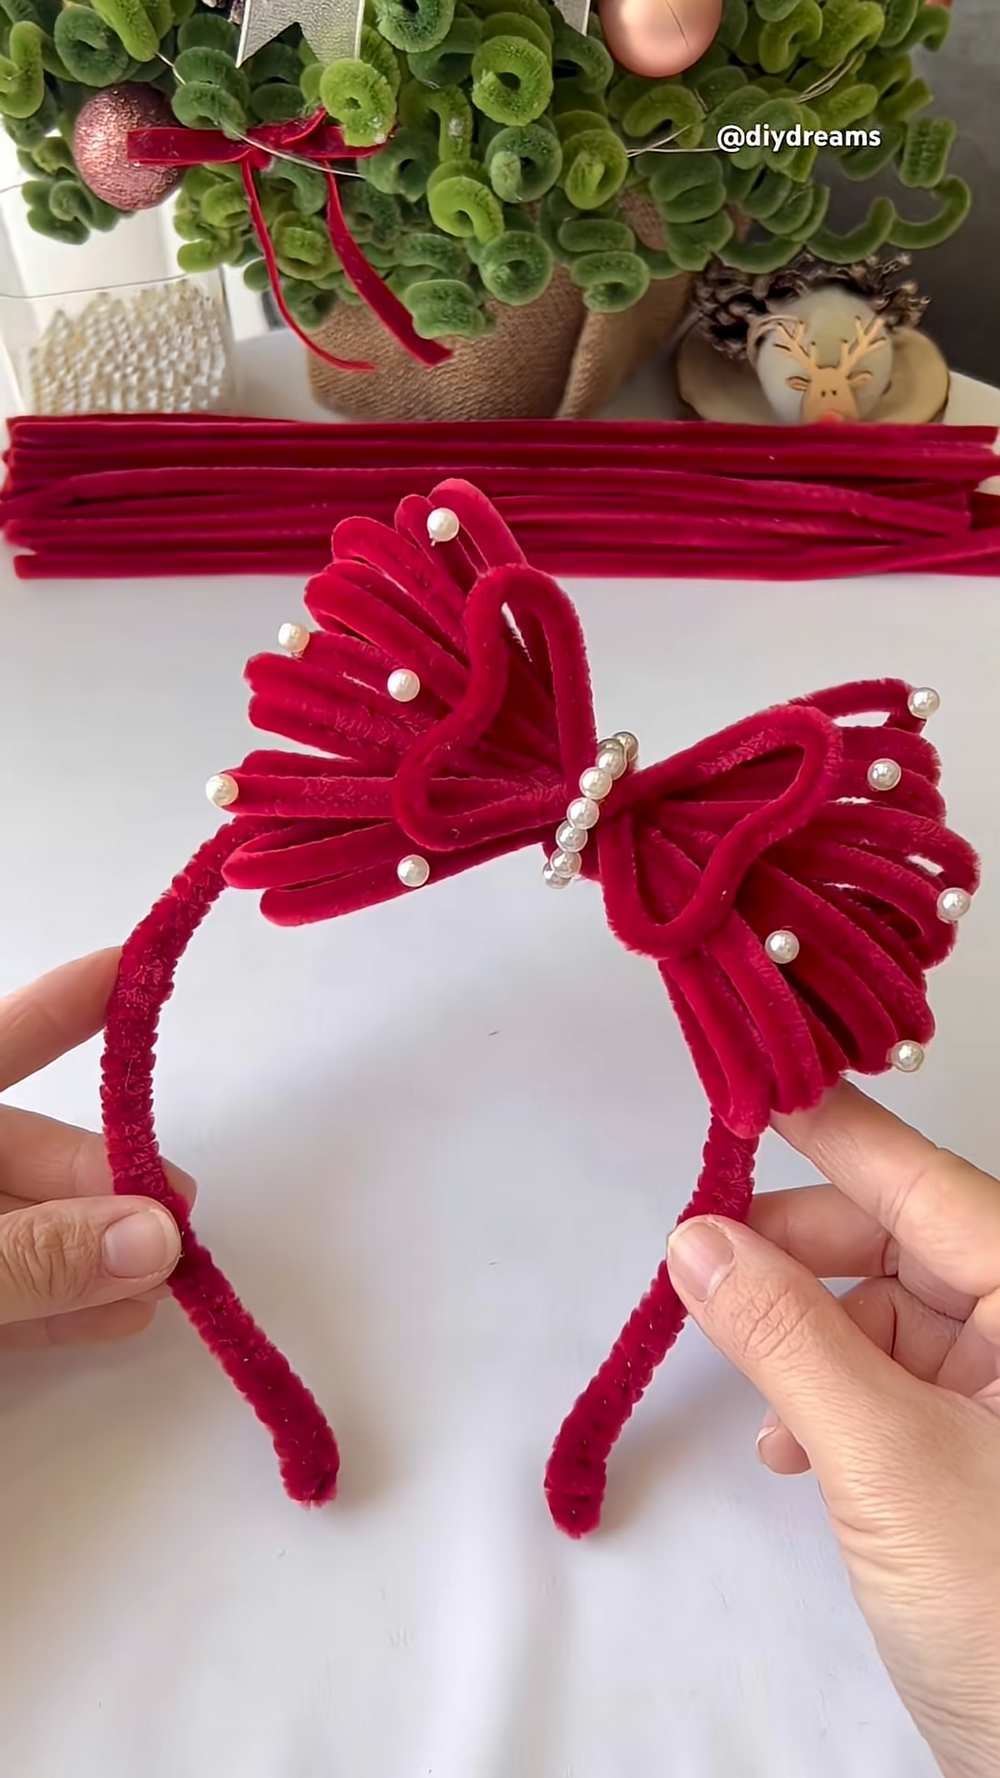
Step 7: Final Adjustments
Check if any pipe cleaners are loose and add a tiny bit of glue if needed. Give the loops a final fluff to make sure the headband is symmetrical and pretty.
Your Red Velvet Bow Headband is now ready to wear!