
Show support for Craft Bea!
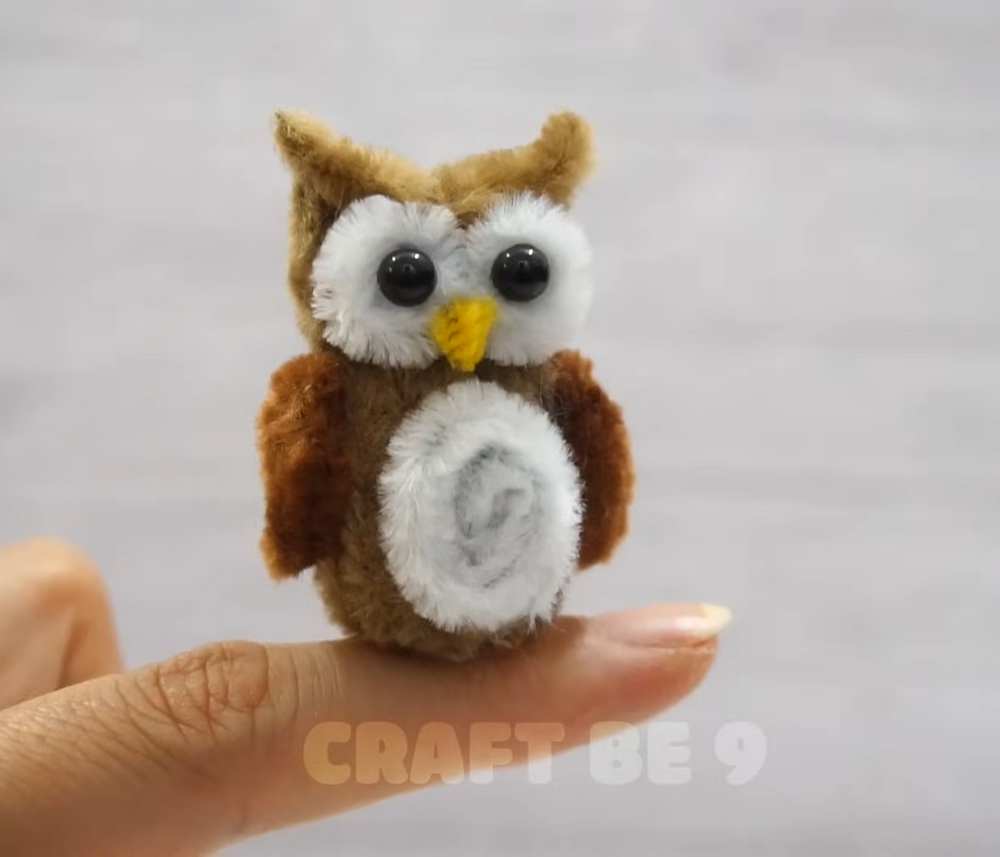
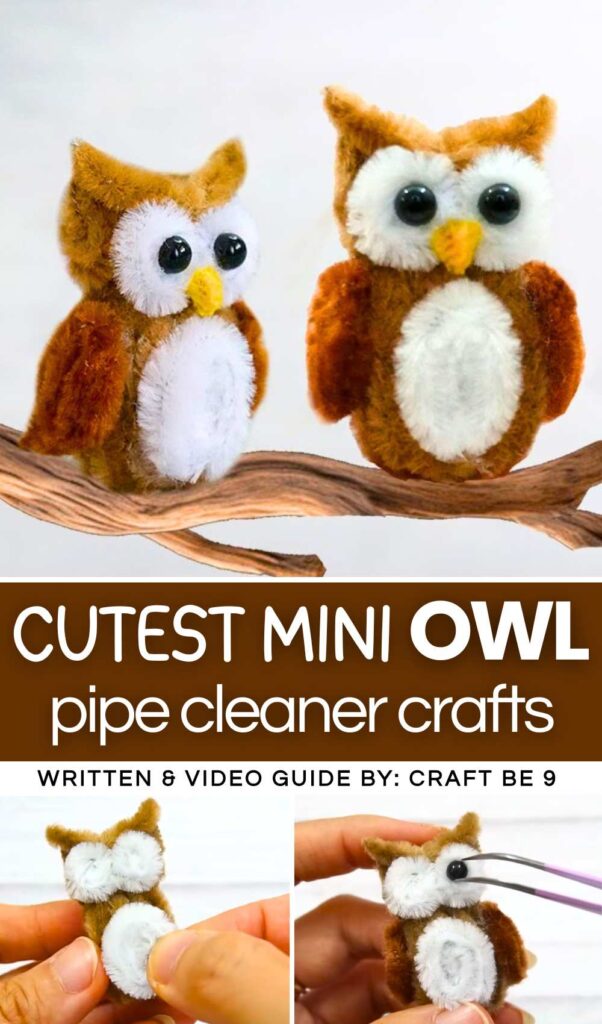
For this year’s fall decorations, learn how to DIY this oh-so-cute & googly-eyed pipe cleaner owl plushie! You can make a pair of these pipe cleaner owl buddies and let them perch on a small branch (THE CUTEST living room and porch decor!). This pipe cleaner owl craft also shows how perfectly you can DIY animals and birds using pipe cleaners. To make one soft and fuzzy owl plushie, you will only need a total of 13 pipe cleaners. You can also make this plush owl a keychain for your fall tote bag.
So, at the end of the day, this googly-eyed owl plushie is a last-minute and cheap pipe cleaner craft. The only craft supply you need other than the pipe cleaners will be the half beads.
You can also add this owl chenille stem craft to your Thanksgiving and Halloween decorations by making a pipe cleaner pumpkin alongside. Last year, people loved the owl crafts so much during the New Year and even Christmas. So, I recommend you make this quick pipe cleaner owl as a Christmas and New Year ornament. Now, continue reading to learn more about this other fall pipe cleaner craft & and learn the method.
Tutorial to Make A PERFECT Pipe Cleaner Owl Plush – Soft and Charming
This DIY project shows you how to make a tiny, cute owl using pipe cleaners. It is a fun craft that is very easy to do. You only need a few things like pipe cleaners, glue, and scissors. You make the owl by twisting and rolling the pipe cleaners into different shapes. You make a head, a body, wings, and a face. You glue the parts together to build the bird. This project is great for kids and adults. It does not take much time. In the end, you have a soft and fuzzy owl toy.
Materials You Will Need:
-
Pipe Cleaners: Light brown (30cm), White (8cm), Darker brown (8cm), and a tiny piece of Yellow.
-
Tools: Scissors, Glue, Tweezers, Pliers, Ruler, and a thick Marker or Pen.
-
Accessories: Small plastic googly eyes.
Feels Difficult?
Step-by-Step Instructions:
1. Make the Owl’s Head
-
Take a 30cm light brown pipe cleaner. Fold and twist it to create a small, flat-topped ball.
-
Make sure to leave two little points at the top corners to look like owl ears.
-
Use your scissors to trim the fuzzy hair on the front of the head. This makes the face look neat and flat so you can glue things onto it later.
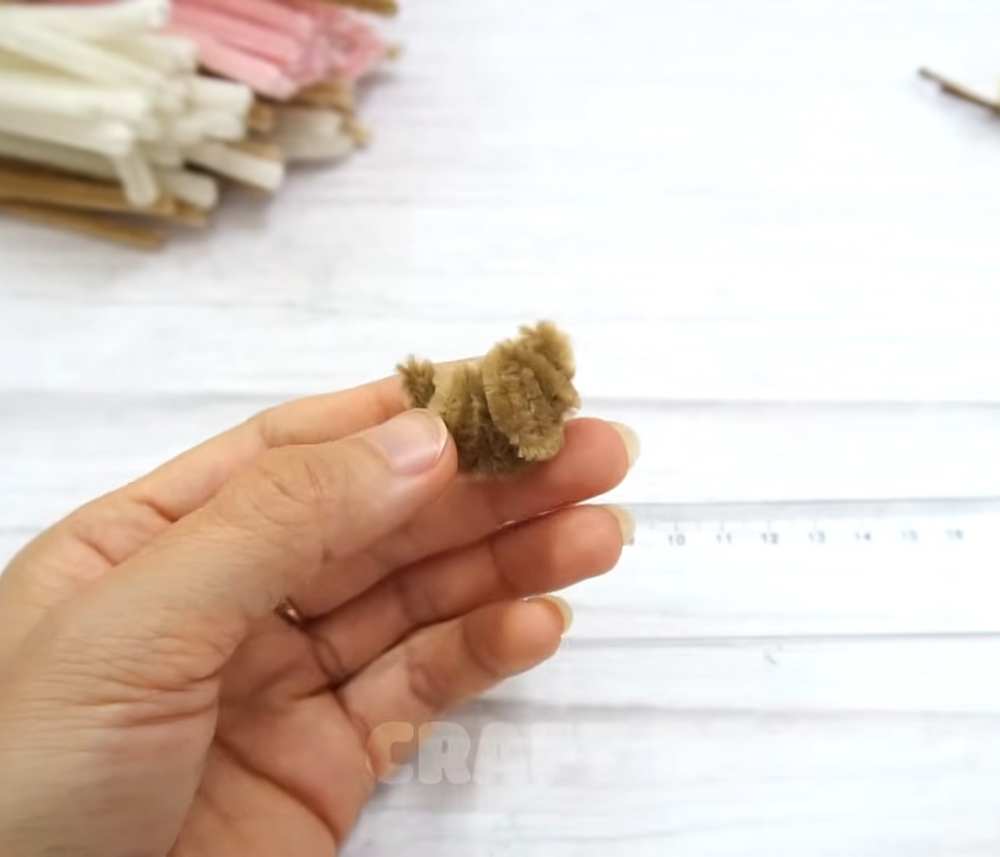
2. Make the Owl’s Body
-
Connect two 30cm light brown pipe cleaners to make one long piece.
-
Wrap the long pipe cleaner around a thick marker or pen. This will create a spring-like coil.
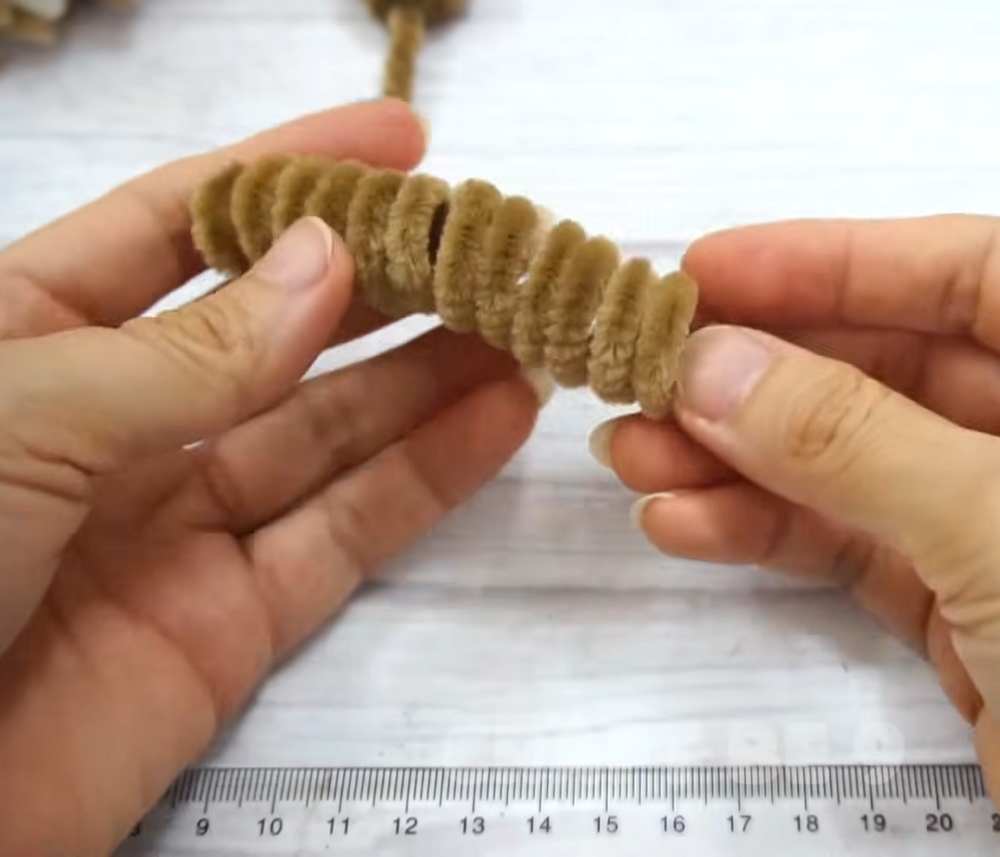
-
Slide the coil off the marker. This is the body of your owl.
-
Tuck the loose ends of the pipe cleaner inside the coil to keep it from unravelling.
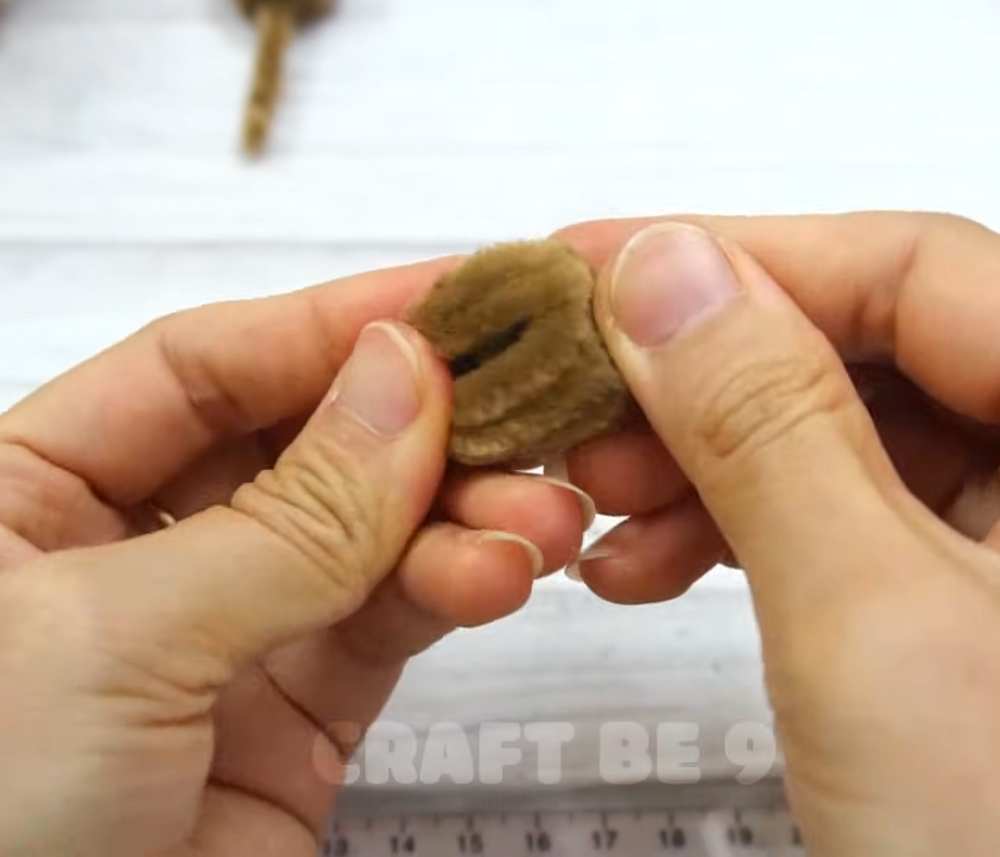
3. Join the Head and Body
-
Place the head on top of the body coil.
-
Use the end of the pipe cleaner from the head to twist into the body. This will hold the two pieces together firmly.
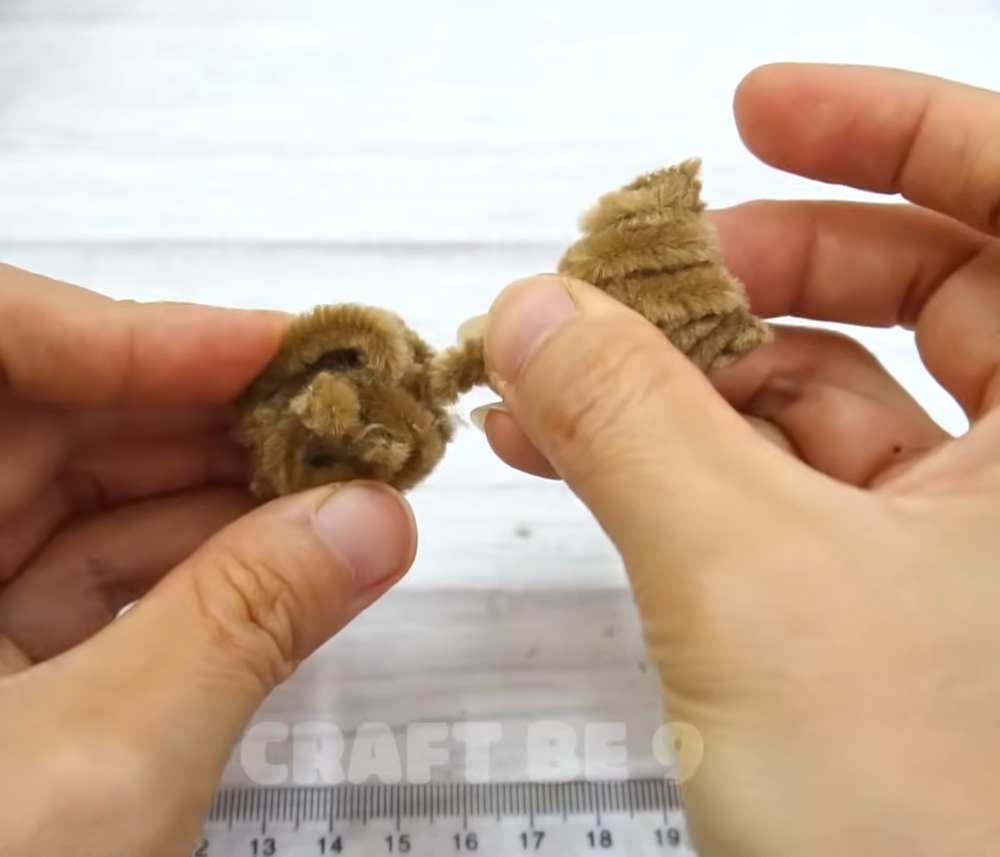
4. Create the Face and Belly
-
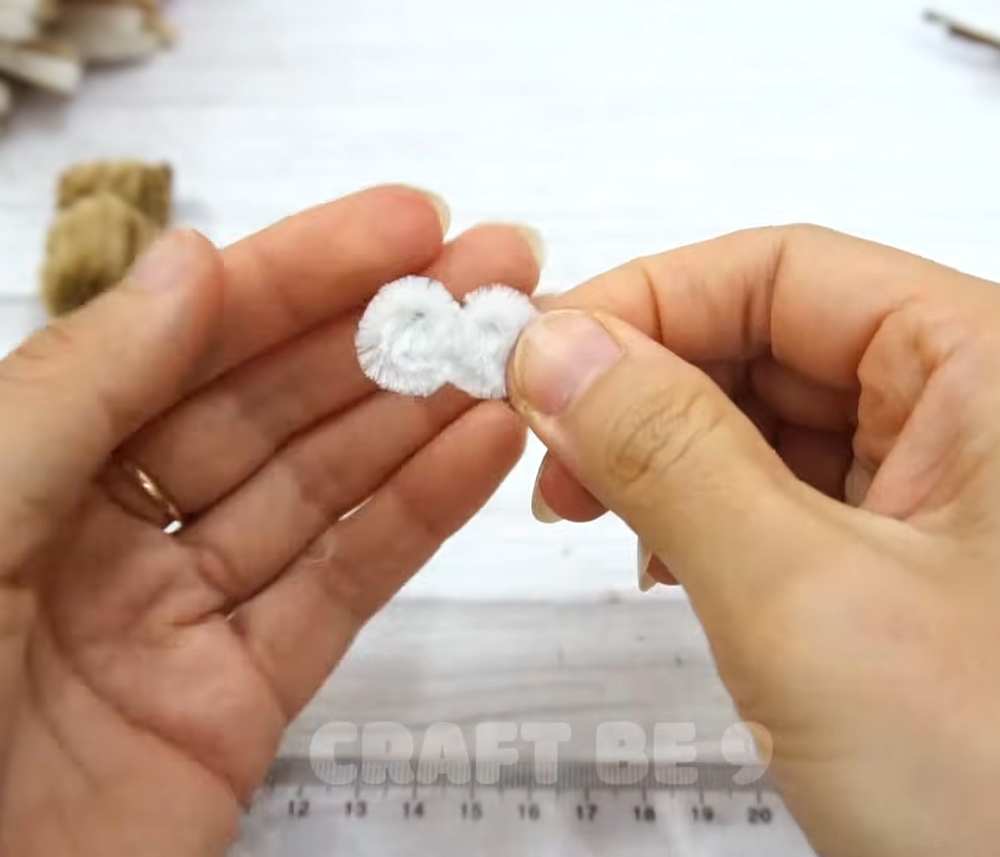
Eyes: Take an 8cm white pipe cleaner. Roll it into two small, flat circles. Glue these next to each other on the front of the head.
-
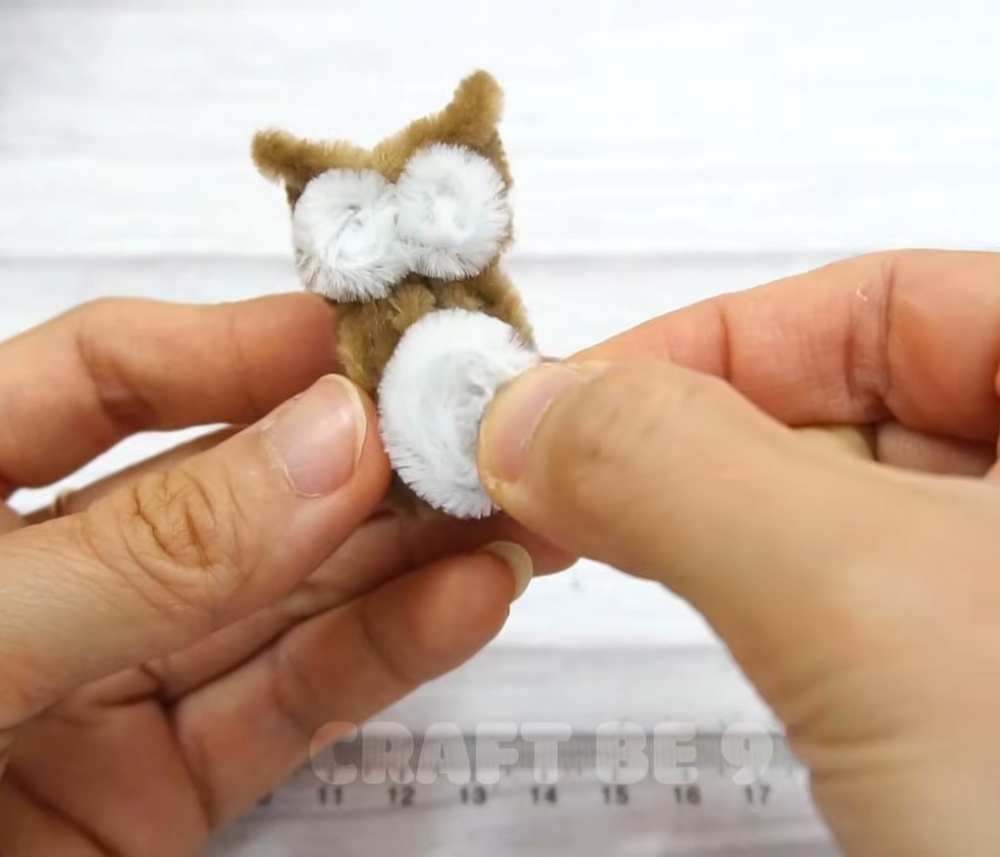
Belly: Take another piece of white pipe cleaner and roll it into a larger circle. Glue this to the front of the body coil.
5. Make the Wings
-
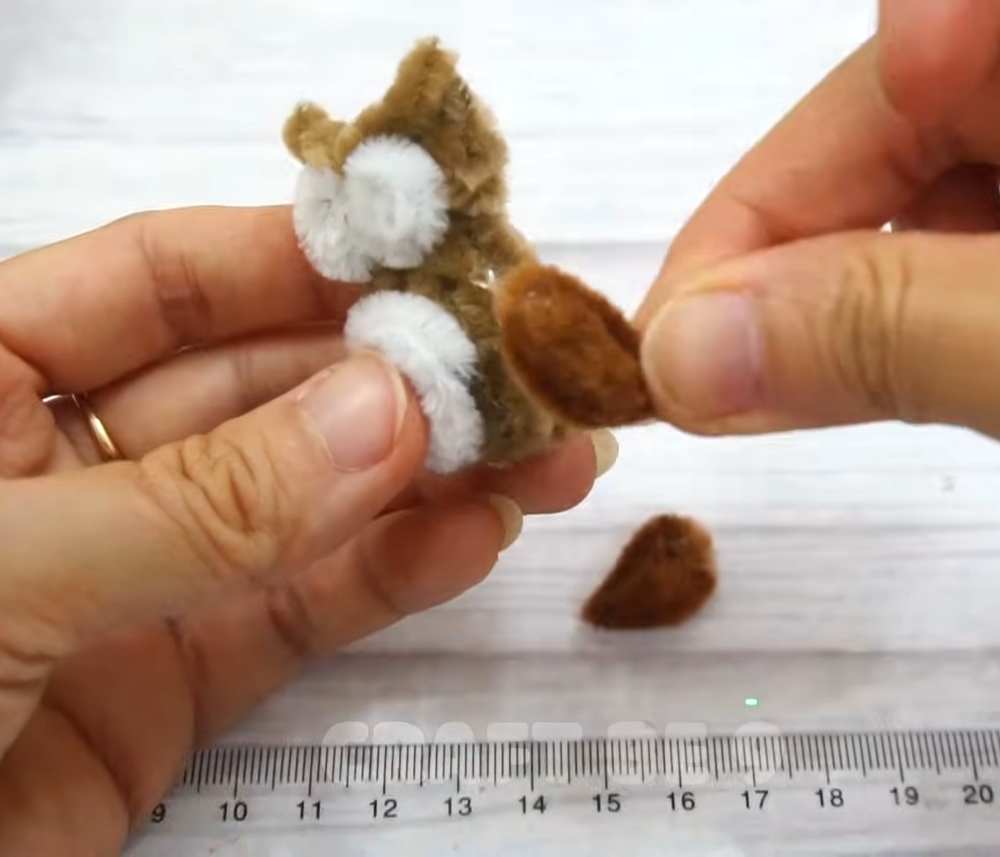
Take two 8cm darker brown pipe cleaners.
-
Bend each one into a leaf or “teardrop” shape.
-
Use your scissors to trim the fuzzy edges so they look like smooth feathers.
-
Glue one wing on each side of the owl’s body.
6. Add the Final Details
-
Eyes: Use tweezers to pick up the googly eyes. Put a small drop of glue on them and stick them onto the white circles on the face.
-
Beak: Glue a tiny piece of yellow pipe cleaner between the eyes to make the nose.
-
Ears: Use pliers to gently pinch the top corners of the head. This makes the ears look sharp and pointy.
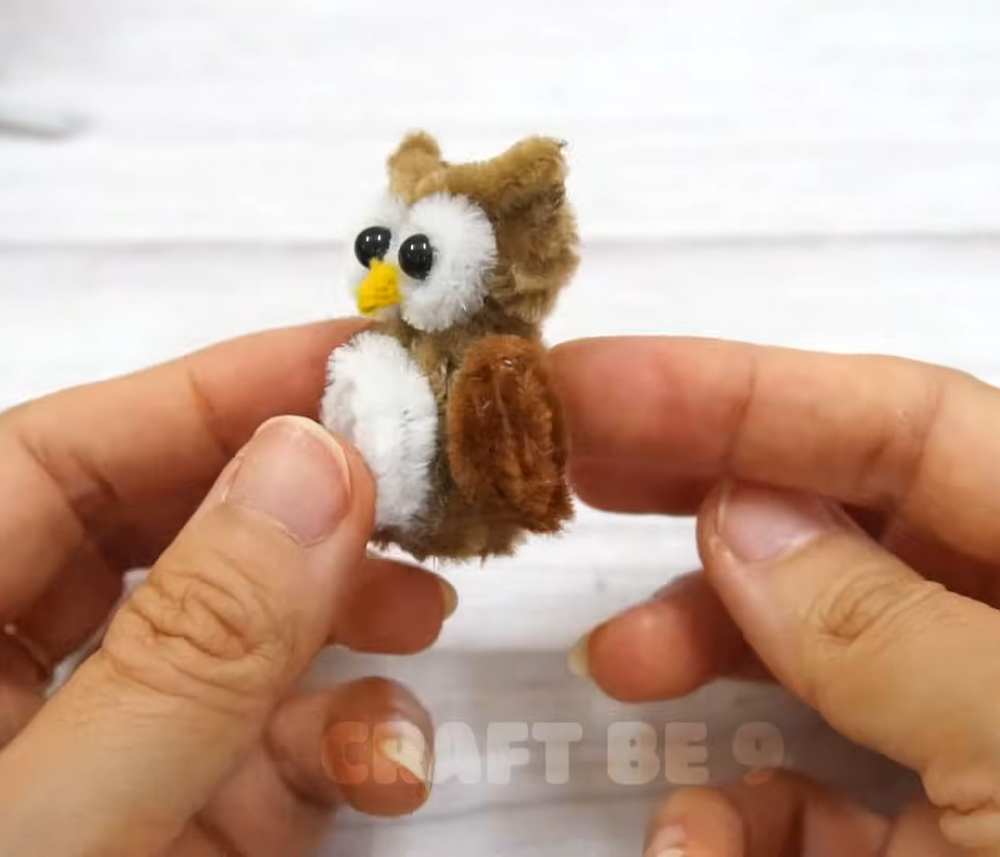
Your DIY Pipe Cleaner Owl is now finished!
About "Craftbee 9"
She makes incredible fabric, recycle and pipe cleaner crafts.