
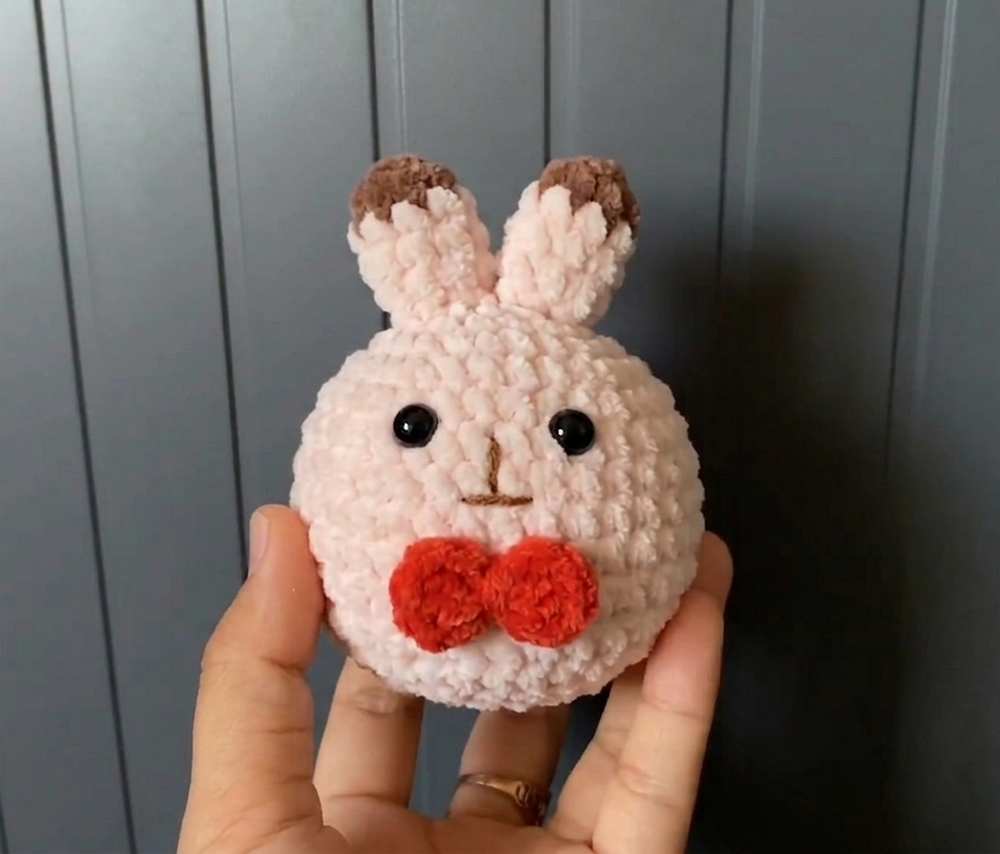
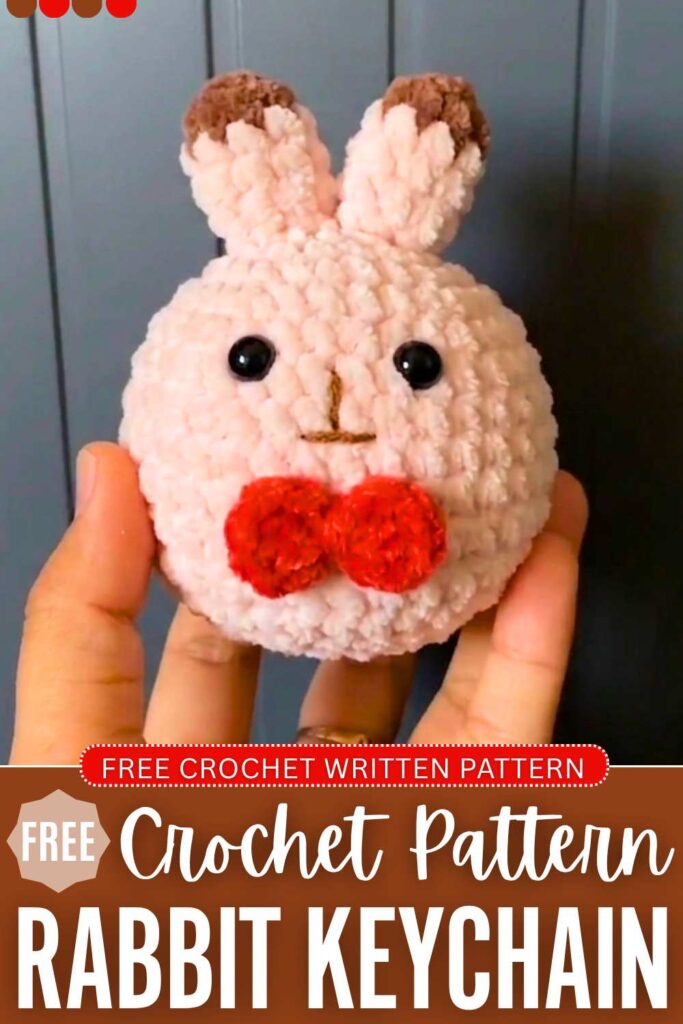
Continuing the crochet bunny plushie series, today, you will learn to crochet a CUTE chubby bunny face plush and keychain. It is inspired by the BUNBUN Xavier’s Bunny, though we shall use a different color combo to crochet it. So, it wears a cute bow tie and has a bigger head than its ears. This crochet plushie design is low-sew and can be crocheted in less than 30 minutes.
You can also wrap a skewer with beige pipe cleaner and insert it, so kids can use it as a crochet puppet. Or you can simply attach a keyring to it and turn it into a crochet bag charm for your beach bag.
It is a great Valentine’s Day present, baby shower, and birthday gift, and if you crochet it with a basket, it is for fall too. You can also crochet it as a bunny in a carrot baskeT plush by crocheting the basket in the same size. Now, continue reading for the full crochet pattern to make it as a beginner.
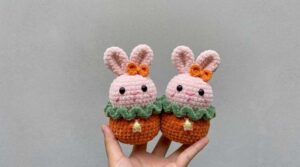
Another oh-so cute rabbit plushie idea for absolute beginners?
Here is the complete beginner-friendly written pattern for the Chubby Bunny Face Plushie & Keychain.
Materials Needed
- Yarn: Chenille super bulky yarn
- Main Color (MC): Cream/Light Pink plush yarn (e.g., chenille or velvet yarn)
- Accent Color 1 (AC1): Brown plush yarn (for the tips of the ears)
- Accent Color 2 (AC2): Red/Coral plush yarn (for the bow tie)
- Crochet Hook: 5mm
- Safety Eyes: 1 pair of 6mm–8mm black safety eyes
- Embroidery Thread: Small amount of brown or black thread for the nose/mouth details
- Stuffing: Fiberfill polyester stuffing
- Tools: Yarn needle, stitch markers, scissors, and a keychain ring (optional)
Abbreviations (US Terms)
- MR: Magic Ring
- ch: Chain
- sc: Single crochet
- dc: Double crochet
- inc: Increase (2 single crochet stitches in the same stitch)
- dec: Decrease (single crochet 2 stitches together, invisible decrease recommended)
- sl st: Slip stitch
- st(s): Stitch(es)
- [ ]: Repeat instructions inside the brackets the specified number of times
- ( ): Total number of stitches at the end of the round
Written Pattern
Ears (Make 2)
The ears are worked first, starting with the accent color. They are worked from the top down and do not need to be stuffed.
- Round 1: Using AC1 (Brown), start with a MR and work 6 sc. (6)
- Round 2: [1 sc, 1 inc] x 3. (9)
- Change to MC (Cream/Pink) in the last stitch of Round 2.
- Round 3–5: 9 sc around. (9 for 3 rounds)
- Fasten off the first ear. Do not fasten off the second ear—continue straight into the head section below.
Head
The head is worked directly from the bottom of the ears to create a low-sew finish.
- Round 6: Join the second ear to the first ear with a sc. Crochet 9 sc around the first ear, then 9 sc around the second ear. (18)
- Round 7: [2 sc, 1 inc] x 6. (24)
- Round 8: [3 sc, 1 inc] x 6. (30)
- Round 9: [4 sc, 1 inc] x 6. (36)
- Round 10–15: 36 sc around. (36 for 6 rounds)
- Place safety eyes between Rounds 11 and 12, approximately 4 to 5 stitches apart.
- Round 16: [4 sc, 1 dec] x 6. (30)
- Round 17: [3 sc, 1 dec] x 6. (24)
- Begin stuffing the head firmly with fiberfill.
- Round 18: [2 sc, 1 dec] x 6. (18)
- Round 19: [1 sc, 1 dec] x 6. (12)
- Finish stuffing the head completely before closing.
- Round 20: 6 dec. (6)
- Fasten off, weave the tail through the remaining 6 front loops, pull tightly to close, and hide the yarn tail inside the head.
Bow Tie (No)
The bow tie is worked entirely in one round inside a single magic ring.
- Round 1: Using AC2 (Red/Coral), start with a MR.
- inside the ring, work: ch 3, 2 dc, ch 3, sl st, ch 3, 2 dc, ch 3, sl st.
- Pull the magic ring cord tightly to gather the center into a bow shape. Leave a long yarn tail for assembly, wrap it tightly around the center of the bow 2–3 times to define the knot, and secure it at the back.
Assembly and Details
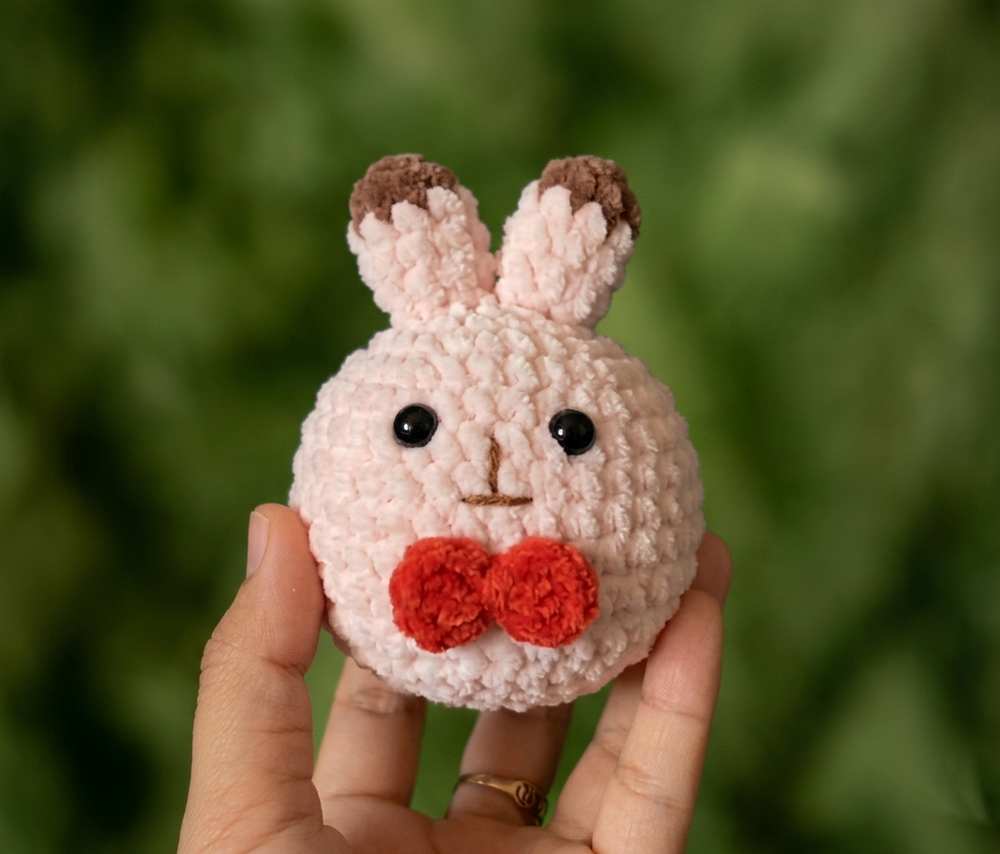
- Face Embroidery: Using a yarn needle and brown embroidery thread, stitch a small vertical “T” or “I” shape right between the safety eyes to create the nose and mouth detail.
- Attaching the Bow Tie: Position the completed bow tie directly centered at the bottom of the bunny’s face (around Rounds 15–16). Use the long yarn tails to sew it securely into place.
- Finishing Touches: If making a keychain, loop a metal split ring or bag charm hardware through the top center of the head between the two ears. If making a puppet, insert a pipe-cleaner-wrapped skewer carefully through the bottom center of the closed head.