
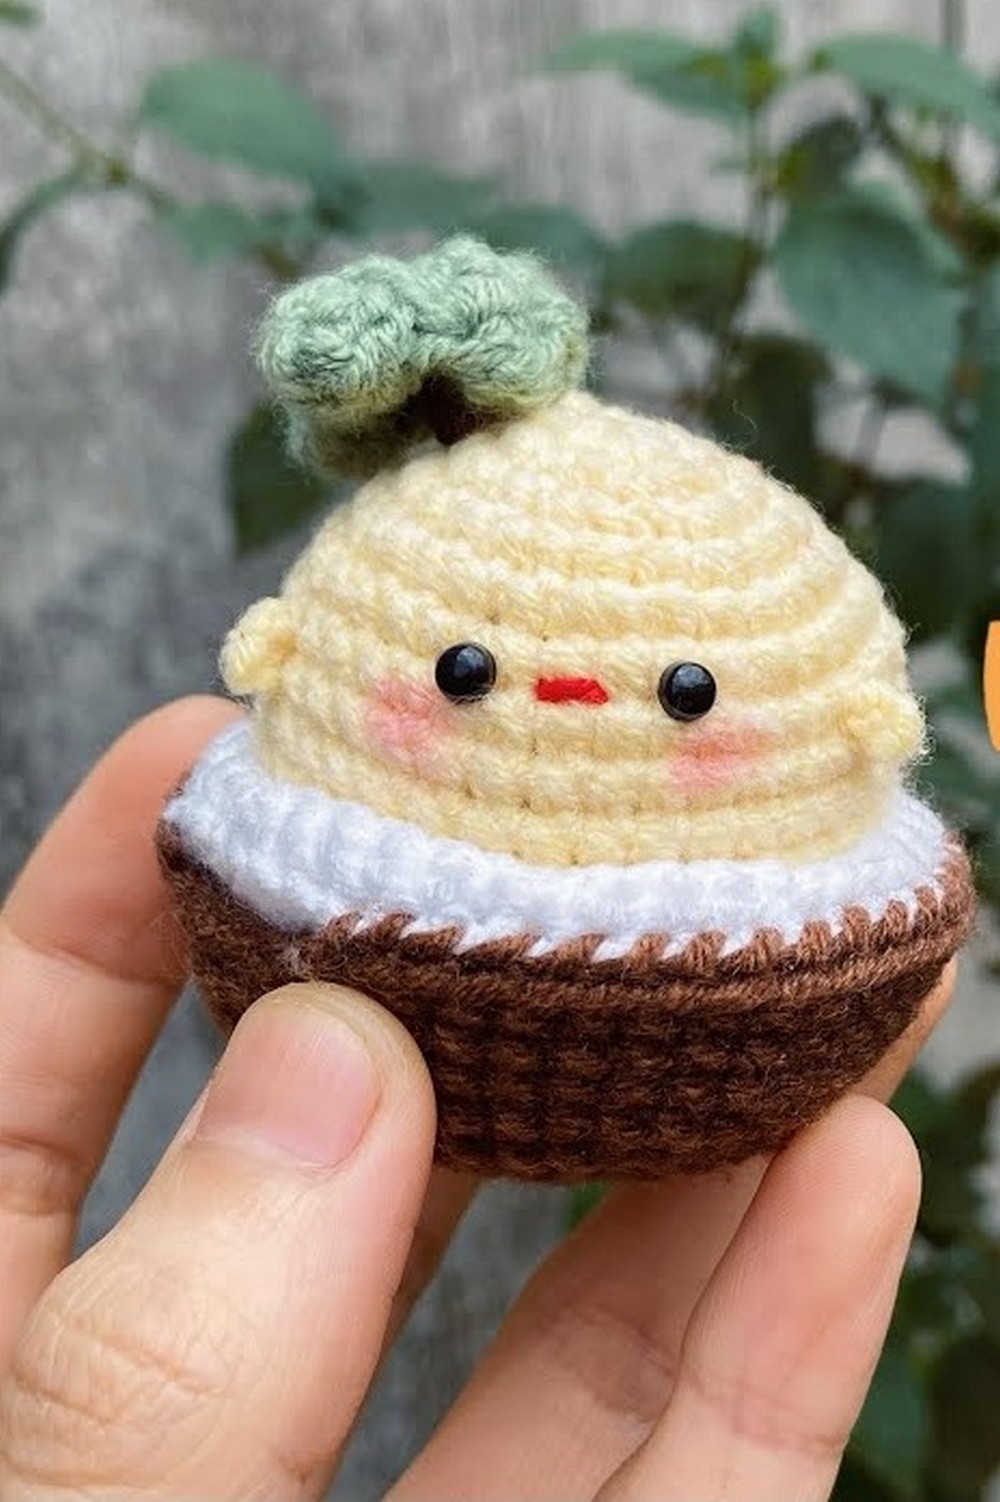
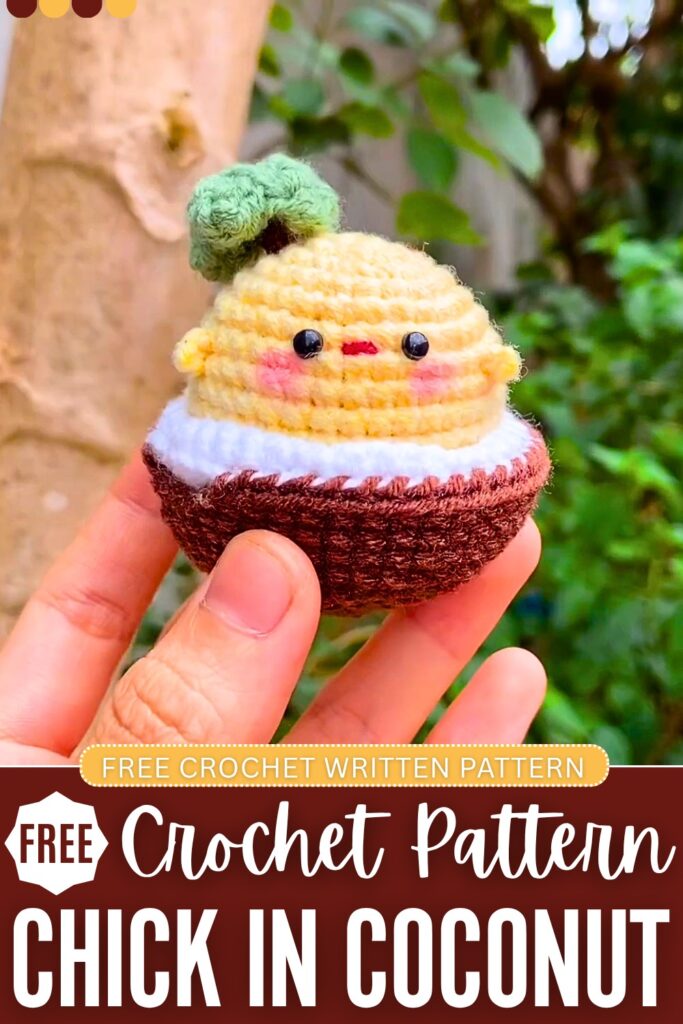
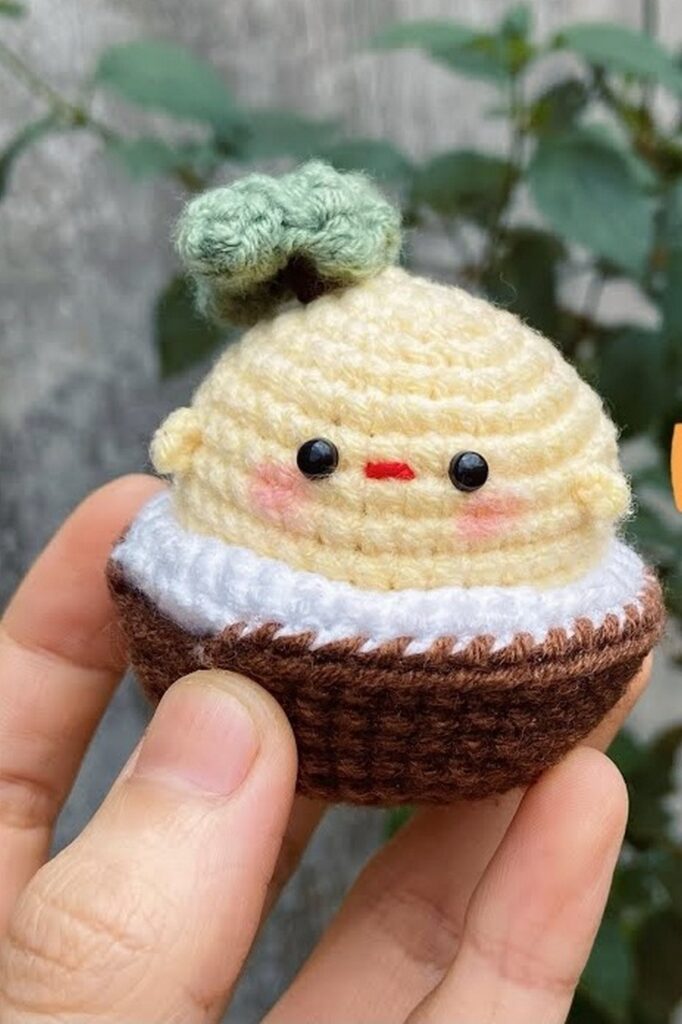
Crochet fat chick in a coconut shell is a SUPER COOL & oh-so-cute variation of a crochet chick amigurumi designed for summer. With this pattern, you can learn how to crochet this miniature chick present for kids. It is a low-sew amigurumi that you can also crochet using the thin plush or even super bulky yarn.
We will also crochet a small leaf for it that finishes the coconut’s round shape and makes the chick look a bit funny. This is a part of the crochet duck series, and all of its members are SO FUN and CUTE!
You can also crochet it as a baby shower present, a fall decoration, or simply as a gift for a dear one. Since it is almost no-sew, you can crochet it pretty quickly, and it will end up neater whether yoy are a beginner or an expert. Now, continue reading for the full crochet chick pattern in US terms.
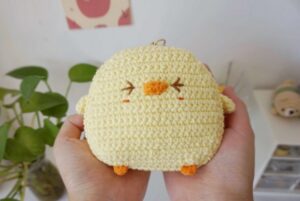
Crochet Coconut Lover Chick Keychain PATTERN
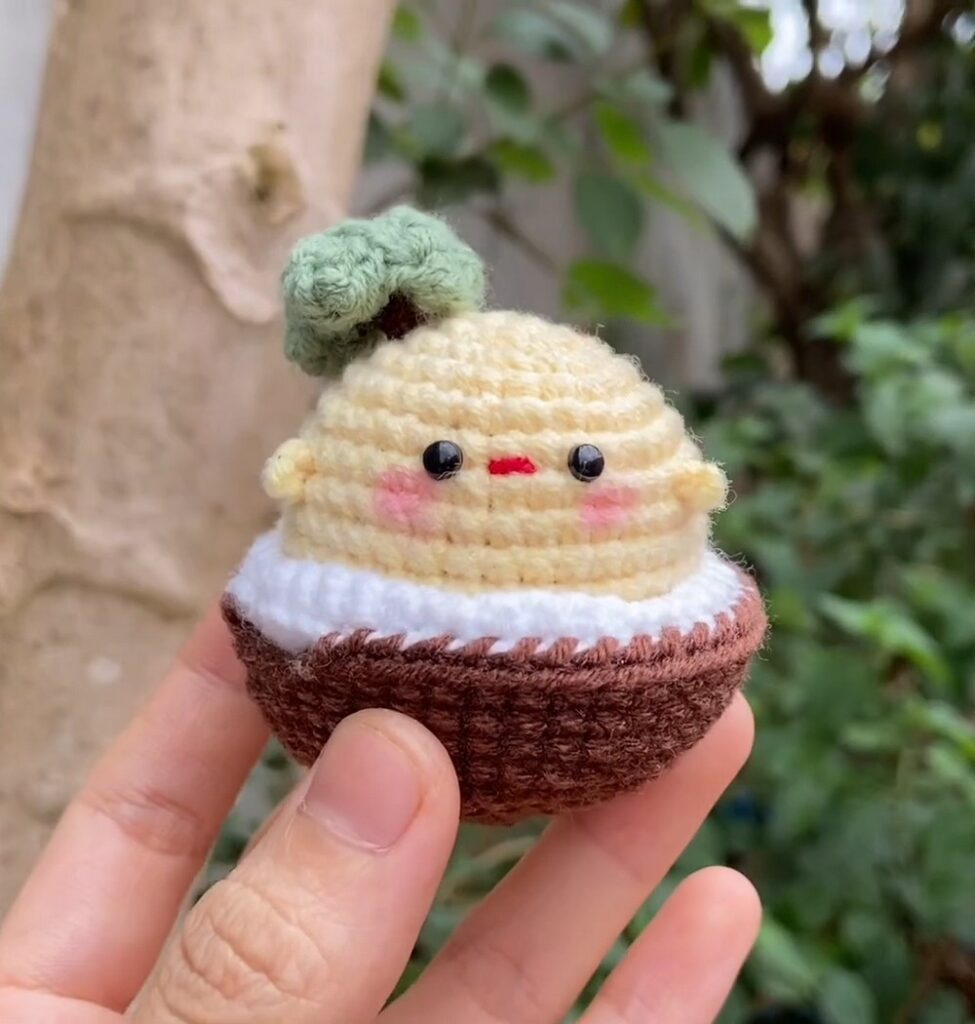
This adorable and creative amigurumi project features a tiny chick nestled inside a cracked coconut shell. The coconut has a beautifully textured jagged edge to look like real coconut flesh, and the chick includes fun details like a little sprout leaf on its head.
Quick Making Guide
- Skill Level: Intermediate Beginner
- Method: Amigurumi method, worked in continuous spirals for the chick and coconut shell components, unless stated otherwise.
- Construction: The chick is worked bottom-up in one piece, with separate tiny wings and tail attached later. The coconut is composed of an outer shell and an inner shell, crocheted separately and seamed together to create a realistic “cracked” edge.
Materials Needed
- Yarn: The tutorial uses a 50g Milk Cotton yarn. However, to achieve that high-quality, velvety plush look you prefer, you can easily swap this out for a super bulky chenille or velvet yarn! Just make sure to use a larger hook size that complements your plush yarn (usually around 4.5mm to 6.0mm). You will need Yellow (chick), Brown (outer coconut), Cream/White (inner coconut), Green (leaves), and a tiny bit of orange/red for the beak.
- Crochet Hook: 2.5 mm hook (if using standard Milk Cotton yarn).
- Tools: Stitch marker, yarn needle, scissors, fiberfill stuffing, and safety eyes. Optional: A little bit of blush for the chick’s cheeks.
Abbreviations (US Terms)
- MR: Magic Ring
- Ch: Chain
- Sc: Single crochet
- Hdc: Half double crochet
- Dc: Double crochet
- Inc: Increase (2 sc in the same stitch)
- Dec: Decrease (sc 2 together)
- Sl st: Slip stitch
- FLO: Front Loop Only
- St(s): Stitch(es)
The Chick Pattern
Body and Head Use yellow yarn. Row 1: 6 sc in a Magic Ring. (6) Row 2: 6 inc. (12) Row 3: (1 sc, 1 inc) repeat 6 times. (18) Row 4: (1 sc, 1 inc, 1 sc) repeat 6 times. (24) Row 5: (3 sc, 1 inc) repeat 6 times. (30) Row 6: (2 sc, 1 inc, 2 sc) repeat 6 times. (36) Rows 7 – 12: 1 sc in each st around for 6 rows. (36)
Row 13: (2 sc, 1 dec, 2 sc) repeat 6 times. (30) Row 14: (3 sc, 1 dec) repeat 6 times. (24) Row 15: (1 sc, 1 dec, 1 sc) repeat 6 times. (18) Row 16: (1 sc, 1 dec) repeat 6 times. (12) Stuff the chick firmly with fiberfill. Fasten off leaving a long tail. Use a yarn needle to weave through the front loops of the remaining 12 stitches and pull tight to close the hole securely.
Wings (Make 2) Use yellow yarn. Row 1: Ch 2. Sl st into the first chain. Fasten off, leaving a long tail for sewing. Sew the wings to the sides of the body around Row 7.
Tail Use yellow yarn. Row 1: Ch 4. Starting in the 2nd ch from the hook: 1 sc, 1 hdc in the next ch, 1 dc in the last ch. Row 2: Ch 3, turn your work. 1 dc in the first st, 1 hdc in the next st, 1 sc in the last st.
Row 3: Ch 1, turn your work. 1 sc in the first st, 1 hdc in the next st, 1 dc in the last st. Fasten off, leaving a long tail. Fold the tail piece in half, and sew the folded base to the lower back of the chick.
Facial Details
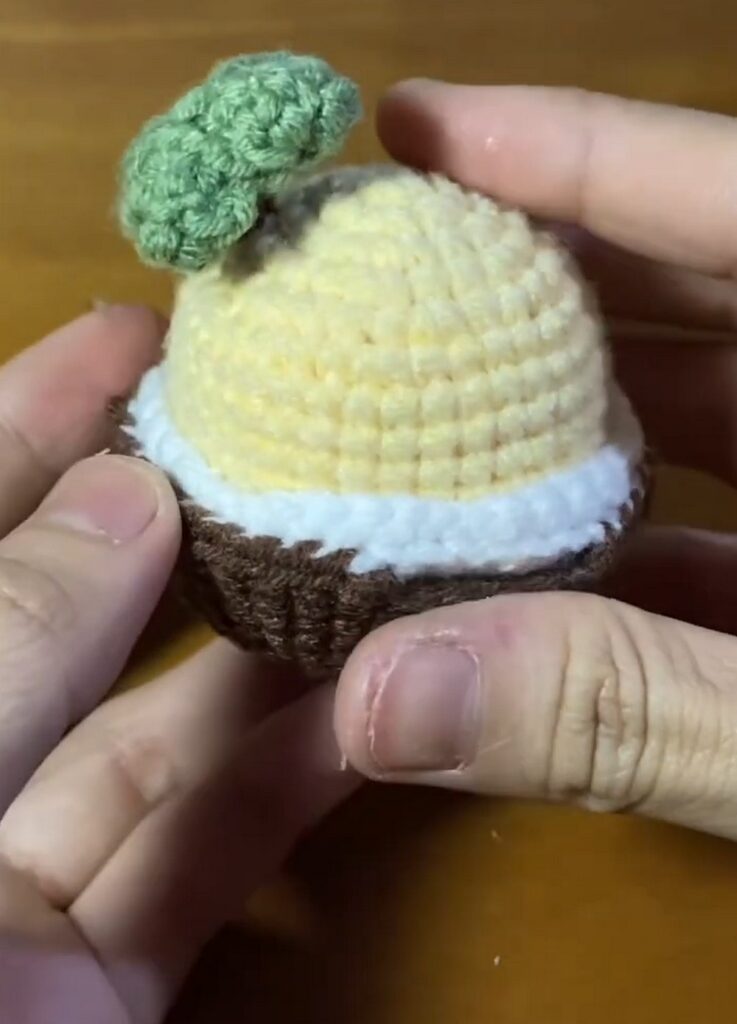
- Insert or glue safety eyes on the front of the face.
- Embroider a small beak using orange or red yarn directly between the eyes.
- Dab a little blush underneath the eyes for a cute finish.
The Coconut Shell Pattern
Outer Shell (Brown) Row 1: 6 sc in a Magic Ring. (6) Row 2: 6 inc. (12) Row 3: (1 sc, 1 inc) repeat 6 times. (18) Row 4: (1 sc, 1 inc, 1 sc) repeat 6 times. (24) Row 5: (3 sc, 1 inc) repeat 6 times. (30) Row 6: (2 sc, 1 inc, 2 sc) repeat 6 times. (36) Row 7: (5 sc, 1 inc) repeat 6 times. (42) Rows 8 – 9: 1 sc in each st around for 2 rows. (42) Row 10: 26 sc, 4 sl st, 12 sc. (42) Row 11: 25 sc, 1 sl st. Skip the next 5 sts, then make 11 sc to the end of the round. Fasten off and weave in the ends. (The skipped stitches naturally create the cracked opening of the shell).
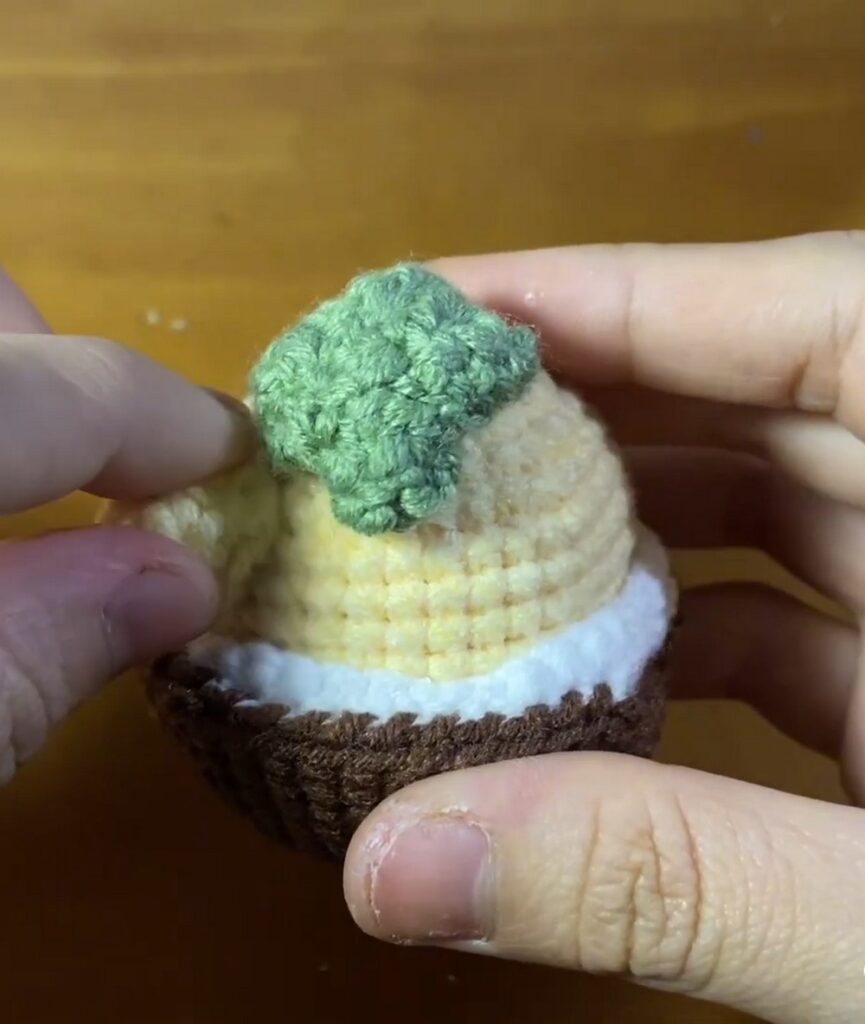
Inner Shell (Cream/White) Rows 1 – 8: Follow the exact same pattern as Rows 1 to 8 of the Outer Shell above. (42) Row 9: 1 hdc in each st around. (42) Row 10: This row creates the jagged broken edge of the coconut flesh. Work in the Front Loops Only (FLO) for this entire round: 5 sc, 3 sl st, 4 sc, 2 sl st, 5 sc, 2 sl st, then (4 sc, 3 sl st) repeat the bracketed section 3 times total. Fasten off and weave in the ends.
Sprout Leaves & Assembly
Sprout Leaves (Make 4) Use green yarn. Row 1: Ch 4. Starting in the 2nd ch from the hook, work: 1 sc, 1 hdc in the next ch, 3 dc all in the last ch. Rotate your work to crochet down the opposite side of the foundation chain. Work 1 hdc in the next ch, 1 sc in the last ch. Sl st to join. Fasten off and leave a long tail. Once you have made 4 individual leaves, sew their bases together to form a little sprout cluster.
Final Assembly
- Place the Cream Inner Shell inside the Brown Outer Shell so their bottoms align perfectly.
- Using a strand of the brown yarn and your needle, sew the two layers together along the jagged top edges to secure them into one solid shell.
- Sew the green leaf sprout to the very top center of the chick’s head.
- Rest your finished chick inside its cozy new coconut shell!