
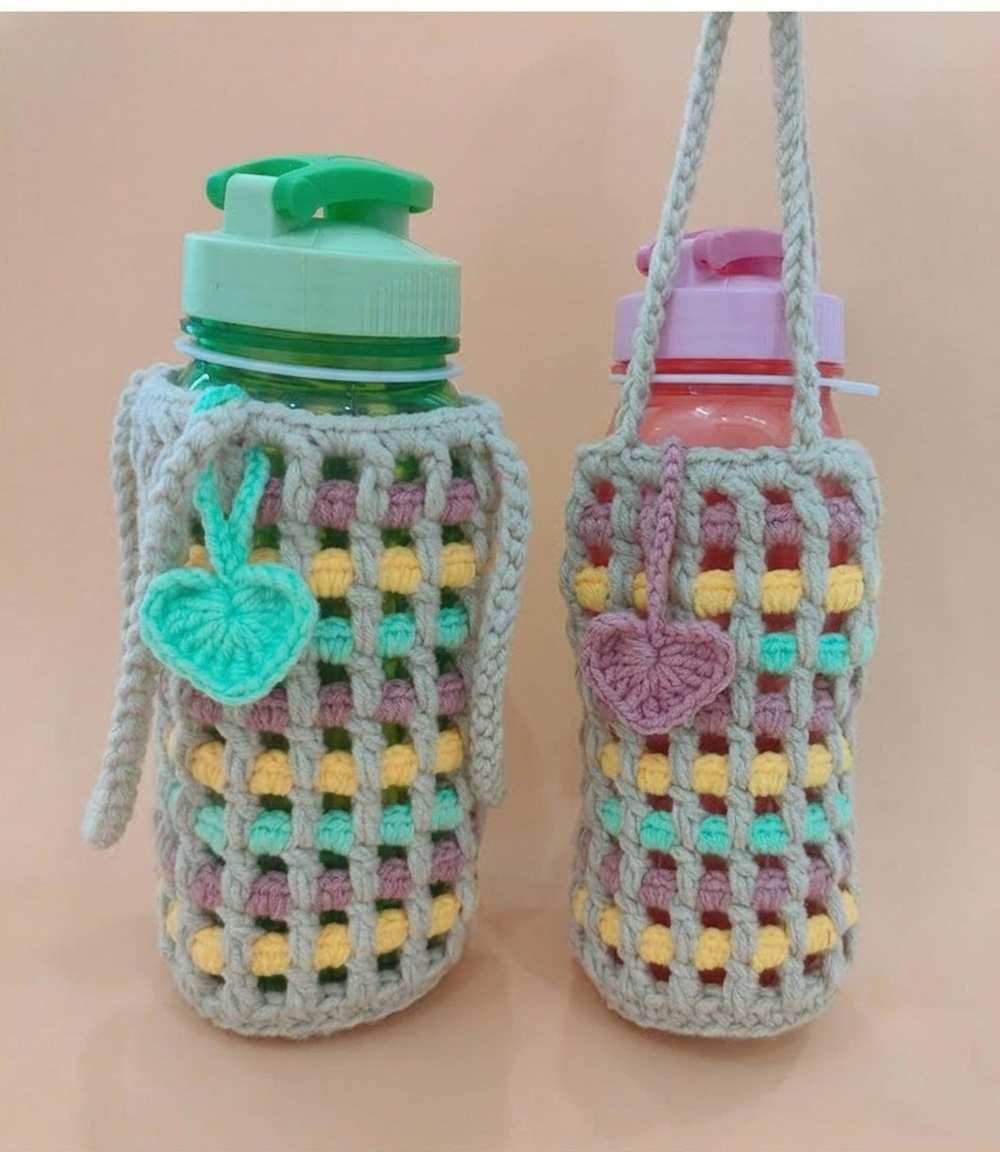
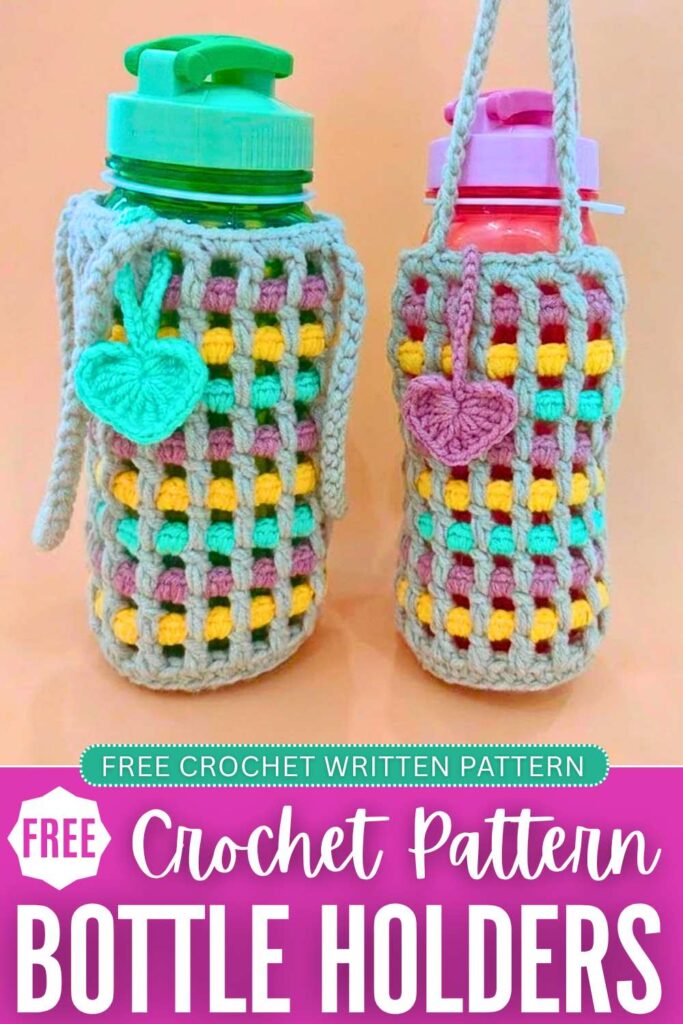
Continuing the “crochet traditional water bottle holders” series, today, you will learn this UNIQUE and beautiful water bottle holder pattern. This is an interesting colorwork mesh water bottle holder finished with a crochet heart charm and a basic sling handle.
You can crochet it for a feeder of a little one or customize the pattern to make it a little bit higher, and so suitable for the tumbler and mineral water bottles, too. We shall alternate between three colors and make a basic square grid that is much more stretchy and elegant-looking. It can also fit bottles of different shapes easily.
Since the amount of chain spaces depends on the base stitches, you can crochet it in any diameter. Now, continue reading for the full pattern (the video tutorial is at the end).
<
Crochet Square Mesh Water Bottle Holder: Written Instructions
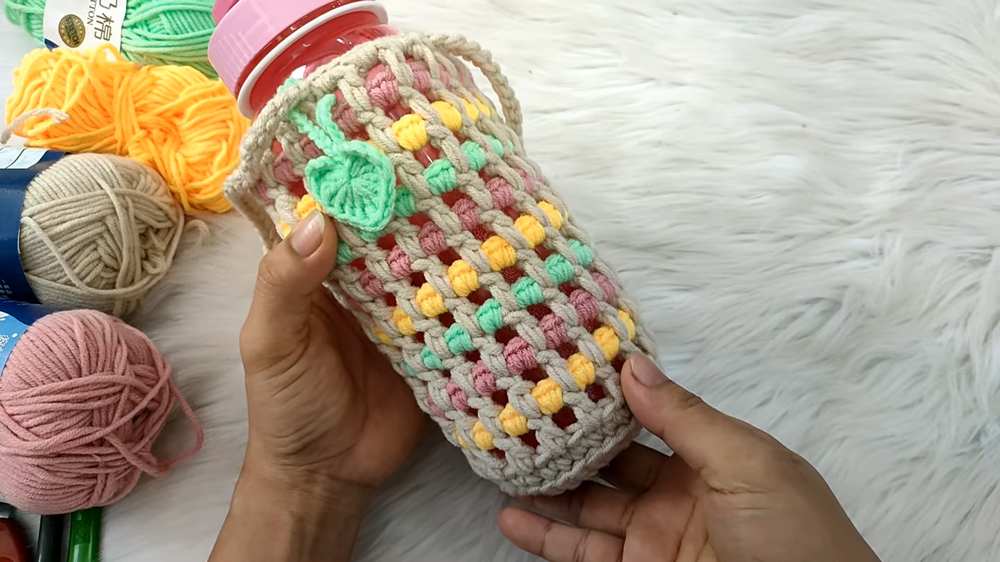
This trendy and highly functional crochet water bottle holder is designed using a modern mesh grid aesthetic. It features a sturdy, solid bottom base that transitions into eye-catching vertical lines paired with vibrant, colorful horizontal accent stripes.
The open-mesh structure is perfectly engineered to showcase your bottle while keeping it secure. It includes a durable double-stranded top handle and a charming decorative heart keychain for an extra pop of personality.
The design allows you to easily pop the cap and hydrate on the go without ever needing to remove the sleeve from your bottle.
Materials
- Main Color Yarn: Approximately 1 skein (50g) of a medium/ trầm tone (like navy, dark cream, or charcoal) to make the stripes pop. This yarn is held double (two strands together) for the structural sections.
- Accent Color Yarns: Small amounts of scrap yarn (about 1/3 of a skein each) in 3 bright, contrasting colors (e.g., yellow, pink, and bright green/blue) to create the horizontal lines. These are worked as a single strand.
- Primary Crochet Hook: 4.5 mm hook (used for the double-stranded base, vertical grid lines, and handles).
- Secondary Crochet Hook: 4.0 mm hook (used for the single-stranded horizontal accent lines and weaving in tails).
- Tools: Scissors and a smaller hook or tapestry needle for weaving in loose ends.
Abbreviations
- MR: Magic Ring
- ch: Chain
- sc: Single Crochet
- dc: Double Crochet
- tr: Treble Crochet (Yarn over twice)
- sl st: Slip Stitch
- inc: Increase (2 single crochets worked into the same stitch)
- st(s): Stitch(es)
| Round / Section | Hook Size | Yarn Setup | Stitch Pattern |
| Rounds 1–5 (Base) | 4.5 mm | Main Color (Held Double) | Continuous Single Crochet Increases |
| Round 6 (Transition) | 4.5 mm | Main Color (Held Double) | Single Crochet in Outer Loops Only |
| Grid Rows (Body) | 4.5 mm | Main Color (Held Double) | Double Crochet + Chain 1 Spaces |
| Accent Rows (Stripes) | 4.0 mm | Accent Colors (Single Strand) | 3 Single Crochets per Grid Space |
| Handles | 4.5 mm | Main Color (Held Double) | Multi-Strand Sturdy Chain Loops |
| Heart Charm | 4.5 mm | Accent Color (Held Double) | Mixed Tall Stitches in a Magic Ring |
Step-by-Step Crochet Instructions
The Solid Base
- Round 1: Using your 4.5 mm hook and the Main Color held double, create a MR. Chain 1, then work 7 sc into the ring. Pull the tail tight to close the center and join with a sl st to the first sc. (7 sts)
- Round 2: Chain 1. Work 1 inc (2 sc) into every single stitch around. Join with a sl st to close the round. (14 sts)
- Round 3: Chain 1. Work a pattern of [1 sc, 1 inc] repeatedly all the way around the circle. Join with a sl st. (21 sts)
- Round 4: Chain 1. Work a pattern of [1 sc, 1 sc, 1 inc] repeatedly around the circle. Join with a sl st. (28 sts)
- Round 5: Chain 1. Work a pattern of [1 sc, 1 sc, 1 sc, 1 inc] repeatedly around the circle. Join with a sl st. (35 sts)
- Base Size Check: At this stage, your flat circle should measure roughly 8 cm in diameter, which perfectly matches standard reusable water bottles.
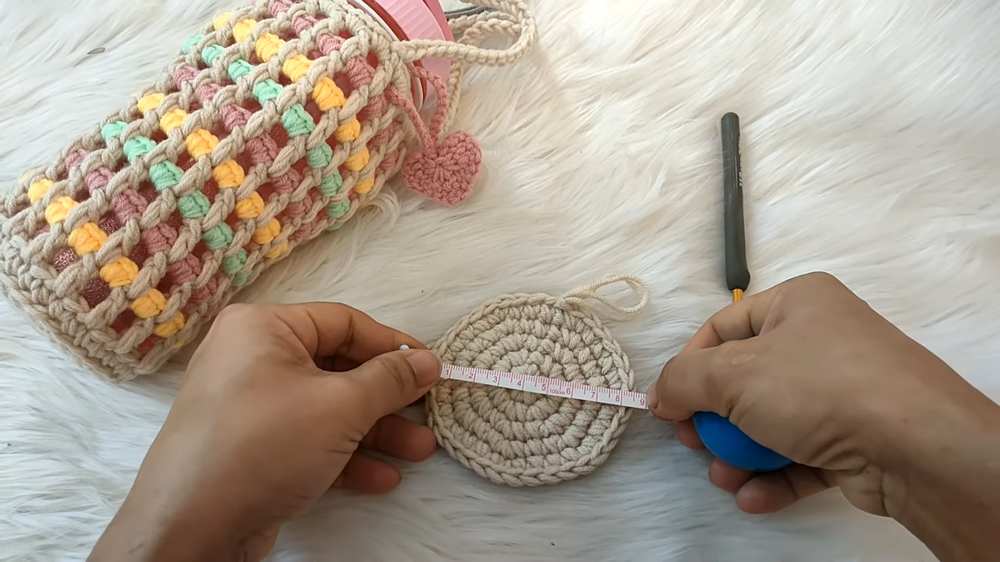
The Transition Round
- Round 6: Chain 1. Work 1 sc into each stitch around, but insert your hook into the outer loop only (leaving the inner loop untouched). This clean structural ridge forces the project to turn upward beautifully to form the walls of the holder. Join with a sl st. (35 sts)
The Mesh & Striped Body walls
- Grid Row 1 (Main Color): Using the 4.5 mm hook, chain 4 (this counts as your first dc plus a ch-1 space). Skip the first stitch, then work 1 dc into the next stitch, chain 1, skip 1 stitch. Repeat from * to * all the way around. Join with a sl st to the 3rd chain of your starting chain-4. Do not cut your yarn; drop the loop to the side. You will have exactly 18 vertical grid posts.
- Accent Stripe Row 1 (Accent Color 1): Switch to your 4.0 mm hook and a single strand of your first bright accent color (e.g., Yellow). Form a slip knot and pull it up inside any ch-1 space of the grid. Chain 1, then work 3 sc directly into every single ch-1 window around the bag. When you reach the end, push the main color vertical grid strands to the outside and slip stitch the accent color on the inside of the first sc to hide the seam. Chain 1, pull tight, and snip a 6 cm tail to tuck away.
- Grid Row 2 (Main Color): Pick up your dropped Main Color double-strand loop with your 4.5 mm hook. Chain 4. Look directly behind/below the accent row and work 1 dc straight into the top of the next main color dc post from the previous grid row. Chain 1. Continue working 1 dc into the top of the next grid post, chain 1 around the row. Join with a sl st to the 3rd chain of the starting chain-4. Drop your loop.
- Accent Stripe Row 2 (Accent Color 2): Switch back to your 4.0 mm hook and your second accent color (e.g., Pink). Repeat the exact same steps as Accent Stripe Row 1, filling each window with 3 sc and fastening off securely on the inside.
- Height Extension: Continue alternating back and forth between a structural Grid Row (Main Color held double) and a colorful Accent Stripe Row (alternating your bright yarn colors). Follow this sequence until you have completed 9 full grid sets, or until the sleeve reaches about 17 cm in height, stopping right at the neck of your bottle.
- Finishing Trim: Ensure your final top rim row is finished with a round of sc using your Main Color held double to give the bag a clean, matching border.
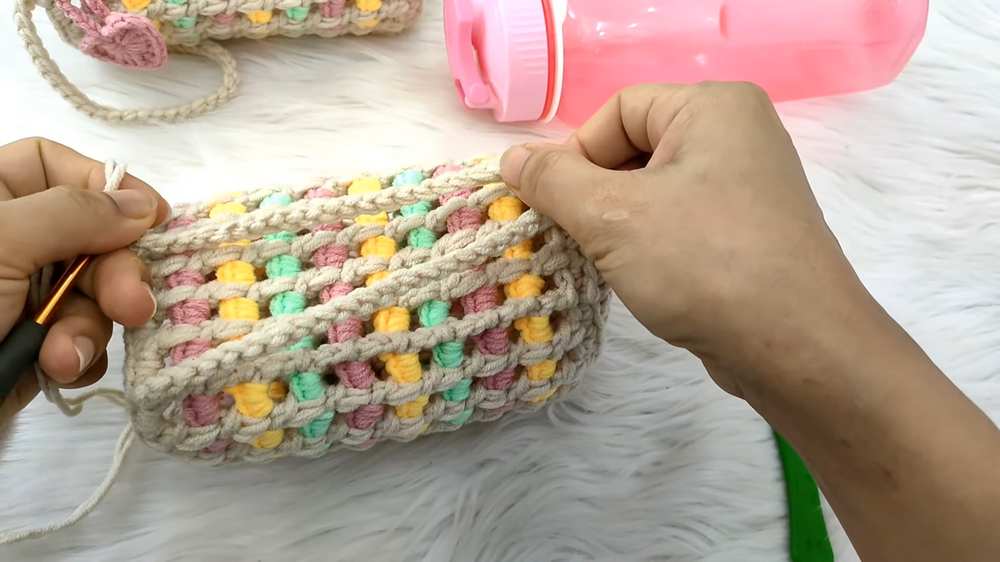
Heavy-Duty Handles
- Symmetry Alignment: Your top rim has an even distribution of 18 grid points. You will split these into balanced halves to anchor your dual handles, leaving exactly 4 grid posts open between each handle connection point.
- Strap 1: Keeping your Main Color held double with the 4.5 mm hook, chain a long, tight strand until it reaches your desired shoulder or wrist length. Carefully align the chain so it does not twist, count 4 grid posts over along the rim, and anchor it firmly into the 5th post area using a series of tight sl sts. Knot it off securely.
- Strap 2: Move to the completely opposite side of the rim, leaving a matching 4-post gap. Join your double-stranded Main Color yarn with a slip knot, chain the exact same number of stitches as your first strap, stretch it across the remaining 4-post gap, and secure it tightly with slip stitches. Weave in all remaining structural tails deeply into the thick rim.
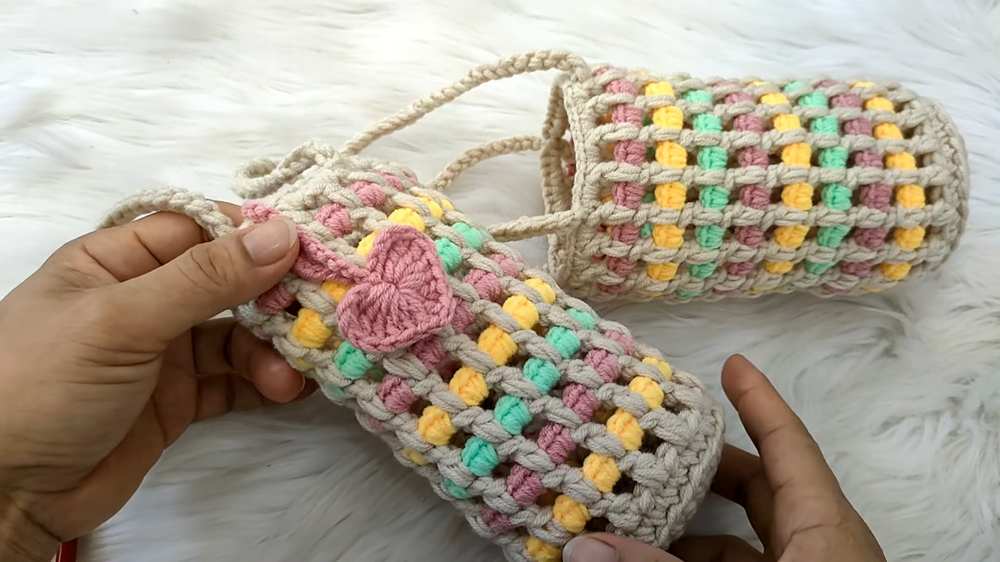
The Decorative Heart Charm
- The Core Shape: Using the 4.5 mm hook and an accent color of your choice held double, start with a MR. Chain 3.
- Stitch Sequence: Work the following cluster of stitches directly into the center of the ring: 3 tr, 3 dc, ch 1, 1 tr (this forms the sharp bottom point of your heart), ch 1, 3 dc, 3 tr.
- Closing the Heart: Chain 3, then drop down and work a sl st directly into the center of the MR. Pull the starting yarn tail firmly until the magic ring closes up completely into a sweet, plump heart shape.
- Hanging Loop: Without cutting the yarn, chain 15 to 20 stitches to create a hanging cord. Slip stitch back into the base of the heart to lock the loop, trim your yarn leaving a generous tail, and use your smaller hook to tie and secure the charm safely onto your new bottle holder handle.
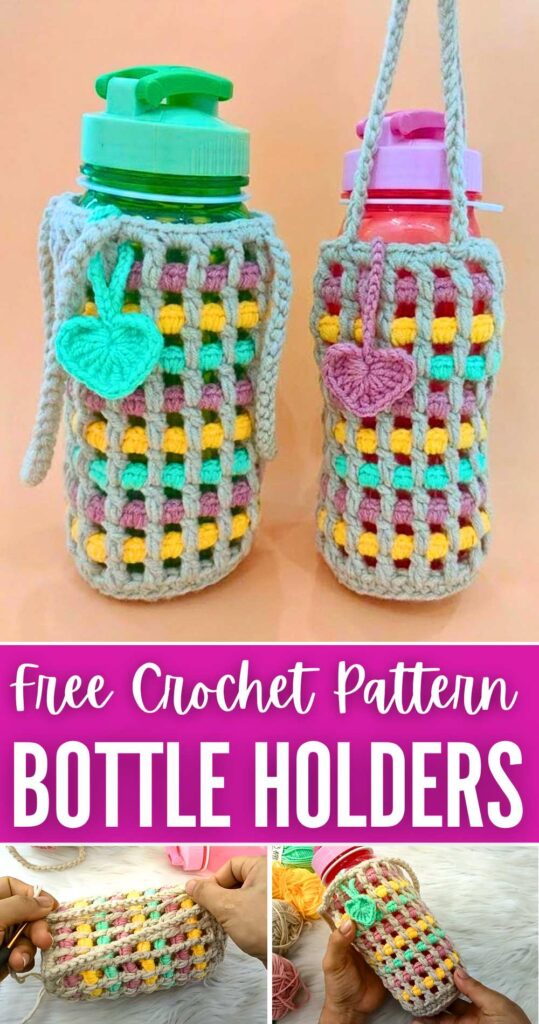
Learn with the Video Tutorial