
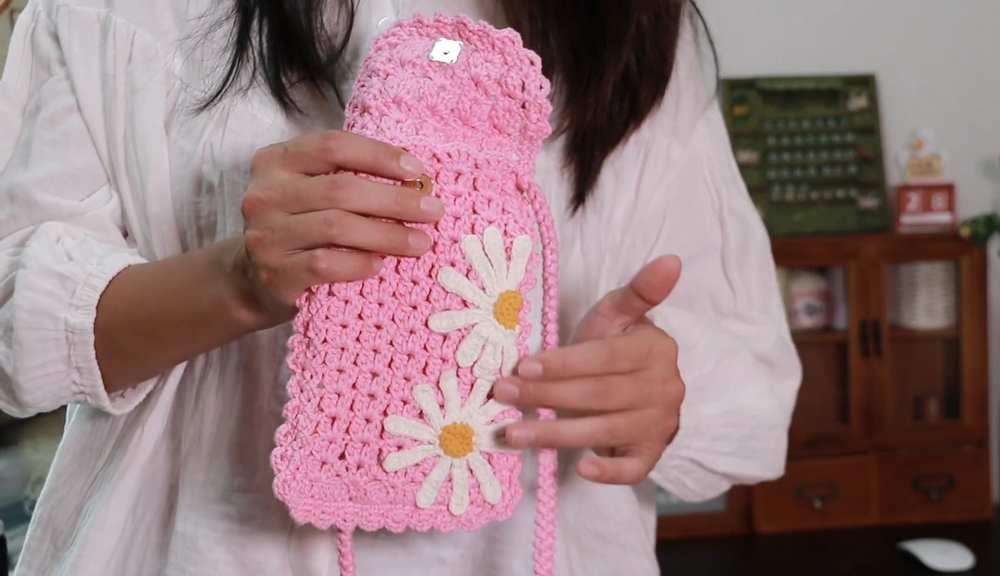
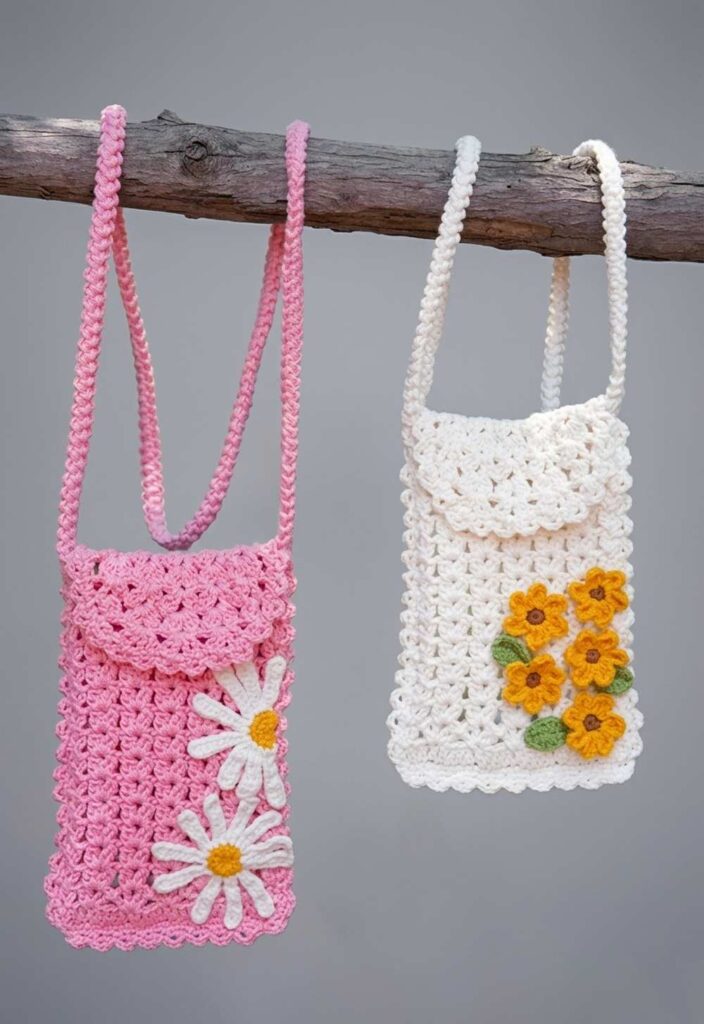
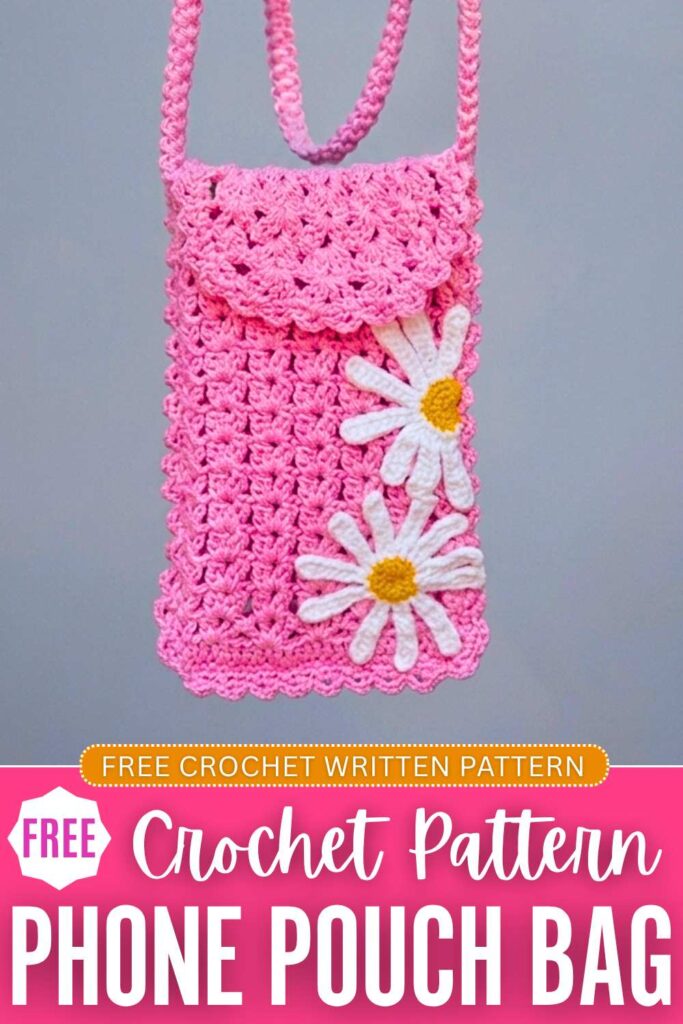
Looking for a beautifully textured and decorated crochet sling phone pouch for summer & spring? Learn how to crochet this cluster V-stitch crochet smartphone pouch decorated with elegant flower appliqués with a FREE pattern for absolute beginners. This has a beautiful Romanian cord as the handle and a beautiful pocket strap, too.
Crochet this smartphone bag for beach trips and travelling, and it is big enough to hold some other stuff, too. It is very stretchy and soft, especially when you crochet it with the hollow cotton yarn.
You can crochet this beautiful mobile pouch with either the sunflower or Power Daisy appliqués, or even crochet without one. If you are going with the sunflower, be sure to crochet them in different sizes.


Crochet V-Stitch Cluster Smartphone Pouch: Written Instructions
This beautiful and practical crochet mobile phone bag is an elegant and quick project that can easily be completed in half a day using just one skein of yarn.
Featuring an intricate textured shell-stitch design with a charming scalloped edge and a fold-over flap, it is perfect for carrying your phone, keys, and other small summer essentials.
The pattern creates a seamless body folded from a flat base, finished with a secure magnetic snap closure and a sturdy woven crossbody strap.
Materials
- 1 skein of 1.5mm hollow cotton yarn (macrame cord/hollow yarn)
- 3.5mm crochet hook (for the main bag body and flap)
- 4.0mm crochet hook (for the strap)
- Yarn needle (for weaving in ends and sewing the strap/button)
- Magnetic snap button
- Stitch markers
- Scissors
- Optional: Small crochet daisies or appliques for decoration
Abbreviations (US Terms)
- Ch: Chain
- St(s): Stitch(es)
- Sl st: Slip stitch
- SC: Single crochet
- DC: Double crochet
- Tr: Treble crochet (yarn over twice)
- 2-DC Cluster: 2 Double crochet stitches worked together in the same stitch/space to create a small puff.
- 3-DC Cluster: 3 Double crochet stitches worked together in the same stitch/space.
Pattern Instructions
Base & Body
The body of the bag is worked in connected rounds.
- Foundation: Ch 52. Place a stitch marker in the 26th Ch and the 52nd Ch to mark the folds.
- Round 1: Ch 3 (counts as first DC, place a marker in the 3rd chain). Working in the back bumps of the chains, place 1 DC in each of the next 24 chains. In the marked 26th chain, work a DC increase by placing 3 DC into the same stitch. Place 1 DC in the next 25 chains. Fold the foundation chain in half so the ends meet. Work 1 DC in the first marked stitch to join the two sides together into a tube. Sl st to the 3rd starting chain to join.
- Round 2: Ch 3. Work 1 DC in the space between the first and second stitches. Ch 1, then work a 2-DC Cluster in the same space. Skip 4 stitches. In the 5th stitch, work a large shell: (1 DC, Ch 1, 1 DC, Ch 1, 1 DC, Ch 1, 1 DC) all in the same space. Continue skipping 4 stitches and working the large shell until you reach the marked corner at the fold. At the corner fold (skip 3 stitches instead of 4), work a corner cluster group: (2-DC Cluster, Ch 1, 2-DC Cluster) in the same space. Continue the large shell pattern down the other side. Finish the round with a Sl st to the 3rd starting chain, then Sl st once more into the next space to position your hook for the next round.
- Rounds 3–15: Over the 2-DC Cluster groups from the previous round, work (2-DC Cluster, Ch 1, 2-DC Cluster). Over the 4-DC shells from the previous round, work the large shell (1 DC, Ch 1, 1 DC, Ch 1, 1 DC, Ch 1, 1 DC) directly into the center Ch-1 space of that shell. Repeat continuously in rounds until you have completed 13 total shell-pattern rounds.
- Round 16: Work the same pattern as previous rounds, but when transitioning between the clusters and shells at the corner folds, omit the Ch 1 spacing to slightly pull the top edge inward. Join with a Sl st.
Flap
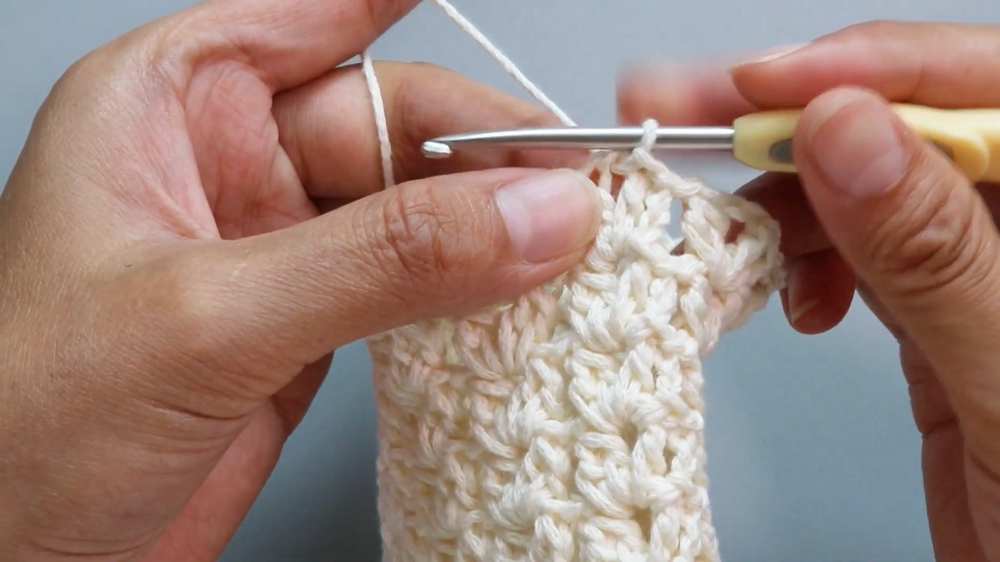
- Row 1: Ch 4. Work a cluster group into the center of the next 5 shell groups using 3-DC Clusters instead of 2-DC Clusters for extra thickness. Work (3-DC Cluster, Ch 1, 3-DC Cluster) into each of the 5 spaces. Ch 1, work 1 DC in the final edge stitch. Turn.
- Row 2: Ch 4. In the center spaces between the cluster groups, work the large 4-DC shell (1 DC, Ch 1, 1 DC, Ch 1, 1 DC, Ch 1, 1 DC). Repeat across the 5 sections. Ch 1, 1 DC in the turning chain space. Turn.
- Row 3: Ch 4. Work (3-DC Cluster, Ch 1, 3-DC Cluster) in the center spaces of the previous row’s shells. Repeat across. Ch 1, DC in the turning chain. Turn.
- Row 4 (Decrease Row): Ch 3. To begin tapering the flap, work only 3 DCs (separated by Ch 1s) in the first and last spaces instead of 4 DCs. Work the standard 4-DC shells in the middle 3 spaces. Turn.
- Row 5 (Decrease Row): Ch 5. Work only one 3-DC Cluster in the first and last spaces. Work the standard (3-DC Cluster, Ch 1, 3-DC Cluster) in the middle 3 spaces. Ch 1, work 1 Tr in the last stitch. Turn.
- Row 6: Ch 4. Skip the first single-cluster space. Work the 4-DC shells in the center 3 spaces only. End with a Tr in the final stitch. Fasten off.
Bottom Seam
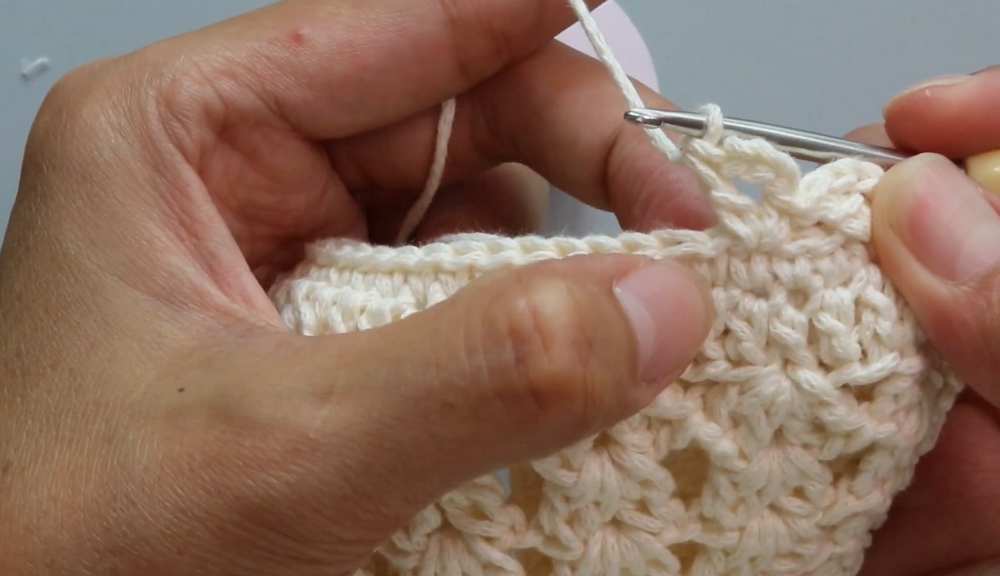
- Seaming Round: Thread your yarn or use your hook at the bottom edge of the bag. Ensure the two bottom halves are perfectly lined up stitch by stitch. Ch 1, and work 26 SC across the bottom edge, inserting your hook through both the front and back layers simultaneously to securely seam the bottom shut. Fasten off and weave in ends.
Scalloped Edge Border
- Border Round: Attach your yarn to the side edge of the flap where it meets the main body. Pattern: Ch 3, work 1 DC in the exact same stitch. Skip a small space (about 1 side row), and SC into the next space. Repeat the sequence (Ch 3, 1 DC in same space, SC in next space) evenly around the entire edge of the flap, continuing down the side of the bag, across the bottom seam (spacing your SCs roughly every 3 stitches), and up the opposite side of the bag. Sl st to the first stitch to join. Fasten off and weave in the ends.
Strap
Hold your yarn double (use 2 strands at the same time) and switch to the 4.0mm hook. Leave a long starting tail for sewing.
- Ch 2. Insert hook into the first chain, pull up a loop, yarn over and pull through both loops (SC).
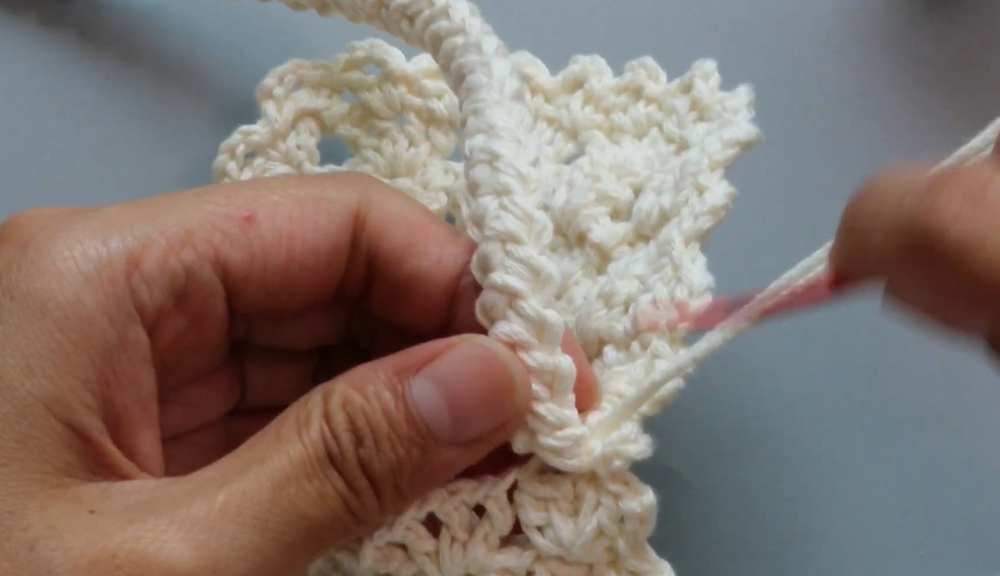
- Turn the work slightly to the left. Insert the hook under the two loops that sit on the left side of the stitch you just made. Pull up a loop, yarn over, pull through both loops.
- Repeat the process of turning left and working a SC through the left-side double loops. This creates a sturdy cord. Continue until the strap reaches approximately 110 cm, or your preferred crossbody length. Fasten off, leaving a long tail.
Assembly
- Using your yarn needle, firmly sew the ends of the strap to the inside top corners of the bag’s main body. Tie knots on the inside for extra security and weave the tails into the dense strap stitches.
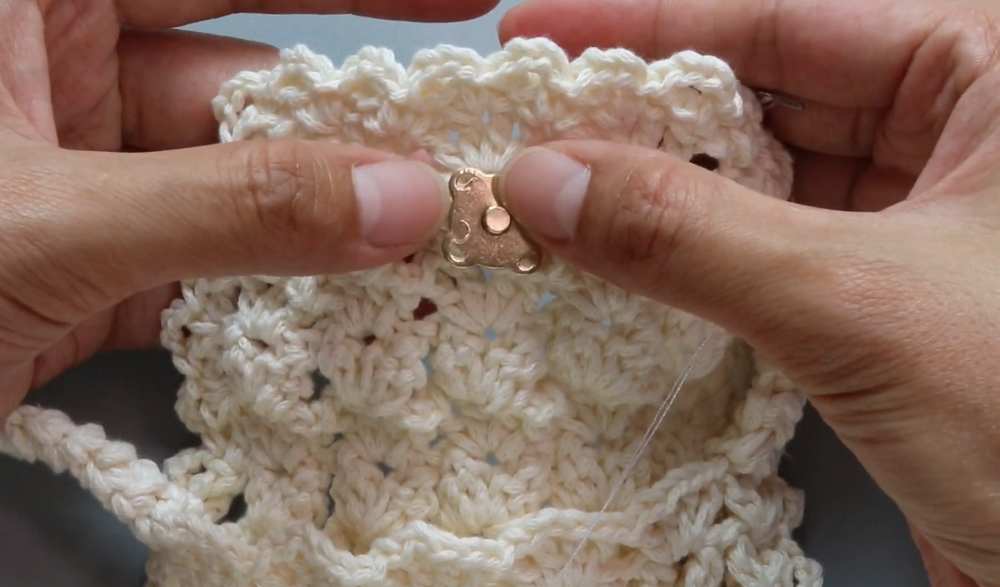
- Align the magnetic snap button halves to the inside center of the flap and the corresponding spot on the front body of the bag. Sew them securely into place.
- (Optional) Sew any decorative crochet appliques, like small daisies, to the front flap of the bag for a customized finish.
Learn with the Video Tutorial