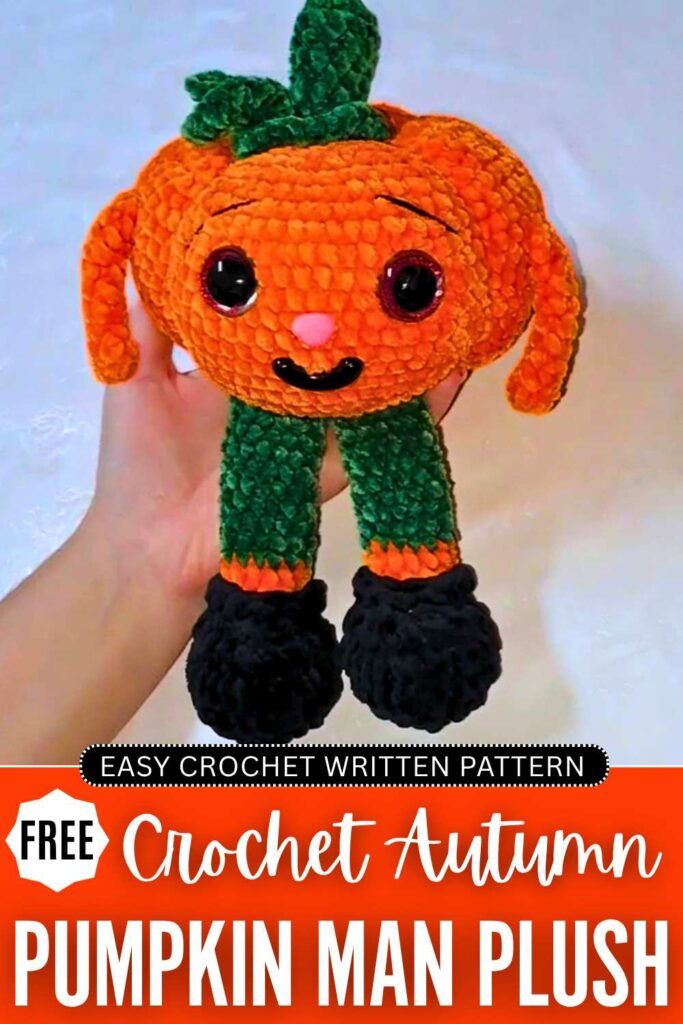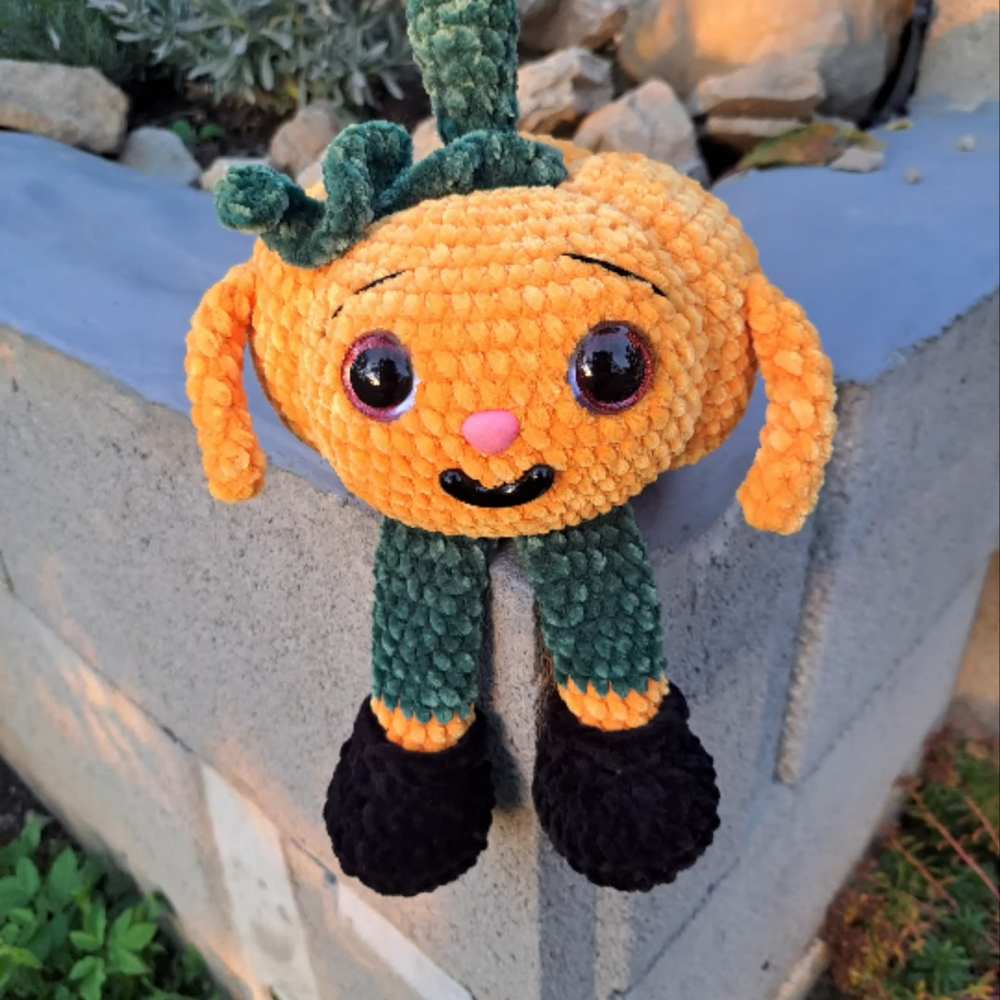
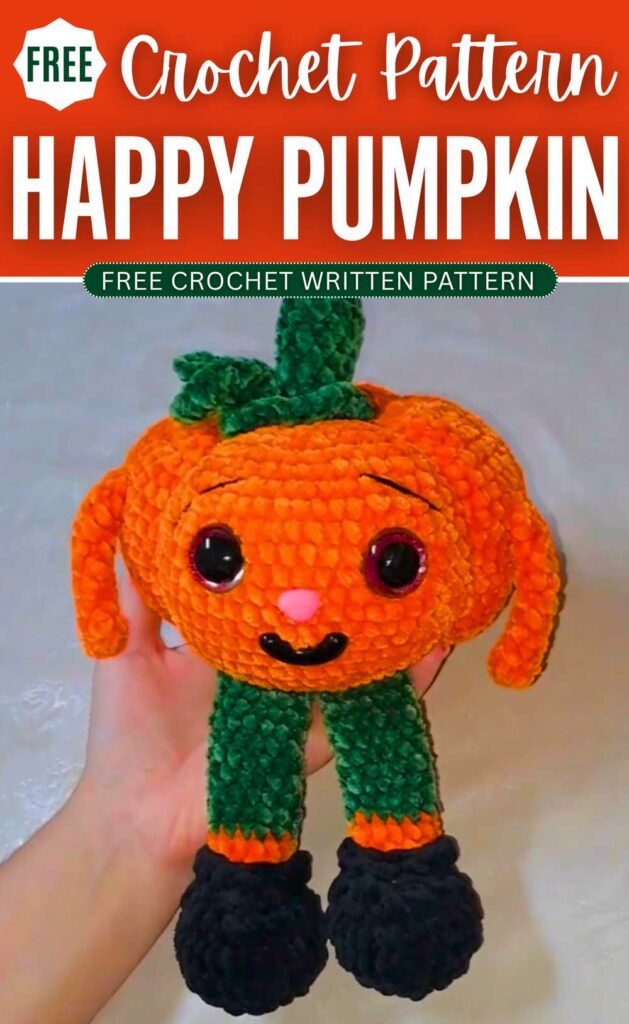
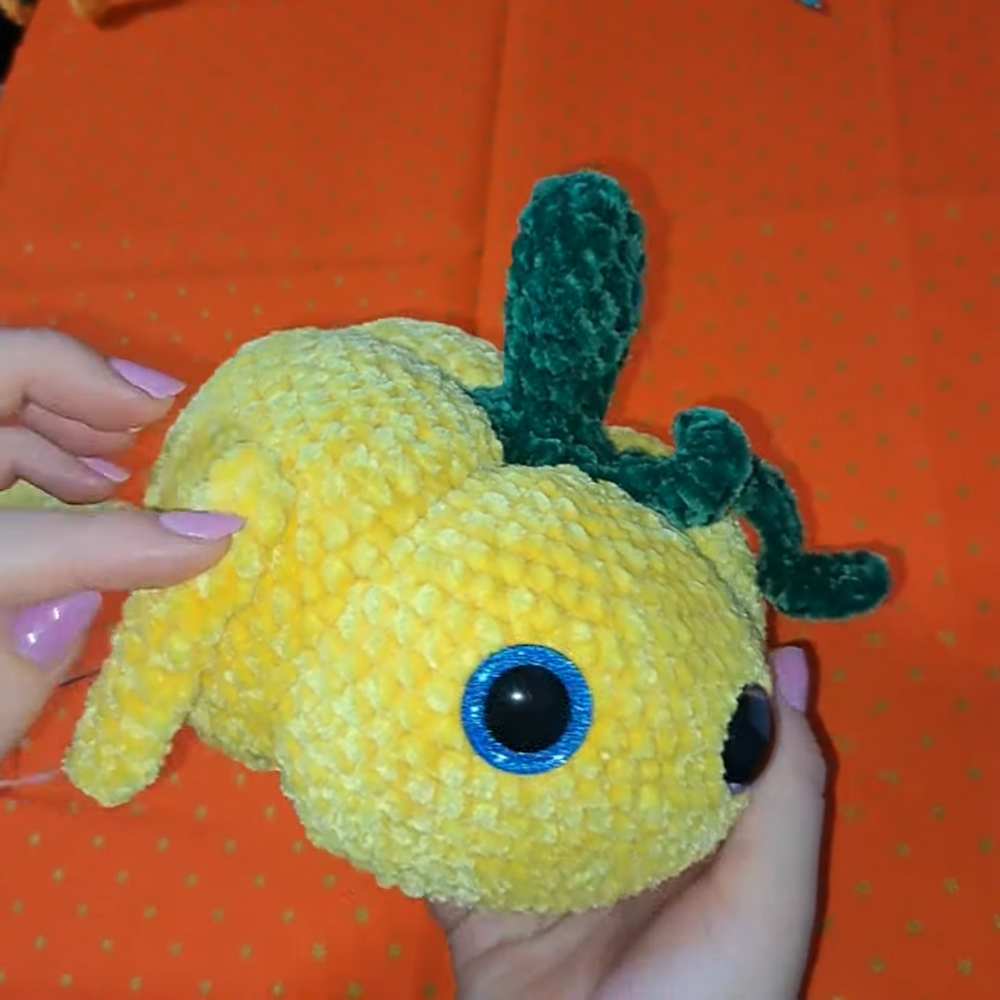
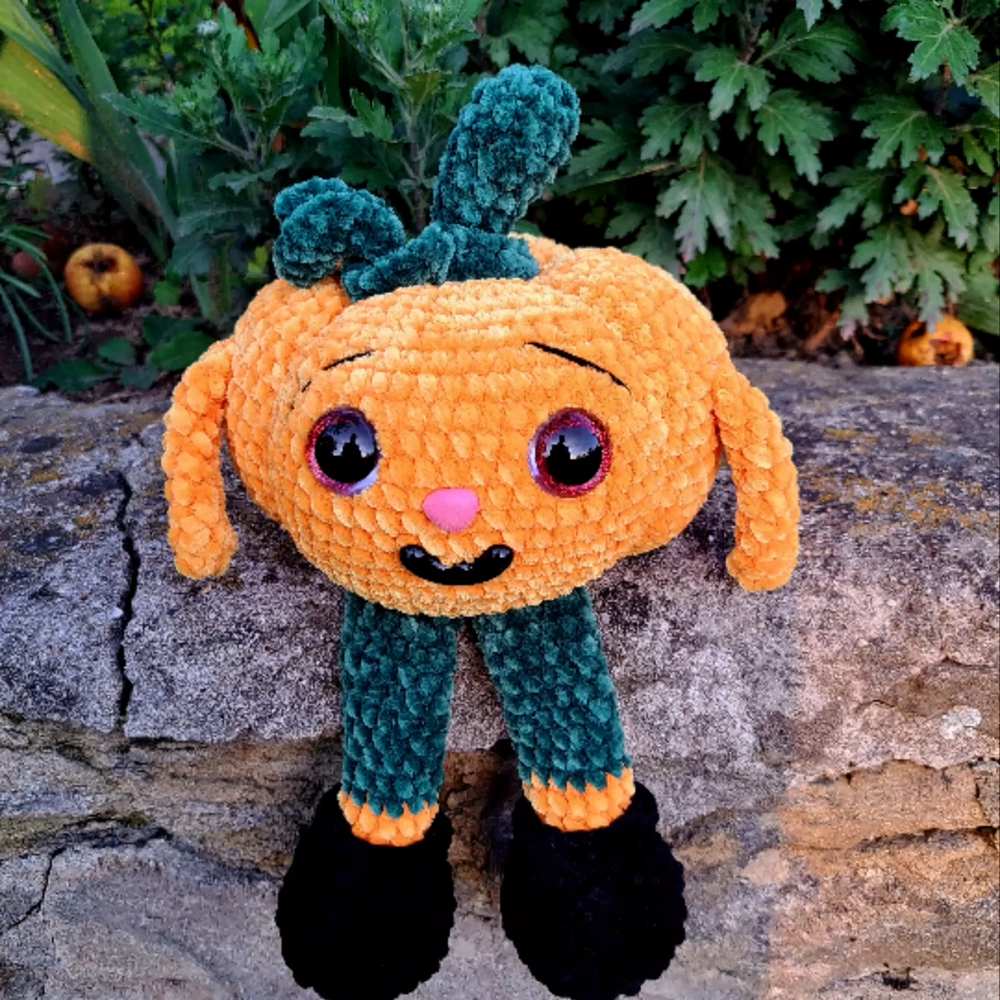
Today, let’s crochet this smiling large leggy pumpkin plushie with a FREE pattern; your CUTEST autumn friend or irresistible and huggable snuggler for kids. This crochet pumpkin plush has big glittery eyes, eyebrows, tiny arms, a pink safety nose, and also wears shoes! Soon, I will also provide a pattern to crochet the Jellycat plush pumpkin.
You can either crochet the orange or yellow pumpkin version of this crochet plushie. Unlike the ribbed pumpkin amigurumi, the pumpkin part of this crochet plush is made by working in the rounds. You can easily crochet it within 2 hours.
You can also crochet a funny version by crocheting a big nose for it instead of the safety nose. This crochet happy pumpkin plush can also be crocheted using the thin plush yarn. Now, continue reading for the full crochet pattern to make this pumpkin friend.
Crochet Pumpkin Friend Plush: Written Instructions
This project is a crochet pattern for a cute pumpkin toy. The pumpkin has a round body, two arms, two legs, a small nose, a smiling mouth, and a green stem on top.
It is made using soft plush yarn, which makes it very soft and squishy. This is a great project for autumn decoration or as a fun toy for children.
MATERIALS NEEDED
Plush Velvet Yarn: One ball of yellow or orange yarn for the main body, legs, and arms. A small amount of green yarn for the stem.
Crochet Hook: A 4.0 mm or 5.0 mm hook (choose a size that matches your plush yarn tightly so stuffing does not leak out).
Safety Eyes: One pair of 25 mm plastic safety eyes.
Stuffing Material: High-quality polyester fiberfill.
Tools: A wide-eyed yarn needle, sharp scissors, and a small length of black thread or thin black yarn to stitch the smile.
ABBREVIATIONS
- MR: Magic Ring
- Ch: Chain
- Sc: Single Crochet
- Inc: Increase (make two single crochet stitches into the same stitch)
- Dec: Decrease (crochet two stitches together to make one stitch)
- St / Sts: Stitch / Stitches
- Rnd: Round
CROCHET PATTERN INSTRUCTIONS
THE LEGS (MAKE 2)
Using your main body color yarn (yellow or orange):
Rnd 1: Start with a MR, 6 sc into the ring. (6 sts)
Rnd 2: 6 inc around. (12 sts)
Rnd 3: (1 sc, 1 inc) repeat 6 times around. (18 sts)
Rnd 4: (2 sc, 1 inc) repeat 6 times around. (24 sts)
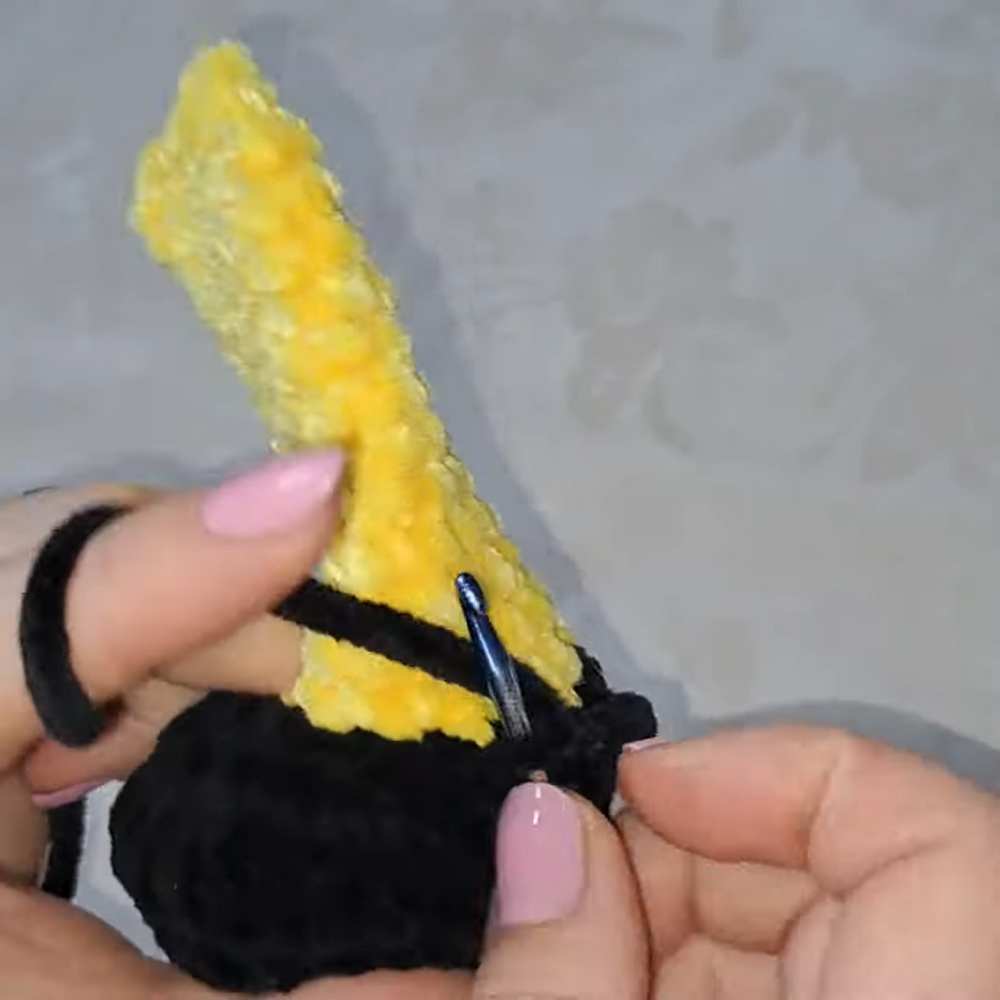
Rnd 5: 1 sc in each st around. (24 sts)
Rnd 6: 6 dec across the front, 1 sc in each remaining st to the end of the round. (12 sts)
Rnd 7 to Rnd 18: 1 sc in each st around. (12 sts per round)
Stuff the bottom foot section firmly with your fiberfill stuffing. Leave the long upper leg section completely empty of stuffing so that it stays flat and floppy. Cut your yarn and leave a long tail for sewing later.
THE ARMS (MAKE 2)
Using your main body color yarn (yellow or orange):
Rnd 1: Start with a MR, 6 sc into the ring. (6 sts)
Rnd 2 to Rnd 9: 1 sc in each st around. (6 sts per round)
Do not put any stuffing inside the arms. Pinch the top opening flat and fasten off your yarn, leaving a medium tail to sew them onto the body later.
THE NOSE
Using your main body color yarn (yellow or orange):
Rnd 1: Start with a MR, 6 sc into the ring. (6 sts)
Rnd 2: 1 sc in each st around. (6 sts)
Fasten off your yarn, place a tiny bit of stuffing inside, and leave a yarn tail for assembly.
THE GREEN STEM
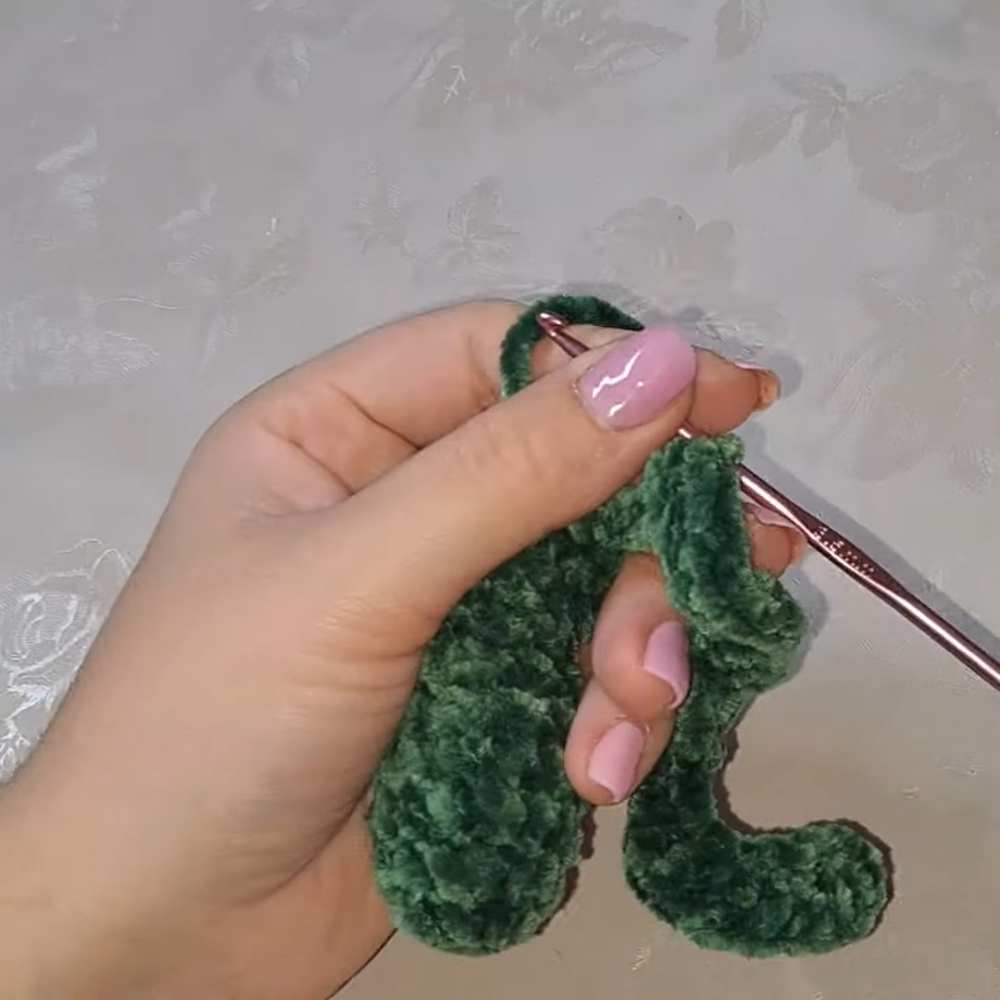
Using your green plush yarn:
Rnd 1: Start with a MR, 6 sc into the ring. (6 sts)
Rnd 2: 6 inc around. (12 sts)
Rnd 3 to Rnd 5: 1 sc in each st around. (12 sts per round)
Rnd 6: (1 sc, 1 dec) repeat around to bring the total count down. (9 sts)
Rnd 7 to Rnd 9: Continue working 1 sc in each st around to finish the top stem shape. You can chain a short row and work half double crochets back down to create a small attached leaf if desired. Fasten off and leave a long green tail.
THE MAIN PUMPKIN BODY
Using your main body color yarn (yellow or orange):
Rnd 1: Start with a MR, 6 sc into the ring. (6 sts)
Rnd 2: 6 inc around. (12 sts)
Rnd 3: (1 sc, 1 inc) repeat 6 times around. (18 sts)
Rnd 4: (2 sc, 1 inc) repeat 6 times around. (24 sts)
Rnd 5: (3 sc, 1 inc) repeat 6 times around. (30 sts)
Rnd 6: (4 sc, 1 inc) repeat 6 times around. (36 sts)
Rnd 7: (5 sc, 1 inc) repeat 6 times around. (42 sts)
Rnd 8: (6 sc, 1 inc) repeat 6 times around. (48 sts)
Rnd 9: (7 sc, 1 inc) repeat 6 times around. (54 sts)
Rnd 10: (8 sc, 1 inc) repeat 6 times around. (60 sts)
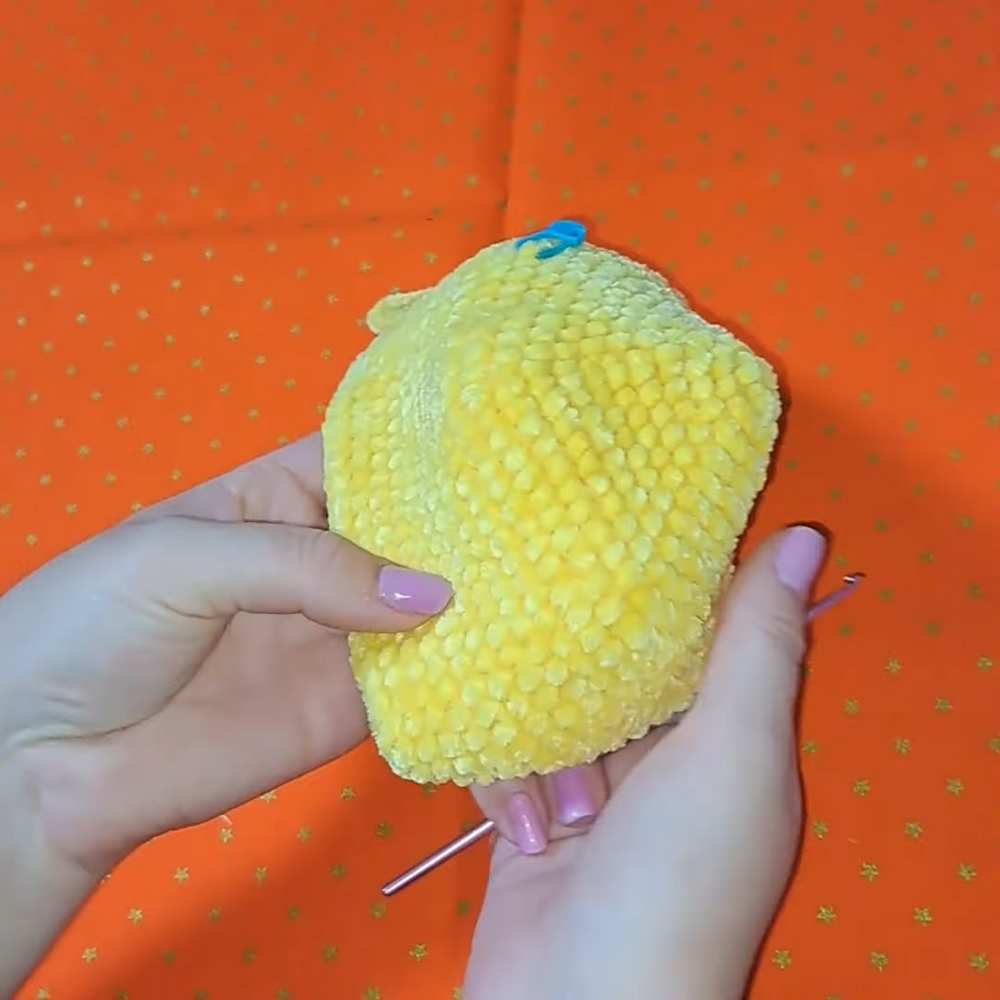
Rnd 11: (9 sc, 1 inc) repeat 6 times around. (66 sts)
Rnd 12: (10 sc, 1 inc) repeat 6 times around. (72 sts)
Rnd 13 to Rnd 22: 1 sc in each st around. (72 sts per round for 10 straight rows)
Placement for the Safety Eyes: Stop here and place your 25 mm plastic safety eyes between Rnd 16 and Rnd 17. Leave a gap of 5 or 6 open stitches between the two eyes. Push the plastic washers tightly onto the back of the eyes inside the project to lock them.
Rnd 23: (10 sc, 1 dec) repeat 6 times around. (66 sts)
Rnd 24: (9 sc, 1 dec) repeat 6 times around. (60 sts)
Rnd 25: (8 sc, 1 dec) repeat 6 times around. (54 sts)
Rnd 26: (7 sc, 1 dec) repeat 6 times around. (48 sts)
Rnd 27: (6 sc, 1 dec) repeat 6 times around. (42 sts)
Rnd 28: (5 sc, 1 dec) repeat 6 times around. (36 sts)
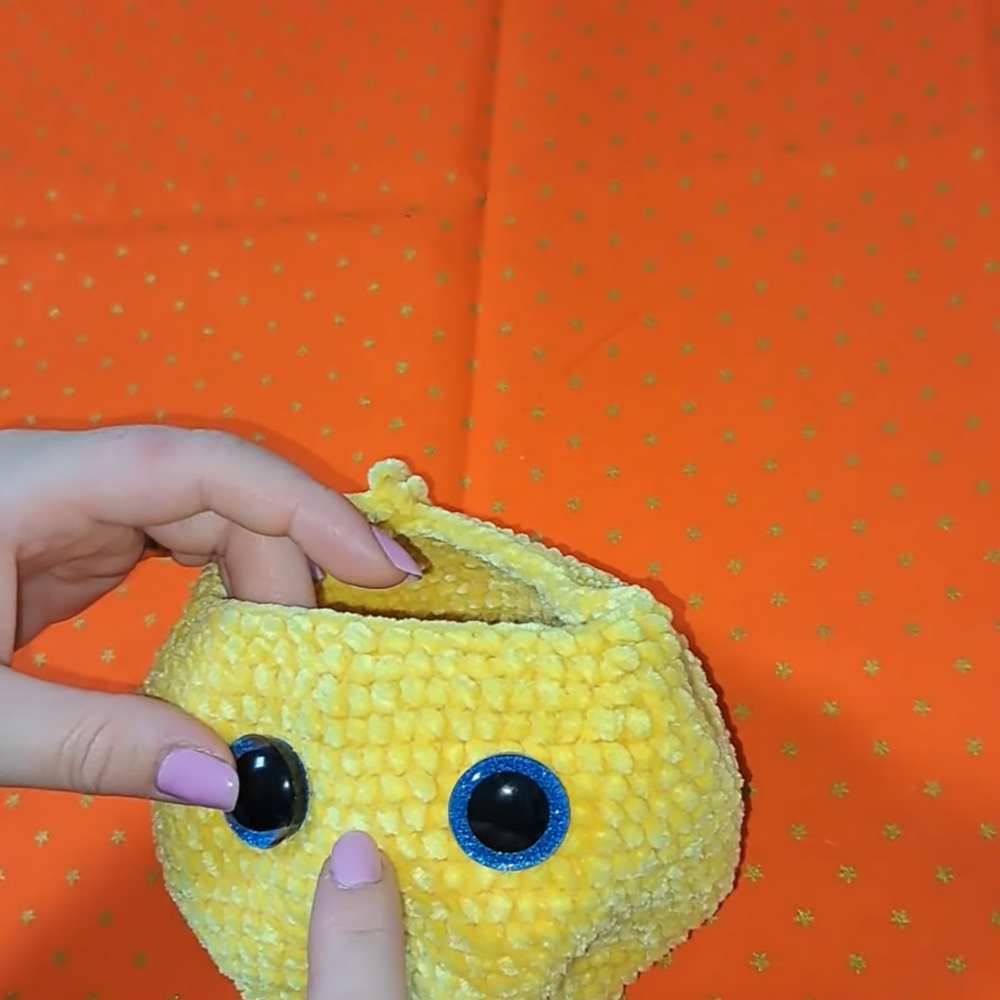
Rnd 29: (4 sc, 1 dec) repeat 6 times around. (30 sts)
Adding Stuffing: Stop here and stuff the entire pumpkin body firmly with your polyester fiberfill. Make sure it expands into a nice round shape. Keep adding small bits of stuffing as you work the last few rows.
Rnd 30: (3 sc, 1 dec) repeat 6 times around. (24 sts)
Rnd 31: (2 sc, 1 dec) repeat 6 times around. (18 sts)
Rnd 32: (1 sc, 1 dec) repeat 6 times around. (12 sts)
Rnd 33: Work 6 dec in a row around the opening. (6 sts)
Cut your yarn, leaving an extra-long tail that is approximately 1 meter long. Thread this tail onto your yarn needle and weave it through the last 6 stitches, pulling it tight to close up the bottom opening completely.
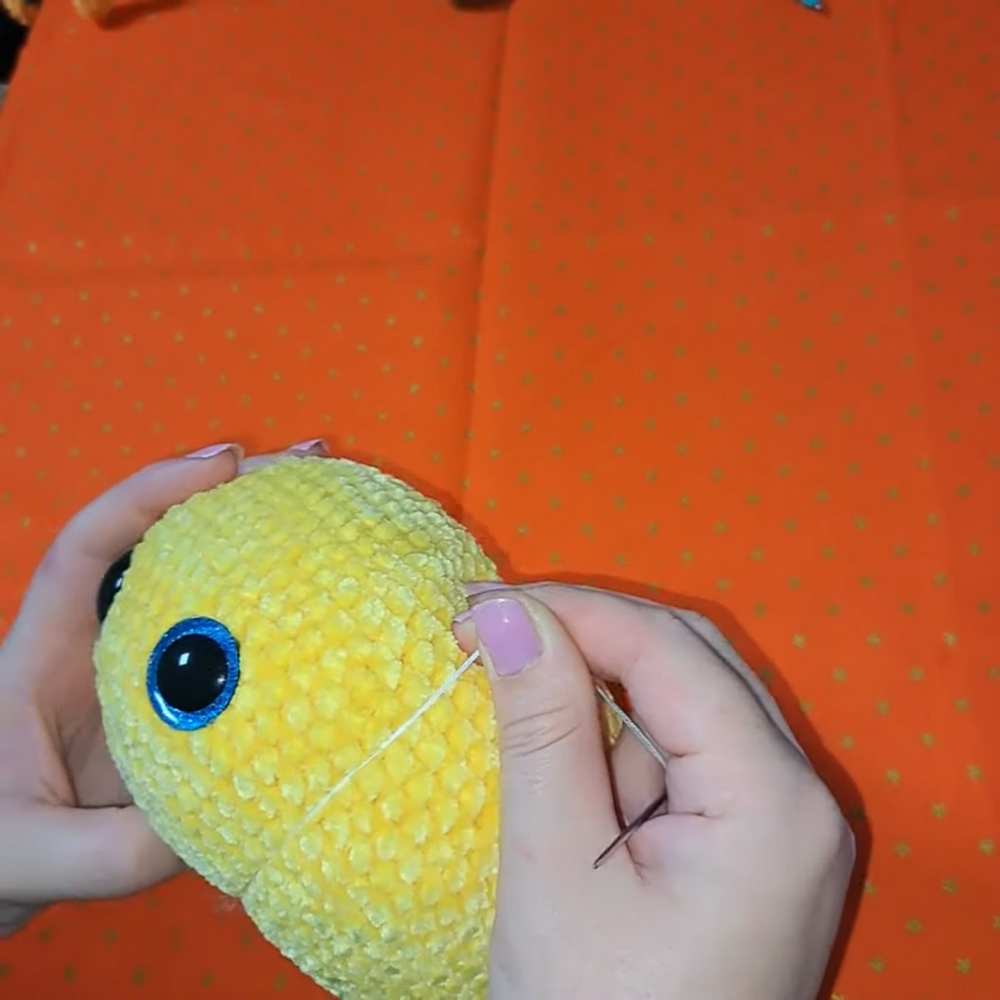
HOW TO SCULPT THE PUMPKIN RIDGES
Take the 1-meter long yarn tail left at the bottom of the pumpkin on your yarn needle.
Push the needle directly through the bottom center hole all the way up through the middle of the stuffing, bringing it out at the top center hole.
Pull the yarn tail tight. Bring the yarn down across the outside surface of the pumpkin body back to the bottom hole.
Push the needle through the center from bottom to top a second time and pull tightly. This squeezes the plush toy and creates the first deep groove or ridge on the side.
Repeat this process 6 times around the outside of the body to create 6 even, puffy segments around the pumpkin. Secure the yarn tightly with a hidden knot at the base and hide the remaining yarn inside the body.
ASSEMBLING THE FACE AND LIMBS
Sewing the Nose: Attach the small stuffed nose securely between the two safety eyes.
Stitching the Smile: Take your black thread or thin black yarn and sew a wide, friendly smile directly onto the surface below the nose.
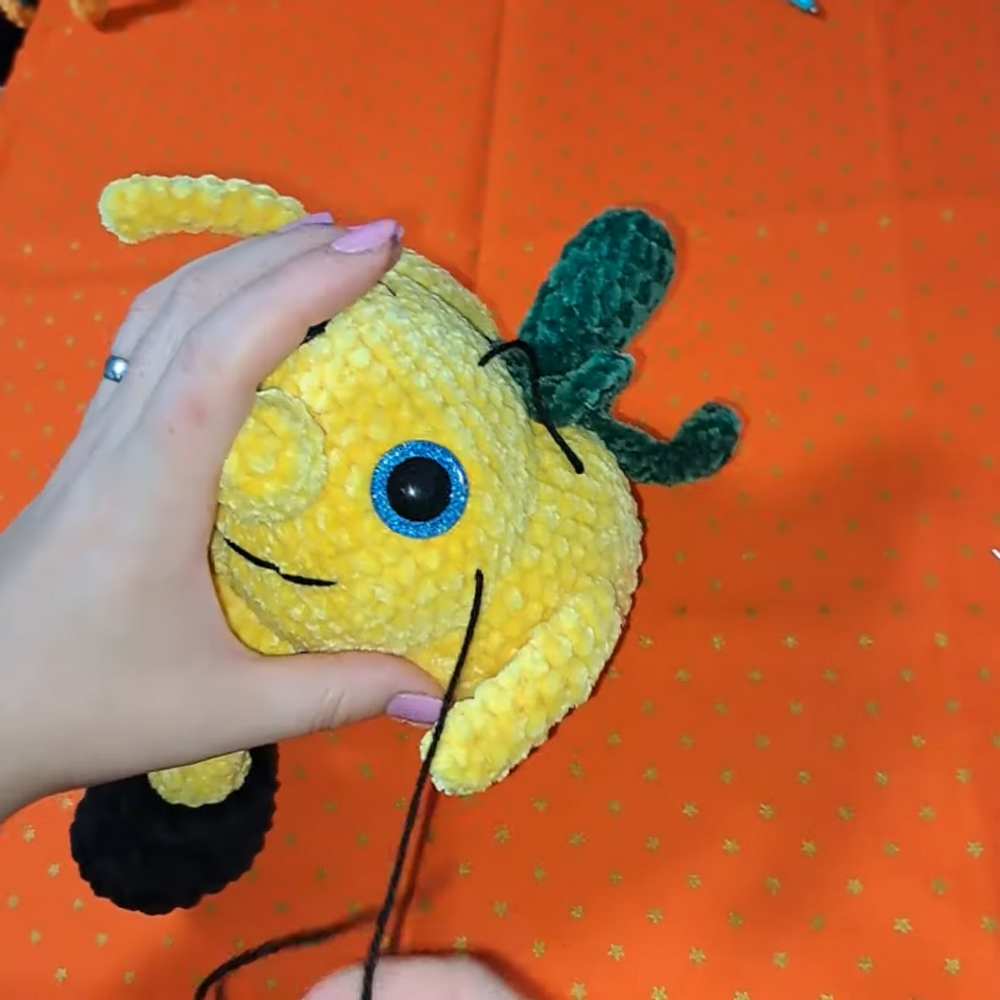
Attaching the Stem: Take your green stem and sew it directly over the top center hole of the pumpkin where the sculpted ridges meet.
Sewing the Limbs: Sew the two empty upper sections of the legs to the bottom of the pumpkin body so the toy can sit flat. Finally, sew the two small arms onto the left and right sides of the body near Rnd 15. Your plush pumpkin toy is now finished!
Learn with the Video Tutorial
Save for Later!