
Show support for Inpom!
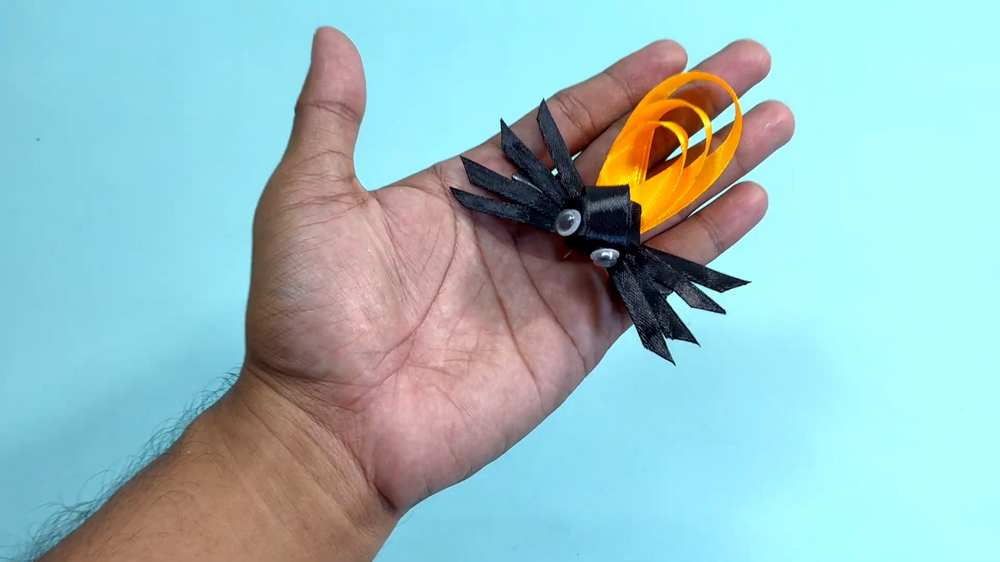
Here is the first satin ribbon Halloween craft of this year, and it is SO CUTE & Last-Minute! Introducing the DIY googly-eyed spider hair clips that you can make for Halloween parties following this step-by-step tutorial and written guide as well. You can also attach these little golden and black spiders to hairbands, Halloween garlands, and hold treats in their little loopy bellies. You can make one Satin ribbon hairclip in less than 2 minutes.
Craft Googly-Eyed Spider Hair Clips
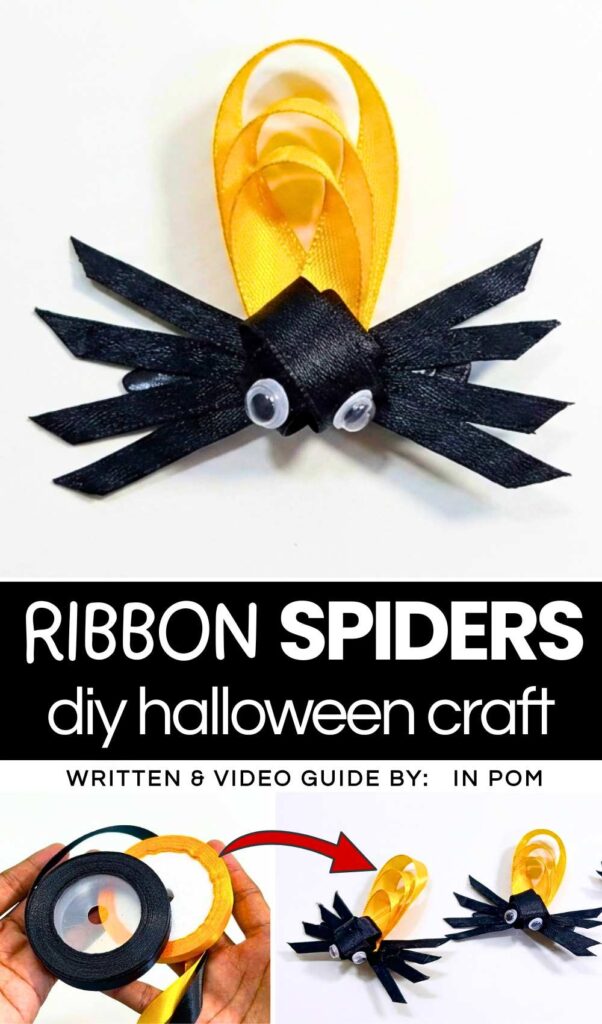
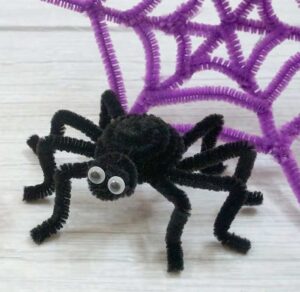
You can also make these satin ribbon spiders along with the pipe cleaner spiderweb and let them crawl over. Soon, I will also try to bring a method for making a Satin ribbon spiderweb, too. You can craft these Halloween ribbon spiders for sale at craft fairs, too.
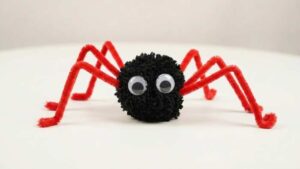
Note that I have also shared many guides for making the pipe cleaner spiders, pom pom spider, and also the pom + pipe cleaner spider. Now, continue reading to learn more about this quick Halloween spider project for absolute non-experts. You can also make a version using paper or cardboard following this same method, but for durable spiders, be sure to use satin ribbon.
Tutorial to DIY CUTE Satin Ribbon Spider Hairclips
Creating your own DIY Spider Hairclips is a fantastic way to add some spooky flair to your accessories using simple craft supplies like satin ribbon and googly eyes. This project focuses on layering and folding techniques to change the flat ribbon into a 3D insect shape.
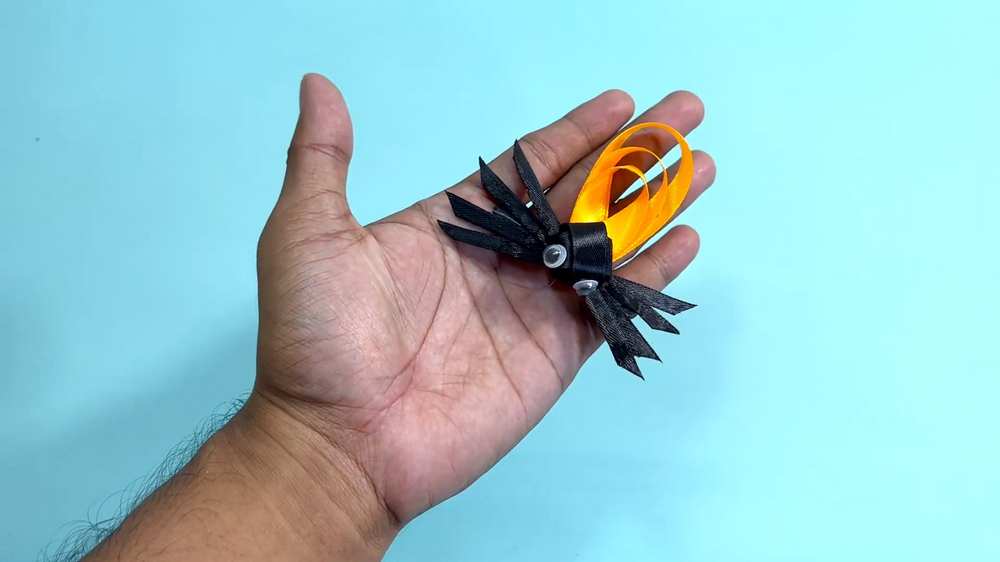
By using contrasting colors like bright yellow for the abdomen and deep black for the body and legs.
The process is simple: you create a layered tail, a sturdy central body, and pointed legs, then assemble them with hot glue before attaching the finished spider to a standard hair clip.
Materials You Will Need:
-
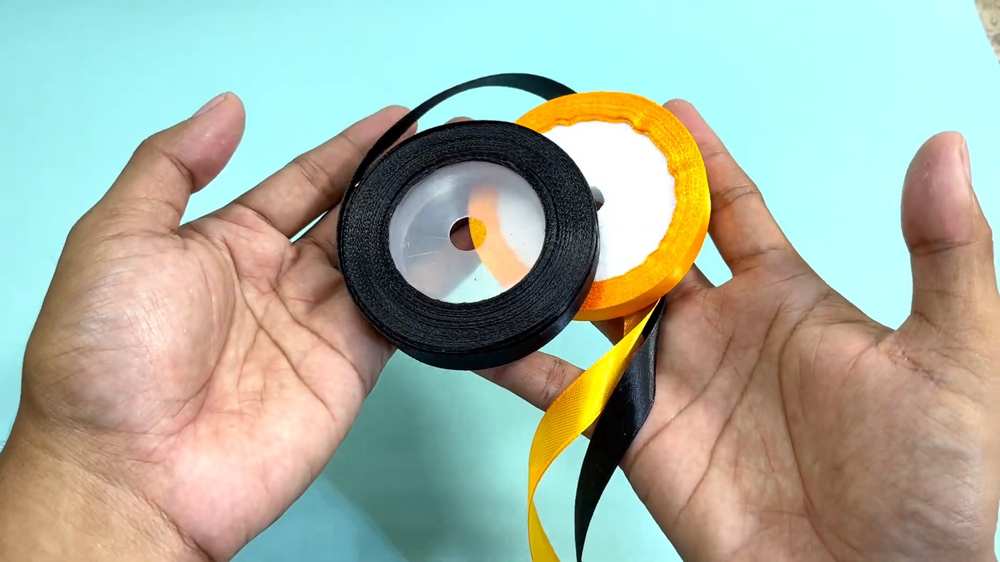
Satin ribbon (Black and Yellow or Orange)
-
Scissors
-
Hot glue gun
-
Small googly eyes
-
Plain metal hair clips
Beginner? Learn with the Video Tutorial
Detailed Step-by-Step Instructions:
Step 1: Make the Yellow Tail (Abdomen)
-
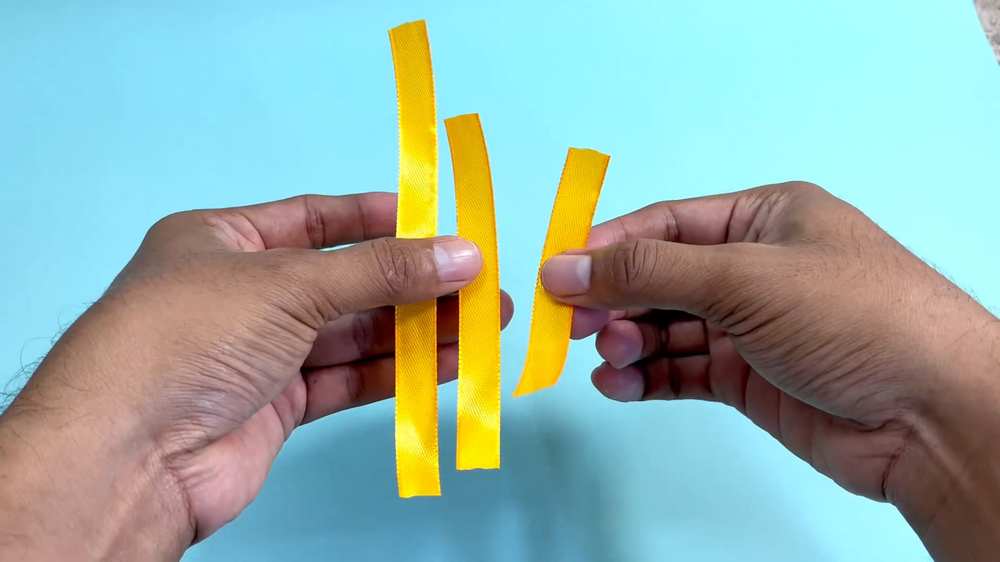
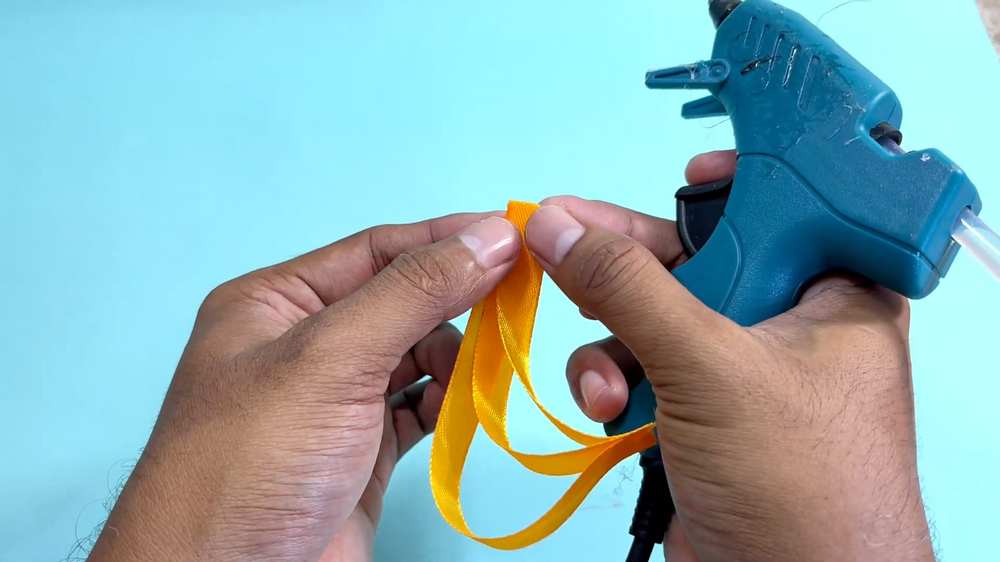
Cut three pieces of yellow ribbon in different lengths: one long, one medium, and one short.
-
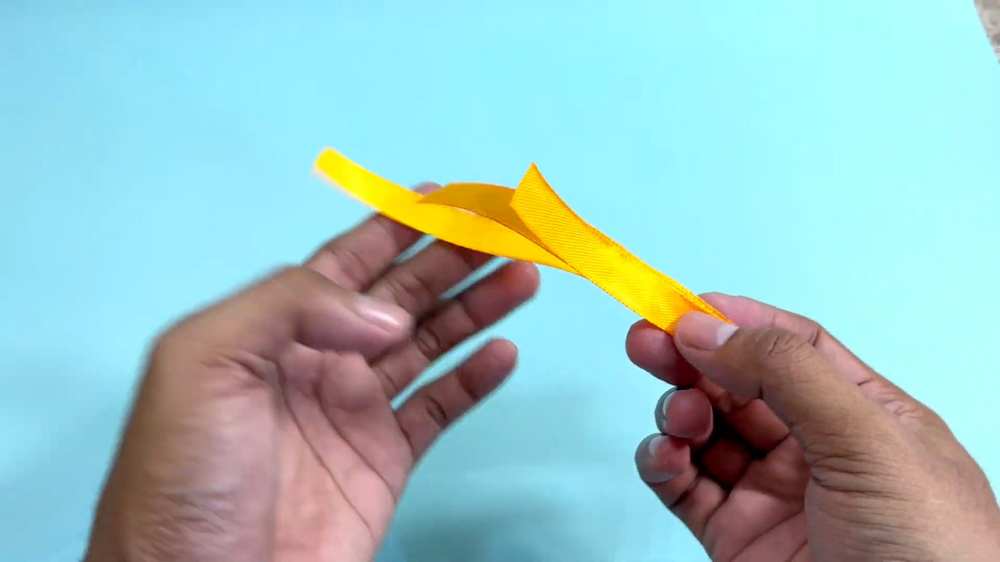
Take the longest piece and fold it into a loop, gluing the two ends together.
-
Do the same for the medium and short pieces.
-
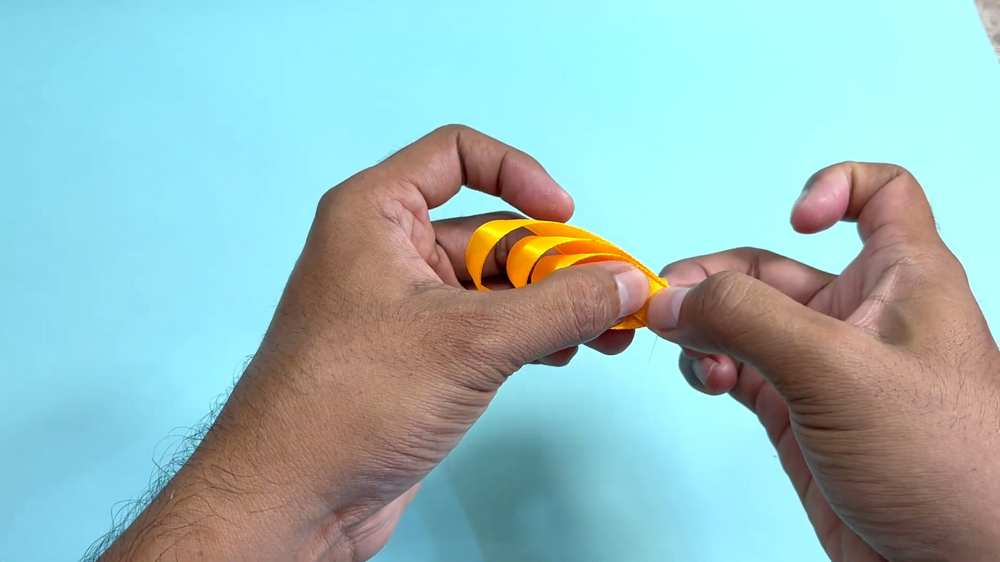
Stack the loops inside each other (largest on the outside, smallest on the inside) and glue them together at the base. This creates a beautiful layered “tail” for your spider.
Step 2: Create the Spider’s Body
-
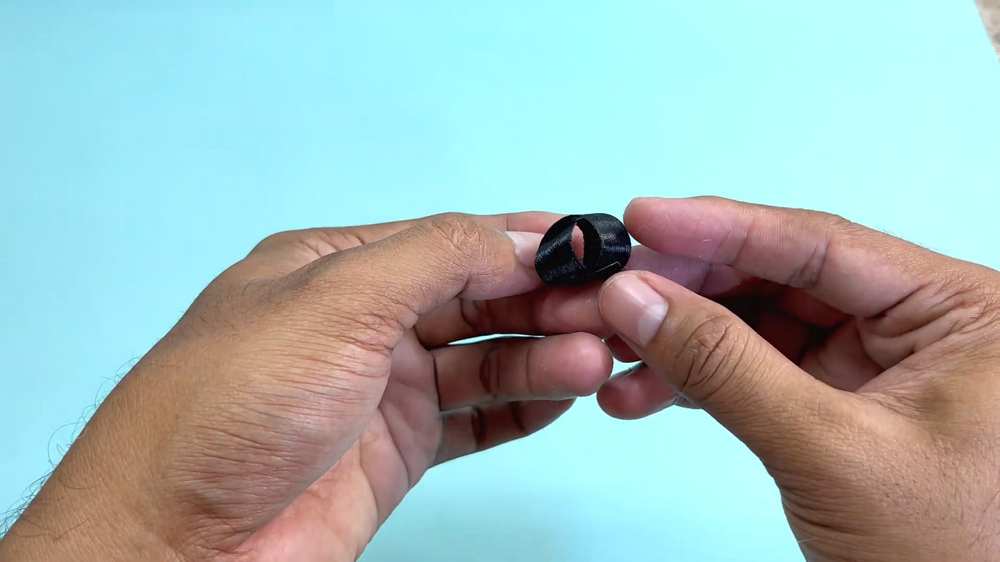
Take a piece of black ribbon (about 1 inch wide).
-
Fold it over itself several times to create a thick, sturdy rectangular shape
-
Glue the edges down so it stays in a tight block. This will be the “head” and main body where the eyes will go.
Step 3: Prepare the Legs
-
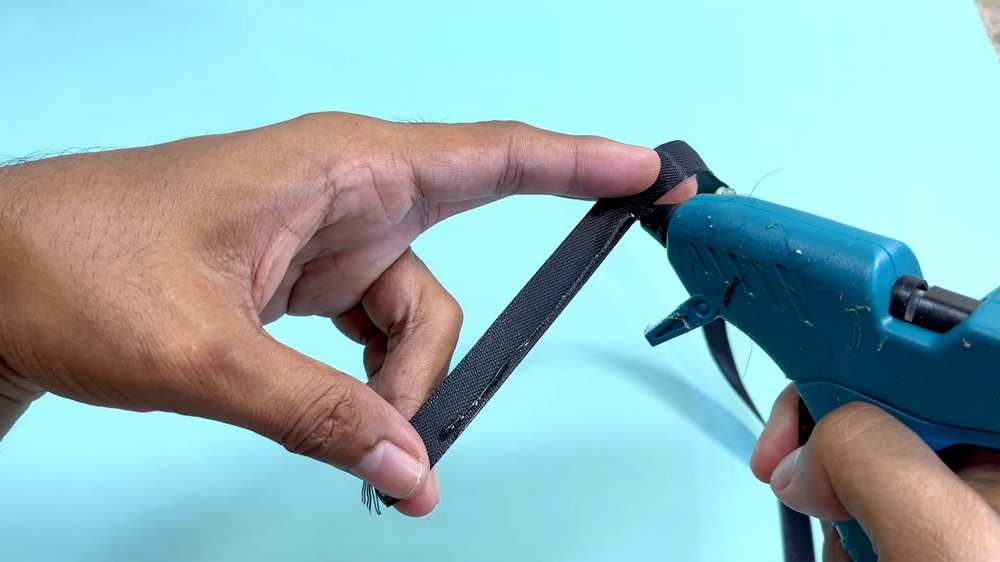
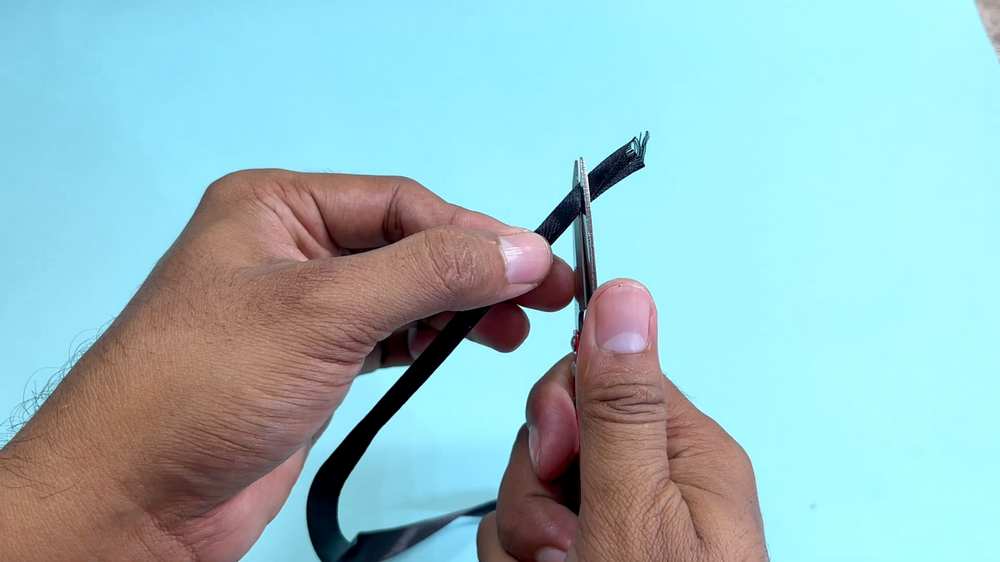
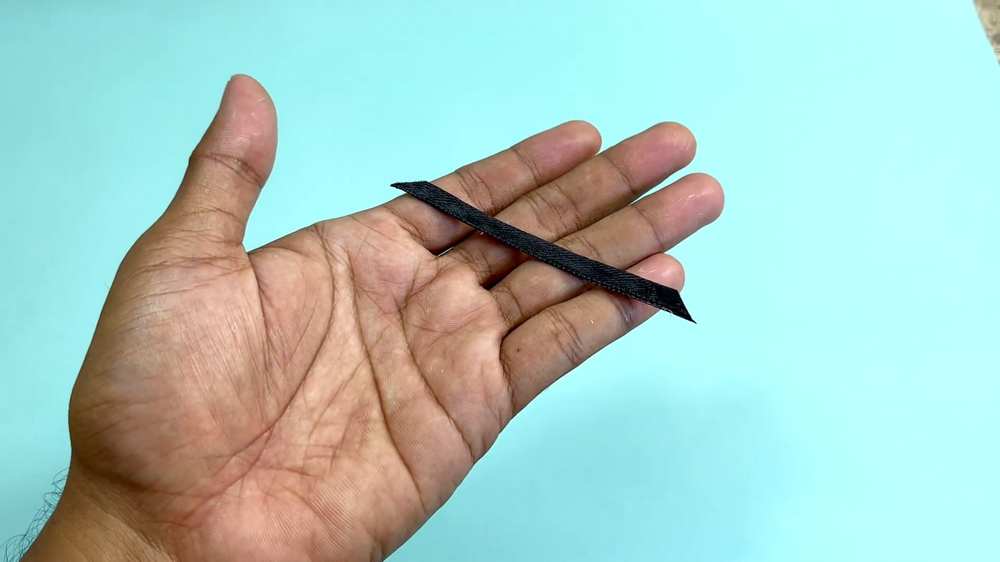
Cut four thin strips of black ribbon (about 2-3 inches long).
-
Use your scissors to cut the ends of each strip into sharp points. This makes them look like real spider legs.
-
Set these aside for assembly.
Step 4: Assemble the Spider
-
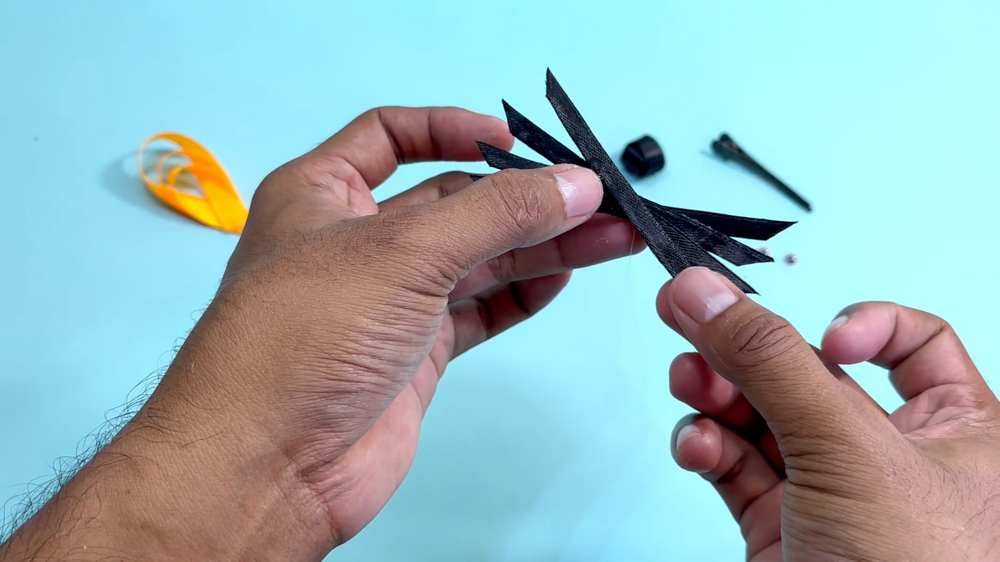
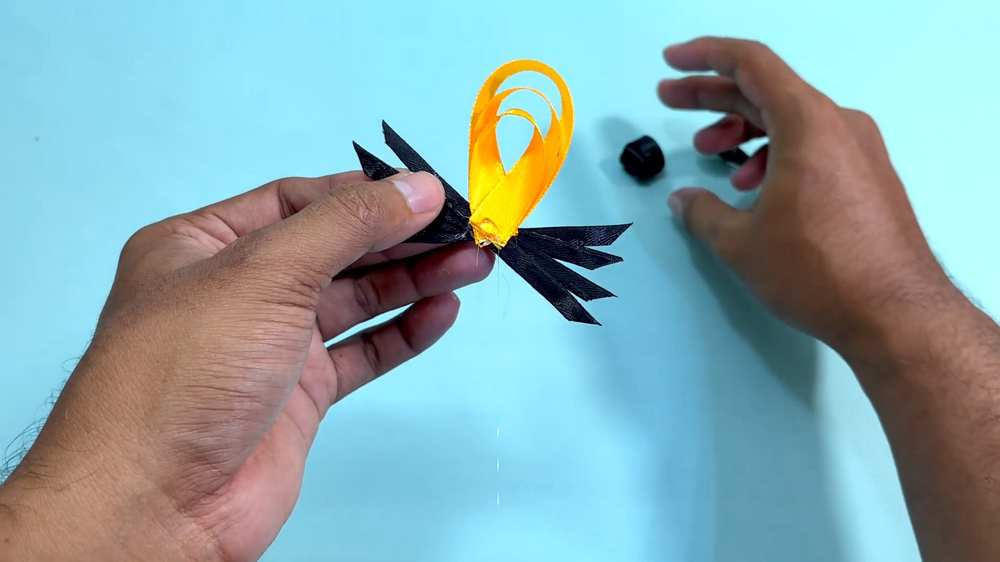
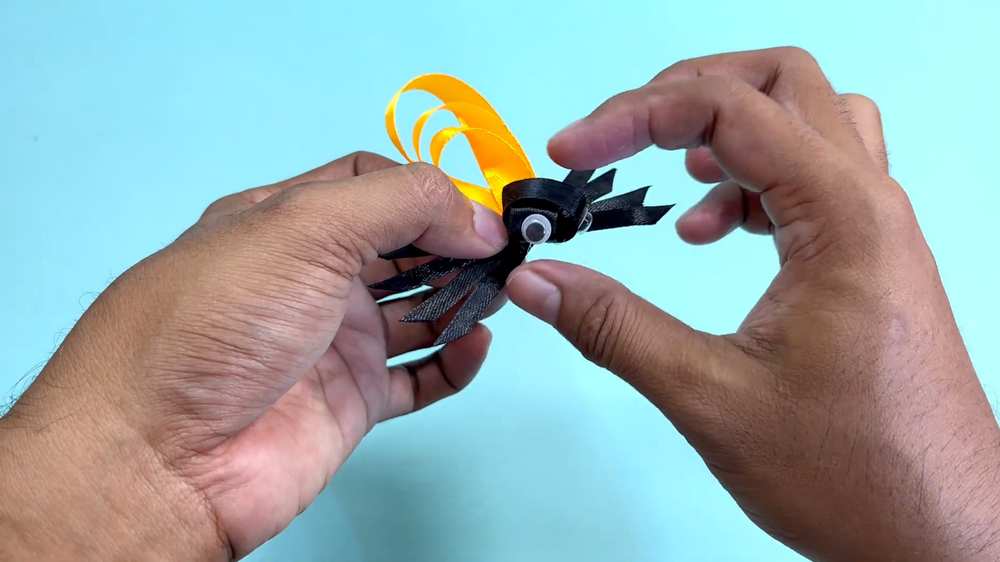
Attach the Tail: Take your layered yellow loop and glue the flat base to the back of the black ribbon body you made in Step 2.
-
Attach the Legs: Apply a dab of glue to the center of your leg strips and press them onto the bottom of the black body. Spread them out so they point in different directions like a star.
-
Add the Eyes: Glue two small googly eyes onto the front of the black body.
Step 5: Attach the Hair Clip
-
Turn the finished spider upside down.
-
Apply a line of hot glue to the top of your metal hair clip.
-
Press the clip firmly against the bottom of the spider (on top of the legs) and let it dry completely.
Your DIY Spider Hairclip is now ready to wear! Repeat these steps to make a whole colony of colorful spiders.