
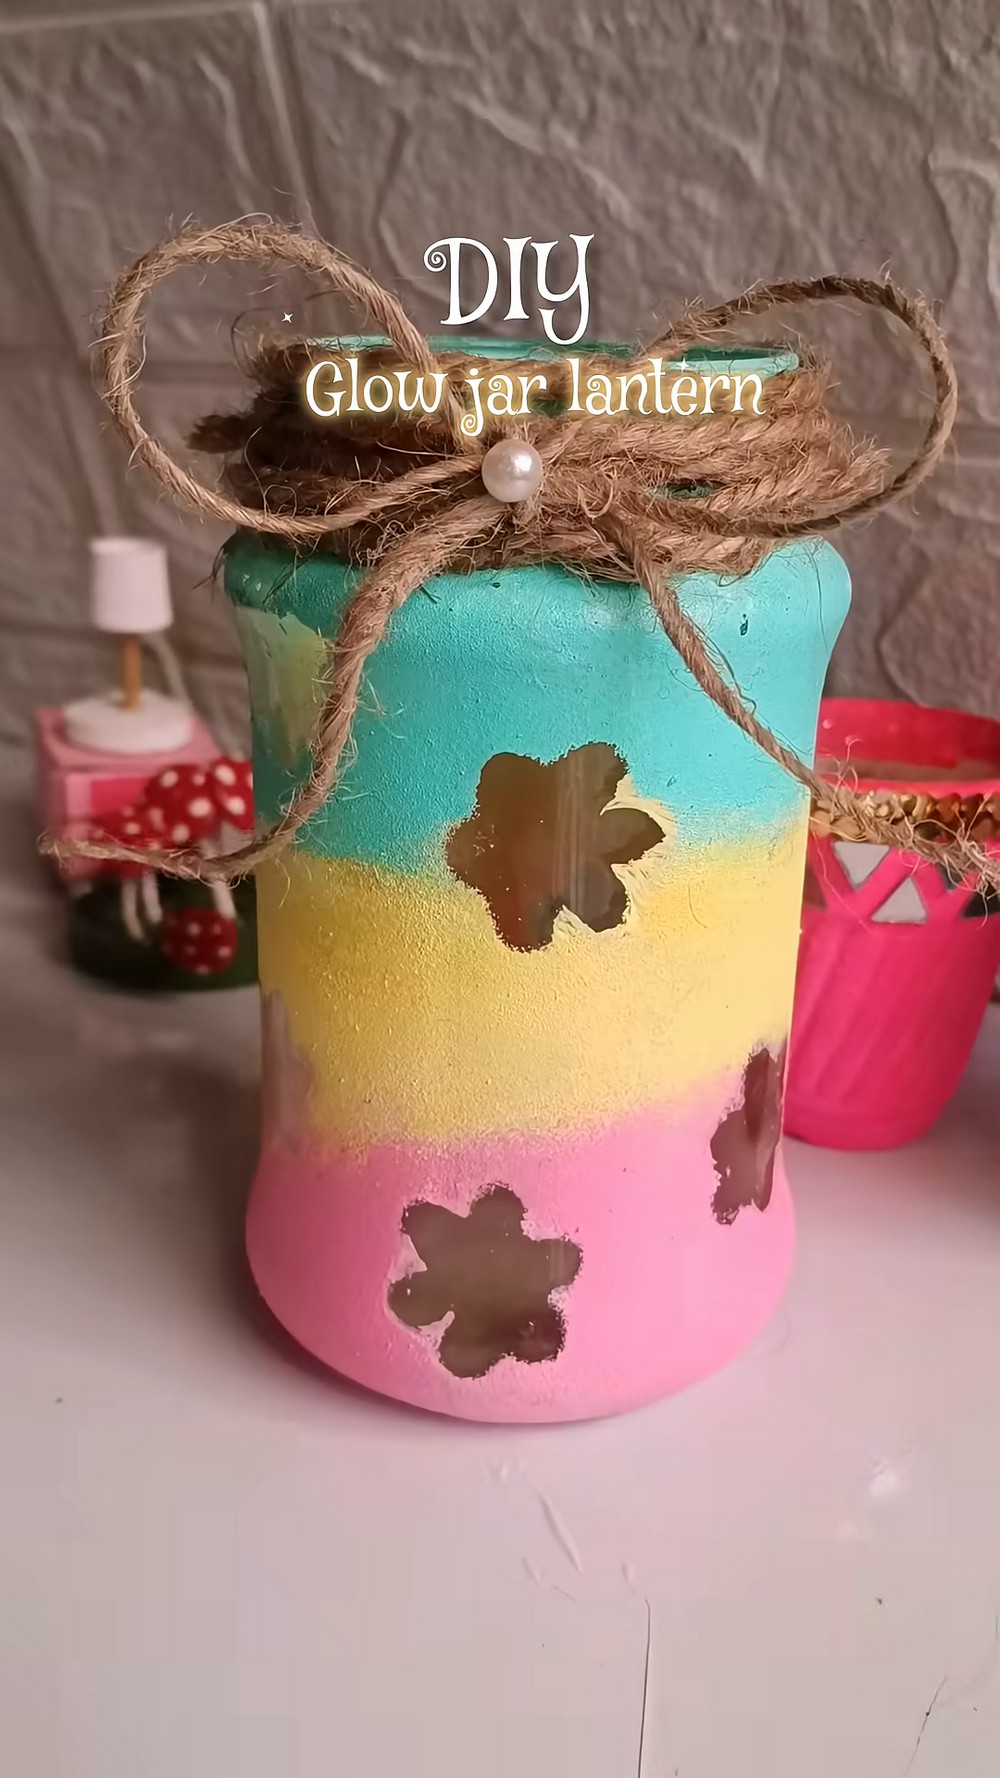
Learn how to DIY sponge painted mason jar lantern with beautiful glow-in-the-dark flower windows, soft yellow, pink and aqua colors, following these instructions. When it will be lit with a yellow light, you will see the visible dots in the painted sections (the magic of sponge painting on a glass!) which looks like a glittery jar.
Also, the colors will turn darker that looks so pleasing (we are clever to choose pastels!). It also has a twine cord around the rim, a corded bow and a white bead which makes it an equal rustic, coastal and craft table room decoration!
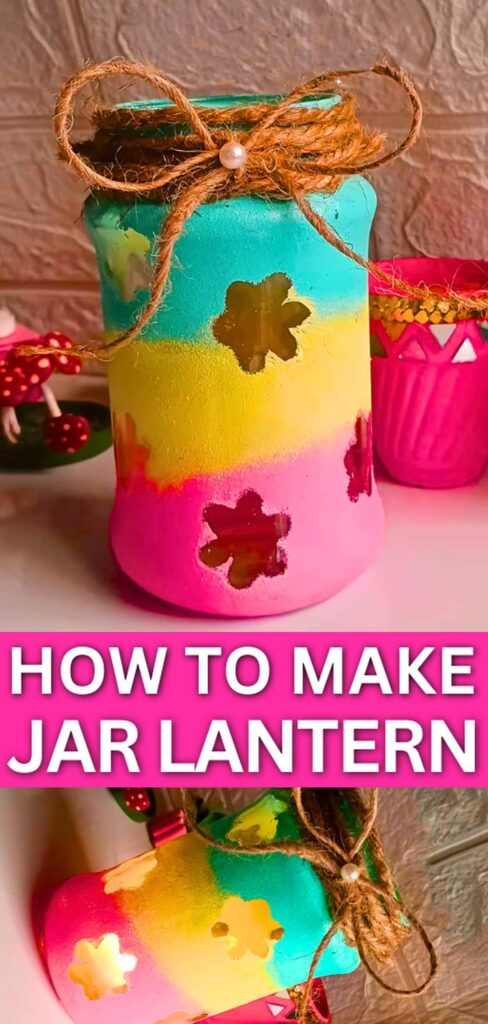
Definitely, an aesthetically wholesome and MOST elegant DIY project to teach the kids sponge painting as I love the soft shades of each color. Also, you will learn how to make negative spaces so you can let the mason jar glow. Since there is no filling like in the coastal jar decoration, you can make it even with 1-pint mason jar.
This is the 4th of DIY pastel combo summer decoration of this summer! So, although many of you might already realized with the so many other pastel DIYs that my COLOR combo of this summer are gonna be pastels. So, you can also check popsicle stick pastel holder, sticky notes pastel holder and also the star basket! Now, let me show you how to make this DIY lantern.
Time: 20 Minutes (excluding the drying time which might be 30 at minimum!)
When You can Use: Let the paint dry for at least 1 before using or holding with hands.
Techniques: With this mason jar decoration, kids will learn the following techniques:
- Sponge Painting
- How to paint with negative spaces
- How to lit the mason jar
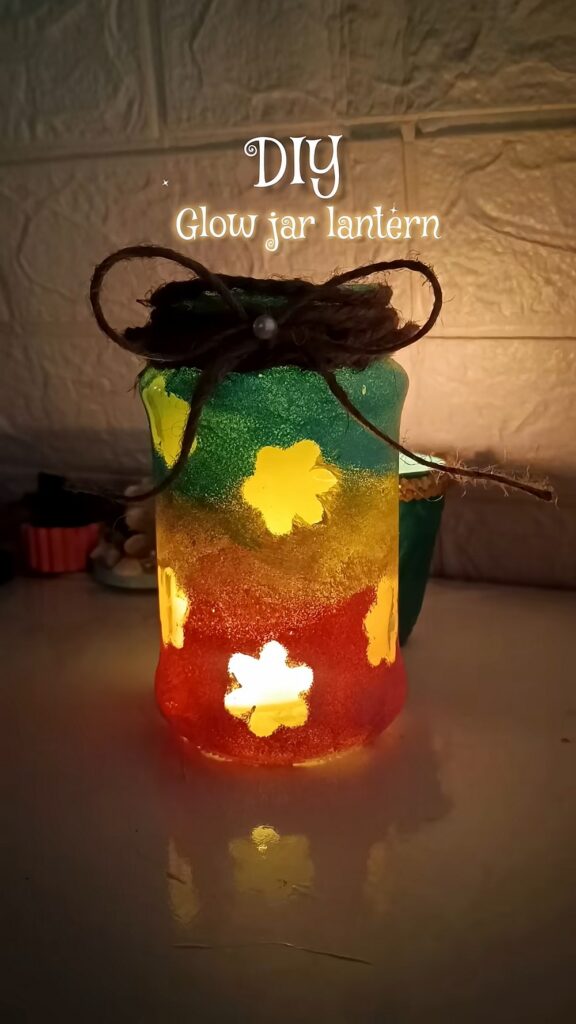
Because the paint is applied with a sponge, works as a diffuser. So, the light coming through the painted parts is soft and hazy, while the light through the flowers is bright. So, place it on a bedside table or a shelf in a dark hallway.
Tip: Use a “flickering” LED tea light to make the flowers look like they are dancing.
If you enjoy crafting or writing, place this on your desk. When the room lights are low, the pastel aqua and pink tones make NICE and colorful look which will suit your colorfulness of crafting table.
I mainly think this jar as a Mother’s Day gift. For this, you can also use the heart sticker in the middle and then prepare your gift!
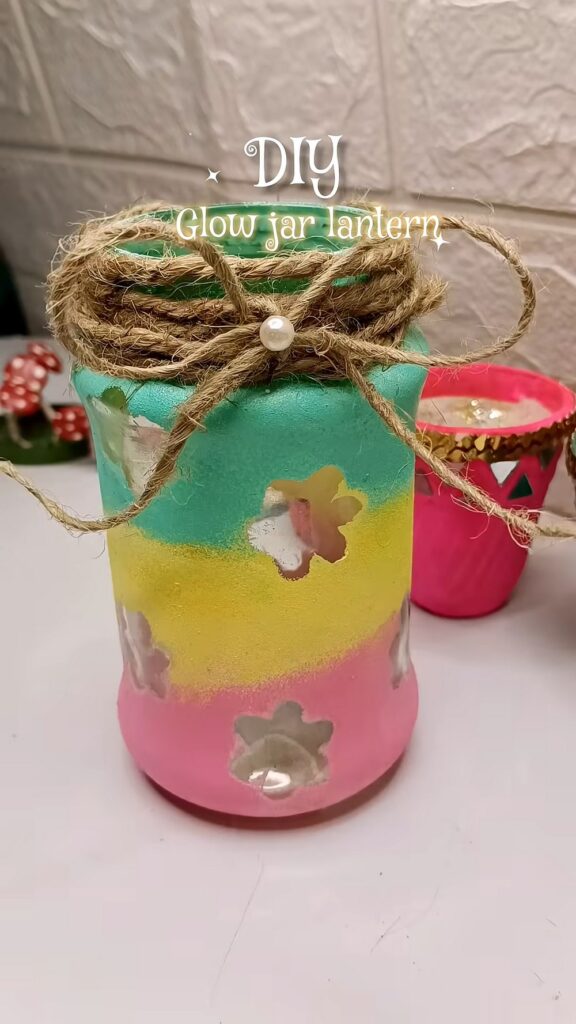
Sponge Painting Technique Guide
Before you learn making this DIY Hawaii lantern and DIY mason jar summer decoration, let me teach you the sponge painting technique in a nutshell:
- Dab, don’t wipe: Dip your sponge in a small amount of paint, dab the excess off onto a paper plate, and then bounce the sponge straight up and down against the glass. Wiping or smearing will leave streaks.
- Thin layers: Apply a very thin layer first. Let it dry for a few minutes, then apply a second layer. This will let you preset the paint from dripping and make an opaque finish.
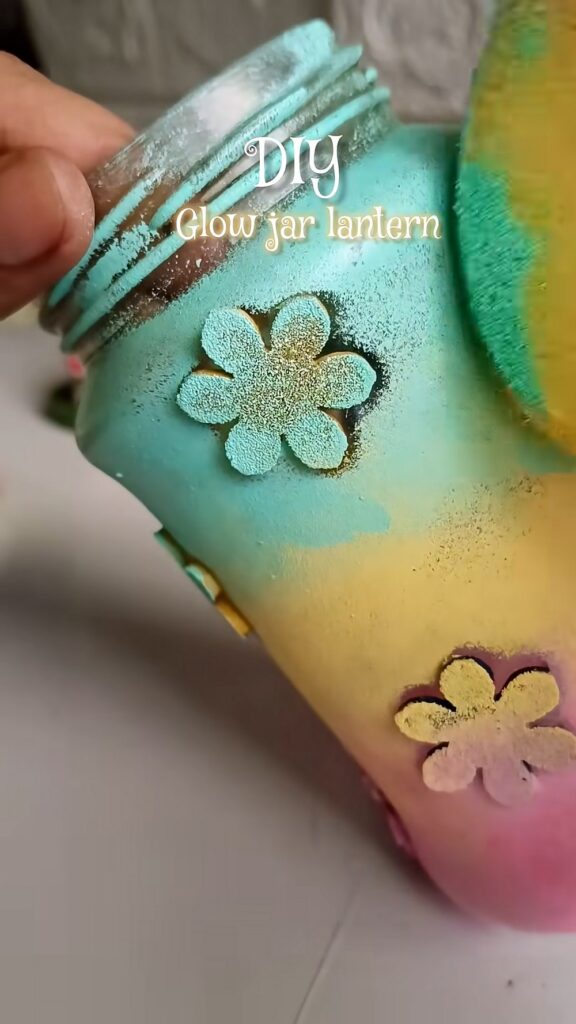
- Blending: To blend two colors (like where the pink meets the yellow in this DIY jar), use a clean edge of your sponge to lightly dab over the border while both colors are still slightly wet.
Materials Used
To remake this elegant, glow-in-dark negative-space lantern, you will need the following supplies.
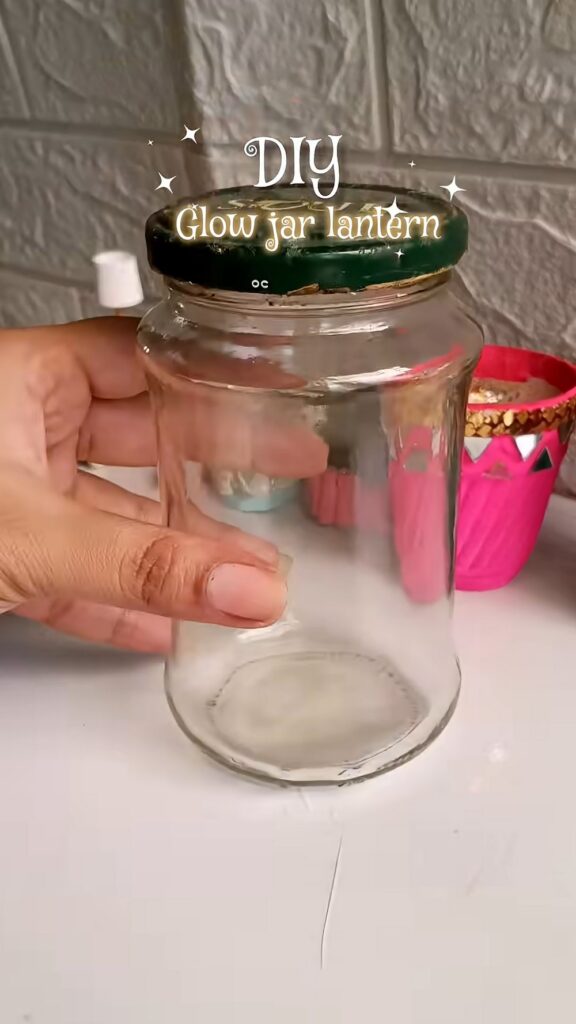
- Glass Jar: Use a standard size 1.5 pint mason jar
- Flower stickers: Use foaming sheet glittery stickers or paper cutouts along with a glue.
- Tweezers
- A piece of sponge: Used as a stamp painting brush.
- Acrylic paint: In pastel pink, yellow, and aqua/teal.
- Cotton swab (Q-tip)
- Rustic jute twine
- A small pearl bead
- A light source: you can use any candle, fairy light or 100 watt bulb.
Suggestions & Upgrades:
The Sponge: Instead of a porous kitchen sponge, try using a high-density makeup wedge. It will give you a much smoother, more airbrushed LOOK without heavy texture.
The Light: Use warm white battery LED fairy lights or an LED tea light. Never use a real flame if the paint or twine is near the top rim.
Painted Mason Jar Pastel Decoration: Step-by-Step Instructions
I have given the step-by-step photo instructions below to let you make this painted mason jar decoration:
Step 1: Prepping the Negative Space
Grab your clean and dry glass jar.
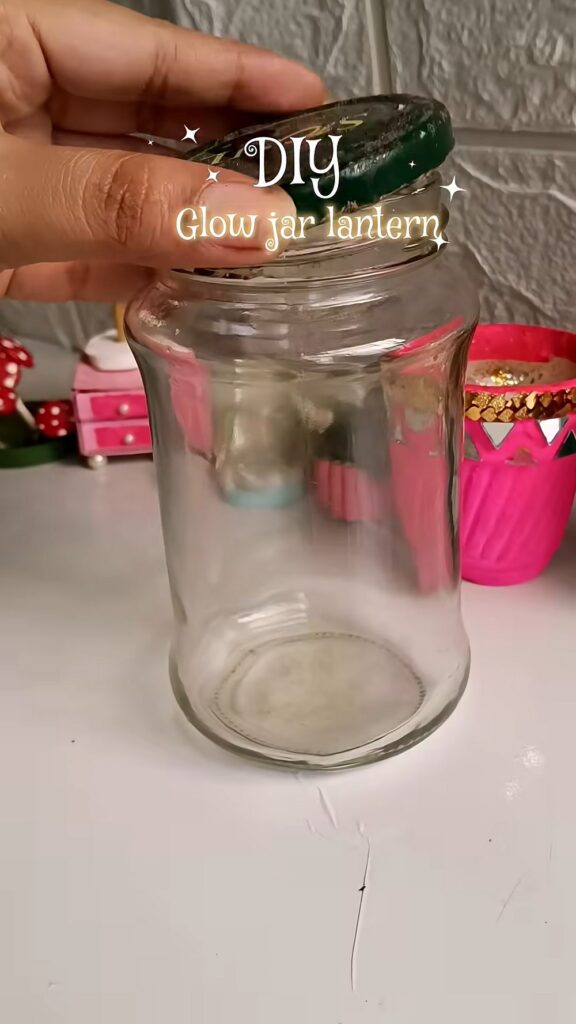
Using your tweezers, peel your flower stickers from their backing and press them onto the outside of the jar.
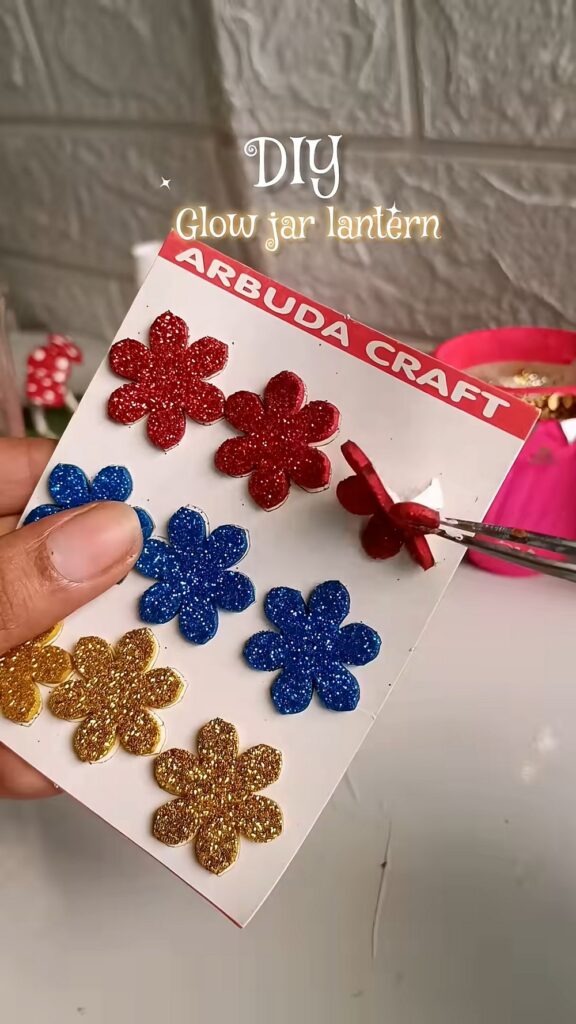
Arrange them randomly, leaving enough space between them so the colorful painted background will be visible.
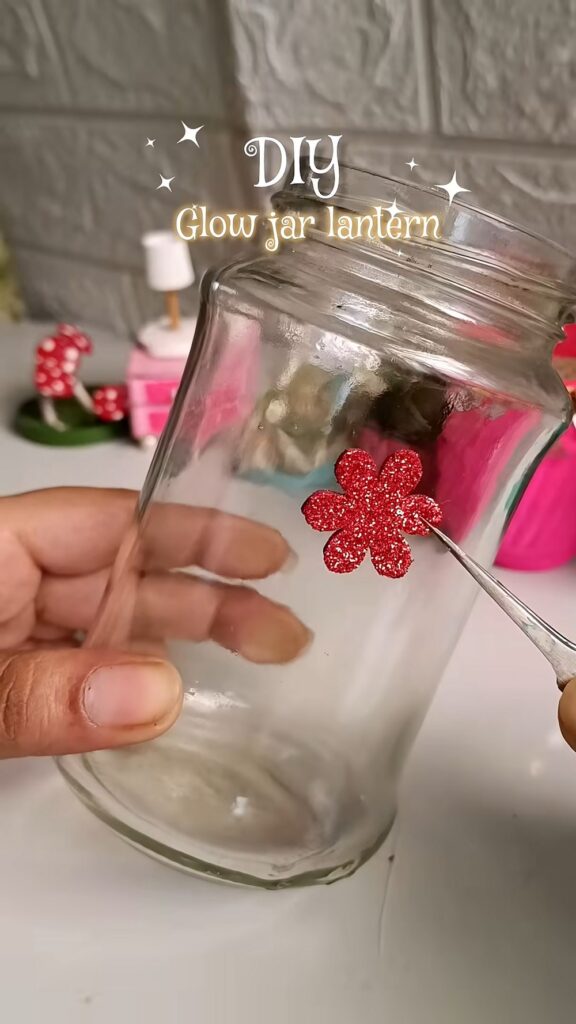
Press the edges of the stickers down hard to so you can prevent the paint from seeping underneath.
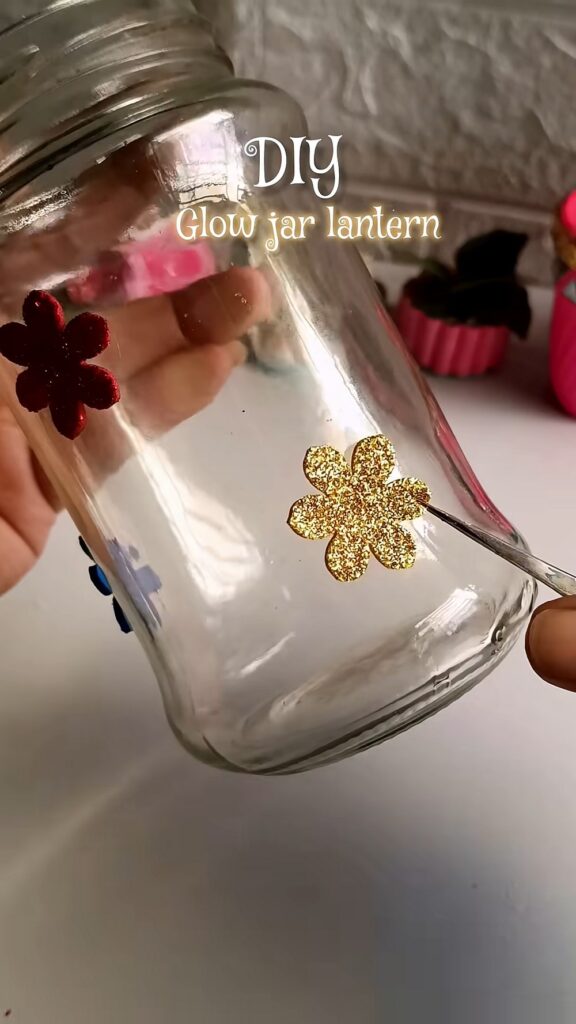
Step 2: Painting the First Layer (Pink)
Take the sponge and dip it into the pink acrylic paint. Using the dabbing technique as I explained above, cover the bottom third of the jar. Paint right over the glass and over the flower stickers in that section.
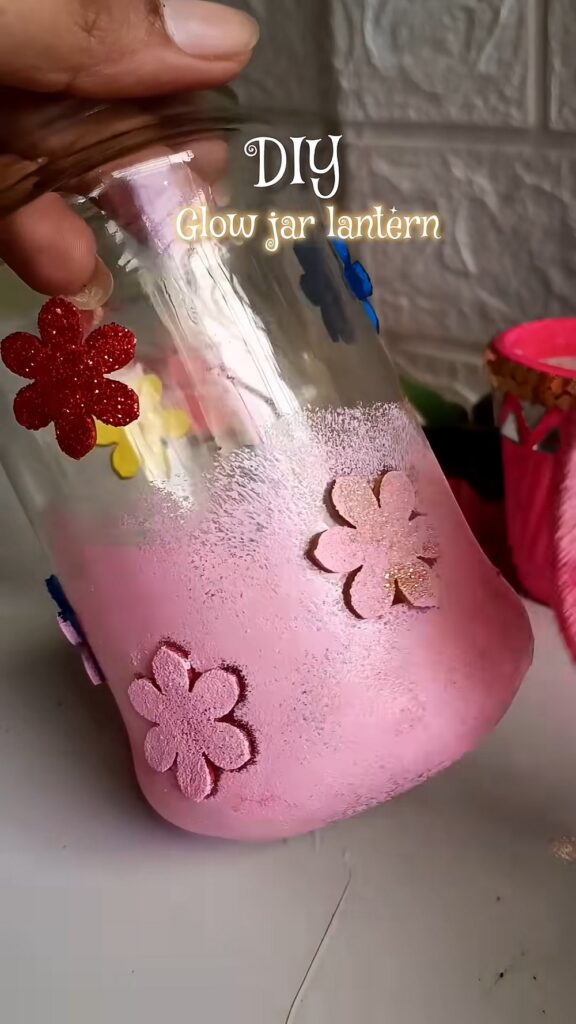
Step 3: Adding the Middle Layer (Yellow)
Using a fresh section of your sponge, pick up the yellow paint. Dab this color around the middle third of the jar. Where the yellow meets the pink, lightly dab the sponge up and down to make a soft, gradient between the two colors.
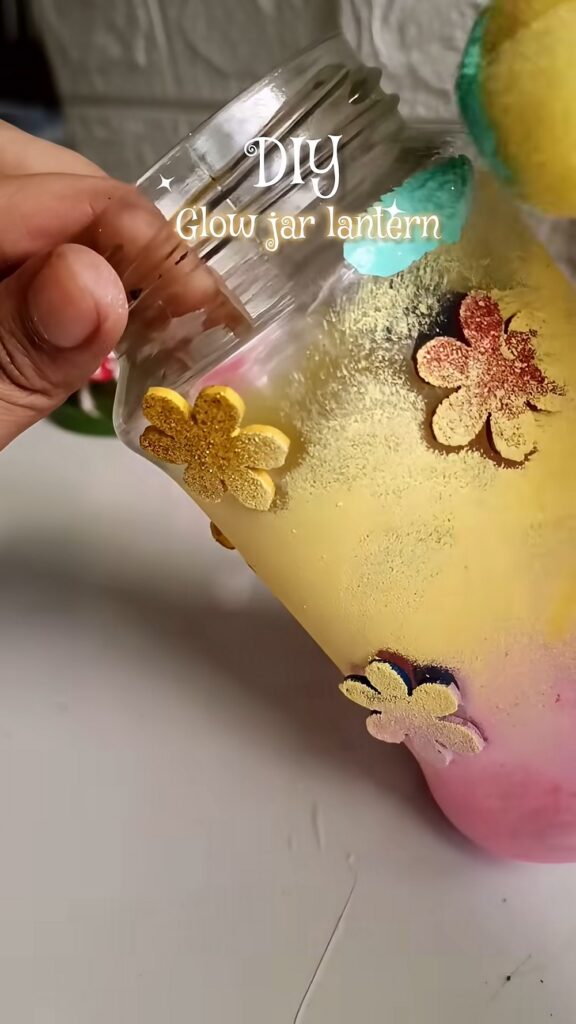
Step 4: Finishing the Gradient (Aqua)
Choose another clean side of your sponge and apply the aqua/teal paint to the top third of the jar, working your way right up to the rim.
Blend the border where the aqua meets the yellow, just as you did in the previous step. Allow the paint to dry completely.
Step 5: Revealing the Negative Space
As the paint gets dry to the touch, use your tweezers or a sharp pin to lift the edge of each flower sticker. Carefully peel the stickers off the jar as you may the paint remove around randomly, too.
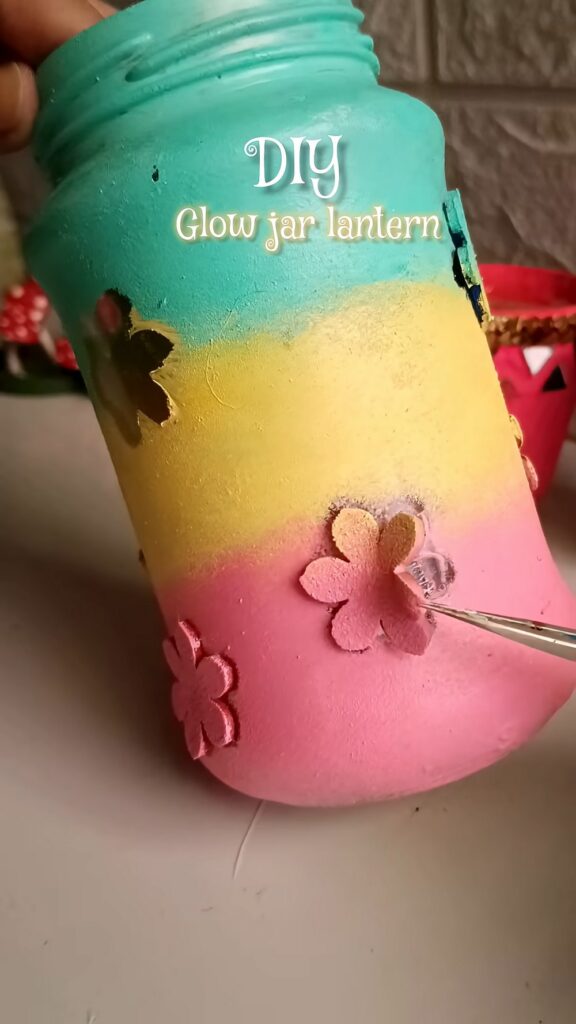
This will reveal the clear glass underneath, making the “negative space” windows shaped like flowers for glow.
Step 6: Detailing and Cleanup
Sometimes, a little bit of paint bleeds under the edges of the stickers.
Take a slightly damp cotton swab and wipe away any jagged edges or stray paint marks inside the clear flower shapes. This will make sure your glowing shapes look sharp.
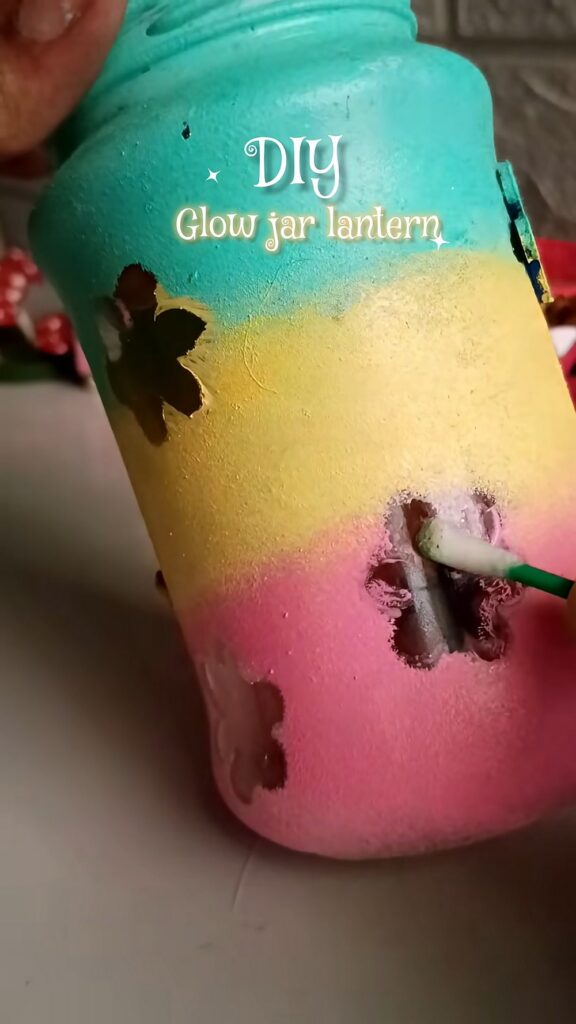
Step 7: Wrapping the Neck
To give the jar a finished, rustic look and hide the glass threads at the top, take a long piece of jute twine.
Apply a small dot of glue to the back of the jar’s neck, secure the end of the twine, and wrap it tightly around. You will want to wrap it around the rim multiple times until the glass is covered.
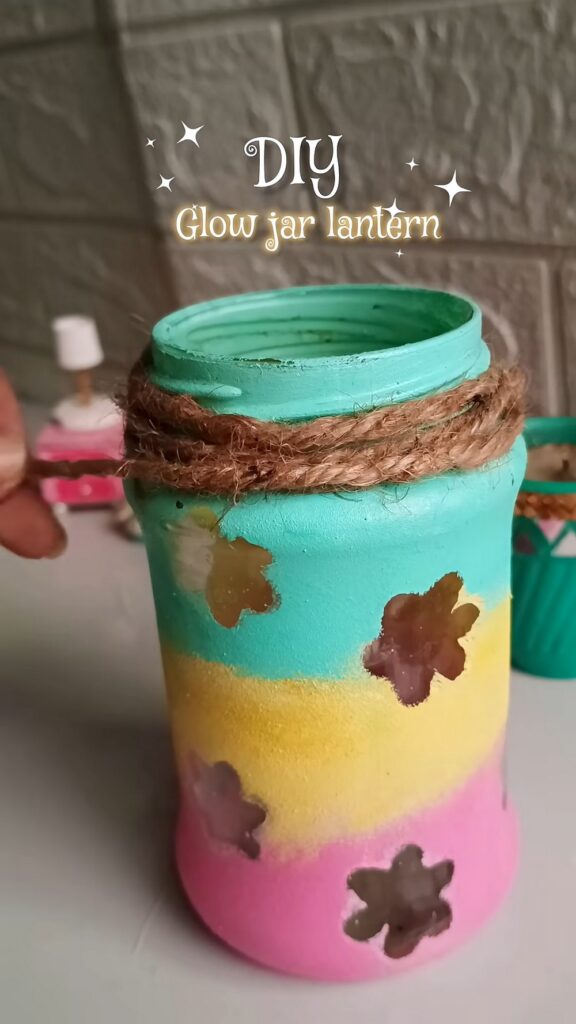
Step 8: Adding the Final Embellishments
Tie a separate piece of twine into a neat little bow.
Use a dab of glue to attach this bow to the front of the wrapped twine collar.
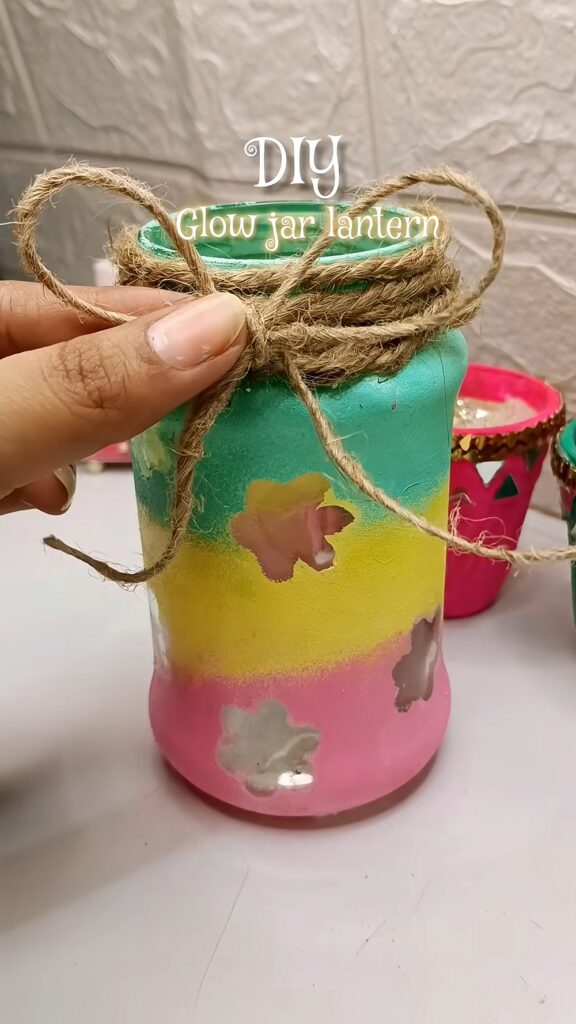
For an elegant finishing touch, glue a single pearl bead right in the center of the bow.
Feels Difficult?
Step 9: Make it Glow!
Drop a string of battery-operated LED fairy lights or an LED tea light into the bottom of the jar. Turn off the room lights, and the illumination from inside will shine brightly through the clear flower shapes.
And that’s how you will DIY this elegant mason jar decoration with pastel acrylic paints, flowers and glow!
Was this Tutorial Helpful? Tell us in the Comments.
Your feedback is a great way for us to improve the tutorials. Did you find the tutorial helpful? Be sure to subscribe to the creator’s channel!