
Be sure to subscribe to her channel!
Learn how to make a no-glue paper block Minecraft heart with these step-by-step instructions. My main goal with this guide is to teach you how to make paper blocks that can be joined like LEGO blocks without any glue, for any pixelated decor.
Once you learn this, you can make any Minecraft character or object, and while it is a bit confusing at first, you will soon get used to it. Also, make pixelated art such as the flower, heart, and other themes. You can also check my origami Masu box and origami oblong box tutorials!
We will be using an origami modular block, which is kinda NEW and fun technique. It makes a strong connection among the blocks, so you can even make functional items along with the decorative things with these blocks! Now, let me show you how.
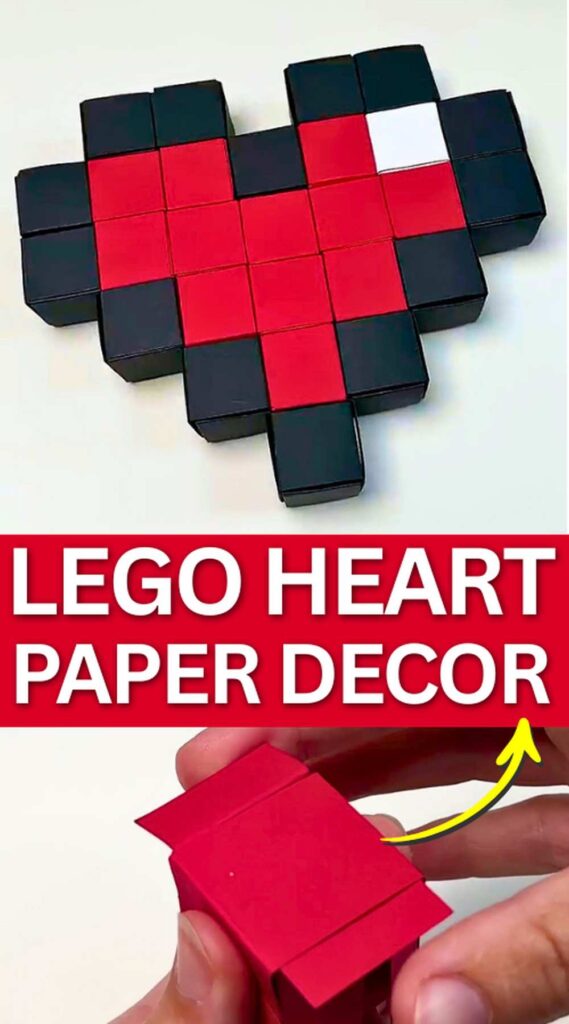
Time: 1 hour (better have a helper with you!)
Model Type: Pixelated Paper Art/ Modular Origami
Uses:
- Wall hanging
- Picture holder
- Gift for a Minecraft Fan
Techniques: In this pinxelated heart art decor, you will learn and use the following techniques:
- Making a no-glue, no-tape modular block
- Cutting a grid pattern

What you need
Buy the following supplies for making this Minecraft Heart without glue:
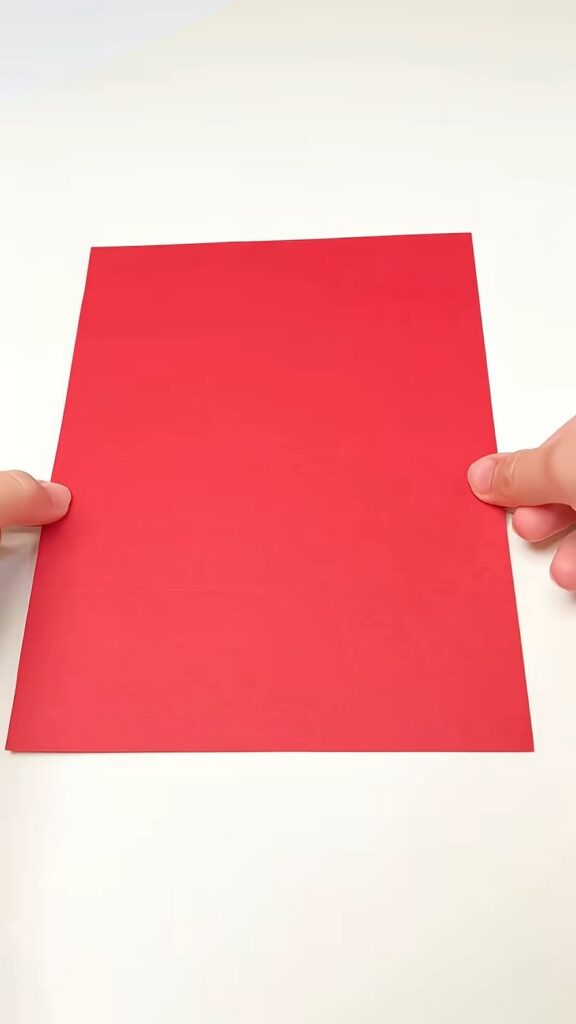
- Red Cardstock or Thick Paper: (e.g., 8.5″ x 11″ or A4 size sheet).
- Black Cardstock or Thick Paper: We shall use it for the heart’s outline.
- White Paper (or a single white block): For the “shine” pixel on the heart.
- A Metal Ruler (or you can also use a plastic ruler)
- A Pencil: For marking the template.
- Scissors: For cutting the blocks.
- Glue (Optional): The blocks will interlock, but small drops of craft glue (like a glue stick or liquid PVA glue) can make the folds even stronger if they are loose.
Suggestions for Paper:
Paper Weight: Do not use thin printer paper or Kami. Use Tant paper like the kind I use in my origami tutorials, or construction paper (roughly 65 lb / 176 gsm or heavier). Thin paper will fold too easily and won’t hold the shape of the block.
Ruler: Use a metal ruler. A wooden or plastic ruler can get nicks from the blade if you use a craft knife.
Paper Lego Heart Craft: Step-by-Step Instructions
Follow these step-by-step instructions to make this 3D Pixelated LEGO Heart from red, black, and white paper:
1. Making Grids & Cutting the Strips
Before you pick up the scissors, you must prepare the paper. Our goal will be to make a perfect grid of squares across your entire sheet.
Step A: Horizontal Guidelines: Place your metal ruler horizontally across the paper.
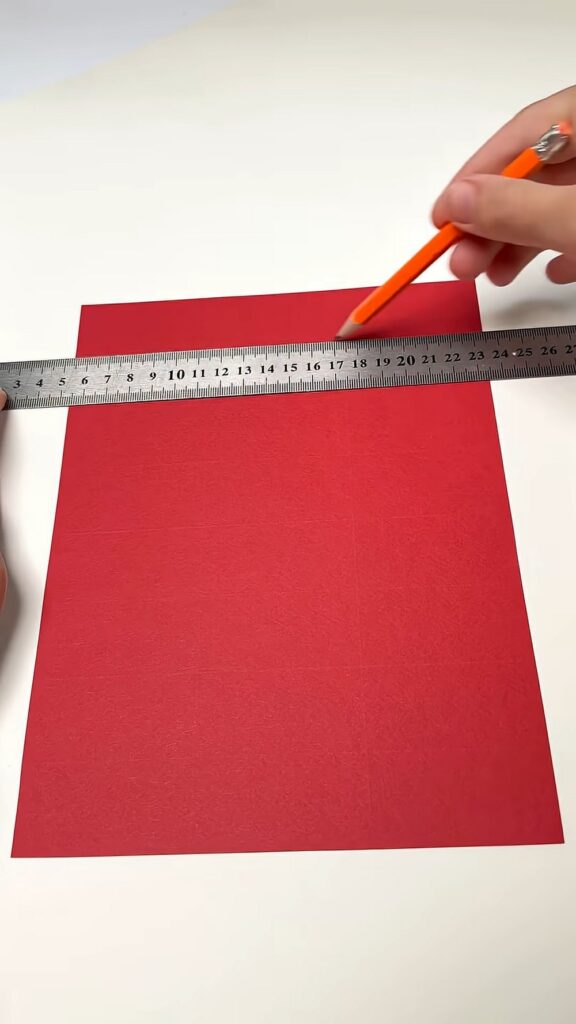
Using a sharp pencil, mark every 1.5 inches down both the left and right edges of the paper. It will result in 7 lines and 8 rows.
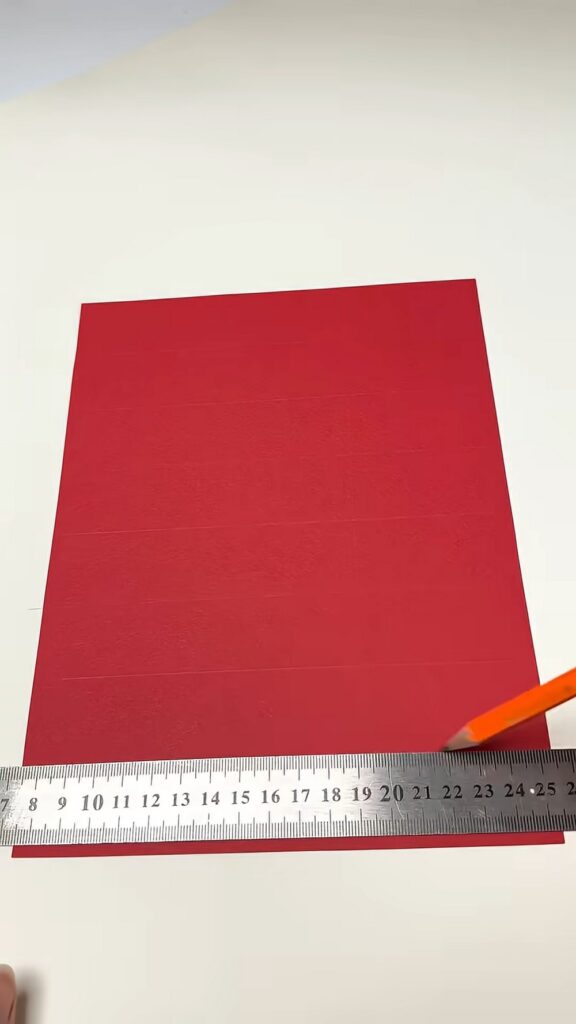
Step B: Drawing the Rows: Connect the marks on the left to the marks on the right using your ruler. This makes long, even horizontal “lanes” across the paper.
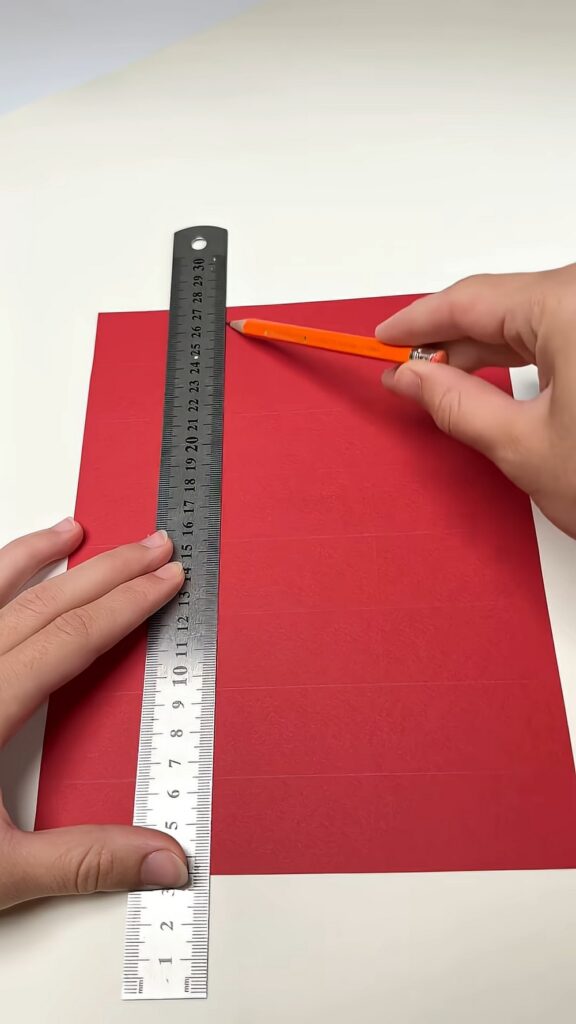
Step C: Vertical Guidelines: Turn your ruler vertically. Divide the width of the paper into exactly 3 sections, which becomes about 8.27/3 for each.
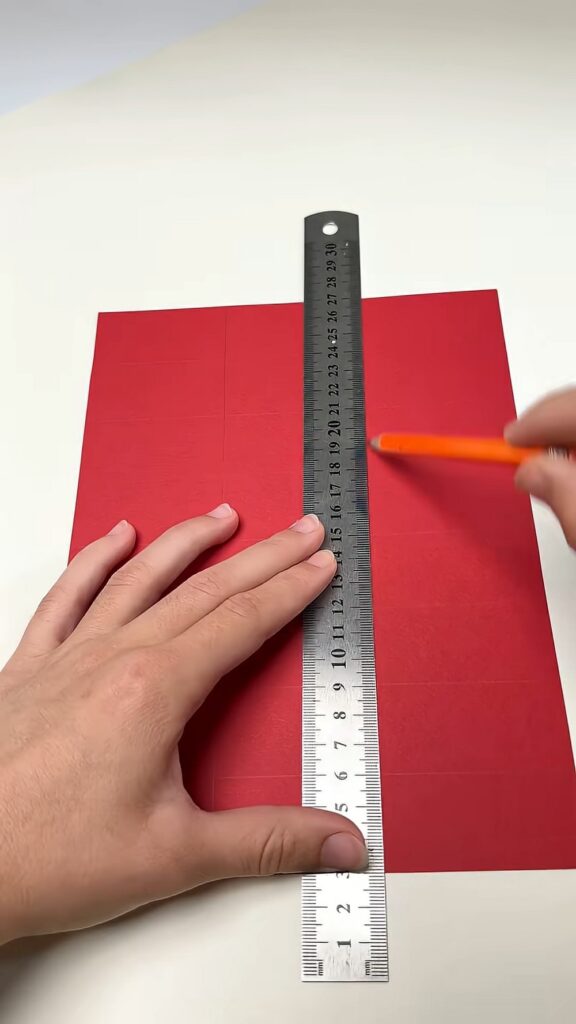
Step D: Completing the Grid: Connect these vertical marks. You should now have a sheet of paper covered in a perfect grid of squares.
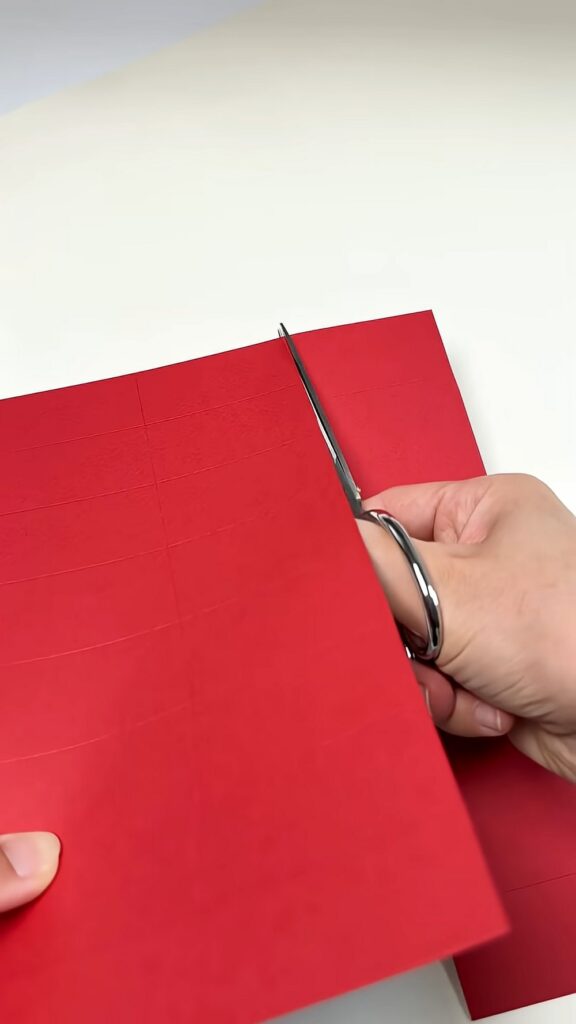
Step E: Cut each row section and each strip.
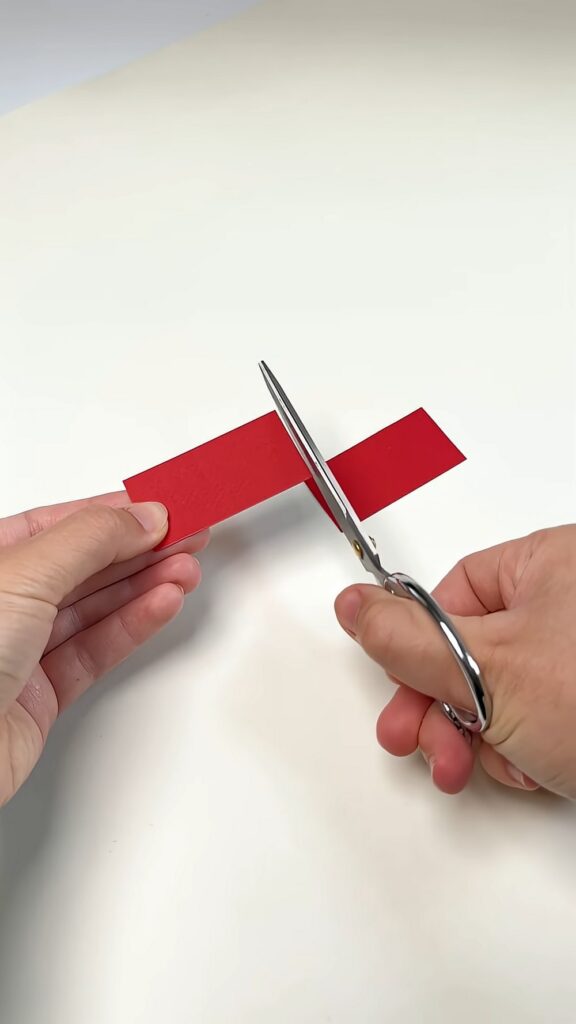
2. Making the Blocks
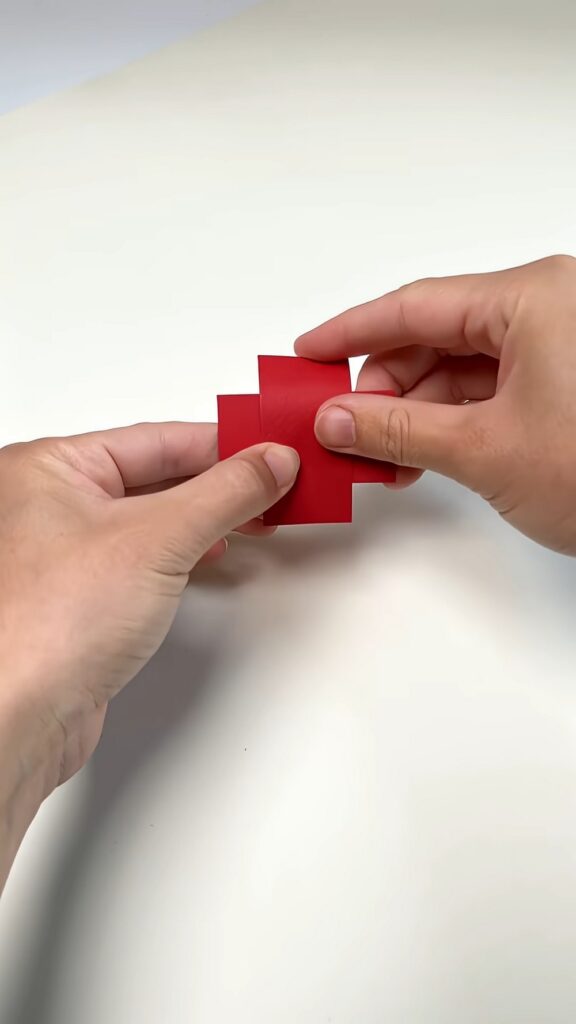
Take two strips. Lay the first piece horizontally. Place the second piece vertically over the center of the first one, making a cross shape (+). The open flaps of both pieces should be facing toward you (upwards). Hold the horizontal piece steady.
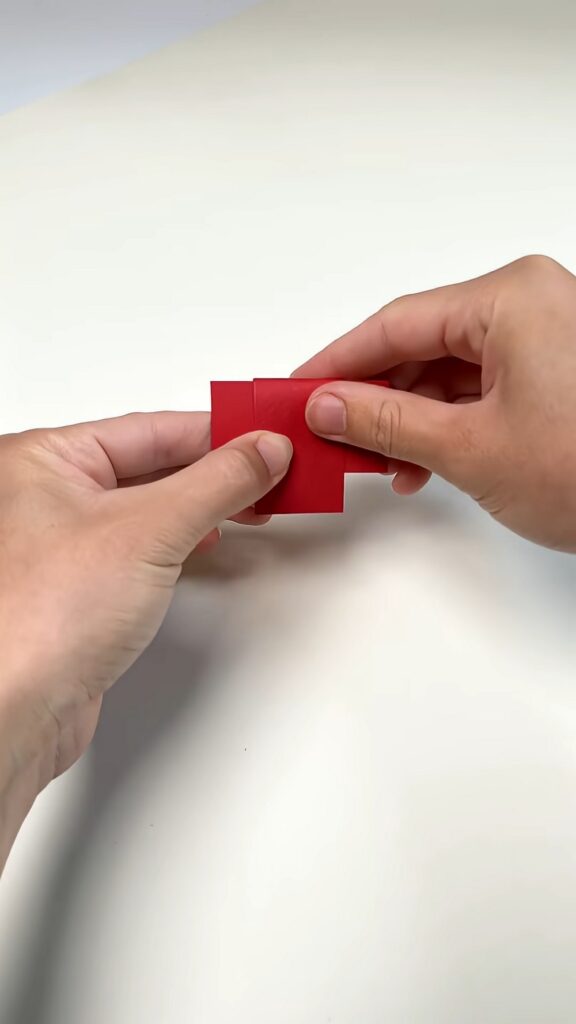
- Begin to fold the sides of the vertical piece so as to wrap around the edge of the top horizontal piece.
Or: Place them in a “+” orientation and fold the edges of one over the other.
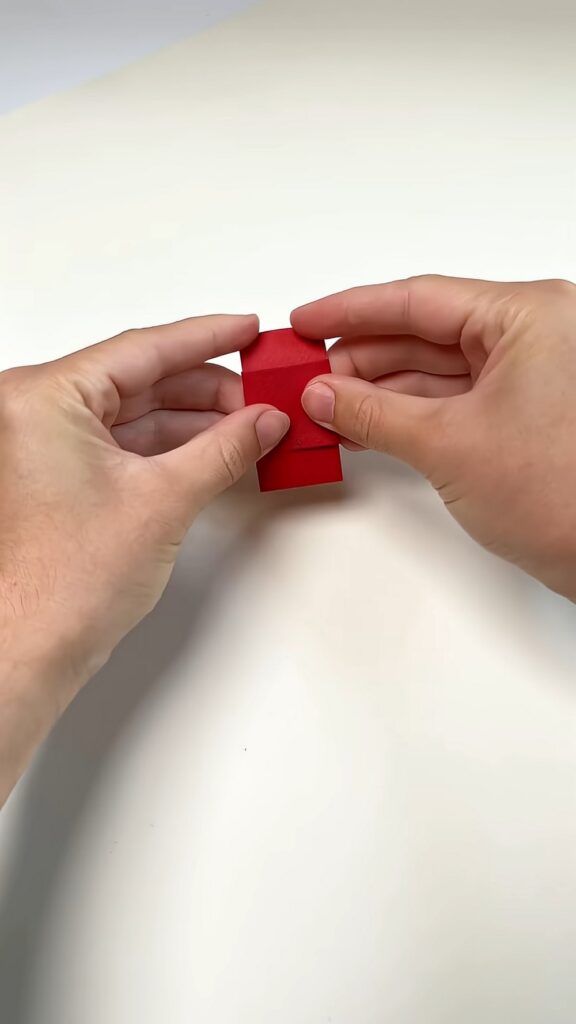
- Fold the bottom edge of the vertical stripe about the bottom of the horizontal piece, too, and rotate it.
- Pinch the folds.
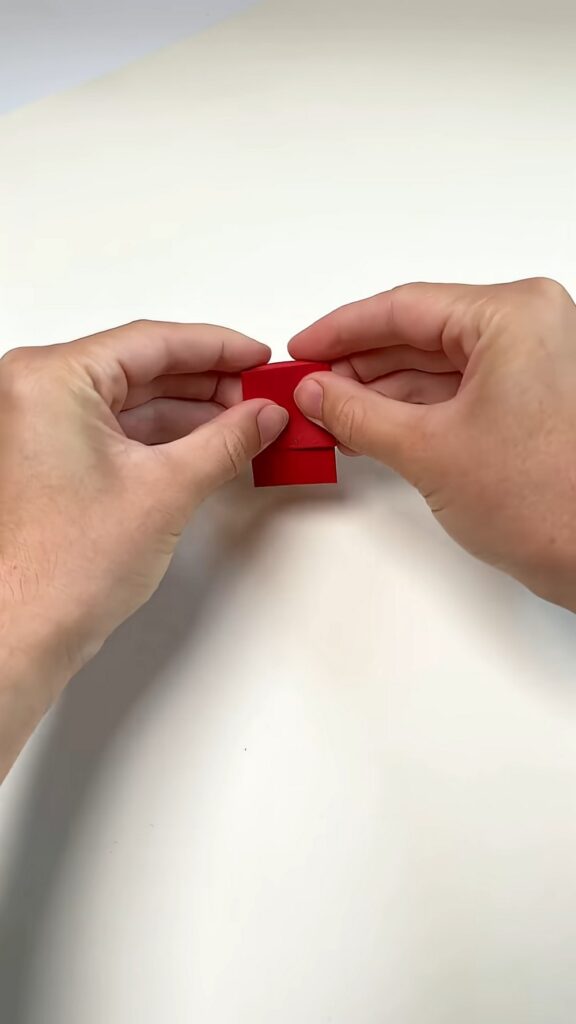
- Now, the horizontal piece will work as the vertical; just fold both of its edges along the edges of the previously vertical strip.
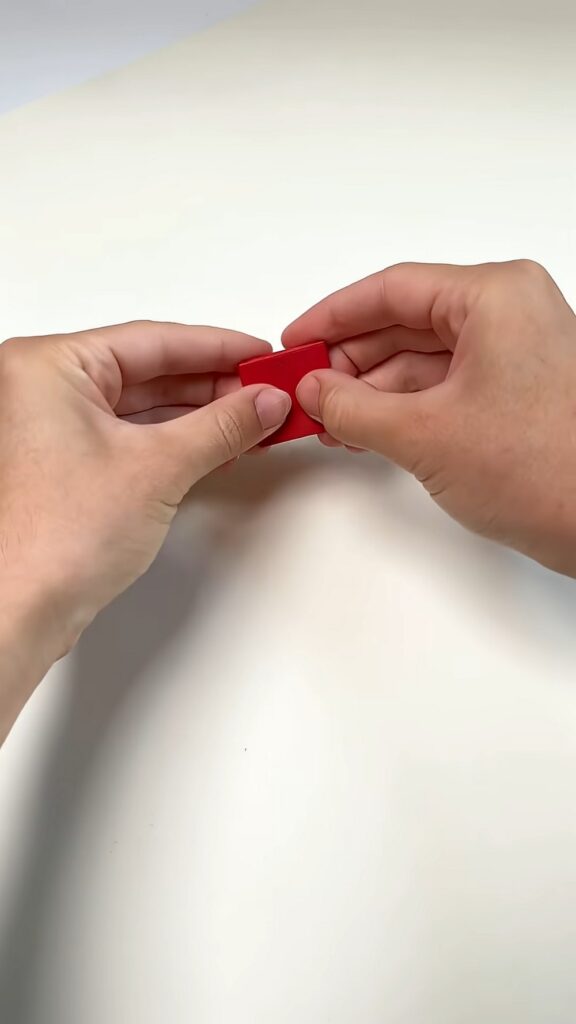
- When you pull them apart, you will have two square units, each with two flaps. We only needed creases at this step.

- Make creases on a total of 72 with 36 pairs of red strips.
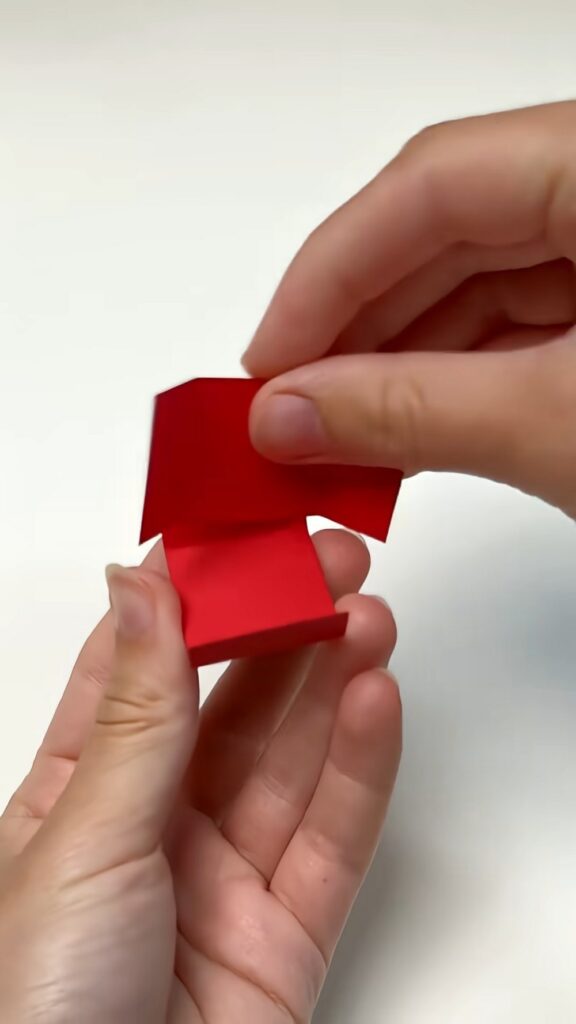
The 6-piece rule: It takes six of these square units to build one Minecraft block.
Folding the cube: Assemble the six pieces so that all the flaps end up on the outside of the cube. This makes it easier to connect them later. The idea is to keep all the flaps out of the box and the creases inside! Here is how:
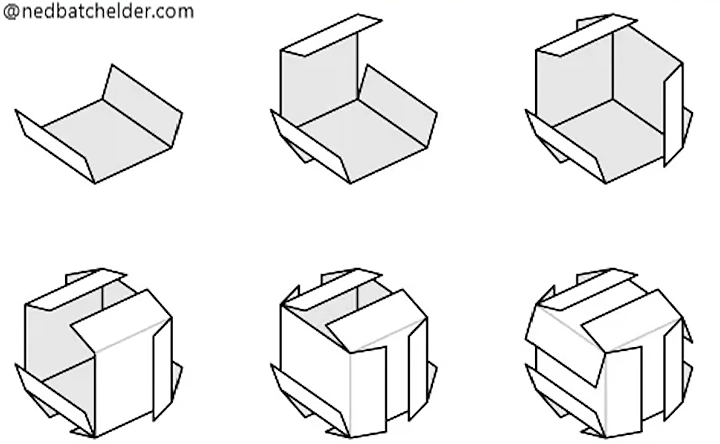
1. The Foundation (Piece 1)
Start with a single strip folded into a “U” shape (a square base with two vertical flaps). This piece will work as the bottom,
2. Adding the Perpendicular Walls (Pieces 2 & 3)
Piece 2: Slide the second piece perpendicularly to the first, opposite it, such that the square edge touches the flap crease of the 2nd piece.
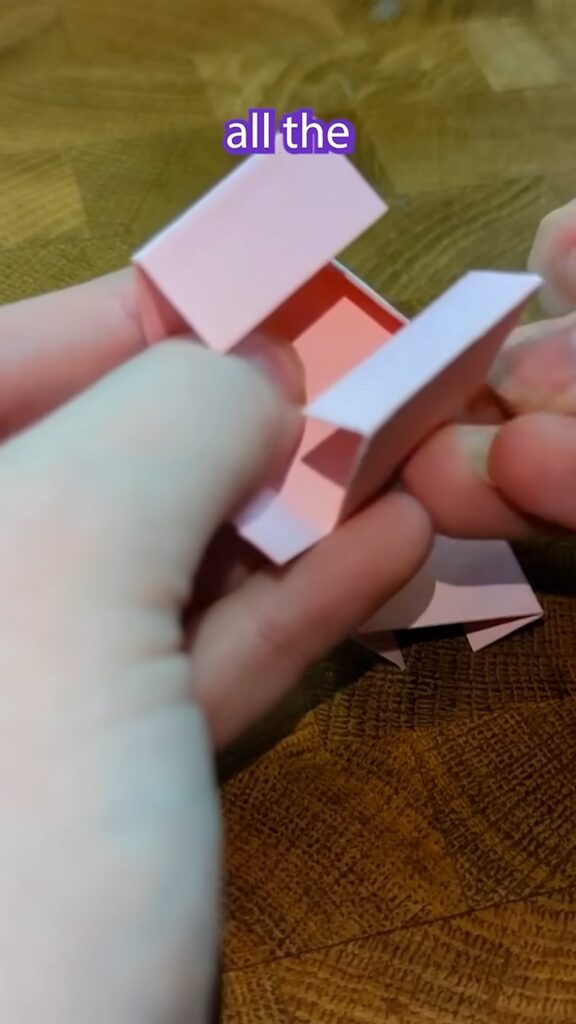
Notice in the diagram how the base of Piece 2 becomes a side wall, while its flaps wrap over the top and under the bottom of Piece 1. Take piece 3 and attach it to the opposite side of the 2nd piece.
So in Piece 3: Mirror this on the opposite side to create a three-sided structure.
3. Closing the Enclosure (Pieces 4 & 5)
Piece 4: Insert the fourth piece to cover the remaining open side. To do this, first, rotate the piece 90 degrees so that the creased edge of the 4th piece is now touching the creased edge of the bottom.
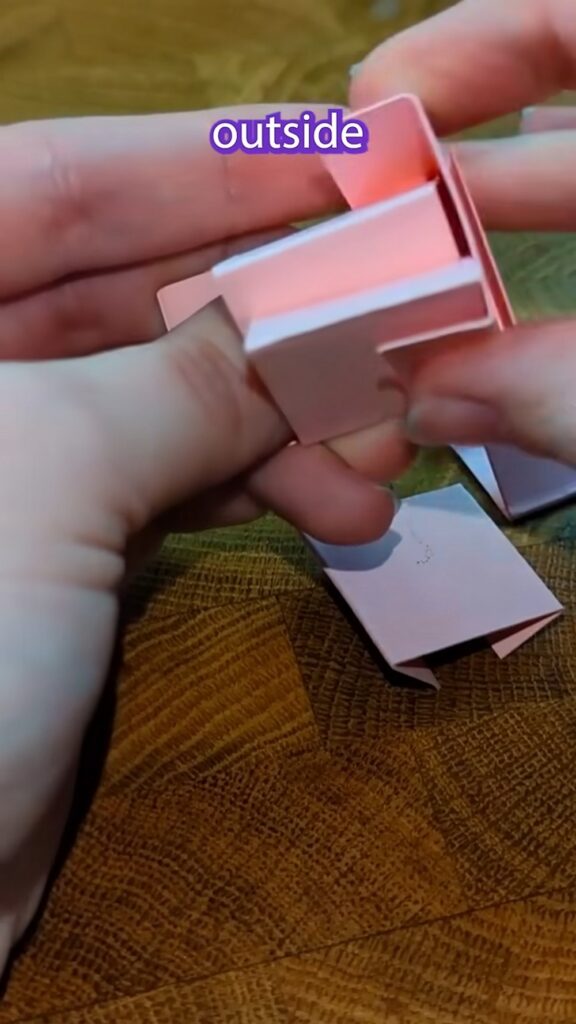
Piece 5: Add the fifth piece to the opposite, sealing the “top” and “bottom” faces. By this stage, you have a nearly complete cube with various flaps overlapping on the exterior.
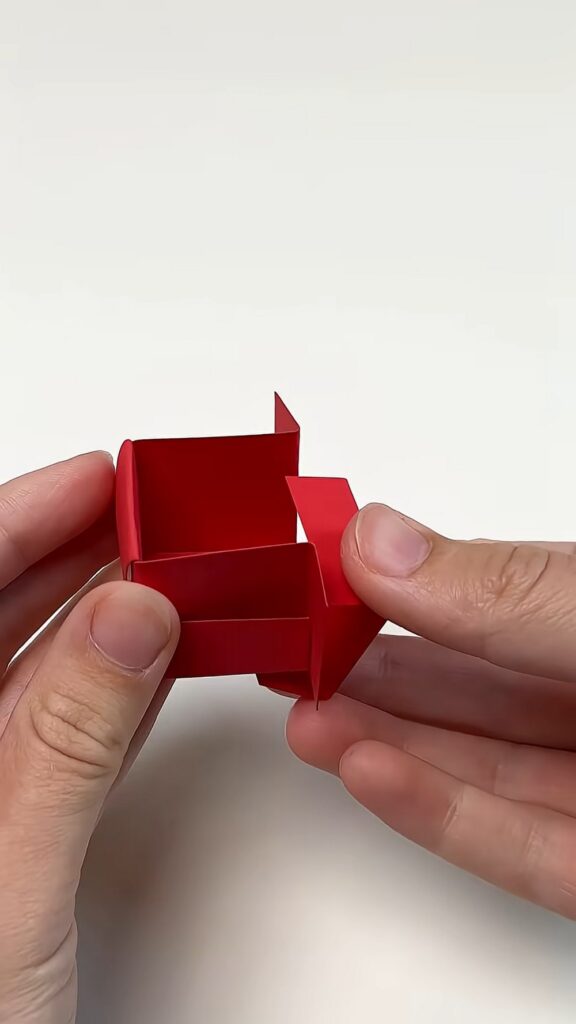
4. The Locking Piece (Piece 6)
The final piece is slotted into the remaining gaps. This piece “locks” the entire structure through friction.
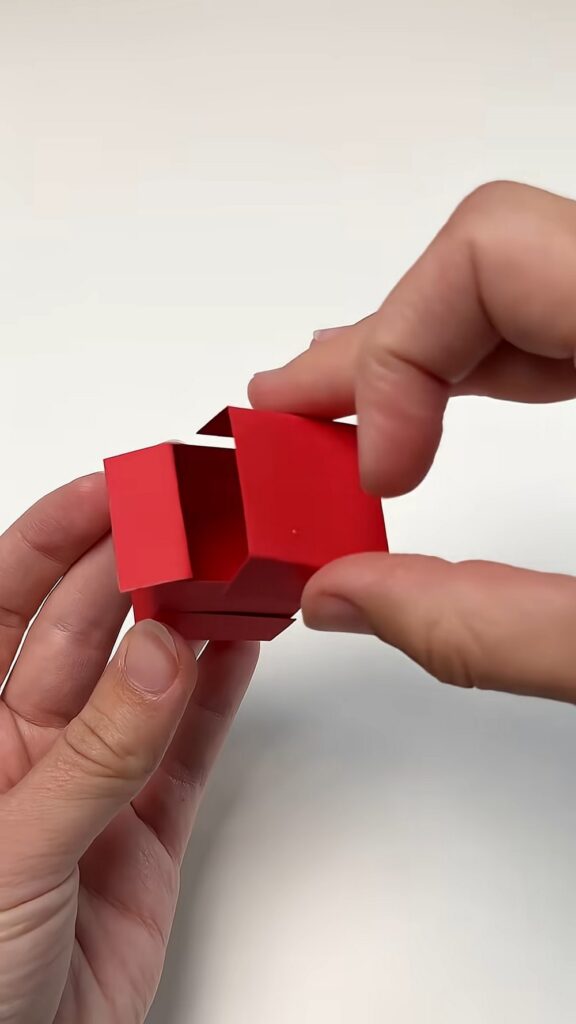
The idea is to insert the top piece into the opening flaps so you can easily shut that down!
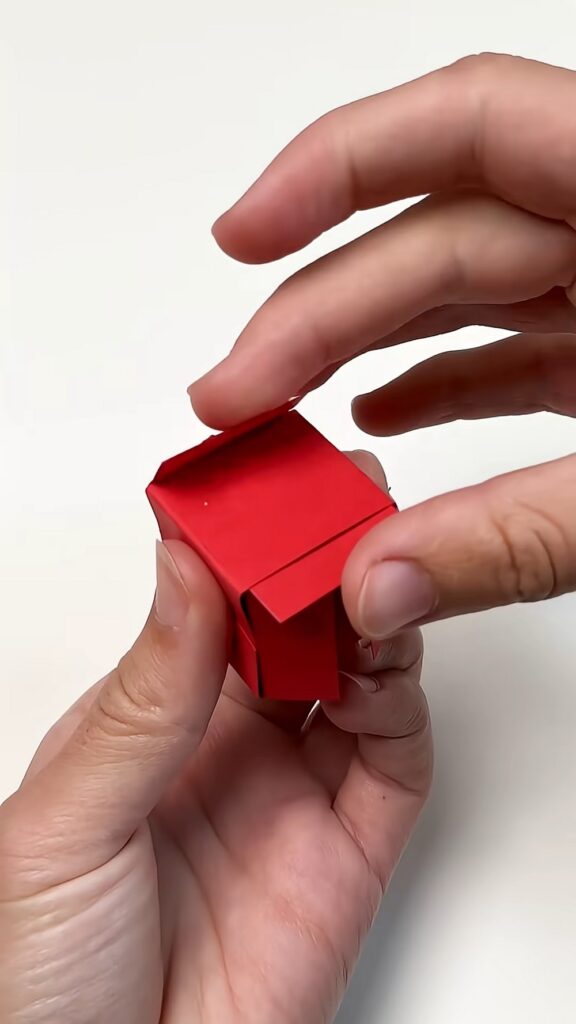
Repeat
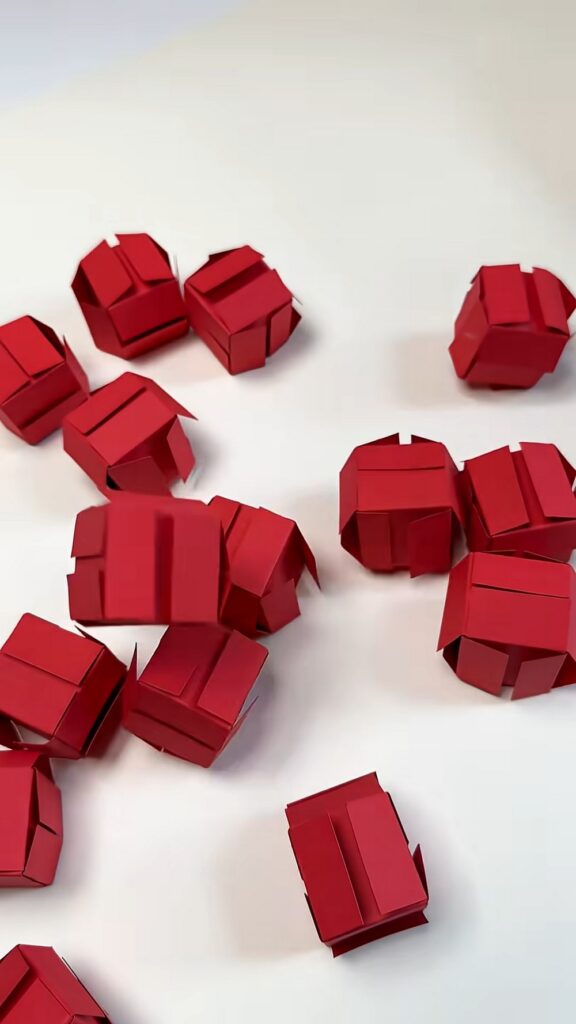
- Repeat all the steps described above to make more red cubes! A total of 12 cubes in red!
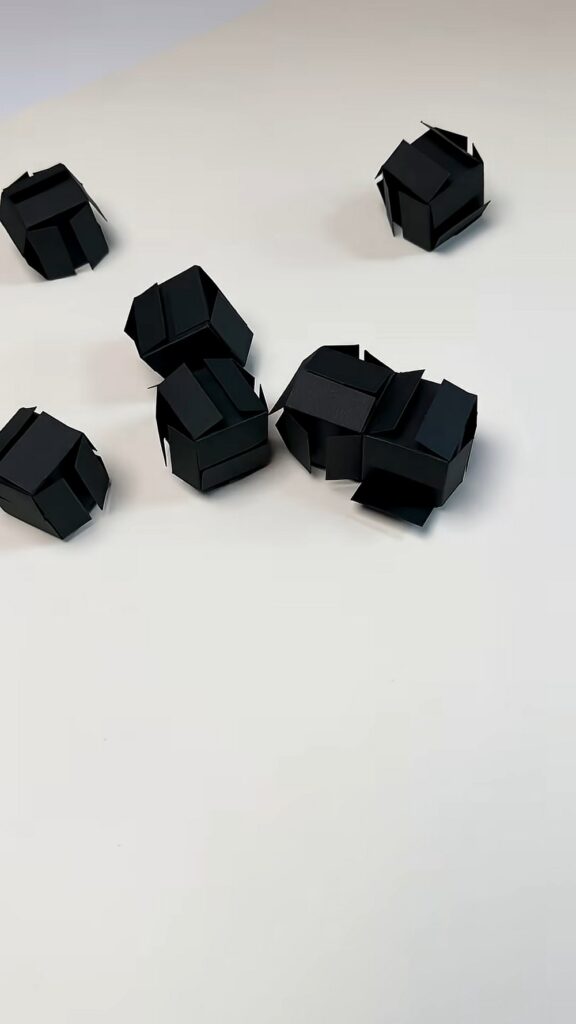
- Also make 14 black cubes (6 * 14 = 84 strips) and also 1 in the white!
How to Attach?
The “Tuck” method: To attach two cubes together, tuck the flaps from one cube into the flaps of the adjacent cube.
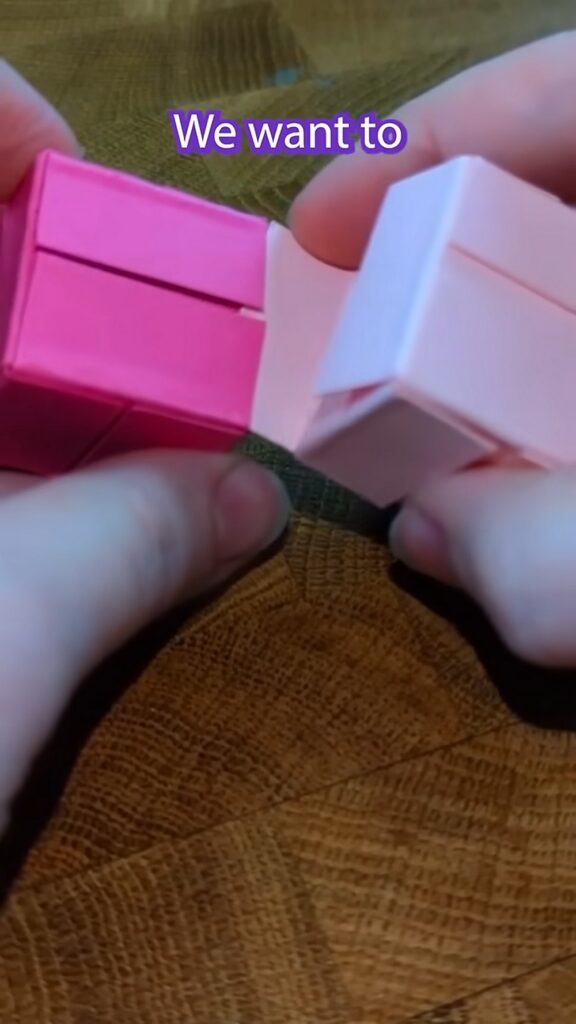
This connection is surprisingly strong.
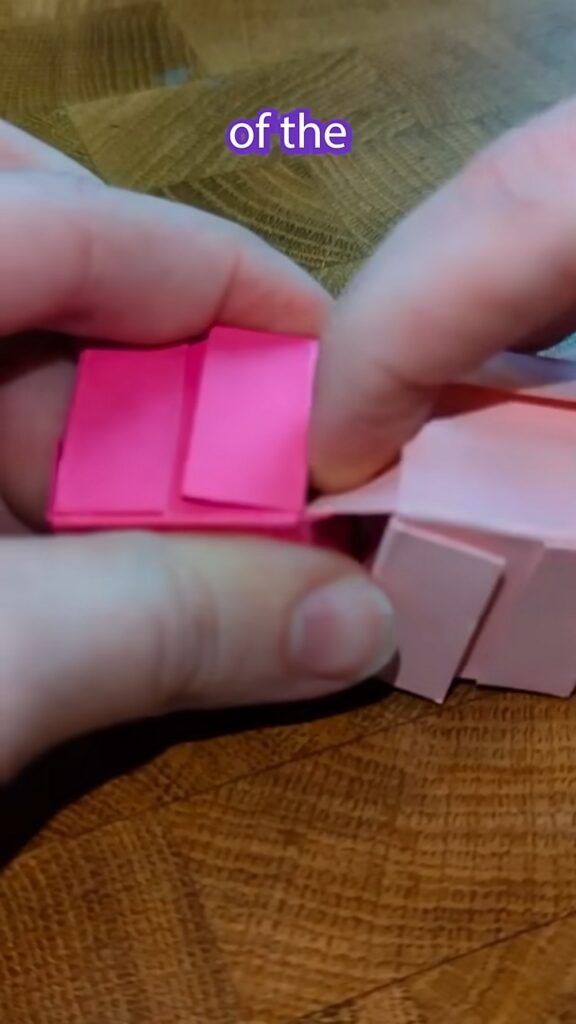
You can even kick test to learn the cubes won’t fall apart.
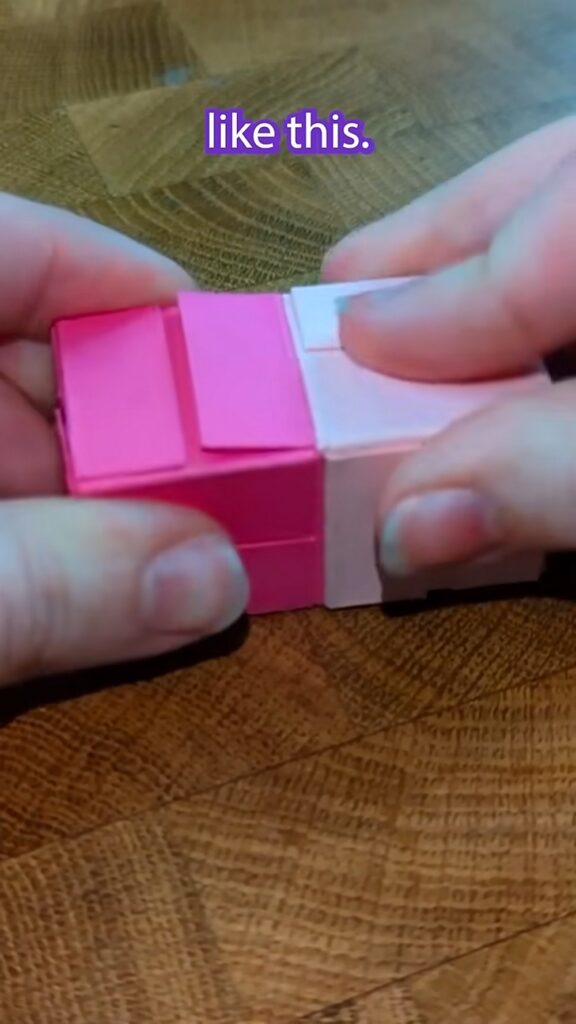
Feels Difficult?
Last. Building the Heart Shape
Follow the “pixel” pattern of a standard Minecraft health heart:
Black Outline: Build a V-shaped outline using black cubes for the bottom and sides.
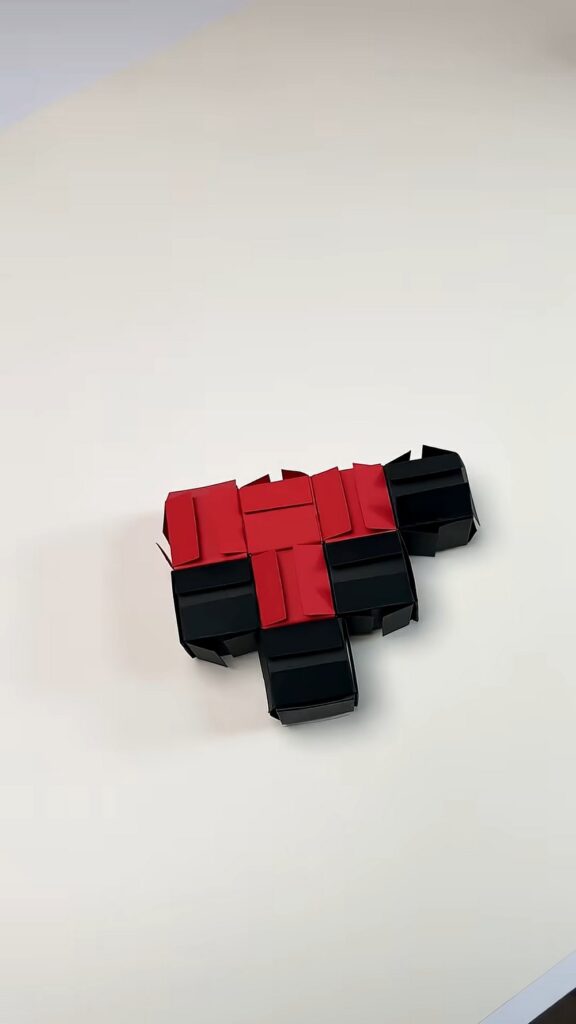
Red Filling: Fill the center of the structure with red cubes.
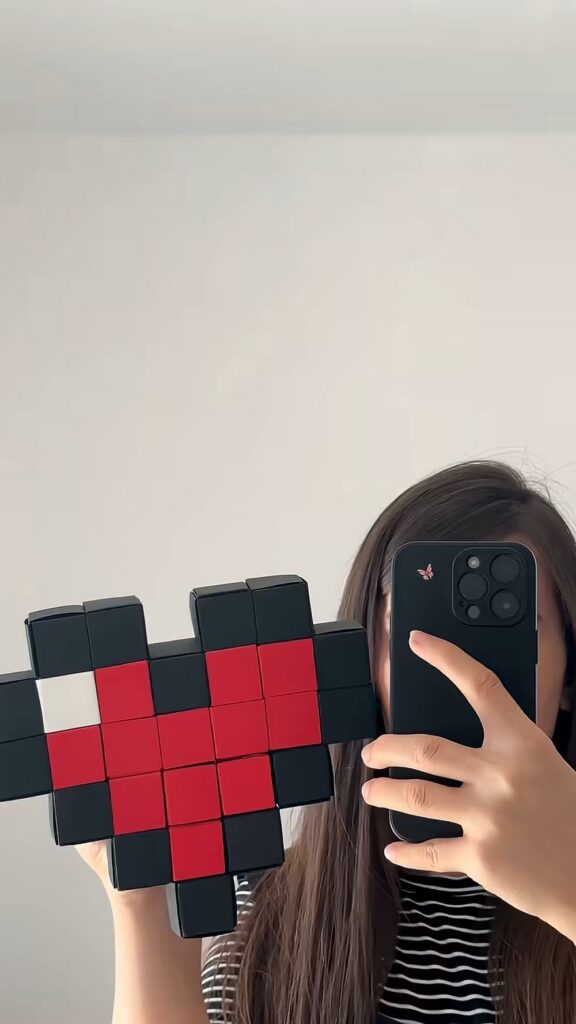
White Highlight: Use a single white cube (or a white cover) in the top-left corner to create the “shine” effect typical of pixel art.
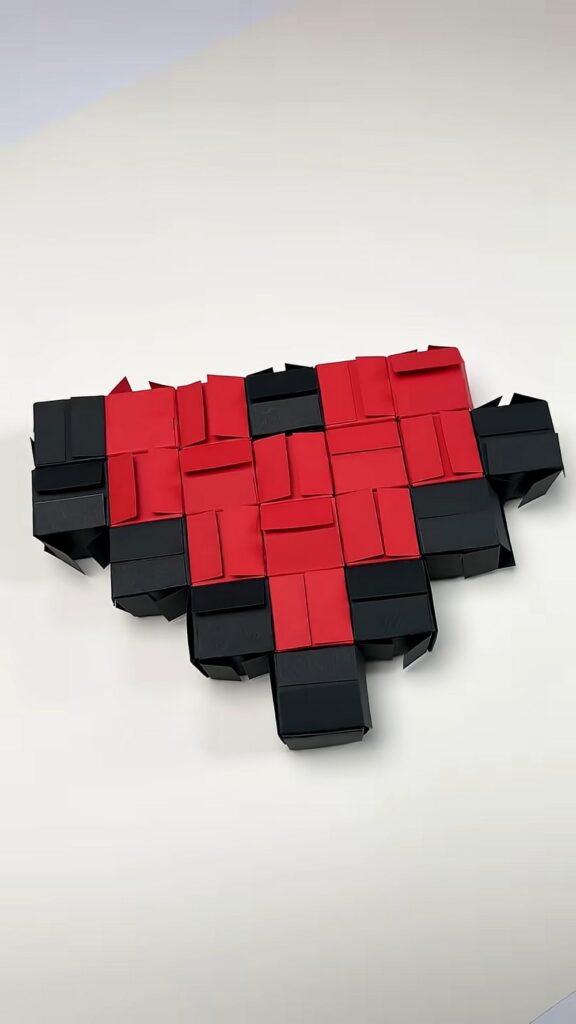
Or you can follow the pattern as I have shown in the pictures!
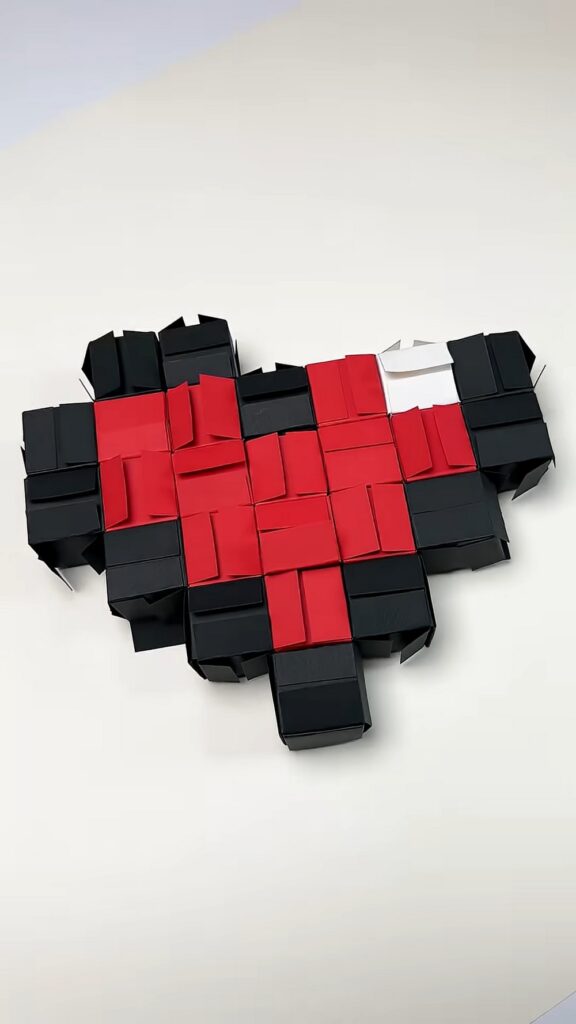
Turn upside down and that’s how you will make this heart art. You can place it on your desktop!
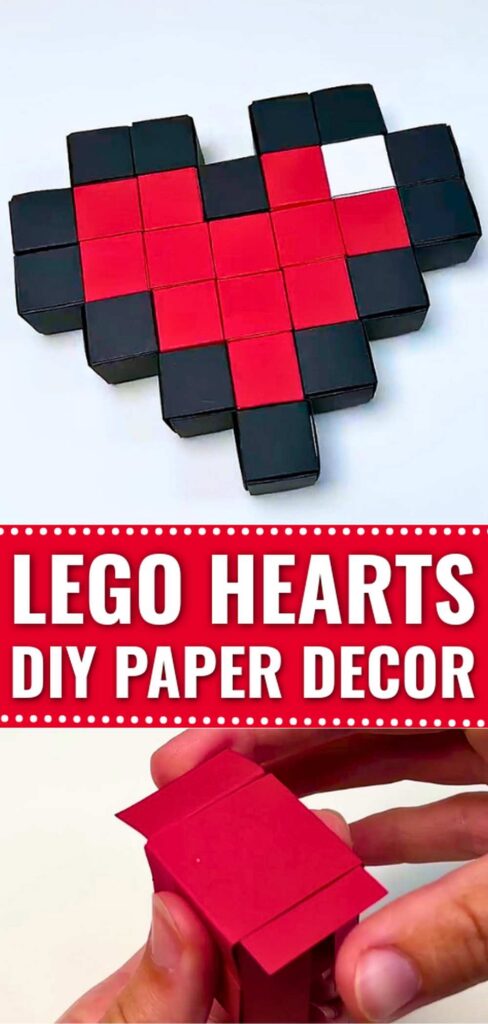
Was this Tutorial Helpful? Tell us in the Comments.
Your feedback is a great way for us to improve the tutorials. Did you find the tutorial helpful? Be sure to subscribe to the creator’s channel!
About "eraarts via Youtube"
She makes much fun and unique gift and decoration crafts that are quick and not much demanding!

About "Talha"
Hey, I’m Talha, the Crafter on Craftstive.com. I love to share guides on folding cute origami models and paper crafts, and I am always ready to inspire your next craft project with my weekly craft discussions.