
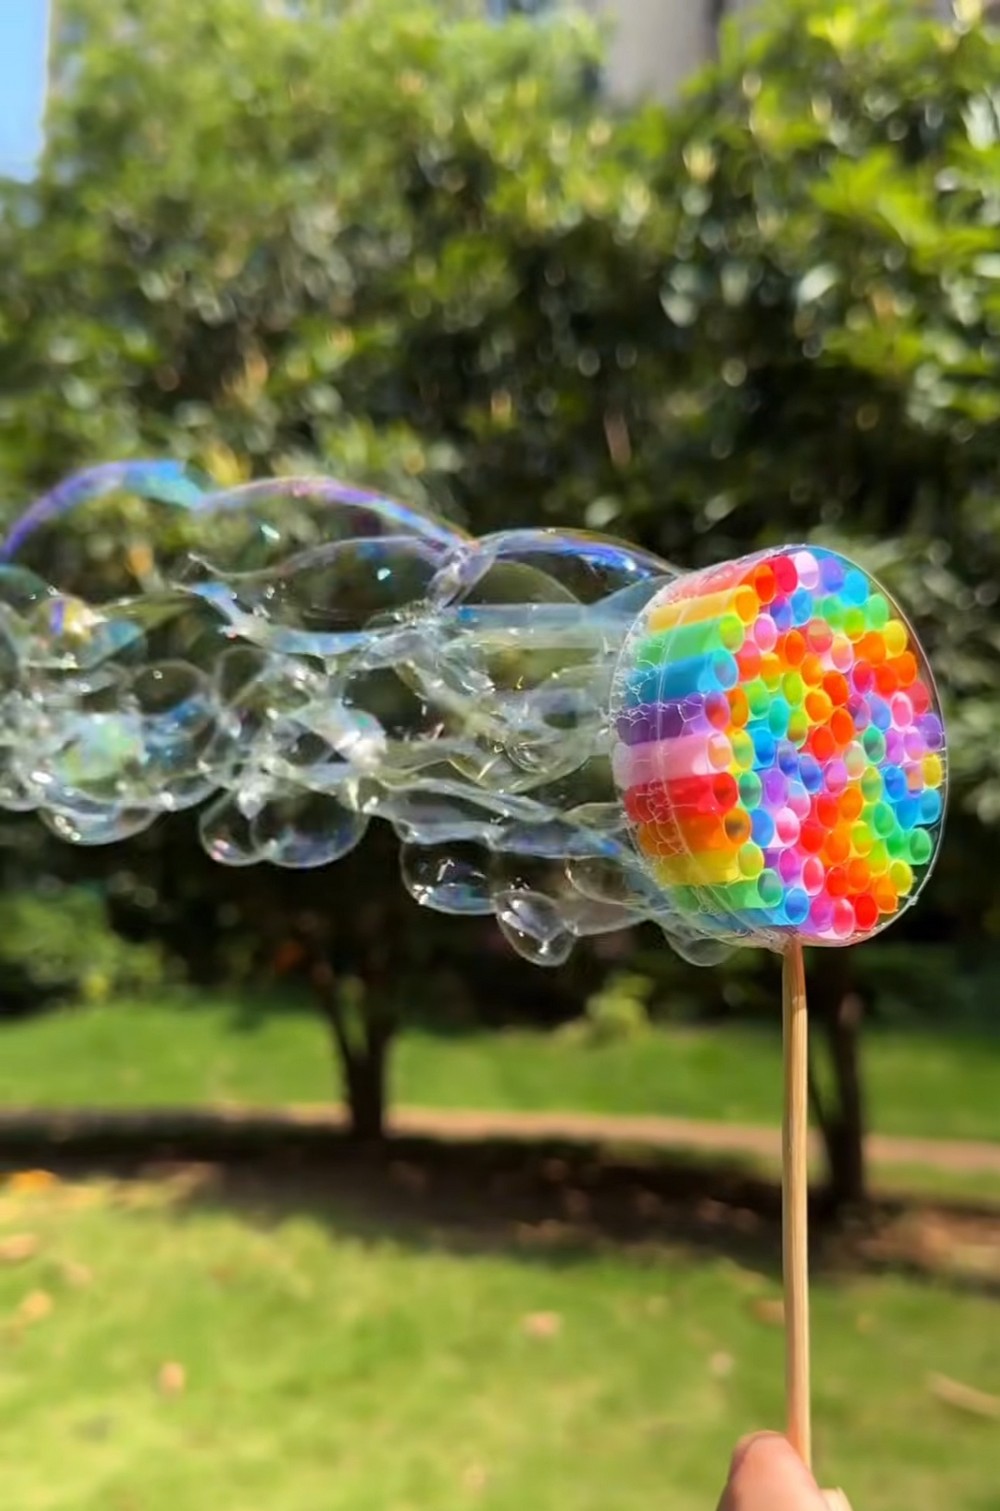
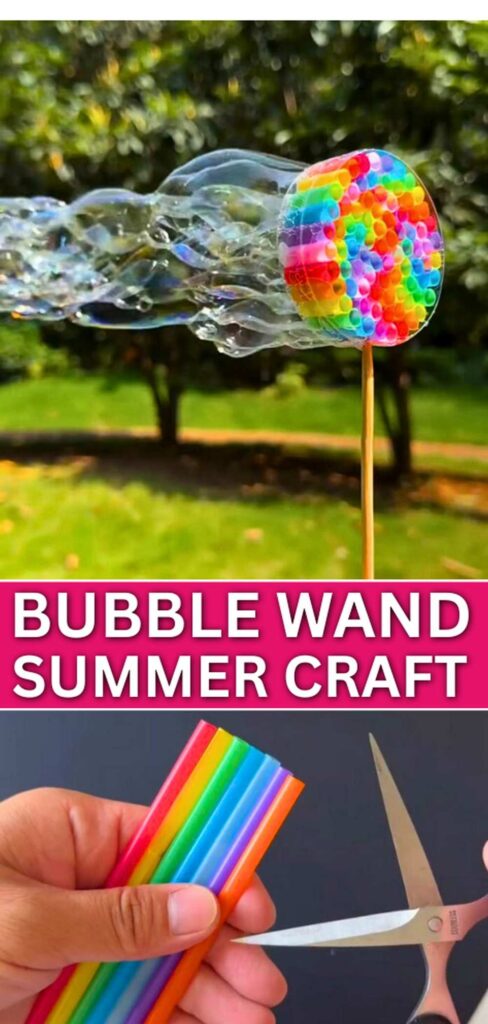
Let’s do the MOST colorful and FUN upgrade to a DIY bubble wand by making this rainbow bubble wand out of straws in many colors, all at home! Playing with it will definitely become the MOST exciting poolside activity for kids. I will also show you the tested perfect bubble solution recipe that makes long connected bubbles and looks so elegant.
Rainbow Bubble Wand at Home
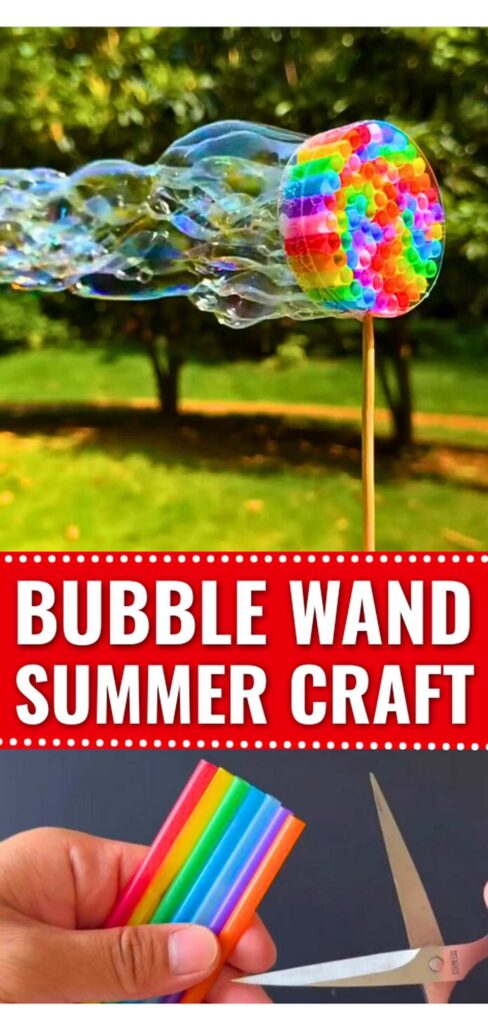
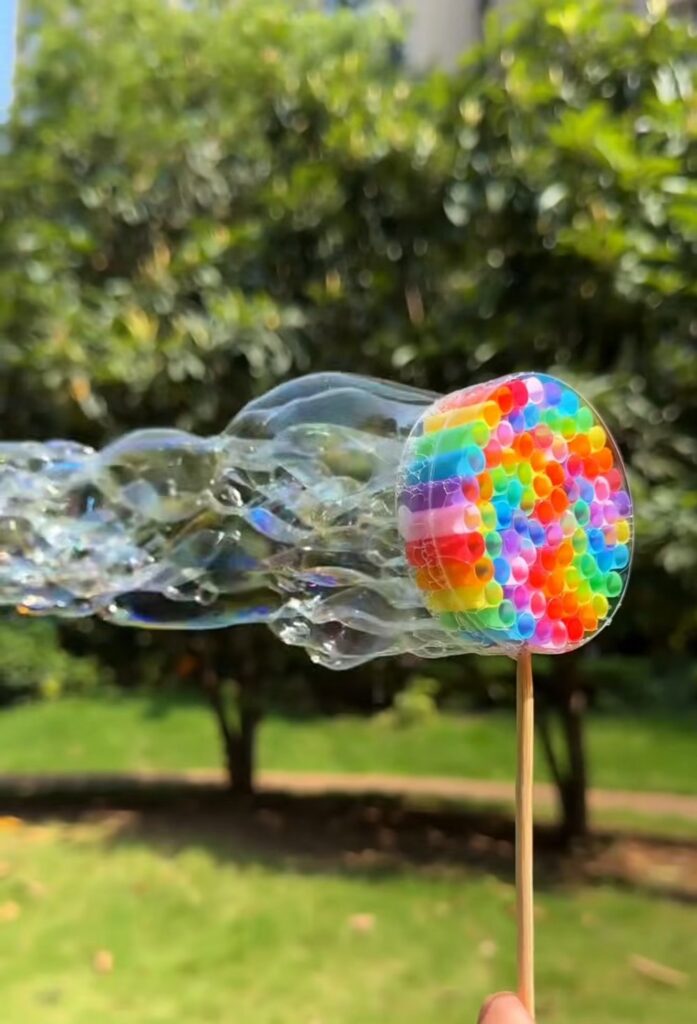
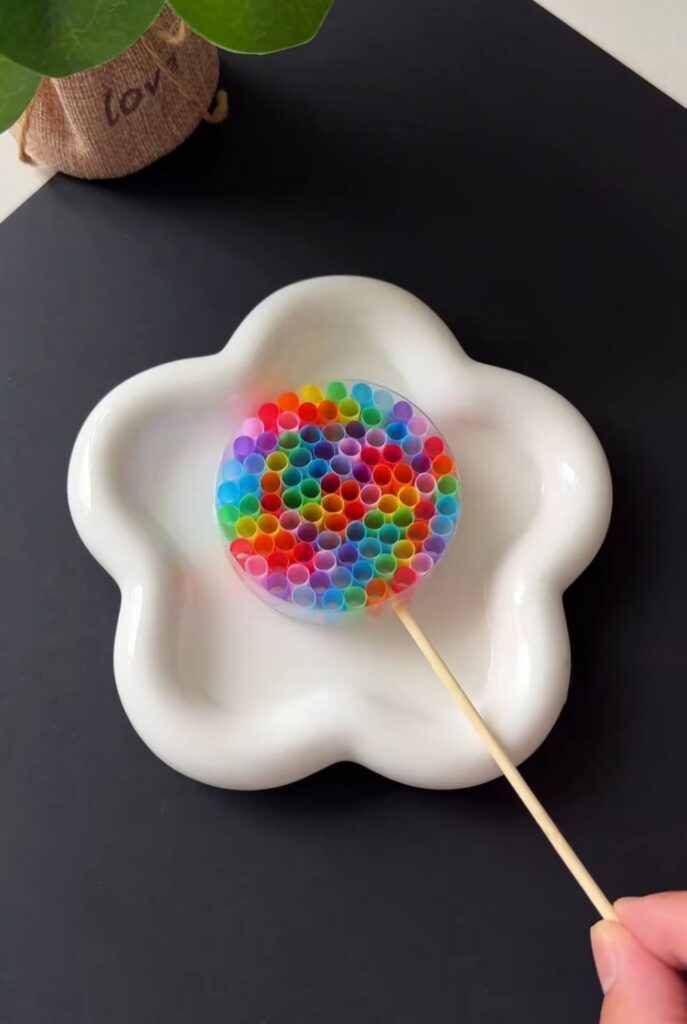
This will be like a LEGO block circular wand with a skewer as a handle. We will recycle an empty plastic bottle to make its cover. Kids can blow within the wand, and as there are so many holes, you will get a long cloud of bubbles.
You can also turn this into a flower decoration by making petals around, again with the straws. I have discussed hundreds of summer activities this month, and I bet this is the MOST fun of all those. They can customize it with their favorite colors and make the bubble solution as much as they wish! Just soak the wand and let the play get started. Be sure to check other rainbow crafts, too!
Time: 10 – 15 minutes
Model Type: Non-traditional bubble wand (NEW!)
Techniques: In this DIY summer craft, you will learn and use the following techniques:
- Using the double-tape
- Cutting straws and a bottle (you may use a utility knife)
- Making a bubble solution
What you NEED for this Rainbow Wand
I recommend the following stuff for making this rainbow wind out of straws and tape at home:
Rainbow plastic drinking straws – standard size, about 6 mm diameter and 20–21 cm long each. You can easily get a pack of colored straws!
- Thin double-sided tape – about 1–1.5 cm wide
- Clear plastic bottle – straight-sided, around 500 mL to 1 L, used as a round shaping mold. You can also choose any that fit your
- disk of straws.
- Bamboo skewer – about 20–25 cm long
- Scissors
- Small shallow dish – a wide bowl works best.
- Water
- Liquid dish soap
- Granulated sugar
Video Tutorial?
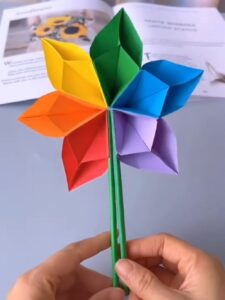
Bubble wand size plan
A good finished wand head is about 5–6 cm across. For that, cut the straws into tiny pieces about 5–6 mm long.
A practical amount is:
- 4–6 full straws for one small wand head
- 2–3 strips of tape, each about 20–30 cm long
- 1 bamboo skewer for the handl
DIY Straw Rainbow Wand: Step-by-Step Instructions
Follow these step-by-step instructions to DIY this decorative rainbow wand out of straws and the plastic bottle:
Step #1: Cut the straws into tiny rings
Take the rainbow straws and cut them into short pieces, each about 5–6 mm long. Try to keep the pieces the same length. That makes the finished bubble face neat and even.
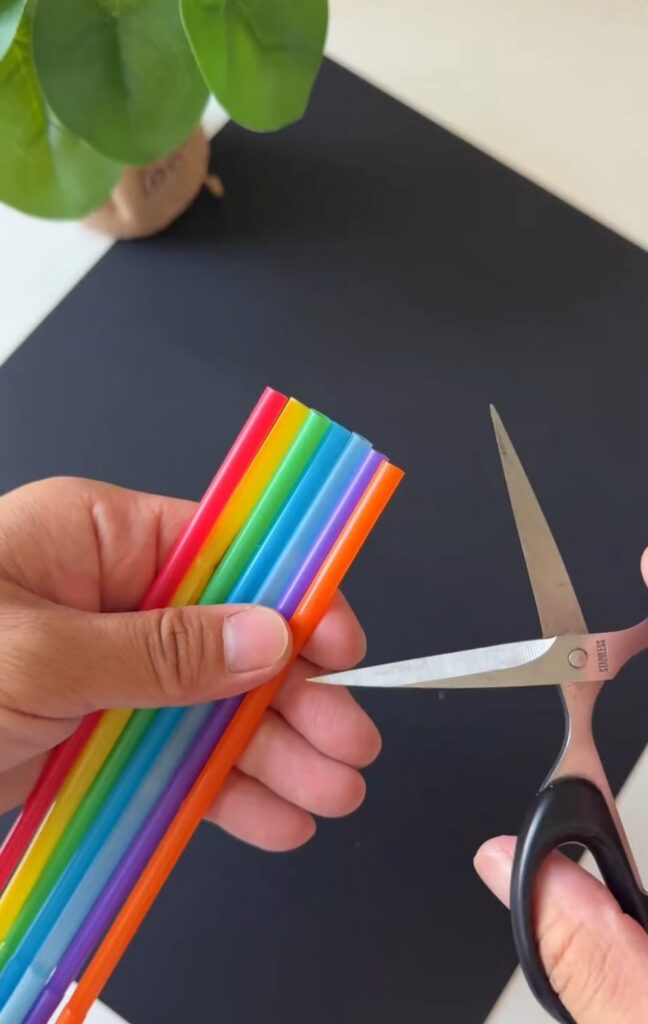
Tip: Cut a few straws at a time and sort the colors into a rainbow order before you start sticking them down.
Step #2: Prepare the first tape strip
Cut a long strip of double-sided tape about 20–30 cm long. Peel off one side of the protective layer so one sticky side is exposed. Lay it flat on a dark surface so the straw pieces are easy to see.
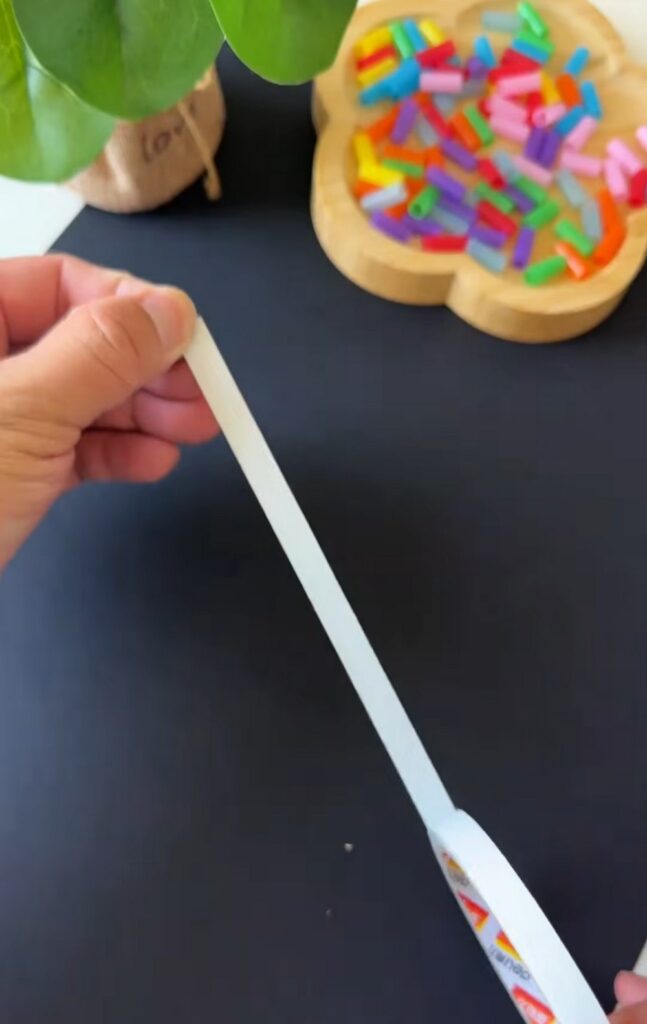
Step #3: Place the first straw piece
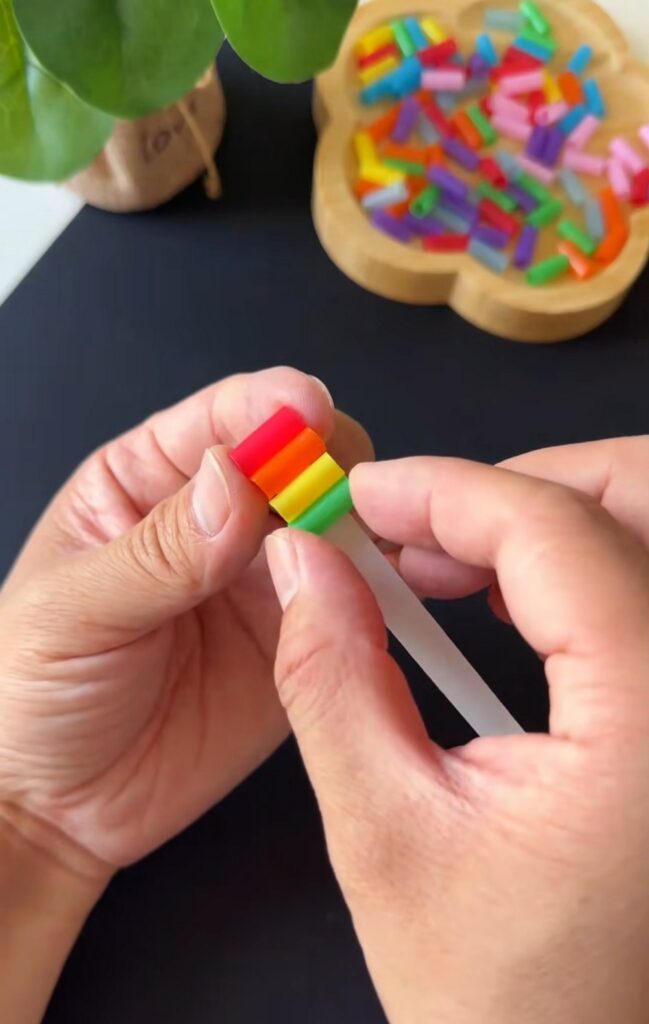
Press the first tiny straw ring onto the sticky tape.
Keep the open holes facing sideways and line the piece up straight. The goal is to make a neat row, not a scattered pile.
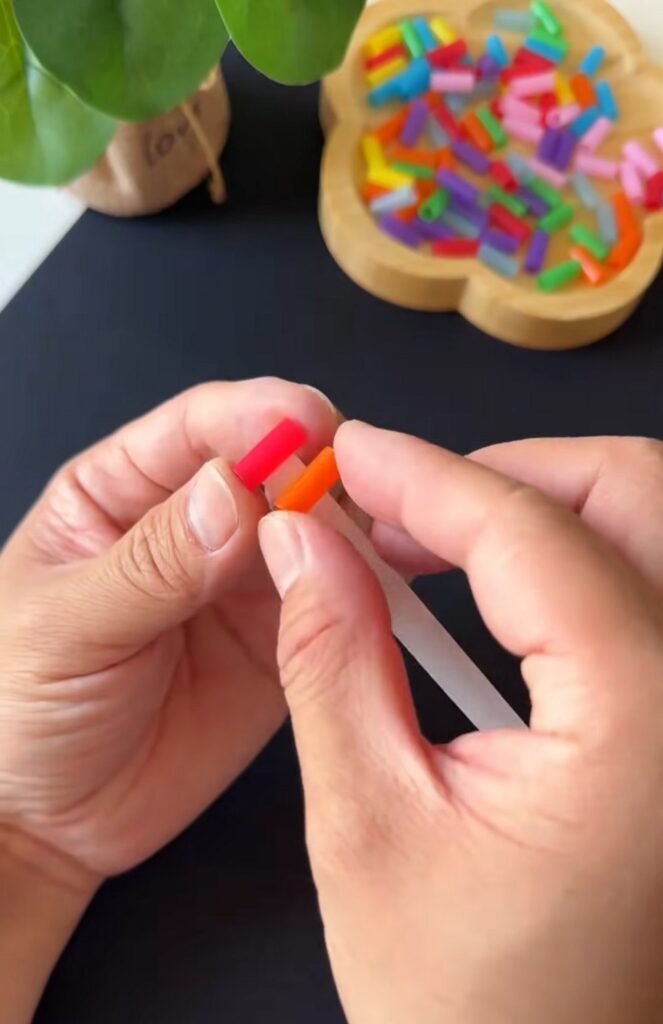
Step #4: Build the rainbow strip
Keep adding straw rings one by one in rainbow order. Press each piece gently so it touches the next piece closely.
You want the pieces packed tightly, with very little space between them.
This first row becomes the base of the bubble wand head.
Step #5: Extend the strip into a long band
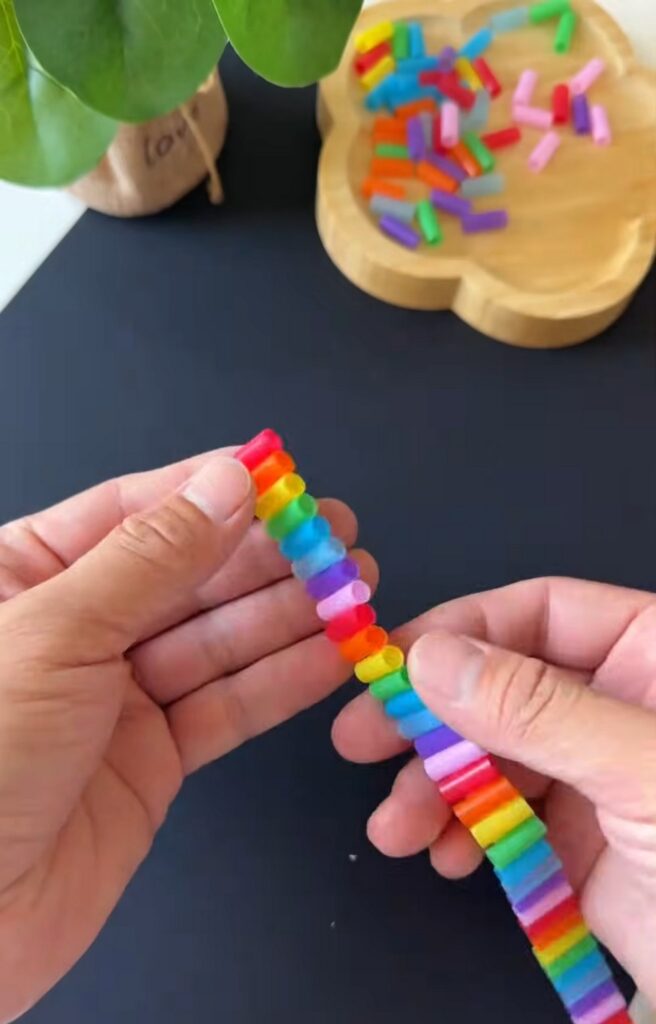
Continue sticking more straw pieces until you have a long, colorful band. For a small wand, the band should be long enough to wrap into a circle and can be covered with a bottle mold.
If the strip starts to curl, flatten it lightly with your fingers.
Step #6: Flip the strip and expose the second adhesive side.
Once your straw strip is fully lined up and slightly flattened:
Carefully turn the entire strip over so the covered side is now facing up. Peel off the second backing layer of the double-sided tape. Now both sides of the tape are active:
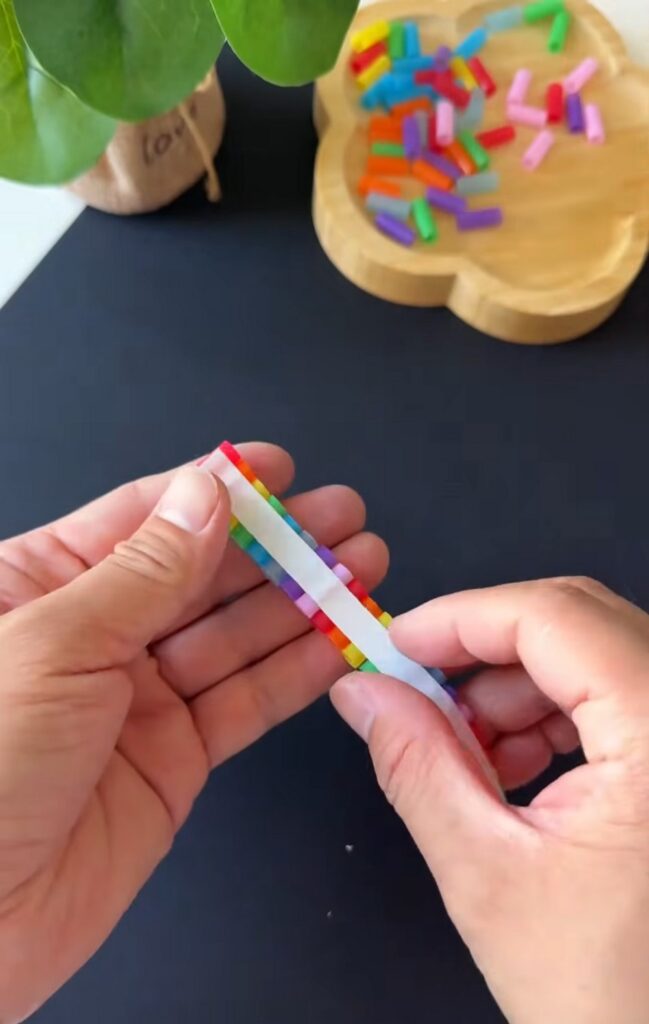
One side is already holding the straw pieces. The other side will lock when rolled.
Tip: Hold the strip from the ends while peeling so the straw pieces don’t shift.
Step #7: Roll the strip into a spiral circle
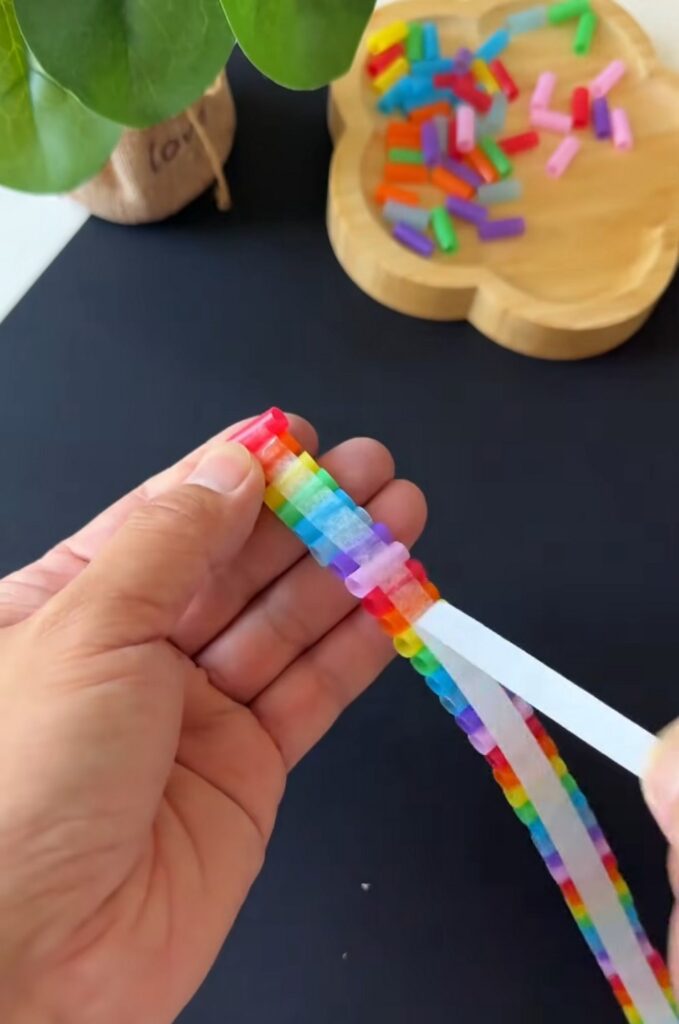
Start from one end of the strip:
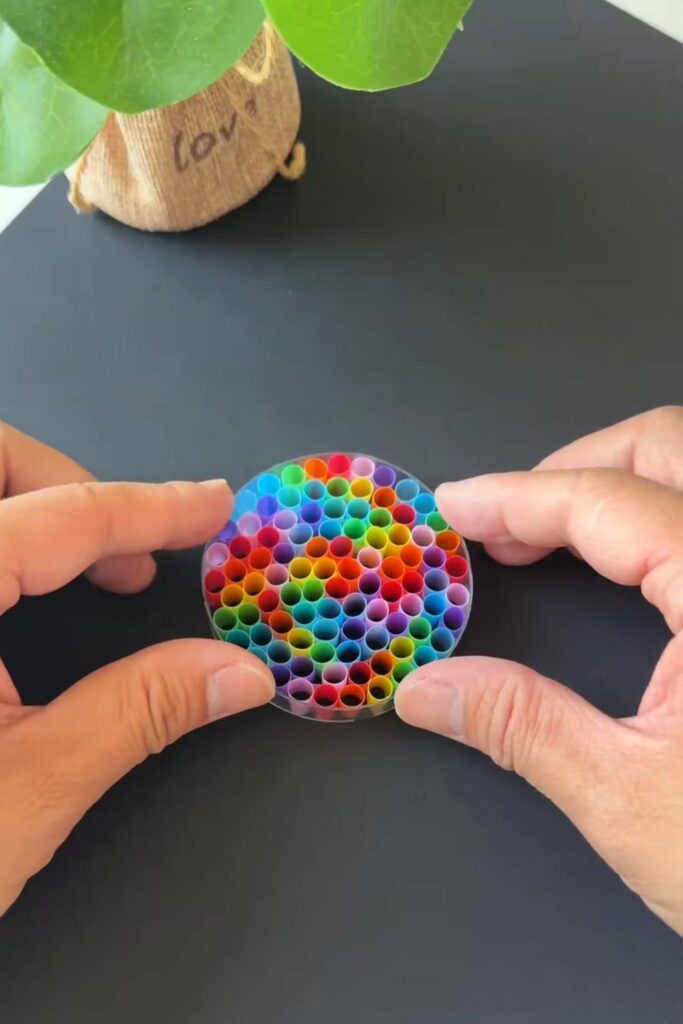
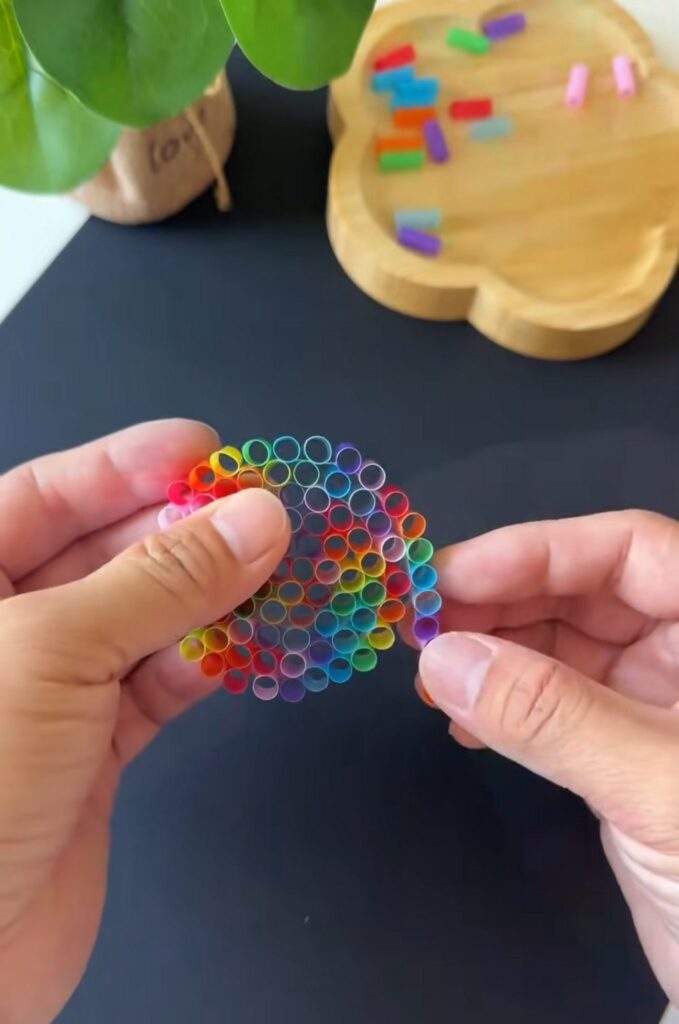
Begin rolling it tightly, like a spiral or a coiled ribbon. Keep the straw holes facing outward and aligned as you roll. Press gently as you go so each layer sticks to the next. This makes a honeycomb-like circular block.
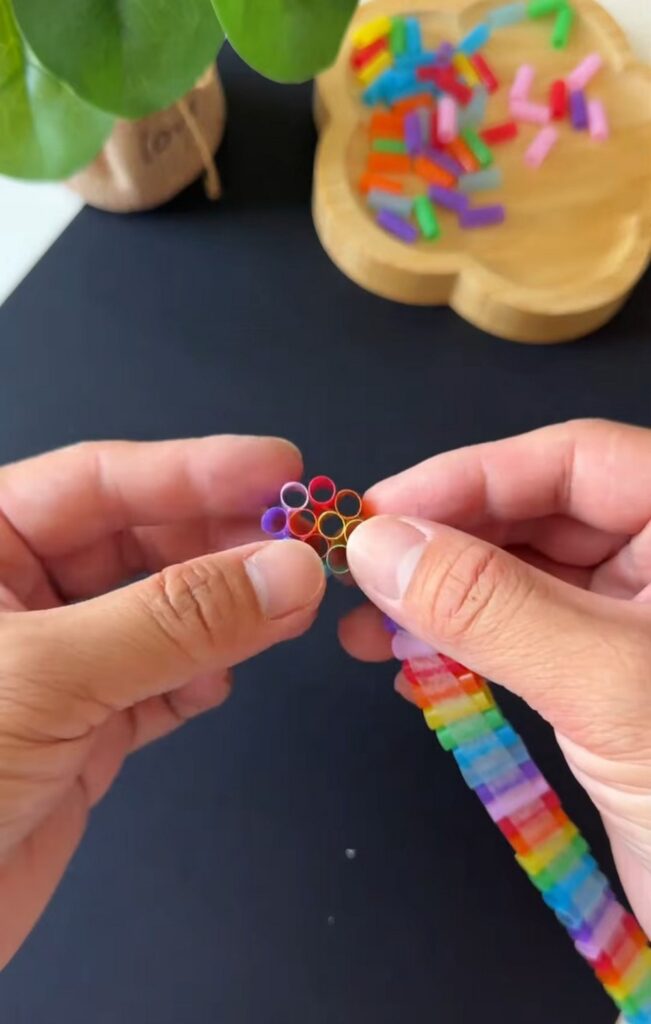
Size guide:
- Final diameter: about 5–6 cm
- Thickness: about 1–2 cm
Important: Roll slowly and evenly. If it’s too loose, the bubbles won’t form well. If it’s too tight, the holes may collapse.
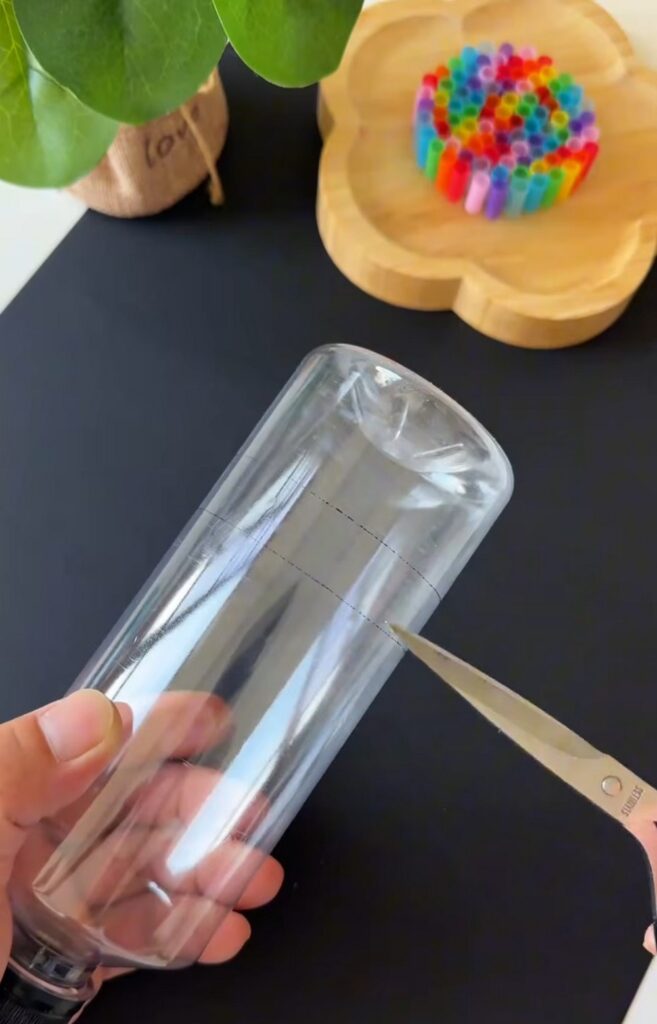
Step #8: Cut a support ring from the plastic bottle
Take your clear plastic bottle and cut out a ring:
Cut a straight section from the middle of the bottle
Ring height: about 1–2 cm.
Diameter should match or slightly fit over your rolled straw circle. This ring will work as a frame to hold everything together.
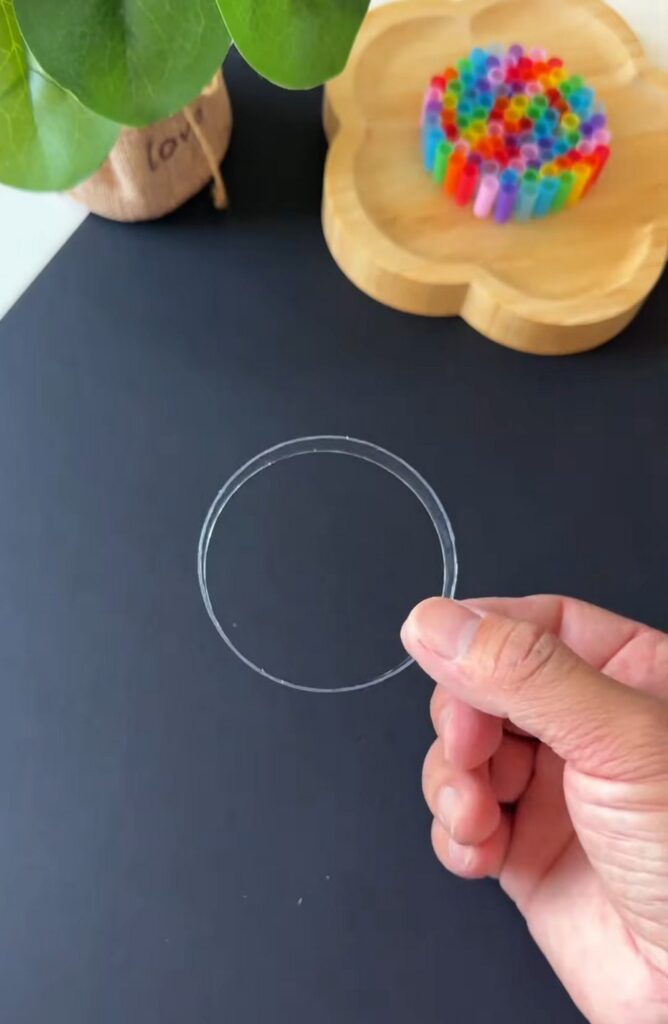
Tip: Choose the smoothest, straight part of the bottle for a clean ring.
Step #9: Attach the skewer handle
Insert the pointed end of the bamboo skewer into the back or center opening of the straw cluster. You can use a heated metal wire to make the hole. If needed, secure it with a little tape so the wand does not slip.
The skewer should act like a handle, leaving about 15–20 cm below the bubble head so it is easy to hold.
Homemade bubble solution
A simple working bubble mix is:
- 1 cup warm water
- 2 tablespoons liquid dish soap
- 1 tablespoon sugar
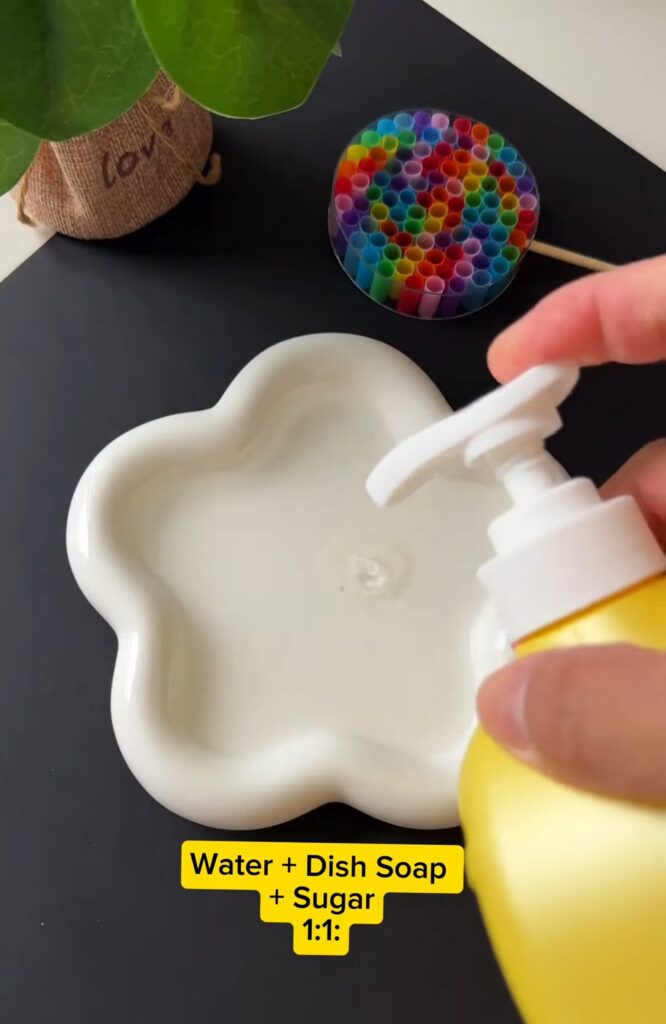
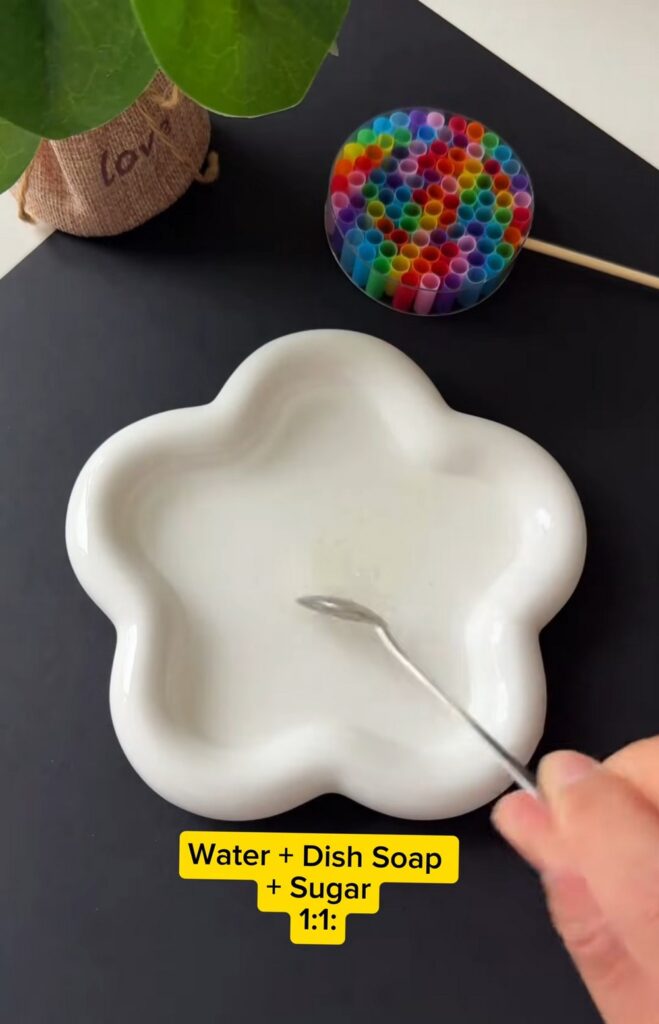
How to mix it
- Pour the water into the shallow dish.
- Add the sugar and stir until it dissolves.
- Add the dish soap last.
- Stir slowly so you do not create too many bubbles in the bowl.
- Let the mixture rest for 15–30 minutes before using.
Why sugar helps
Sugar makes the bubble film a little stronger, so the bubbles last longer before popping.
Step #10: Dip the wand
Lower the colorful wand head into the bubble solution until all the straw holes are wet. Lift it out slowly so the liquid film stays across the openings. Do not shake it hard. A slow lift gives the best bubble film.
Step #11: Blow gently
Hold the skewer like a wand handle and blow gently through the moving bubble film.
You can also move the wand through the air to pull out a trail of bubbles.
And that’s how you will want to make this quick and colorful wand in 11 simple steps (yes, I taught you how to play with it, too!). Follow for more.
Was this Tutorial Helpful? Tell us in the Comments.
Your feedback is a great way for us to improve the tutorials. Did you find the tutorial helpful? Be sure to subscribe to the creator’s channel!
About "MAKE DIY via YouTube"
She is running one of the most special corner of paper crafts that are all quick and easier and require no skill!

About "Talha"
Hey, I’m Talha, the Crafter on Craftstive.com. I love to share guides on folding cute origami models and paper crafts, and I am always ready to inspire your next craft project with my weekly craft discussions.