Subscribe to ArtWini!
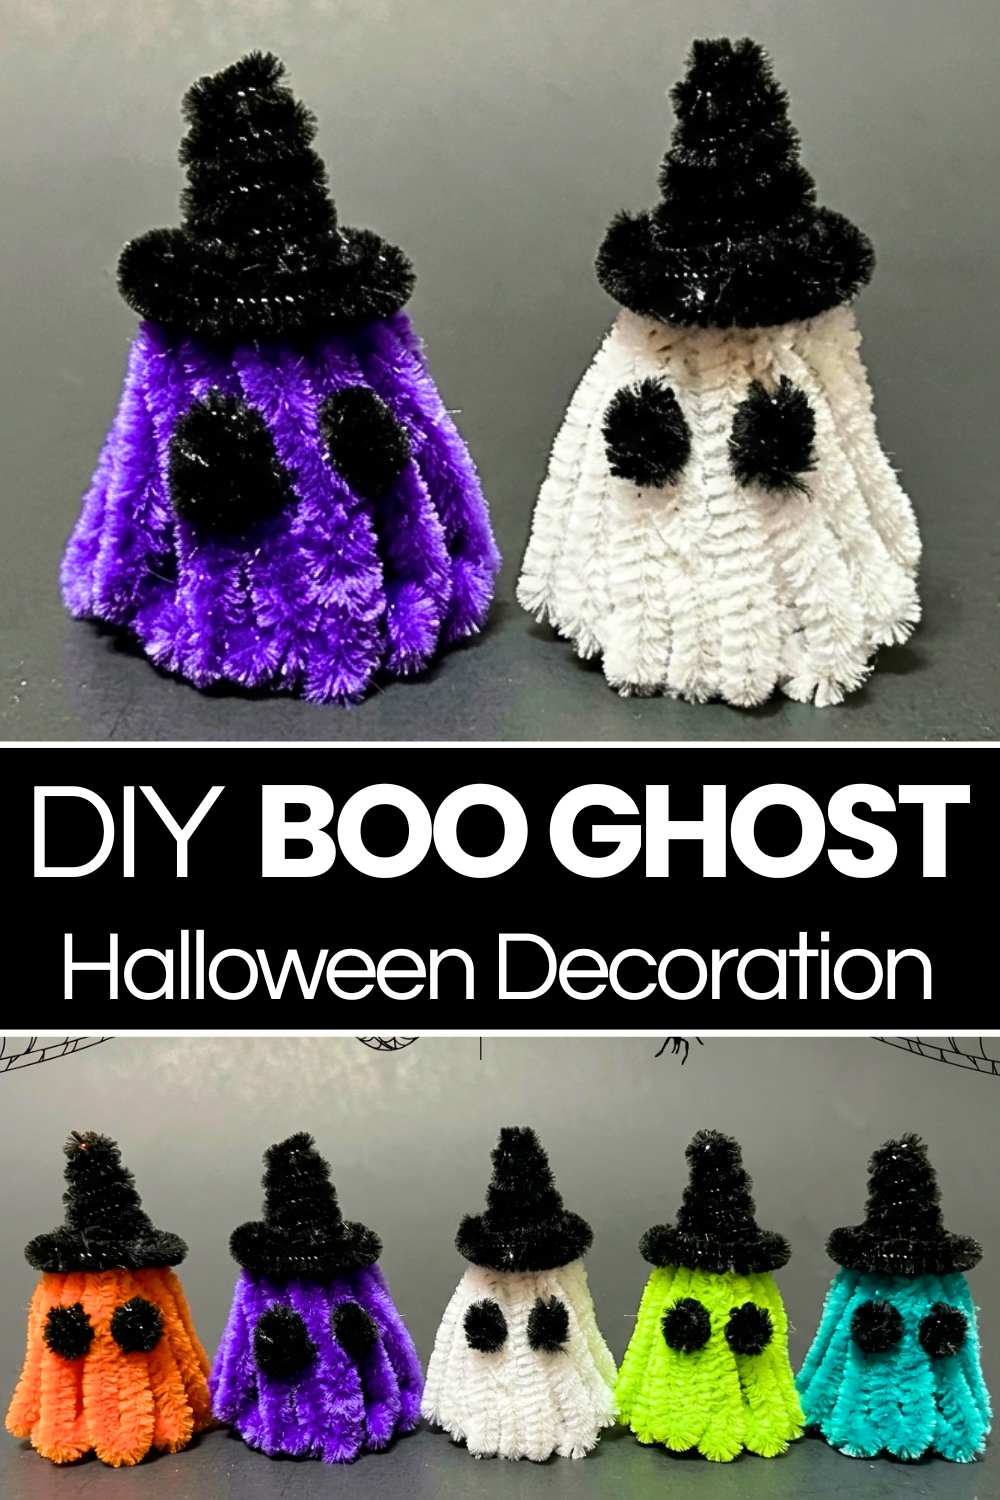
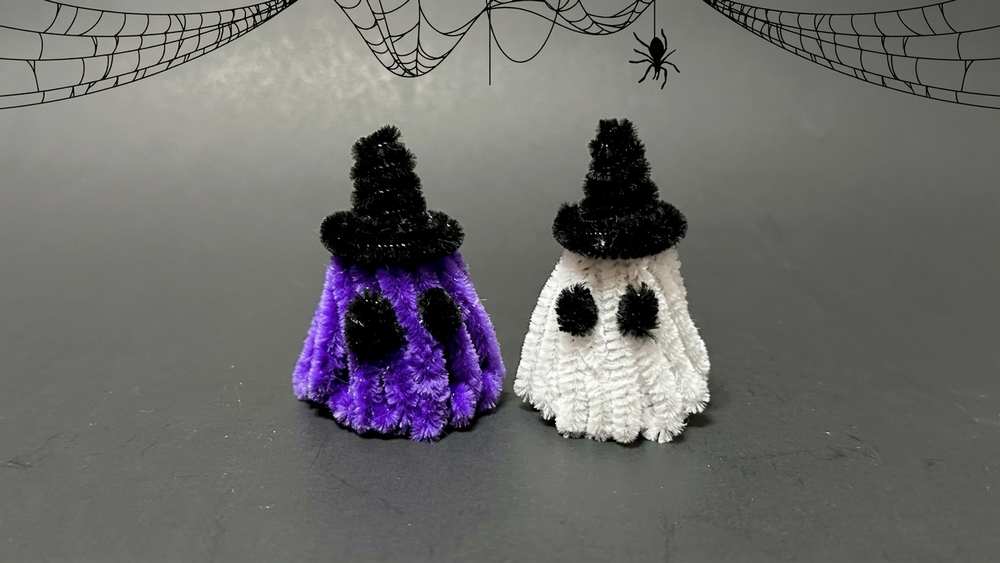
Today, you will learn another easy and last-minute method for a DIY pipe cleaner ghost in a witch hat plushie + a Halloween decoration idea by making many ghosts in NEON colors. Learn how to make even easier and quicker chenille stem ghosts than any other guide I have shared this year by following this step-by-step tutorial. Making one boo ghost just requires one 6-inch-long pipe cleaner that you can also make by joining many standard-sized chenille stems.
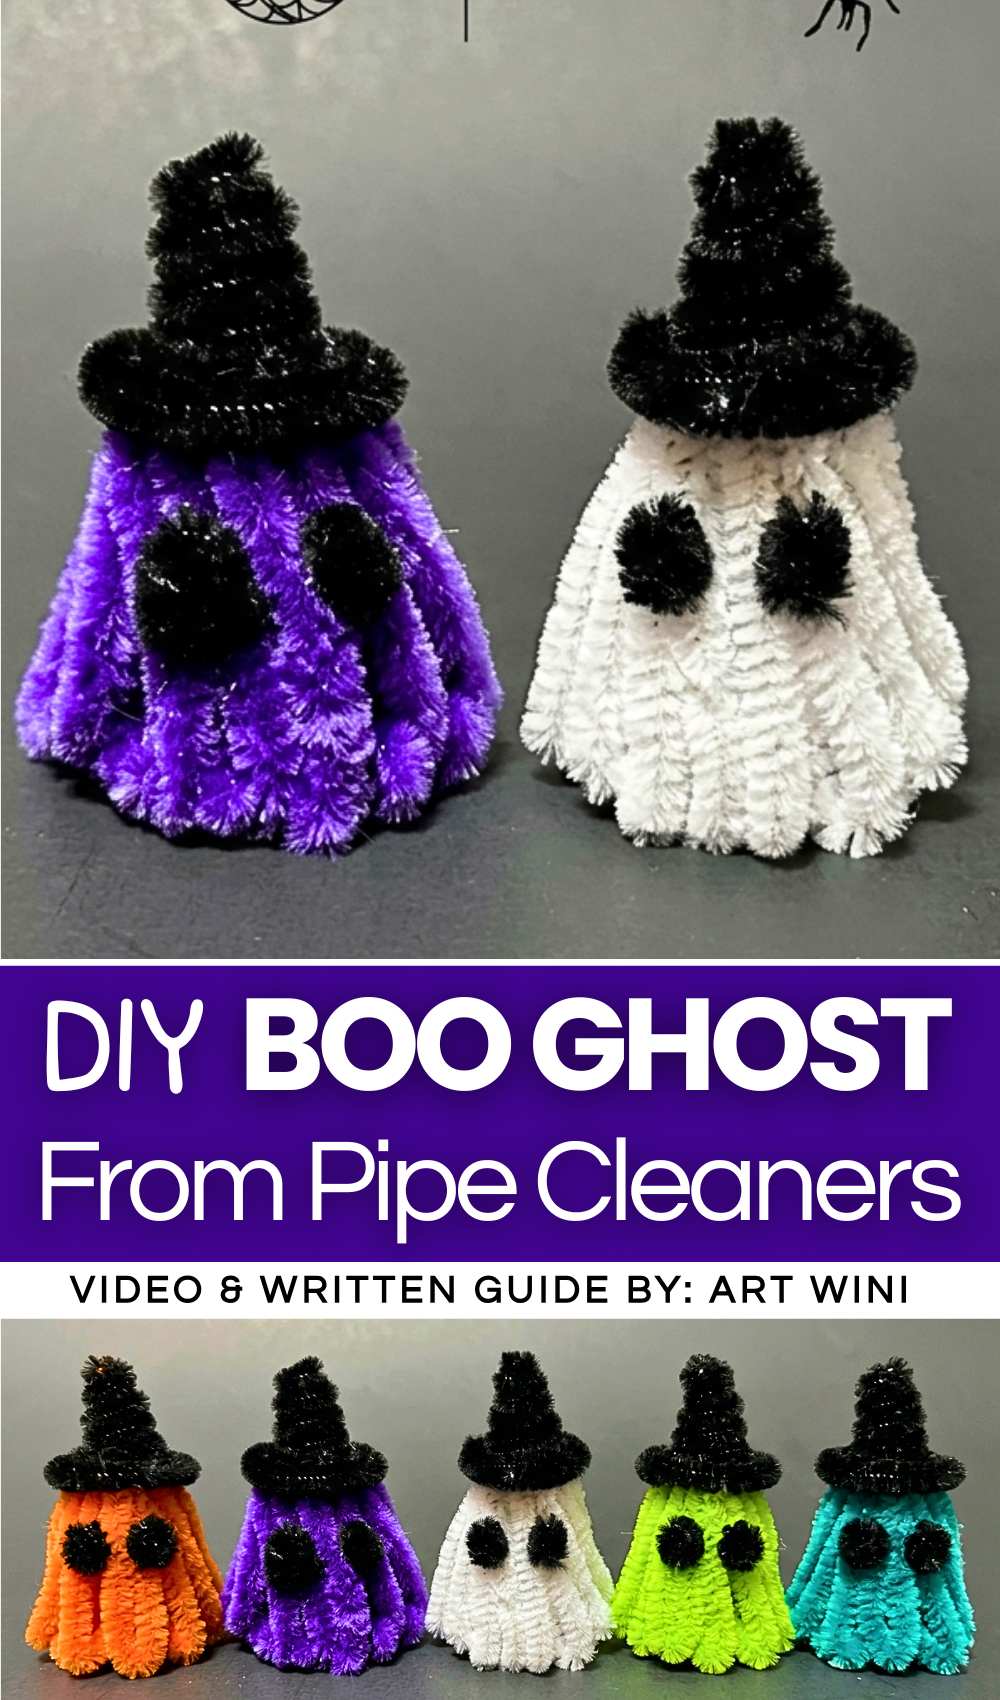
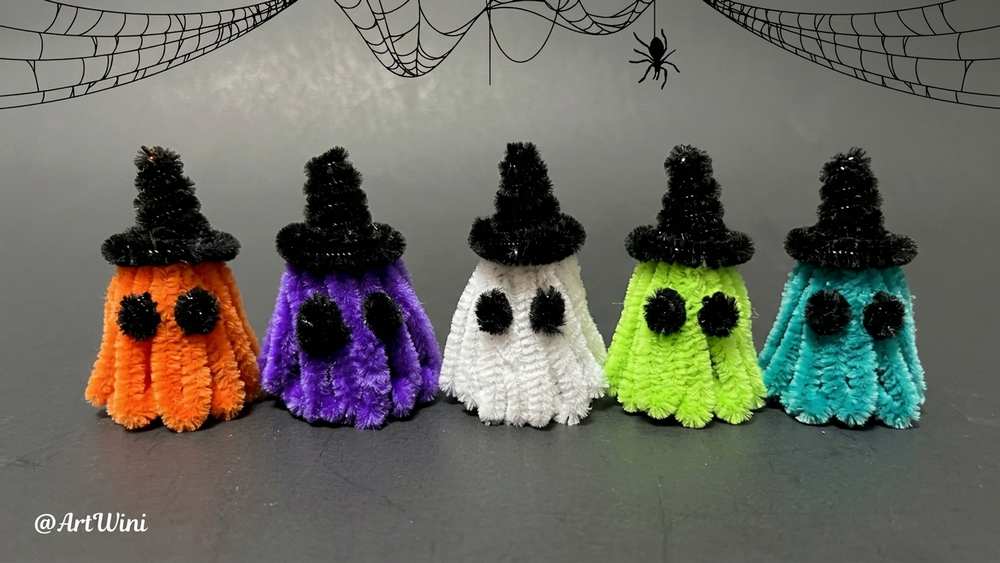
These BOO GHOST plushies wear a simple witch hat that can be made just by attaching a small pipe cleaner twist to a pipe cleaner circle. You can make your ghosts in green, purple, orange, white, and aqua.
Then arrange your DIY ghosts as a family either on your craft table during a Halloween party to welcome the guests or on your craft fair table. These are cheap Halloween ghosts that you can sell at a reasonable price in a craft market. Now, continue reading to learn more about this last-minute and quick Halloween ghost project.
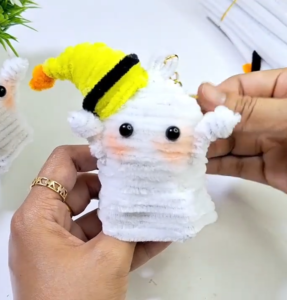
How to DIY Pipe Cleaner Boo Ghost Plushies
These adorable pipe cleaner ghosts with tiny witch hats are the perfect DIY project for Halloween. They are simple to make, highly customizable in color, and require only a few basic tools.
Materials Needed
-
Pipe Cleaners: Five 12-inch long stems in various colors (Neon Green, Purple, Pink, Blue, White, Orange) for the ghost bodies.
-
Black Pipe Cleaners: For the witch hats and the ghost eyes.
-
Tools: Scissors, ruler, needle-nose pliers, and a hot glue gun.
Beginner? Learn with the Video Tutorial
Step-by-Step Instructions
Part 1: Create the Ghost Body
-
Prepare the Strands: Cut your colorful pipe cleaners into 6-inch pieces. Take two pieces and twist the ends together tightly to create one long, continuous strand. You will need a long strand to create enough loops for the body.
-
Form the Base: Take a separate 6-inch piece of the same color to serve as the horizontal base.
-
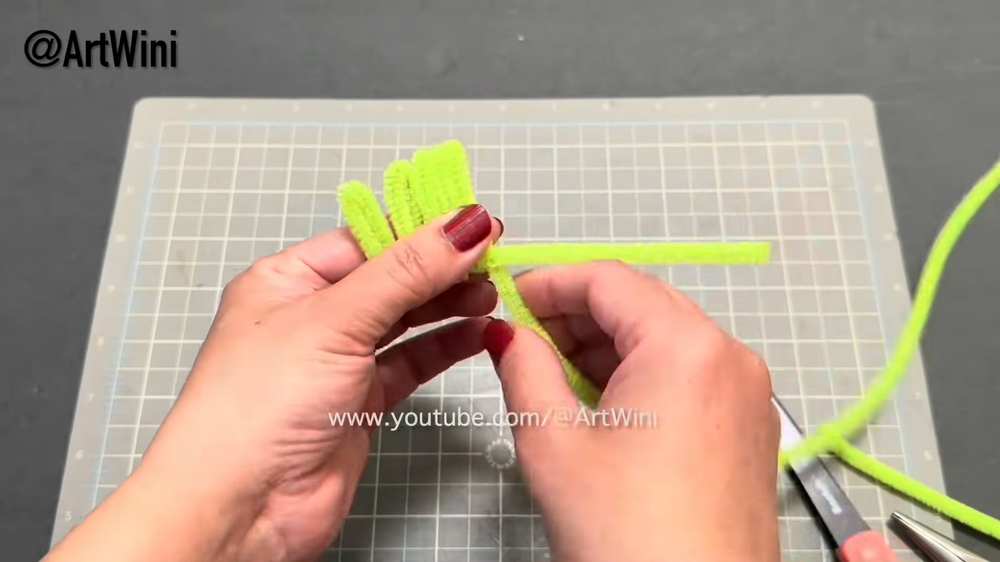
Create the Loops: Place the end of your long strand against the horizontal base. Fold the long strand up and over to create a loop approximately 1.25 inches tall.
-
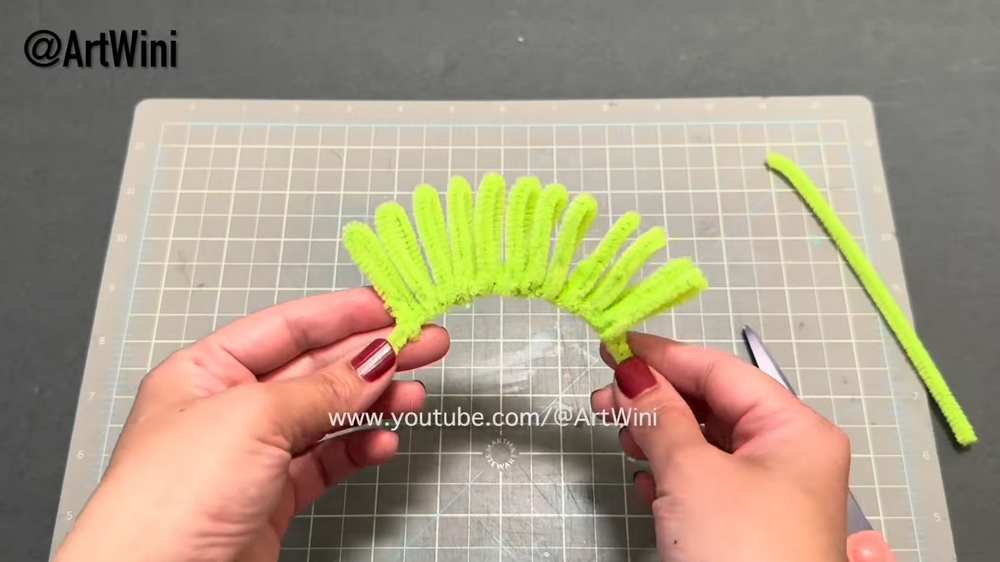
Secure and Repeat: Twist the strand around the base to secure the loop, then move over slightly and create another 1.25-inch loop. Continue this process until you have 10 to 12 loops lined up along the base. Also, pass a small pipe cleaner through the other side.
-
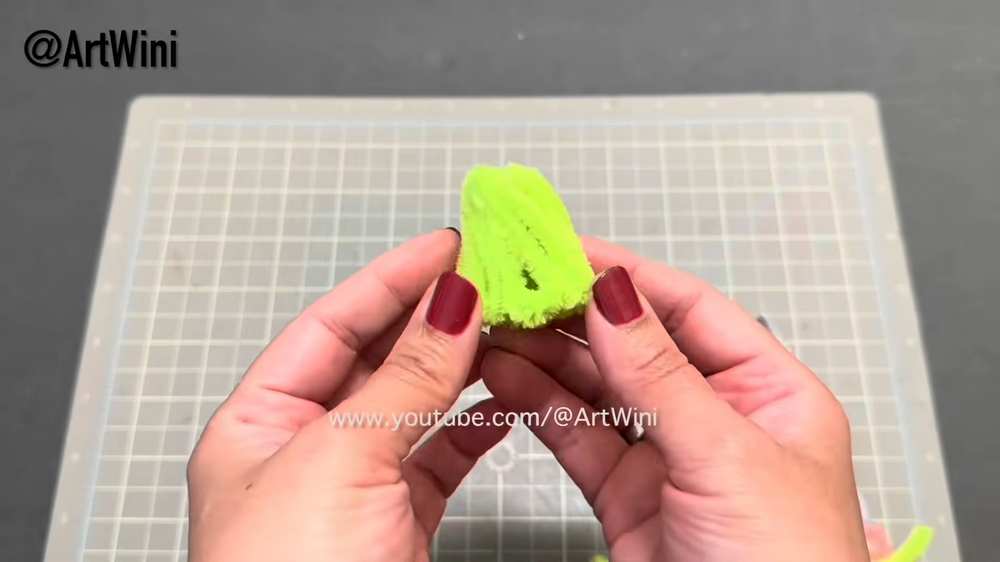
Assemble the Body: Trim the excess base pipe cleaner, leaving about half an inch on each side. Curve the base into a circle so the loops form a “skirt” or bell shape. Twist the ends of the base together to secure the cylindrical shape. Then, block the pipe cleaners with one hand and pull the pipe cleaner of that side tight to make a corner. Cut the excess.
Part 2: Craft the Accessories
-
Make the Eyes: Take a black pipe cleaner and cut two tiny pieces, approximately 0.5 inches long. Fold each piece in half into a small “V” or “U” shape. These will be the eyes.
-
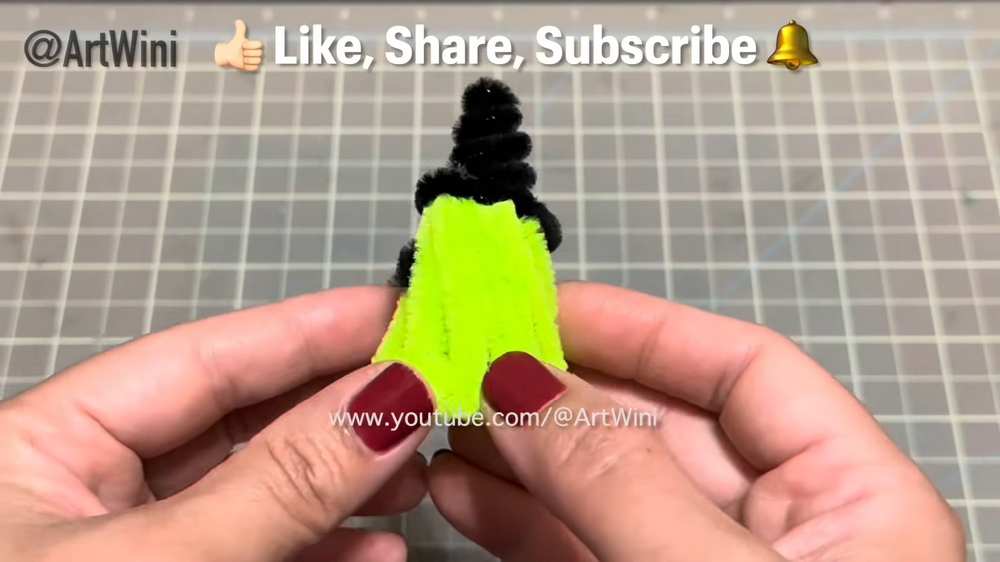
Make the Hat Cone: Take a full-length black pipe cleaner. Using the tips of your needle-nose pliers (or a pencil) as a guide, wrap the pipe cleaner tightly around the tapered end to create a small, pointed cone. Snip off the excess.
-
Make the Hat Brim: Take the remaining black pipe cleaner and roll it into a tight, flat spiral (like a cinnamon roll). Ensure the spiral is slightly wider than the base of your cone.
-
Assemble the Hat: Apply a small dab of hot glue to the bottom of the cone and press it onto the center of the flat spiral brim.
Part 3: Final Assembly
-
Attach the Hat: Apply hot glue to the top center of your looped ghost body (where all the loop tops meet). Press the witch hat firmly onto the top.
-
Add the Eyes: Apply two small dots of hot glue to the front of the ghost body, about halfway down the loops. Press the tiny black pipe cleaner “eyes” into the glue.
-
Final Shaping: Use your fingers to gently spread the loops at the bottom so the ghost can stand upright on its own.
Pro-Tip: Make a whole “coven” of ghosts in different neon colors to create a vibrant Halloween display or table centerpiece!